Home>Create & Decorate>DIY & Crafts>How To Make A Wooden Ramp

DIY & Crafts
How To Make A Wooden Ramp
Published: February 29, 2024

Senior Editor in Create & Decorate, Kathryn combines traditional craftsmanship with contemporary trends. Her background in textile design and commitment to sustainable crafts inspire both content and community.
Learn how to create a sturdy wooden ramp for easy access with this DIY guide. Perfect for DIY & Crafts enthusiasts looking for practical projects.
(Many of the links in this article redirect to a specific reviewed product. Your purchase of these products through affiliate links helps to generate commission for Twigandthistle.com, at no extra cost. Learn more)
Introduction
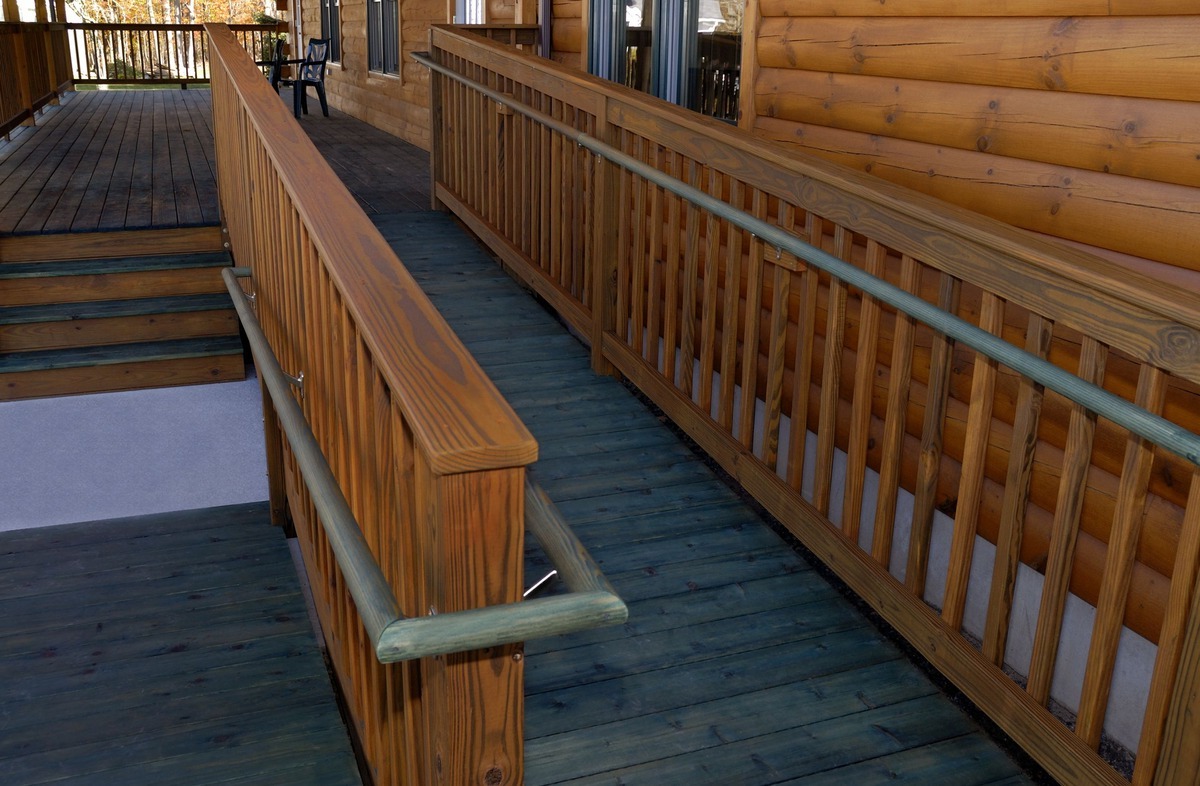
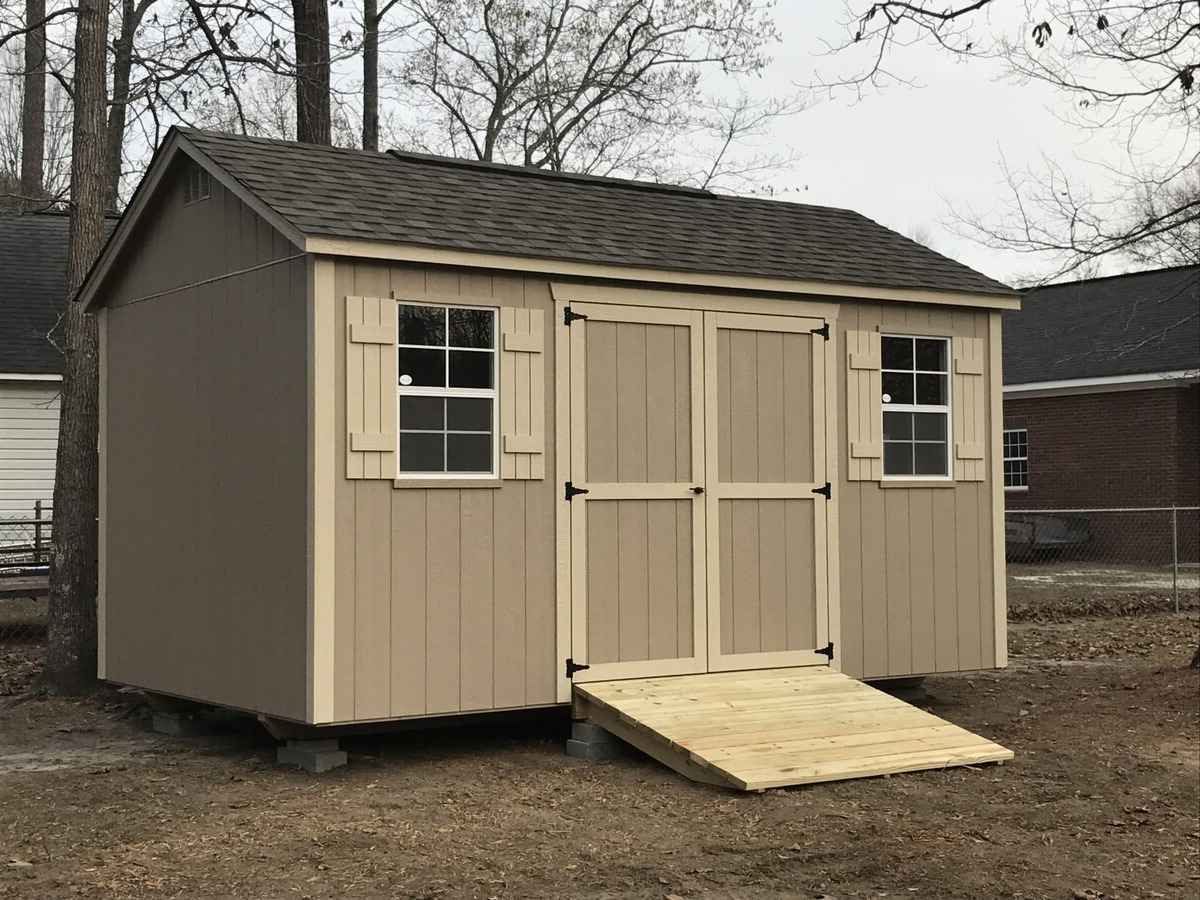
Building a wooden ramp can be a practical and rewarding DIY project, providing accessibility for individuals with mobility challenges or creating a smooth transition for wheeled equipment such as lawnmowers, wheelbarrows, or bicycles. Whether you're enhancing your home's accessibility or improving functionality in your outdoor space, constructing a wooden ramp is a project that can yield significant benefits.
In this comprehensive guide, we'll walk you through the step-by-step process of creating a sturdy and well-designed wooden ramp. From gathering the necessary materials and tools to the precise measurements and assembly, we'll cover everything you need to know to successfully complete this project. By following these instructions, you'll be able to construct a durable and safe wooden ramp that meets your specific needs.
The satisfaction of building a wooden ramp with your own hands is unparalleled. Not only will you save on installation costs, but you'll also have the opportunity to customize the ramp to fit seamlessly into your existing landscape or architectural design. Additionally, the skills and knowledge gained from this project can be applied to future woodworking endeavors, making it a valuable learning experience.
Whether you're a seasoned DIY enthusiast or a novice looking to expand your skills, this guide is designed to be accessible and easy to follow. By the end of this tutorial, you'll have the confidence and know-how to tackle the construction of a wooden ramp, adding both functionality and aesthetic appeal to your outdoor space. So, roll up your sleeves, gather your tools, and let's get started on this exciting woodworking journey!
Step 1: Gather Materials and Tools
Before embarking on the construction of a wooden ramp, it's essential to gather all the necessary materials and tools. By ensuring that you have everything at hand, you can streamline the building process and minimize interruptions. Here's a comprehensive list of the items you'll need:
Materials:
- Pressure-treated lumber: This will serve as the primary material for the ramp, providing durability and resistance to outdoor elements. Ensure that the lumber is of high quality and suitable for outdoor use.
- Galvanized screws: Opt for corrosion-resistant screws to secure the wooden components firmly in place.
- Concrete mix: If the ramp will be installed on the ground, concrete will be required for creating a stable foundation.
- Gravel: This will be used as a base for the concrete, aiding in drainage and stability.
- Metal brackets: These will reinforce the structural integrity of the ramp, particularly at key joints and connections.
- Wood sealant or outdoor paint: Applying a protective sealant or paint will help shield the ramp from moisture and UV damage, prolonging its lifespan.
Tools:
- Measuring tape: Accurate measurements are crucial for ensuring the ramp's dimensions align with your specific requirements.
- Circular saw: A reliable saw will be essential for cutting the lumber to the desired lengths and angles.
- Drill with bits: A power drill equipped with suitable bits will facilitate the installation of screws and brackets.
- Level: This tool is indispensable for ensuring that the ramp is constructed on a flat and even surface.
- Shovel: If the ramp will be installed on the ground, a shovel will be needed for excavating and preparing the site.
- Safety gear: Don't forget to prioritize safety by equipping yourself with gloves, safety goggles, and a dust mask to protect against potential hazards during construction.
By gathering these materials and tools in advance, you'll set the stage for a smooth and efficient building process. With everything at your disposal, you'll be well-prepared to move on to the next step: measuring and planning the construction of the wooden ramp.
Step 2: Measure and Plan
Accurate measurements and meticulous planning are fundamental to the successful construction of a wooden ramp. Before cutting a single piece of lumber, it's crucial to carefully assess the intended location for the ramp and take precise measurements to ensure a tailored fit. Here's a detailed breakdown of the essential steps involved in the measurement and planning phase:
Read more: How To Build A Ramp
Assess the Site:
Begin by evaluating the area where the wooden ramp will be installed. Take note of any existing features, such as steps, doorways, or landscaping elements, that may impact the ramp's design and placement. Consider the slope of the terrain and any potential obstacles that need to be accommodated.
Determine Ramp Dimensions:
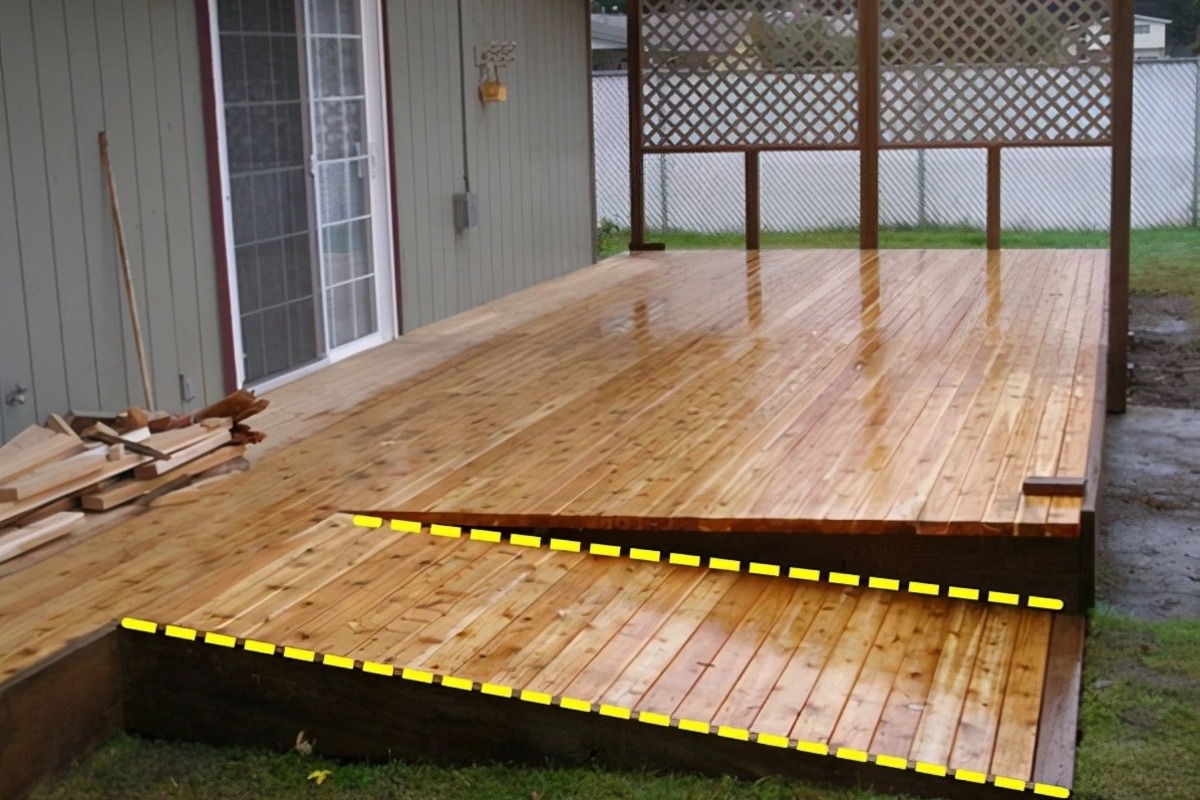
Based on the site assessment, determine the ideal dimensions for the ramp. Measure the height of the rise (elevation change) that the ramp needs to overcome and calculate the necessary length to achieve a gentle slope that complies with accessibility guidelines. For instance, a 1:12 slope ratio is often recommended for wheelchair accessibility, meaning that for every 1 inch of rise, there should be 12 inches of ramp length.
Create a Detailed Plan:
With the measurements in hand, sketch out a detailed plan for the wooden ramp. Consider the layout, including the entry and exit points, the angle of the slope, and any landings or turns that may be required. Take into account the materials and tools at your disposal, ensuring that the design aligns with your capabilities and resources.
Check Local Regulations:
Before proceeding further, it's essential to check local building codes and regulations pertaining to ramps. Different jurisdictions may have specific requirements regarding ramp dimensions, slope ratios, railing specifications, and permits. Adhering to these regulations is crucial to ensure the ramp's compliance and safety.
Read more: How To Build A Wooden Gate
Double-Check Measurements:
Once the plan is finalized, double-check all measurements to confirm accuracy. Precision at this stage is paramount, as any errors in measurement or planning could lead to significant issues during the construction phase.
By meticulously measuring the site, determining the ramp dimensions, creating a detailed plan, checking local regulations, and double-checking measurements, you'll lay a solid foundation for the subsequent stages of constructing the wooden ramp. With a well-thought-out plan in place, you'll be ready to move on to the next phase: cutting the wood and preparing the components for assembly.
Step 3: Cut the Wood
With the precise measurements and detailed plan in hand, it's time to move on to the crucial step of cutting the wood for the ramp. This phase requires careful attention to detail and a focus on accuracy to ensure that the wooden components align perfectly during assembly. Here's a comprehensive guide to cutting the wood for the ramp:
Gather the Lumber:
Begin by gathering the pressure-treated lumber according to the specifications outlined in your plan. Ensure that the lumber is of high quality and free from any defects that could compromise the structural integrity of the ramp. Organize the lumber based on the designated sections, such as stringers, treads, and railing components, to streamline the cutting process.
Measure and Mark:
Using the precise measurements from your plan, mark the lumber accordingly to indicate the lengths and angles for cutting. A measuring tape, square, and straight edge will be indispensable for ensuring accuracy during this phase. Double-check the markings to avoid any errors before proceeding with the cuts.
Read more: How To Build A Wheelchair Ramp
Cut with Precision:
Employ a reliable circular saw equipped with a sharp, fine-toothed blade to make clean and precise cuts. Follow the marked lines carefully, ensuring that the saw blade remains perpendicular to the surface of the lumber to achieve accurate angles and dimensions. Take your time during this phase, as precision in cutting will directly impact the fit and stability of the ramp components.
Create Consistent Components:
Consistency is key when cutting the wood for the ramp. Whether it's the stringers, treads, or railing elements, strive to maintain uniformity in the dimensions of the components. This uniformity will contribute to a cohesive and professional-looking ramp while facilitating the assembly process.
Prioritize Safety:
Throughout the cutting process, prioritize safety by wearing appropriate protective gear, including safety goggles and hearing protection. Additionally, ensure that the work area is clear of obstructions and that the lumber is adequately supported to prevent any unexpected movement during cutting.
By meticulously cutting the wood according to the specified measurements and angles, you'll set the stage for a seamless assembly process. With the components precisely tailored to fit your design, you'll be well-prepared to move on to the next phase: assembling the ramp components to bring your vision to life.
Step 4: Assemble the Ramp
With the wooden components precisely cut and prepared, it's time to embark on the assembly phase, where the individual elements will come together to form the functional and visually appealing wooden ramp. This critical step requires attention to detail and a methodical approach to ensure that the components align seamlessly, resulting in a sturdy and well-constructed ramp. Here's a detailed guide to the assembly process:
-
Lay Out the Components: Begin by laying out all the cut wooden components in close proximity to the intended installation site. Organize the stringers, treads, and railing elements according to the predetermined layout, ensuring easy access during the assembly process.
-
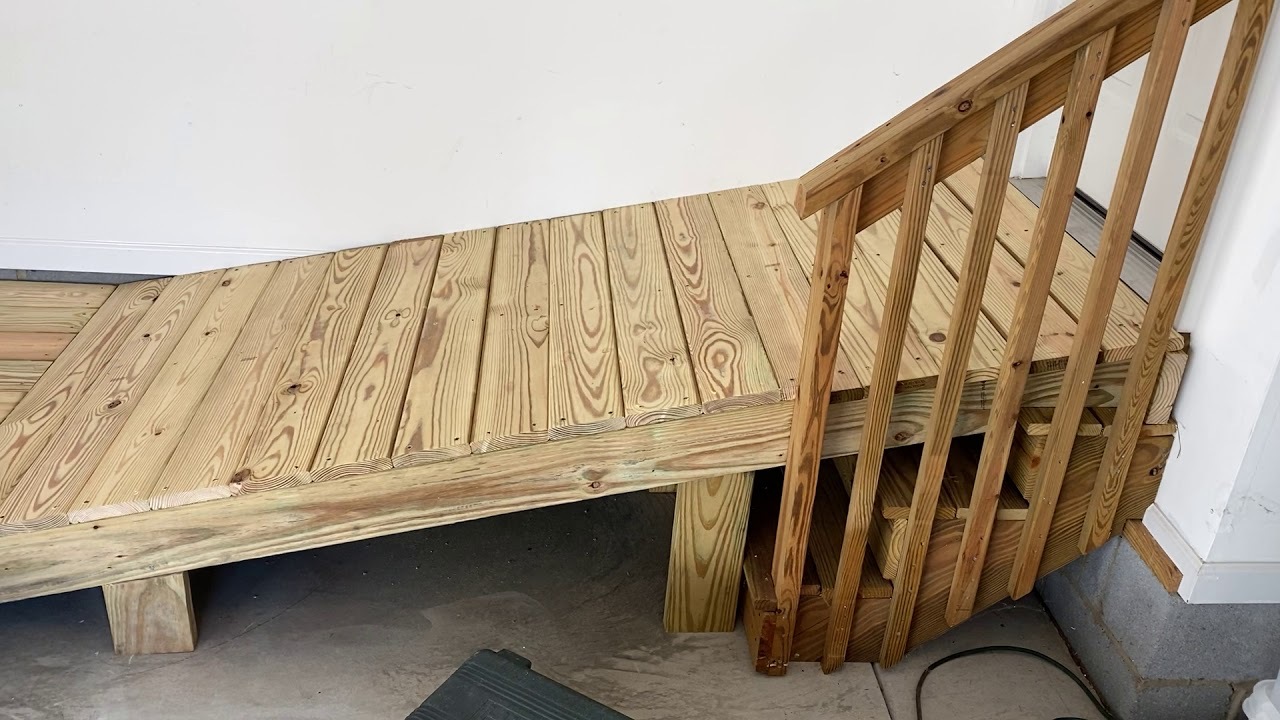
Start with the Stringers: Position the stringers in alignment with the planned layout of the ramp. These key structural elements will form the framework of the ramp, providing support for the treads and contributing to the overall stability of the structure. Use a level to ensure that the stringers are positioned evenly and securely.
-
Attach the Treads: With the stringers in place, proceed to attach the treads to the framework. Secure each tread firmly to the stringers using galvanized screws, ensuring that they are evenly spaced and aligned to facilitate a smooth transition for wheeled equipment or individuals using the ramp.
-
Install the Railing: If the design calls for a railing system, carefully install the railing components according to the predetermined plan. Ensure that the railing is securely anchored to the stringers and that it complies with any relevant safety regulations or accessibility guidelines.
-
Reinforce the Joints: Throughout the assembly process, reinforce the joints and connections using metal brackets or additional fasteners as needed. These reinforcements will enhance the structural integrity of the ramp, particularly at critical points where components intersect.
-
Apply Wood Sealant or Paint: Once the assembly is complete, consider applying a protective wood sealant or outdoor paint to the entire ramp structure. This finishing touch will safeguard the wood from moisture, UV exposure, and other environmental factors, prolonging its lifespan and maintaining its aesthetic appeal.
By following these steps and approaching the assembly process with precision and care, you'll bring the individual wooden components together to create a robust and well-constructed ramp. With the assembly phase completed, the next and final step will involve installing the ramp in its designated location, bringing your woodworking endeavor to fruition.
Read more: How To Make A Wooden Box
Step 5: Install the Ramp
With the wooden ramp fully assembled, the final phase involves the crucial step of installing the ramp in its designated location. This process demands careful attention to detail and precision to ensure that the ramp is securely positioned and seamlessly integrated into the existing environment. Here's a comprehensive guide to the installation of the wooden ramp:
-
Prepare the Site: Before installing the ramp, prepare the site by ensuring that the ground is level and free from any debris or obstructions. If the ramp will be anchored to a structure, such as a porch or deck, verify that the attachment points are sound and capable of supporting the ramp's weight. Clear the area to provide ample space for maneuvering and positioning the ramp.
-
Position the Ramp: Carefully position the assembled wooden ramp at the intended installation site, aligning it according to the predetermined layout and orientation. If the ramp comprises multiple sections, ensure that each segment fits seamlessly with the adjoining components, creating a smooth and continuous transition.
-
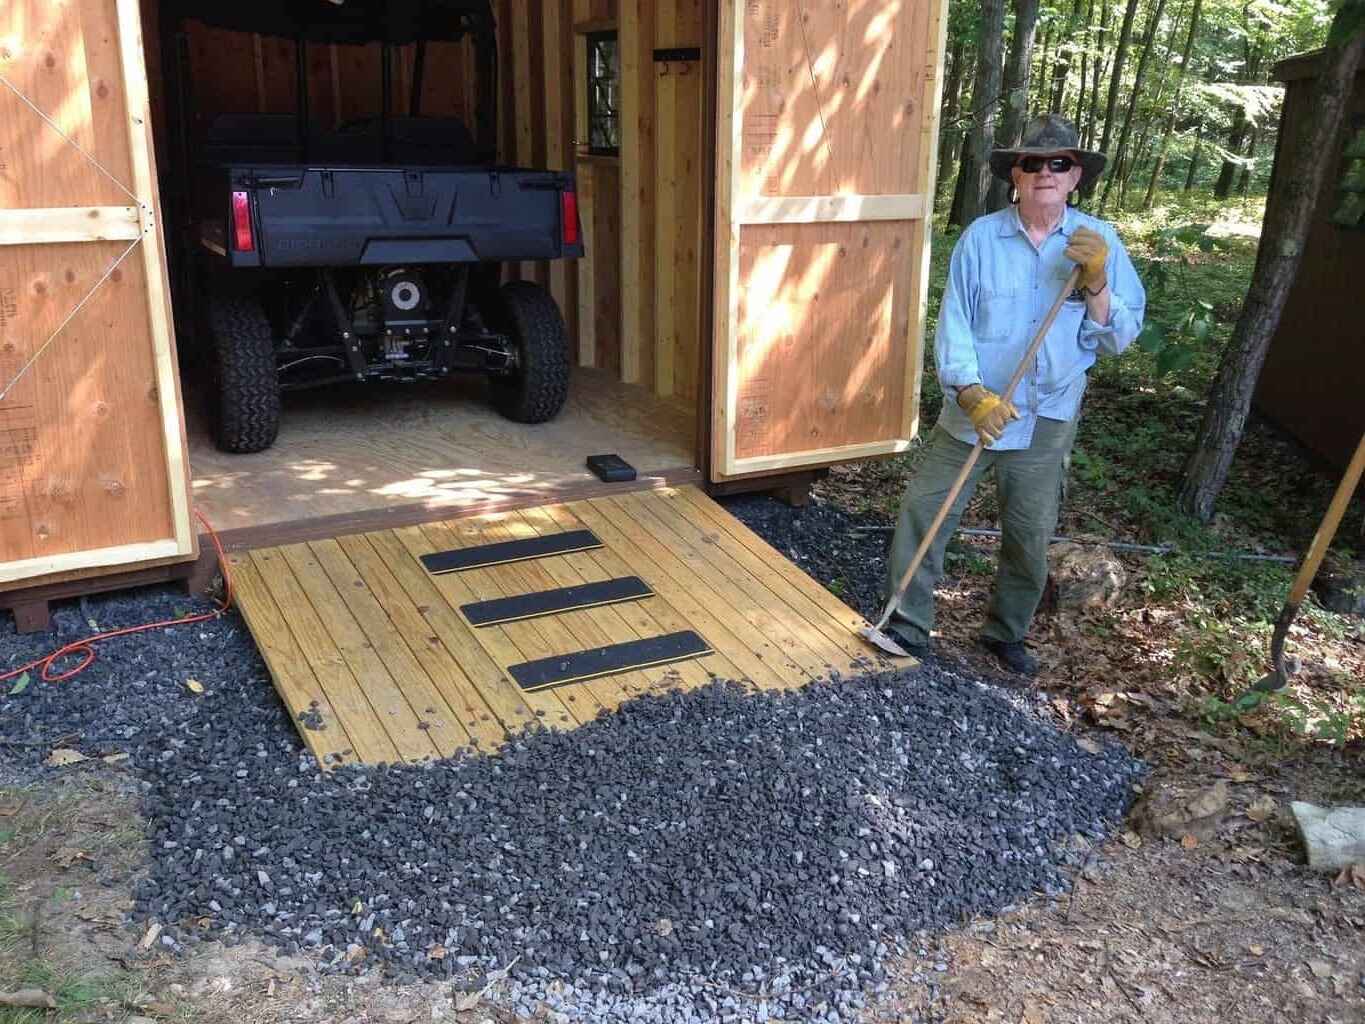
Secure the Ramp: Once the ramp is positioned correctly, secure it in place using appropriate fasteners and anchors. If the ramp will be installed on the ground, anchor it securely using concrete footings to ensure stability and resistance to shifting. For ramps attached to structures, utilize robust hardware to affix the ramp firmly, preventing any movement or instability.
-
Check for Alignment: Verify that the ramp is aligned precisely with the entry and exit points, ensuring a seamless connection to the surrounding terrain or architectural features. Use a level to confirm that the ramp maintains a consistent slope and that all components are positioned evenly and securely.
-
Test for Stability: After securing the ramp, conduct a thorough assessment of its stability and structural integrity. Walk along the entire length of the ramp, testing its load-bearing capacity and ensuring that it remains firm and secure. If any issues are identified, make the necessary adjustments to reinforce the ramp's stability.
-
Add Finishing Touches: With the ramp securely installed, take the opportunity to add any finishing touches, such as trim pieces or additional sealant, to enhance the ramp's visual appeal and longevity. Consider landscaping around the ramp to integrate it harmoniously with the surrounding environment, creating a seamless and inviting access point.
By following these steps and approaching the installation process with meticulous attention to detail, you'll successfully integrate the wooden ramp into its designated location, creating a functional and aesthetically pleasing addition to your outdoor space. With the installation phase completed, you can step back and admire the tangible results of your woodworking endeavor, knowing that you've created a durable and well-crafted wooden ramp that enhances accessibility and functionality.
Conclusion
In conclusion, the construction of a wooden ramp is a gratifying endeavor that combines practical functionality with the artistry of woodworking. By following the comprehensive steps outlined in this guide, you have gained the knowledge and confidence to embark on this rewarding DIY project. From gathering the materials and tools to meticulously measuring, cutting, assembling, and installing the ramp, each phase has contributed to the creation of a durable and well-designed access solution.
As you reflect on the journey from the initial planning stages to the final installation of the wooden ramp, it's evident that this undertaking offers more than just a functional addition to your outdoor space. The process of building a wooden ramp represents a fusion of creativity, precision, and problem-solving, culminating in a tangible structure that enhances accessibility and convenience.
Moreover, the skills acquired throughout this project extend beyond the construction of a single ramp. The knowledge of measuring, cutting, and assembling wood components can be applied to a wide range of future woodworking endeavors, empowering you to take on new projects with confidence and proficiency.
Furthermore, the satisfaction derived from creating a wooden ramp with your own hands is immeasurable. Whether you've constructed the ramp to improve accessibility for individuals with mobility challenges or to facilitate the seamless movement of wheeled equipment, the impact of your craftsmanship will be felt and appreciated.
As you admire the completed wooden ramp, take pride in the fact that you've not only built a functional structure but also contributed to the enhancement of your outdoor environment. The ramp stands as a testament to your dedication, skill, and ingenuity, serving as a lasting reminder of the rewards that come with hands-on DIY projects.
In closing, the construction of a wooden ramp transcends the mere act of building; it embodies the spirit of creativity, problem-solving, and craftsmanship. Embrace the knowledge and experience gained from this project, and let it inspire future woodworking endeavors. Whether you're a seasoned DIY enthusiast or a novice craftsman, the construction of a wooden ramp exemplifies the transformative power of hands-on creation and the enduring value of practical craftsmanship.

