
Home>Create & Decorate>DIY & Crafts>How To Make A Wooden Box
DIY & Crafts
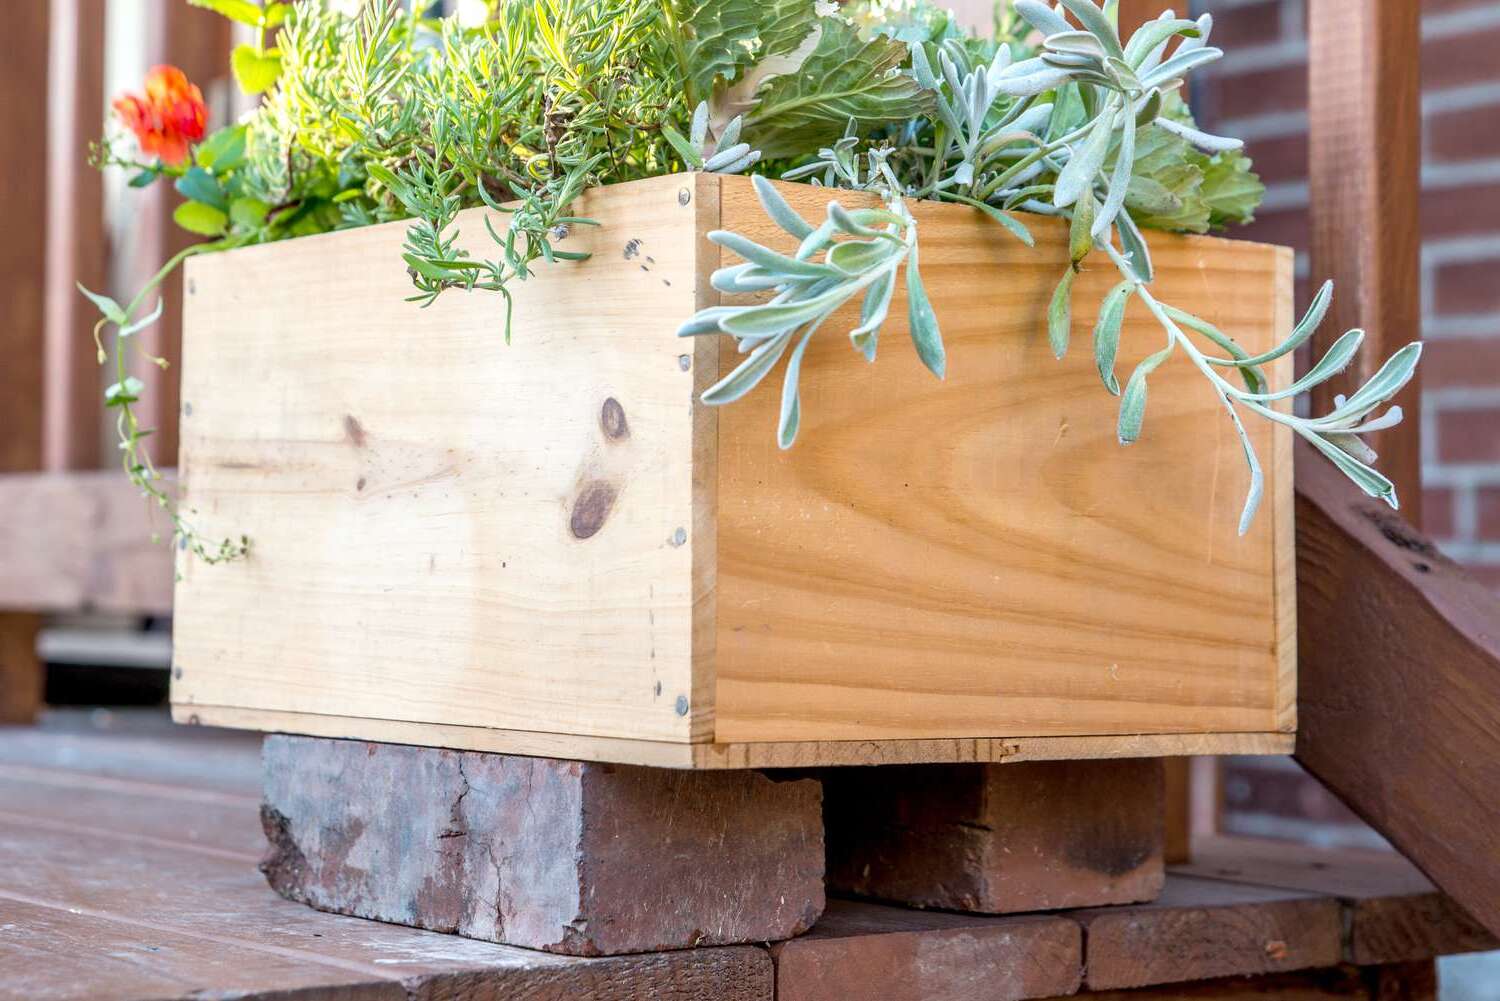
How To Make A Wooden Box
Published: February 29, 2024

Senior Editor in Create & Decorate, Kathryn combines traditional craftsmanship with contemporary trends. Her background in textile design and commitment to sustainable crafts inspire both content and community.
Learn how to make a wooden box with our easy DIY & Crafts tutorial. Create beautiful handmade storage solutions with step-by-step instructions.
(Many of the links in this article redirect to a specific reviewed product. Your purchase of these products through affiliate links helps to generate commission for Twigandthistle.com, at no extra cost. Learn more)
Introduction
Crafting a wooden box is a fulfilling and practical DIY project that allows you to unleash your creativity while honing your woodworking skills. Whether you're a seasoned woodworker or a novice enthusiast, creating a wooden box provides an opportunity to work with your hands and produce a functional and visually appealing item.
Wooden boxes have been used for centuries to store and organize various items, from jewelry and trinkets to tools and keepsakes. The timeless appeal of wooden boxes lies in their versatility and the natural beauty of the wood itself. By embarking on this woodworking journey, you'll not only gain a valuable storage solution but also a sense of accomplishment and pride in your handmade creation.
In this comprehensive guide, we will delve into the step-by-step process of crafting a wooden box, from selecting the right wood to adding the finishing touches. Whether you're aiming to create a rustic keepsake box or a sleek storage container, the techniques and tips provided here will empower you to bring your vision to life.
Embarking on a woodworking project such as making a wooden box allows you to connect with the timeless art of craftsmanship and woodworking. As you immerse yourself in this endeavor, you'll gain a deeper appreciation for the inherent beauty and versatility of wood as a medium for creating functional and aesthetically pleasing objects.
So, gather your tools, select your wood, and let's embark on this woodworking adventure together as we explore the art of making a wooden box.
Choosing the Right Wood
Selecting the appropriate wood is a crucial first step in crafting a wooden box. The type of wood you choose will not only influence the box's appearance but also its durability and workability. Here are some key considerations to keep in mind when choosing the right wood for your project:
1. Wood Species:
Different wood species offer varying characteristics in terms of color, grain pattern, and hardness. Common choices for wooden boxes include oak, pine, cedar, and maple. Oak, known for its strength and attractive grain, is a popular choice for sturdy and long-lasting boxes. Pine, on the other hand, is favored for its affordability and ease of working with hand tools. Cedar is valued for its natural resistance to insects and decay, making it an ideal choice for boxes intended for storing delicate items. Maple, with its fine texture and light color, is often chosen for its aesthetic appeal.
2. Grain Pattern:
The grain pattern of the wood can significantly impact the box's visual appeal. Some wood species, such as oak and walnut, feature prominent and striking grain patterns that add character to the box. Alternatively, woods with a more subtle grain, like maple, provide a clean and uniform appearance. Consider the aesthetic effect you wish to achieve when evaluating different grain patterns.
3. Durability:
Depending on the intended use of the box, durability is a crucial factor to consider. If the box will be subjected to heavy use or needs to withstand the elements, opt for a hardwood known for its strength and resilience. For decorative or light-duty boxes, a softer wood may suffice.
4. Workability:
Consider your woodworking skills and the tools you have at your disposal. Some woods, such as cherry and mahogany, are prized for their workability and ability to take a smooth finish. If you're a beginner or working with basic tools, selecting a wood that is easier to cut, shape, and sand can make the crafting process more manageable.
By carefully considering these factors, you can make an informed decision when choosing the right wood for your wooden box project. Whether you prioritize aesthetics, durability, or workability, the wood you select will lay the foundation for a successful and satisfying woodworking endeavor.
Measuring and Cutting the Wood
Accurate measurements and precise cuts are fundamental to the construction of a well-crafted wooden box. Before diving into the cutting process, it's essential to gather the necessary tools, including a tape measure, pencil, combination square, and a reliable saw. Here's a detailed breakdown of the steps involved in measuring and cutting the wood for your wooden box:
-
Planning the Dimensions: Begin by determining the desired dimensions of your wooden box. Consider the box's intended use and the items it will hold. Whether you're aiming for a small jewelry box or a spacious storage container, envision the final size and shape of the box before proceeding.
-
Selecting the Wood Stock: Once the dimensions are established, select the appropriate wood stock based on your design and functional requirements. Ensure that the wood is free of defects and has been acclimated to the environment to prevent warping after cutting.
-
Marking the Measurements: Use a tape measure and a pencil to mark the precise measurements on the wood according to your predetermined dimensions. Take your time to ensure accuracy, as these measurements will dictate the final size of each component of the box.
-
Utilizing a Combination Square: To guarantee straight and perpendicular cuts, employ a combination square to mark cut lines across the wood. This tool ensures that the lines are perfectly square to the wood's edges, resulting in precise and seamless joints when assembling the box.
-
Cutting the Wood: With the measurements and cut lines in place, carefully proceed to cut the wood using a saw appropriate for the task. Whether using a hand saw, circular saw, or table saw, adhere to the marked lines to achieve clean and accurate cuts.
-
Double-Checking the Cuts: After cutting each piece of wood, verify that the dimensions match the intended measurements. This step is crucial to ensure that all components align correctly during the assembly process.
By meticulously following these steps, you'll lay the groundwork for constructing a wooden box with precise dimensions and well-fitted components. The careful attention given to measuring and cutting the wood sets the stage for a successful and gratifying woodworking experience.
Assembling the Box
Assembling the wooden box is a pivotal stage that brings together the individual components to form a cohesive and functional structure. This process requires attention to detail and precision to ensure that the box is sturdy and visually appealing. Here's a detailed breakdown of the steps involved in assembling the wooden box:
-
Dry-Fitting the Pieces:
Before applying any adhesive or fasteners, conduct a dry fit by assembling the cut wood pieces without any glue or nails. This step allows you to assess the fit and alignment of the components, making any necessary adjustments before proceeding to the final assembly. -
Applying Wood Glue:
Once satisfied with the dry fit, apply a thin, even layer of high-quality wood glue to the joining surfaces of the wood components. Ensure that the glue is evenly distributed to promote a strong bond between the pieces. -
Clamping the Components:
Use woodworking clamps to secure the glued components together. The clamps exert pressure, ensuring that the joints are tightly bonded while the glue sets. Be mindful of using the appropriate clamping pressure to prevent warping or misalignment of the wood. -
Checking for Squareness:
Verify that the assembled box is square by measuring diagonally from corner to corner. If the measurements are equal, the box is square, indicating that the corners are at right angles. Adjust the positioning of the components if necessary to achieve squareness. -
Adding Reinforcements:
Depending on the size and intended use of the box, consider adding reinforcing elements such as corner brackets or splines to enhance the structural integrity of the box. These reinforcements contribute to the longevity and durability of the wooden box. -
Allowing the Glue to Cure:
After assembling the box, allow sufficient time for the wood glue to cure as per the manufacturer's recommendations. This curing period is essential for the glue to reach its maximum strength, ensuring a robust and enduring bond between the wood components. -
Sanding and Smoothing:
Once the glue has fully cured, sand the assembled box to smooth any rough edges and achieve a uniform surface. This step prepares the box for the application of finishes while enhancing its tactile appeal.
By meticulously following these steps, you'll transform individual wood components into a unified and well-constructed wooden box. The assembly process is a critical phase that culminates in the realization of your woodworking endeavor, bringing to life a functional and visually captivating wooden box.
Adding Finishing Touches
After the assembly of the wooden box, adding finishing touches elevates its visual appeal and protects the wood, ensuring longevity and resilience. The finishing process involves a series of steps aimed at enhancing the natural beauty of the wood while providing a protective layer. Here's a detailed breakdown of the essential steps involved in adding finishing touches to your wooden box:
-
Sanding for Smoothness: Begin by sanding the entire surface of the wooden box using progressively finer grits of sandpaper. This process smooths out any imperfections, removes rough edges, and prepares the wood for the application of finishes.
-
Selecting a Finish: Choose a suitable finish based on your preferences and the intended use of the box. Common options include wood stains, varnishes, lacquers, and oils. Each type of finish offers distinct benefits in terms of color enhancement, protection, and ease of application.
-
Applying the Finish: Using a brush, cloth, or spray gun, apply the chosen finish evenly across the surface of the wooden box. Ensure thorough coverage while following the manufacturer's instructions regarding application techniques and drying times.
-
Enhancing the Grain: If desired, consider using a wood stain to accentuate the natural grain patterns of the wood. Stains come in various shades and can be tailored to achieve the desired color and depth, adding character and visual interest to the box.
-
Protective Coating: Once the initial coat of finish has dried, consider applying additional coats to build up a protective layer. Multiple coats enhance durability and provide added resistance to moisture, scratches, and wear, prolonging the life of the wooden box.
-
Final Polishing: After the finish has fully cured, lightly polish the wooden box using a fine-grit sandpaper or steel wool to achieve a smooth and lustrous surface. This step enhances the tactile appeal of the box while bringing out the natural sheen of the wood.
-
Adding Hardware: Depending on the box's design, consider adding hardware such as hinges, latches, or decorative handles to complement the overall aesthetic and functionality. Carefully install the hardware to ensure seamless integration with the wooden box.
By meticulously following these steps, you'll transform the assembled wooden box into a refined and visually captivating piece. The finishing touches not only enhance the box's appearance but also provide essential protection, ensuring that your handmade creation stands the test of time while exuding timeless charm and craftsmanship.
Conclusion
In conclusion, the art of crafting a wooden box is a timeless and rewarding endeavor that allows individuals to engage with the rich tradition of woodworking while creating a functional and visually appealing item. Throughout this comprehensive guide, we have explored the essential steps involved in making a wooden box, from selecting the right wood to adding the finishing touches. By embarking on this woodworking journey, enthusiasts and beginners alike can experience the satisfaction of transforming raw materials into a tangible and enduring creation.
Crafting a wooden box begins with the crucial step of choosing the right wood. By carefully considering factors such as wood species, grain pattern, durability, and workability, individuals can make an informed decision that aligns with their design preferences and functional requirements. The selection of wood sets the stage for the entire woodworking process, influencing the box's appearance, strength, and overall character.
Measuring and cutting the wood are fundamental aspects of the woodworking journey, demanding precision and attention to detail. By meticulously planning the dimensions, marking the measurements, and executing accurate cuts, individuals lay the groundwork for assembling a well-crafted wooden box with precise dimensions and seamlessly fitting components.
The assembly phase brings together the individual wood components, requiring careful application of wood glue, clamping, and verification of squareness to ensure a sturdy and visually appealing outcome. This pivotal stage marks the transformation of separate wood pieces into a unified and functional wooden box, ready to serve its intended purpose.
Adding finishing touches to the wooden box elevates its visual appeal and protects the wood, ensuring longevity and resilience. The meticulous process of sanding, selecting a suitable finish, and applying protective coatings enhances the natural beauty of the wood while providing essential protection, culminating in a refined and visually captivating piece.
In essence, the art of making a wooden box transcends the mere act of crafting an object; it embodies a connection to tradition, a celebration of craftsmanship, and a testament to the enduring allure of woodworking. Whether creating a simple keepsake box or an intricate storage container, the journey of making a wooden box is a testament to the timeless artistry and the enduring appeal of working with wood.