
Home>Knowledge & Skills>Wood & Metal Working>How To Build A Strong Wooden Box Frame
Wood & Metal Working
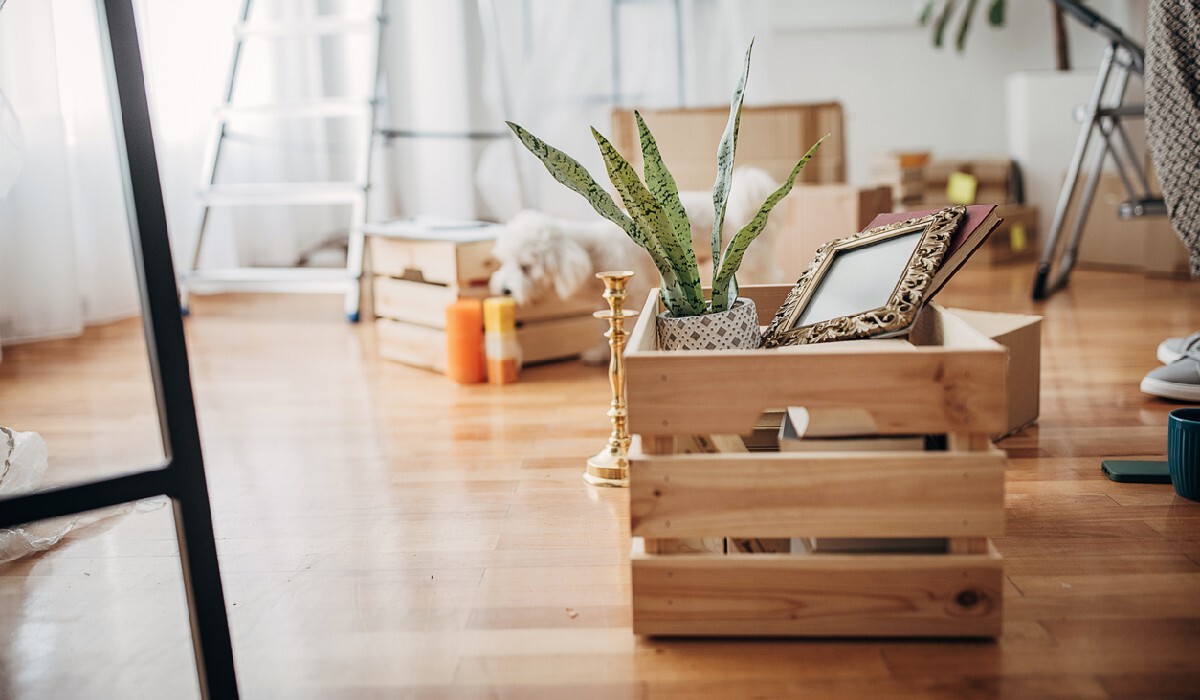
How To Build A Strong Wooden Box Frame
Published: March 6, 2024

Our Editor-in-Chief brings a fresh perspective with his expertise in modern home technologies and eco-friendly solutions. Philip bridges tradition with innovation across a wide range of DIY topics.
Learn how to build a sturdy wooden box frame with our expert wood and metal working tips. Create durable and reliable structures for your projects.
(Many of the links in this article redirect to a specific reviewed product. Your purchase of these products through affiliate links helps to generate commission for Twigandthistle.com, at no extra cost. Learn more)
Introduction
So, you want to learn how to build a strong wooden box frame, huh? Well, you've come to the right place! Whether you're looking to create a sturdy base for a piece of furniture or a durable container for storage, mastering the art of building a wooden box frame is a valuable skill for any DIY enthusiast. In this guide, we'll walk you through the step-by-step process of constructing a robust wooden box frame that can withstand the test of time. Get ready to roll up your sleeves and unleash your inner carpenter!
Choosing the Right Wood
When it comes to building a strong wooden box frame, selecting the right type of wood is crucial. Here are some options to consider:
1. Hardwood vs. Softwood
- Hardwood: Oak, maple, and cherry are popular choices for their durability and attractive grain patterns.
- Softwood: Pine, cedar, and fir are known for their affordability and ease of workability.
2. Moisture Resistance
- If your wooden box frame will be exposed to moisture or outdoor elements, opt for a wood species that is naturally resistant to decay, such as cedar or redwood.
3. Strength and Stability
- Consider the intended use of the box frame. For heavy-duty applications, hardwoods like oak and maple are ideal due to their strength and stability.
4. Aesthetic Appeal
- Don't forget to factor in the visual appeal of the wood. Some species, like cherry and walnut, boast rich, warm tones that can enhance the overall look of your project.
5. Budget Considerations
- Lastly, take your budget into account. Hardwoods are generally more expensive than softwoods, so weigh the cost against the desired characteristics of the wood.
By carefully considering these factors, you can choose the right wood that aligns with your project's requirements and your personal preferences.
Measuring and Cutting the Wood
Accurate measurements and precise cuts are essential for creating a strong wooden box frame. Here's how to get it right:
-
Gather Your Tools: Before diving into the cutting process, ensure that you have the necessary tools on hand. A reliable tape measure, a quality pencil, a speed square, and a circular saw or a miter saw will be your best friends for this task.
-
Take Detailed Measurements: Measure twice, cut once! Use your tape measure to carefully determine the dimensions of each piece of wood required for the box frame. Remember to account for the thickness of the wood when calculating the final dimensions.
-
Mark the Wood: Once you have your measurements, use a pencil and a speed square to mark the cut lines on the wood. Double-check the measurements to avoid any errors before making the cuts.
-
Cut with Precision: Whether you're using a circular saw or a miter saw, ensure that the blade is set to the appropriate angle and depth. Take your time and make smooth, steady cuts along the marked lines.
-
Check for Accuracy: After cutting each piece, verify that the dimensions are accurate and that the angles are precise. This step is crucial for ensuring that the pieces fit together seamlessly during assembly.
-
Label the Pieces: To avoid confusion during assembly, label each cut piece with its corresponding position in the box frame. For example, you can use "Front Panel," "Side Panel," "Top Frame," and so on.
By meticulously measuring and cutting the wood, you'll set the stage for a successful assembly process and ultimately achieve a sturdy and well-constructed wooden box frame.
Assembling the Box Frame
Now that you have all the pieces cut to the correct dimensions, it's time to put them together and bring your wooden box frame to life. Follow these steps for a seamless assembly process:
-
Lay Out the Pieces: Begin by laying out all the cut pieces in an open area, arranging them in the order they will be assembled. This will give you a clear visual of how the box frame will come together and help prevent any confusion during the process.
-
Start with the Base: If your box frame has a bottom panel, start by attaching the side panels to the base. Apply a bead of wood glue along the edges of the base where it will connect with the side panels. Then, use a drill and screws to secure the pieces together, ensuring a snug fit.
-
Build Upward: With the base and side panels in place, it's time to add the front and back panels. Apply wood glue to the edges of the side panels and carefully position the front and back panels between them. Use clamps to hold the pieces together while you drill and secure them with screws.
-
Create the Top Frame: If your box frame includes a top frame, assemble it separately before attaching it to the rest of the structure. Apply wood glue to the ends of the top frame pieces and join them together at the corners. Once the glue has dried, position the top frame on the box frame and secure it with screws.
-
Check for Squareness: Throughout the assembly process, periodically check for squareness using a carpenter's square. This will ensure that the box frame is perfectly aligned and that the corners form right angles.
-
Reinforce the Joints: To further strengthen the box frame, consider adding corner brackets or metal braces to the inside of the corners. This extra reinforcement can significantly enhance the overall stability and durability of the frame.
-
Let It Set: Once the box frame is fully assembled, allow the wood glue to dry completely before moving on to the next step. This will ensure that the joints are secure and the frame is ready for the finishing touches.
By following these steps, you'll be well on your way to creating a robust and well-constructed wooden box frame that is ready to serve its intended purpose with strength and reliability.
Reinforcing the Joints
Reinforcing the joints of your wooden box frame is a critical step in ensuring its long-term durability and stability. While the initial assembly process creates a strong foundation, adding extra reinforcement to the joints can provide an additional layer of support. Here's how to effectively reinforce the joints of your wooden box frame:
-
Corner Brackets: One of the most common methods for reinforcing joints is to use corner brackets. These metal brackets are designed to be fastened to the inside of the corners, providing extra support and preventing the frame from coming apart under stress. To install corner brackets, position them at each corner of the box frame and use screws to securely attach them to the wood. Be sure to choose corner brackets that are appropriately sized for the dimensions of your frame and made from durable materials to withstand the intended use of the box frame.
-
Metal Braces: In addition to corner brackets, metal braces can also be used to reinforce the joints of the wooden box frame. Metal braces are typically L-shaped and can be attached to the inside of the frame's corners to add strength and rigidity. When installing metal braces, ensure that they are positioned flush against the wood and securely fastened with screws. This additional reinforcement can significantly enhance the overall structural integrity of the box frame, making it more resilient to heavy loads and external forces.
-
Wood Glue and Dowels: For a more traditional approach to joint reinforcement, consider using wood glue and dowels to strengthen the connections between the wooden pieces. Apply a generous amount of wood glue to the joints before inserting wooden dowels into pre-drilled holes. The dowels act as internal pegs, creating a mechanical bond that reinforces the joints and prevents them from separating over time. Once the glue has dried, the dowels effectively lock the pieces together, resulting in a robust and enduring joint.
-
Pocket Screws: Another method for reinforcing joints is to use pocket screws, which are specially designed screws that create strong, hidden connections between wood pieces. A pocket hole jig can be used to drill angled holes in the wood, allowing the screws to be inserted and tightened without being visible from the outside. This technique is particularly useful for reinforcing frame joints where a seamless appearance is desired, as the screws are concealed within the wood, providing both structural support and a clean finish.
By implementing these reinforcement methods, you can significantly enhance the strength and stability of your wooden box frame, ensuring that it is well-equipped to withstand the demands of its intended use. Whether it's supporting heavy loads, enduring external forces, or simply standing the test of time, a properly reinforced box frame will provide the reliability and longevity you need for your DIY projects.
Sanding and Finishing
After the wooden box frame is assembled and the joints are reinforced, the next crucial step is sanding and finishing. This process not only enhances the visual appeal of the wood but also ensures a smooth and polished surface that is resistant to wear and tear. Here's how to achieve a professional finish for your wooden box frame:
-
Start with Coarse Grit Sandpaper: Begin by using coarse grit sandpaper to remove any rough spots, uneven edges, or excess wood glue that may have squeezed out during assembly. Sand in the direction of the wood grain to avoid creating scratches or imperfections. This initial sanding stage prepares the surface for finer sanding and helps to achieve a uniform texture across the entire frame.
-
Progress to Medium Grit Sandpaper: Once the rough areas have been smoothed out, switch to medium grit sandpaper to further refine the surface. Focus on eliminating any visible scratches or tool marks, paying attention to detail to ensure that the entire frame is evenly sanded. This step sets the stage for the final sanding and prepares the wood for the application of a finish.
-
Use Fine Grit Sandpaper for a Smooth Finish: To achieve a silky-smooth finish, use fine grit sandpaper to sand the entire surface of the wooden box frame. This fine sanding stage removes any remaining imperfections, creating a flawless and touchable surface. Be thorough in this step, as it sets the foundation for a professional-looking finish.
-
Remove Dust and Residues: After sanding, use a clean, dry cloth or a tack cloth to remove all dust and residues from the wood surface. It's essential to start the finishing process with a clean and dust-free canvas to ensure that the finish adheres properly and produces a pristine result.
-
Apply Wood Finish or Stain: Depending on your preference, you can choose to apply a wood finish or stain to enhance the natural beauty of the wood. Wood finishes, such as varnish or polyurethane, provide a protective layer that seals the wood and accentuates its grain and color. On the other hand, stains can add depth and richness to the wood, allowing you to customize the appearance of the frame to suit your aesthetic preferences.
-
Follow the Manufacturer's Instructions: When applying the wood finish or stain, carefully follow the manufacturer's instructions regarding application, drying times, and the number of coats required. Use a high-quality brush or a clean cloth to apply the finish evenly, working with the grain of the wood to achieve a professional result.
-
Allow Sufficient Drying Time: After applying the finish, allow the wooden box frame to dry completely according to the recommended drying times. This step is crucial for ensuring that the finish cures properly and forms a durable protective layer that enhances the wood's natural beauty.
-
Optional: Apply a Topcoat for Added Protection: For added protection and durability, consider applying a topcoat over the wood finish. Topcoats, such as clear polyurethane, provide an extra layer of protection against scratches, moisture, and UV damage, ensuring that your wooden box frame remains in top condition for years to come.
By following these steps, you can achieve a beautifully finished wooden box frame that not only looks stunning but also boasts a durable and long-lasting surface. Whether it's a decorative piece for your home or a functional component of a larger project, a well-sanded and finished wooden box frame adds a touch of craftsmanship and sophistication to any DIY endeavor.
Conclusion
In conclusion, mastering the art of building a strong wooden box frame is a valuable skill that can elevate your DIY projects to new heights. By carefully choosing the right wood, meticulously measuring and cutting the pieces, skillfully assembling the frame, reinforcing the joints, and finishing the surface with finesse, you can create a robust and visually appealing wooden box frame that is ready to serve its intended purpose with strength and reliability. Whether you're crafting a custom storage solution, constructing a piece of furniture, or tackling any other woodworking project, the knowledge and techniques gained from building a wooden box frame will undoubtedly enhance your DIY prowess. So, roll up your sleeves, grab your tools, and let your creativity flow as you embark on the journey of crafting sturdy and enduring wooden box frames for your future projects.