
Home>Knowledge & Skills>Wood & Metal Working>Woodworking: How To Build An End Table
Wood & Metal Working
Woodworking: How To Build An End Table
Published: March 6, 2024

Our Editor-in-Chief brings a fresh perspective with his expertise in modern home technologies and eco-friendly solutions. Philip bridges tradition with innovation across a wide range of DIY topics.
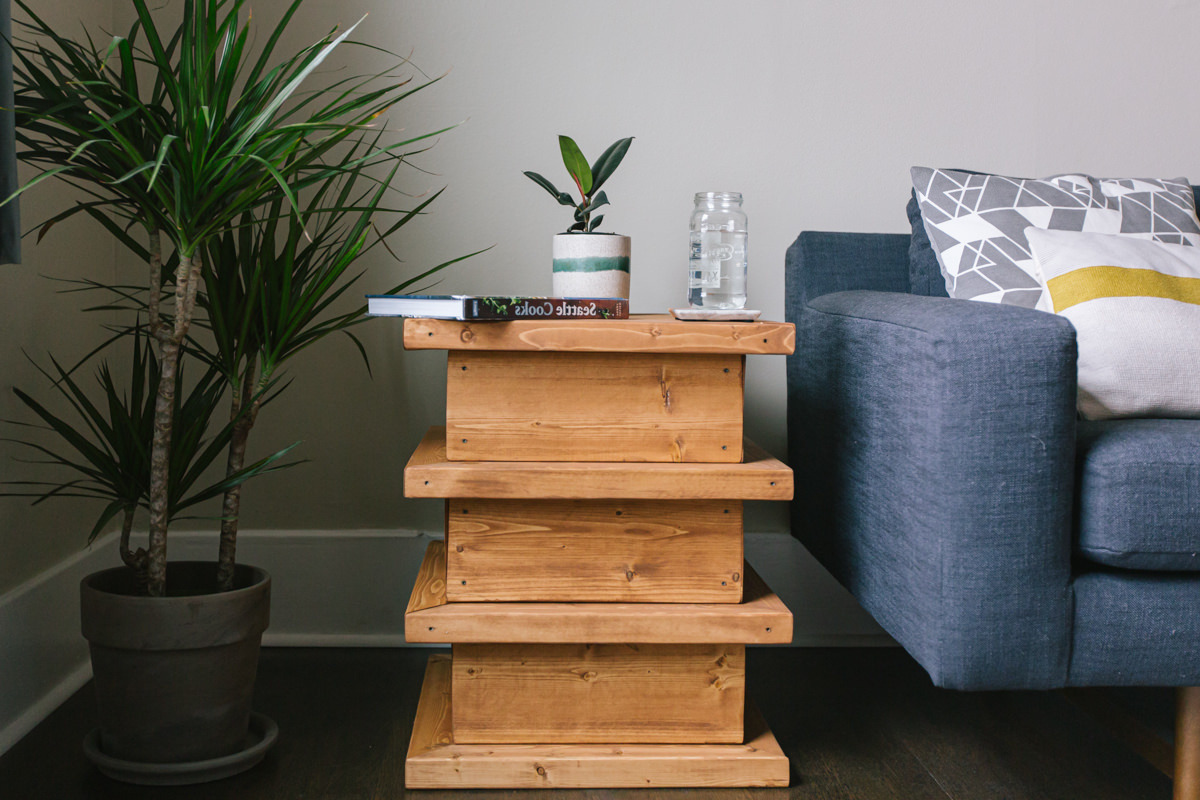
Learn the art of woodworking and metalworking with step-by-step instructions on building an end table. Discover the techniques and tools needed for this rewarding DIY project.
(Many of the links in this article redirect to a specific reviewed product. Your purchase of these products through affiliate links helps to generate commission for Twigandthistle.com, at no extra cost. Learn more)
Introduction
So, you've decided to take on the challenge of building your own end table. Congratulations! Building your own furniture can be a rewarding and cost-effective way to add a personal touch to your home decor. In this article, we'll guide you through the process of building an end table from scratch. Whether you're a seasoned woodworker or a beginner looking for a fun DIY project, we've got you covered. Let's dive in and get started on creating a beautiful and functional end table for your home.
Choosing the Right Wood
When it comes to building furniture, selecting the right type of wood is crucial. Different woods offer varying levels of durability, appearance, and workability. Here are some popular choices for building an end table:
1. Oak
- Oak is a durable and sturdy hardwood that is widely used in furniture making. It has a prominent grain pattern and is available in red and white varieties.
2. Maple
- Maple is another hardwood known for its strength and resistance to wear and tear. It has a light, uniform texture and is often used for contemporary furniture designs.
3. Cherry
- Cherry wood is prized for its rich, reddish-brown color that deepens with age. It's a popular choice for creating elegant and timeless pieces of furniture.
4. Walnut
- Walnut is a dark, hardwood known for its strength and stability. It has a rich, chocolatey color and adds a touch of sophistication to any furniture piece.
5. Pine
- If you're looking for a more affordable option, pine is a softwood that is easy to work with and has a light, natural color. While it may not be as durable as hardwoods, it can still create a charming and rustic end table.
Consider the overall aesthetic you want to achieve and the level of durability required when choosing the right wood for your end table project. Each type of wood has its own unique characteristics, so take the time to select the one that best suits your preferences and needs.
Measuring and Cutting the Wood
Before you start cutting into your chosen wood, it's essential to have a well-thought-out plan and precise measurements. Here's a step-by-step guide to help you measure and cut the wood for your end table:
-
Create a Blueprint: Begin by sketching a blueprint or design for your end table. This will serve as a visual guide and help you determine the dimensions of the table, including the tabletop, legs, and any additional features.
-
Gather the Necessary Tools: To accurately measure and cut the wood, you'll need a tape measure, a pencil, a straight edge, and a saw. Ensure that your tools are sharp and in good working condition for clean and precise cuts.
-
Measure Twice, Cut Once: This age-old adage holds true in woodworking. Take accurate measurements of each piece of wood needed for the table, accounting for the thickness of the saw blade. Double-check your measurements to avoid costly mistakes.
-
Mark the Wood: Use a pencil and a straight edge to mark the measurements on the wood. Clearly indicate where you need to make your cuts to ensure accuracy.
-
Cutting the Wood: With your wood secured in place, carefully use a saw to make the necessary cuts. Whether you're using a hand saw, circular saw, or table saw, always follow proper safety precautions and techniques to achieve clean and precise cuts.
-
Test Fit the Pieces: Once you've cut the wood according to your measurements, test fit the pieces together to ensure that they align properly and are the correct size. This step allows you to make any adjustments before moving on to the assembly phase.
By taking the time to measure and cut the wood accurately, you'll set the foundation for a well-constructed end table. Precision at this stage will contribute to the overall quality and visual appeal of the finished piece.
Assembling the Table Frame
With the individual components of the end table cut to the correct dimensions, it's time to assemble the table frame. This step is crucial in ensuring the stability and structural integrity of the end table. Here's a detailed guide on how to assemble the table frame:
-
Lay Out the Pieces: Begin by laying out all the cut pieces of wood in the designated work area. Organize them according to their respective positions in the table frame to avoid confusion during the assembly process.
-
Pre-Drill Pilot Holes: To prevent the wood from splitting and to ensure precise alignment, use a drill to create pilot holes where the screws or nails will be inserted. This step is particularly important when working with hardwoods.
-
Apply Wood Glue: Prior to securing the pieces together, apply a thin, even layer of wood glue to the joining surfaces. Wood glue enhances the bond between the pieces and adds strength to the overall structure of the table frame.
-
Secure the Joints: Using screws, nails, or dowels, carefully secure the joints of the table frame. Ensure that the pieces are aligned correctly before fastening them together. A clamp can be used to hold the pieces in place while the glue dries and the fasteners are inserted.
-
Check for Squareness: As you assemble the table frame, periodically check for squareness using a carpenter's square. This ensures that the frame is perfectly square and will result in a level tabletop.
-
Add Support Braces (If Needed): Depending on the design and size of the end table, you may need to add support braces to reinforce the frame. These braces can be positioned diagonally or horizontally to provide additional stability.
-
Allow for Drying Time: If wood glue has been used in the assembly, allow sufficient time for it to dry and cure before proceeding to the next step. This typically involves leaving the assembled frame undisturbed for several hours or as per the manufacturer's recommendations.
By following these steps, you'll successfully assemble a sturdy and well-constructed table frame. The careful execution of this phase sets the stage for the final steps of attaching the tabletop and adding the finishing touches to your custom-built end table.
Attaching the Tabletop
Attaching the tabletop is a critical step in completing your end table. The way you attach the tabletop can impact the overall stability and visual appeal of the finished piece. Here's a detailed guide on how to properly attach the tabletop to the assembled frame:
-
Positioning the Tabletop: Carefully place the tabletop onto the assembled frame, ensuring that it is centered and aligned with the edges of the frame. Take the time to make precise adjustments to achieve an even overhang on all sides.
-
Securing the Tabletop: Depending on your design preference, you can choose from various methods to secure the tabletop to the frame. Common options include using screws, tabletop fasteners, or traditional wood glue and clamps.
-
Using Tabletop Fasteners: Tabletop fasteners are specially designed hardware that allows for seasonal wood movement while keeping the tabletop securely attached to the frame. These fasteners are often used in conjunction with slots or grooves to accommodate wood expansion and contraction.
-
Applying Wood Glue: If you opt for using wood glue to attach the tabletop, apply a thin, even layer of glue to the top edges of the frame. Carefully position the tabletop and use clamps to hold it in place while the glue sets. Wipe off any excess glue that squeezes out from the joints.
-
Installing Screws: When using screws to attach the tabletop, pre-drill pilot holes to prevent the wood from splitting. Drive the screws through the underside of the frame into the tabletop, ensuring a snug fit without overtightening.
-
Allow for Wood Movement: Regardless of the attachment method chosen, it's essential to allow for natural wood movement. Wood expands and contracts with changes in humidity and temperature, so ensure that the attachment method accommodates this movement to prevent warping or cracking.
-
Finishing Touches: Once the tabletop is securely attached, inspect the table for any visible gaps or unevenness. Make any necessary adjustments and sand the edges for a smooth and uniform finish.
By following these steps, you'll effectively attach the tabletop to the frame, creating a stable and visually appealing end table that is ready for the final phase of sanding and finishing.
Sanding and Finishing
Once the tabletop is securely attached, it's time to focus on the crucial steps of sanding and finishing to bring out the natural beauty of the wood and protect the end table from wear and tear. Here's a detailed guide on how to achieve a smooth and professional finish for your custom-built end table:
-
Prepare the Surface: Begin by thoroughly inspecting the entire table for any rough spots, uneven edges, or imperfections. Use a medium-grit sandpaper to smooth out any irregularities and create a uniform surface for finishing.
-
Progressive Sanding: Gradually transition from a medium-grit sandpaper to a fine-grit sandpaper to achieve a smooth and polished surface. Sand in the direction of the wood grain to avoid creating visible scratches or marks.
-
Round the Edges: To prevent sharp edges and corners, use sandpaper to gently round the edges of the tabletop and the frame. This not only enhances the visual appeal but also adds a tactile comfort to the end table.
-
Remove Dust: After sanding, use a tack cloth or a soft, damp cloth to remove any dust and debris from the surface of the table. This step is crucial to ensure a clean and flawless finish.
-
Select a Finish: Choose a finish that complements the type of wood used for your end table. Options include wood stain, varnish, lacquer, or polyurethane. Consider the level of protection and the desired sheen when selecting the finish.
-
Apply the Finish: Using a brush, foam applicator, or clean cloth, apply the chosen finish to the tabletop and the frame in smooth, even strokes. Ensure that the finish is applied in a well-ventilated area and follow the manufacturer's instructions for drying and curing times.
-
Sand Between Coats: If applying multiple coats of finish, lightly sand the surface with fine-grit sandpaper between coats to remove any imperfections and achieve a silky-smooth finish. Wipe away any dust before applying the next coat.
-
Final Inspection: Once the final coat has dried, inspect the end table for any blemishes or uneven areas. Make any necessary touch-ups and ensure that the finish is consistent across the entire surface.
By meticulously sanding and applying a high-quality finish, you'll elevate the visual appeal of your end table and protect it from daily use. The sanding and finishing process is the final touch that transforms a simple wooden structure into a stunning and durable piece of furniture that you can proudly display in your home.
Conclusion
In conclusion, building an end table from scratch is a gratifying endeavor that allows you to showcase your woodworking skills and create a personalized piece of furniture for your home. By carefully selecting the right wood, measuring and cutting with precision, assembling a sturdy frame, attaching the tabletop securely, and meticulously sanding and finishing, you can craft a beautiful and functional end table that reflects your unique style and craftsmanship. Whether you're a seasoned woodworker or a novice DIY enthusiast, the process of building an end table provides a rewarding opportunity to unleash your creativity and enhance your living space with a custom-made furniture piece. So, roll up your sleeves, gather your tools, and embark on the fulfilling journey of woodworking as you bring your vision of a stunning end table to life.