
Home>Create & Decorate>DIY & Crafts>How To Build Wooden Steps Over Existing Concrete Steps
DIY & Crafts
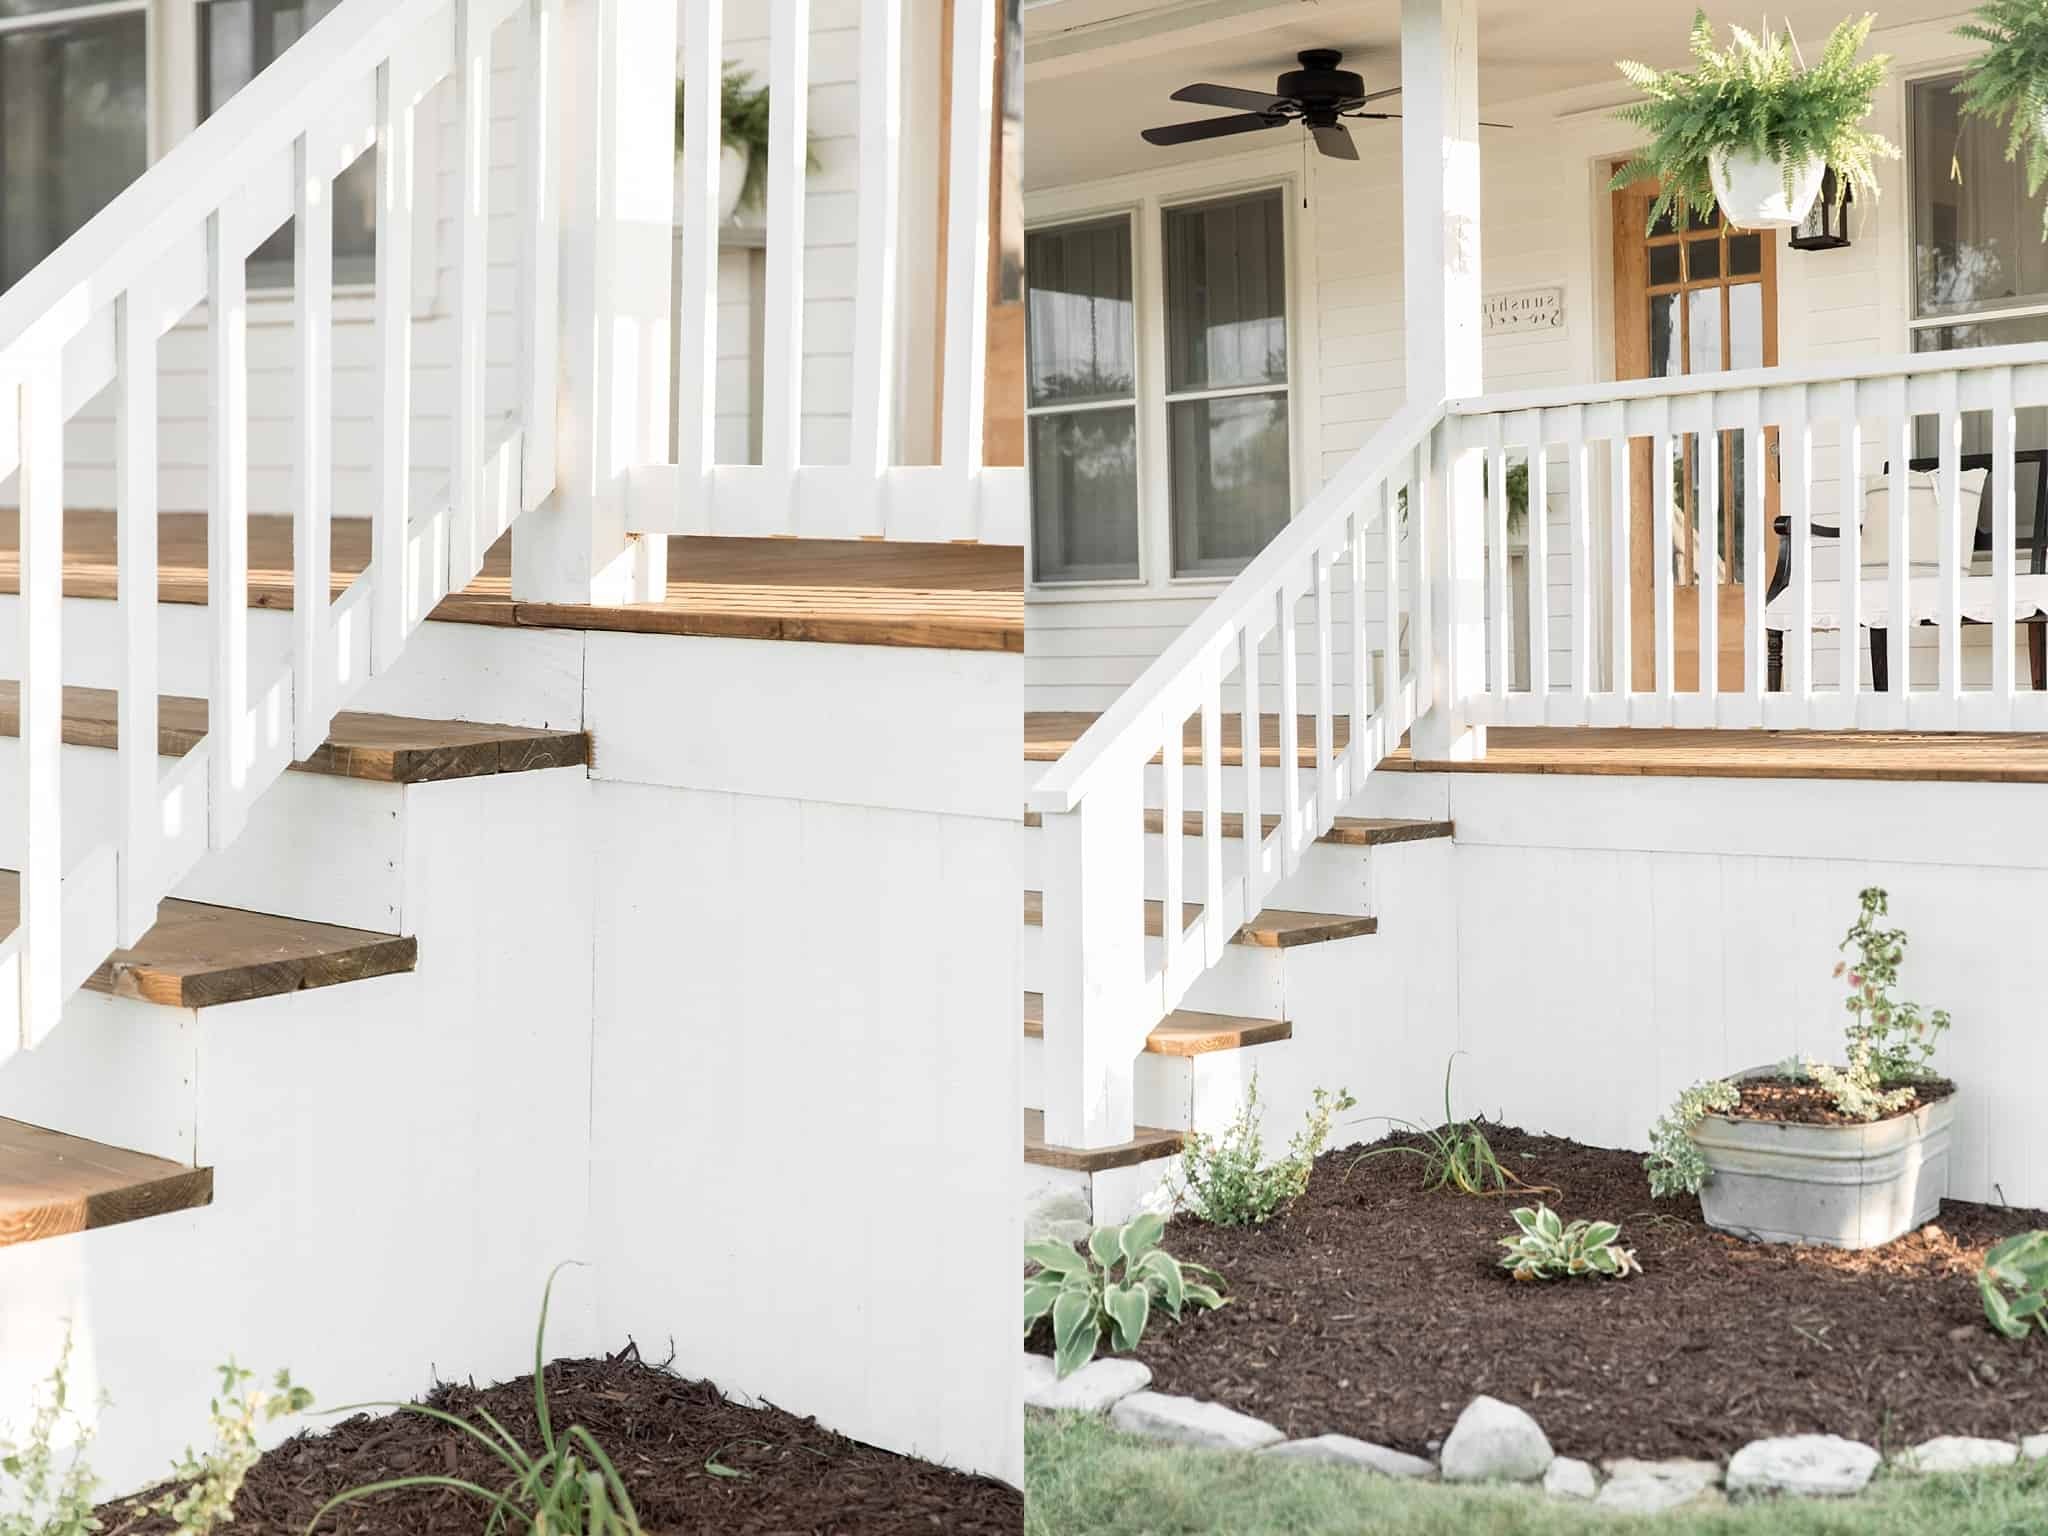
How To Build Wooden Steps Over Existing Concrete Steps
Published: March 7, 2024

Content Creator specializing in woodworking and interior transformations. Caegan's guides motivate readers to undertake their own projects, while his custom furniture adds a personal touch.
Learn how to enhance your outdoor space with this DIY project. Follow our step-by-step guide to build wooden steps over existing concrete steps. Perfect for DIY & Crafts enthusiasts.
(Many of the links in this article redirect to a specific reviewed product. Your purchase of these products through affiliate links helps to generate commission for Twigandthistle.com, at no extra cost. Learn more)
Introduction
So, you've got a set of existing concrete steps that could use a little sprucing up, huh? Well, you've come to the right place! Building wooden steps over existing concrete steps is a fantastic way to give your home's exterior a fresh, inviting look. Not only does it add a touch of warmth and character, but it also provides a practical and durable solution. In this guide, we'll walk you through the step-by-step process of transforming those drab concrete steps into beautiful, sturdy wooden ones. Let's roll up our sleeves and get started!
Assessing the Existing Concrete Steps
Before diving into the project, it's crucial to thoroughly assess the condition of the existing concrete steps. Here's what you need to consider:
-
Stability: Check for any signs of cracking, shifting, or instability in the concrete. If the steps are not structurally sound, it's essential to address these issues before proceeding with the wooden steps installation.
-
Levelness: Ensure that the concrete steps are level and even. Any significant unevenness or sloping should be addressed to prevent future issues with the wooden steps.
-
Moisture and Drainage: Examine the area around the concrete steps for any signs of moisture accumulation or poor drainage. Addressing these issues will help ensure the longevity of the wooden steps.
-
Dimensions: Take accurate measurements of the width, depth, and height of the existing concrete steps. These measurements will be crucial for planning and building the wooden steps.
By carefully assessing these factors, you'll be better equipped to plan and execute the wooden steps installation with precision and foresight.
Gathering Materials and Tools
Now that you've assessed the existing concrete steps, it's time to gather the necessary materials and tools for the project. Here's what you'll need:
Materials:
- Pressure-Treated Lumber: Select high-quality, pressure-treated lumber that is suitable for outdoor use. The dimensions of the lumber should align with the measurements of your existing concrete steps.
- Galvanized Screws or Nails: Opt for corrosion-resistant fasteners to ensure the longevity of your wooden steps.
- Construction Adhesive: Choose a durable construction adhesive to secure the wooden steps to the concrete surface.
- Gravel or Sand: If necessary, use gravel or sand to address any drainage or leveling issues around the concrete steps.
- Wood Sealer or Stain: Consider applying a protective wood sealer or stain to enhance the durability and appearance of the wooden steps.
Tools:
- Measuring Tape: Accurate measurements are crucial for a precise and secure fit.
- Circular Saw or Miter Saw: A saw will be essential for cutting the lumber to the required dimensions.
- Drill with Masonry Bit: You'll need this to create pilot holes in the concrete for the fasteners.
- Level: Ensure the levelness of the wooden steps during installation.
- Safety Gear: Don't forget safety glasses, gloves, and any other necessary protective gear.
By gathering these materials and tools, you'll be well-prepared to tackle the next steps in the project with confidence and efficiency.
Measuring and Planning
Accurate measurements and meticulous planning are the cornerstones of a successful wooden steps installation. Here's how to approach this crucial phase of the project:
-
Measure the Dimensions: Use a measuring tape to precisely measure the width, depth, and height of each existing concrete step. Ensure that your measurements are consistent and account for any variations in the dimensions.
-
Plan the Overhang: Decide whether you want the wooden steps to overhang the front edge of the concrete steps. If so, determine the desired overhang distance and factor this into your planning and measurements.
-
Calculate the Lumber Requirements: Based on your measurements and overhang decision, calculate the amount of pressure-treated lumber needed for the project. Consider adding a small amount for potential errors or adjustments.
-
Sketch the Design: Create a simple sketch or diagram of the planned wooden steps. This visual representation will help you visualize the final product and identify any potential challenges or modifications needed.
-
Consider the Step Count: Determine the number of wooden steps required to reach the desired height. This will depend on the height of the existing concrete steps and the thickness of each wooden step.
-
Account for Tread and Riser Dimensions: If you're incorporating a tread and riser design, calculate the dimensions of each component based on your measurements and design preferences.
-
Plan for Drainage and Moisture: If the area around the concrete steps experiences moisture issues, plan for adequate drainage and consider using materials that can withstand exposure to moisture.
By meticulously measuring and planning every aspect of the wooden steps installation, you'll set the stage for a smooth and successful execution of the project. This phase lays the groundwork for the subsequent construction steps, ensuring that the end result meets your expectations and functional requirements.
Building the Wooden Steps
With precise measurements and a solid plan in place, it's time to roll up your sleeves and start building the wooden steps. Here's a step-by-step guide to the construction process:
-
Cutting the Lumber: Using a circular saw or miter saw, carefully cut the pressure-treated lumber to the dimensions determined during the planning phase. Ensure clean, straight cuts for a professional and secure fit.
-
Assembling the Steps: Begin by assembling the individual wooden steps. If you're incorporating a tread and riser design, attach the risers to the back of each tread using galvanized screws or nails. Ensure that the components are securely fastened and aligned.
-
Securing the Steps: Position the assembled wooden steps in place on top of the existing concrete steps. Use a level to ensure that each step is perfectly horizontal and aligned with the others. If necessary, make minor adjustments to achieve a precise fit.
-
Attaching the Steps: Once the positioning is finalized, use a drill with a masonry bit to create pilot holes in the concrete for the fasteners. Apply a durable construction adhesive to the contact points between the concrete and the wooden steps. Secure the wooden steps to the concrete using galvanized screws or nails, driving them through the pilot holes for a strong, lasting connection.
-
Adding Finishing Touches: If desired, apply a protective wood sealer or stain to the wooden steps. This not only enhances the appearance of the steps but also provides crucial protection against the elements, extending their lifespan.
-
Ensuring Stability: Double-check the stability and levelness of the newly installed wooden steps. Test each step to ensure that it can support weight without any wobbling or shifting.
By following these steps with precision and attention to detail, you'll transform the concept of wooden steps over existing concrete into a tangible and functional reality. This phase marks a significant milestone in the project, bringing you closer to the completion of your home improvement endeavor.
Attaching the Wooden Steps to the Concrete Steps
Attaching the wooden steps securely to the existing concrete steps is a critical step in the installation process. This ensures not only the stability and safety of the wooden steps but also their long-term durability. Here's a detailed guide on how to effectively attach the wooden steps to the concrete steps:
-
Positioning and Alignment: Before attaching the wooden steps, ensure that they are positioned correctly on top of the concrete steps. Use a level to verify that each wooden step is perfectly horizontal and aligned with the others. This step is crucial for ensuring a uniform and professional-looking end result.
-
Creating Pilot Holes: Using a drill equipped with a masonry bit, carefully create pilot holes in the concrete at strategic points where the wooden steps will be attached. The pilot holes will serve as guides for the fasteners, making the attachment process more precise and manageable.
-
Applying Construction Adhesive: Prior to securing the wooden steps, apply a generous amount of high-quality construction adhesive to the contact points between the concrete and the wooden steps. The adhesive enhances the bond between the two surfaces, providing additional strength and stability to the attachment.
-
Securing with Galvanized Fasteners: With the pilot holes in place and the adhesive applied, it's time to secure the wooden steps to the concrete. Use galvanized screws or nails, which are resistant to corrosion and ideal for outdoor applications. Drive the fasteners through the pilot holes and into the concrete, ensuring a firm and secure connection.
-
Even Distribution of Fasteners: Distribute the fasteners evenly across the surface of each wooden step to ensure uniform support and stability. This approach helps prevent any potential warping or shifting of the steps over time, especially in response to varying weight distribution and environmental factors.
-
Final Checks: Once the wooden steps are attached, perform a final check to ensure that they are securely in place and that there is no movement or instability. Test each step by applying pressure to verify its sturdiness and resistance to shifting.
By following these detailed steps for attaching the wooden steps to the concrete steps, you'll establish a robust and reliable connection that contributes to the overall safety and longevity of the wooden steps. This phase marks a pivotal moment in the project, bringing you closer to the completion of your home improvement endeavor.
Finishing Touches and Maintenance Tips
As you near the completion of the wooden steps installation, it's essential to consider the finishing touches that will enhance both the appearance and longevity of the project. Additionally, understanding the maintenance requirements will help ensure that your newly installed wooden steps remain in top condition for years to come.
Applying a Protective Finish
Once the wooden steps are securely in place, consider applying a protective wood sealer or stain to safeguard the wood from the elements. A high-quality wood sealer acts as a barrier against moisture, UV rays, and general wear and tear, extending the lifespan of the steps. Similarly, a wood stain not only adds color and visual appeal but also provides protection against weathering and decay. Prior to applying the finish, ensure that the wood is clean and dry to allow for optimal absorption and adhesion of the protective coating.
Regular Inspection and Cleaning
To maintain the wooden steps, incorporate regular inspections into your home maintenance routine. Periodically check for signs of wear, damage, or moisture accumulation on the steps. Address any issues promptly to prevent them from escalating. Additionally, keep the steps clean by sweeping away debris and dirt. For more stubborn stains or grime, a gentle cleaning with a mild detergent and water can help restore the appearance of the wood without causing damage.
Addressing Wear and Damage
Over time, wooden steps may show signs of wear, such as minor cracks, splintering, or fading. It's important to address these issues promptly to prevent further deterioration. For small cracks or splintering, sanding the affected areas and applying a touch-up of wood sealer or stain can often resolve the issue. In cases of more significant damage, such as rot or structural instability, consider seeking professional assistance to assess and remedy the situation effectively.
Seasonal Maintenance
Wooden steps are exposed to the elements throughout the year, making seasonal maintenance crucial for their upkeep. In colder climates, be mindful of snow and ice accumulation on the steps, as well as the use of de-icing products that can affect the wood. In warmer climates, prolonged exposure to sunlight and humidity can impact the appearance and integrity of the steps. Adjust your maintenance efforts according to the seasonal challenges your wooden steps may face, ensuring that they remain resilient and visually appealing regardless of the weather conditions.
Enhancing Safety Measures
In addition to the aesthetic and structural maintenance of the wooden steps, prioritize safety measures to prevent accidents and ensure the well-being of those using the steps. Consider installing non-slip treads or applying non-slip coatings to the steps, especially in areas prone to moisture or foot traffic. Additionally, ensure that handrails, if present, are secure and in good condition, providing essential support and stability for individuals using the steps.
By incorporating these finishing touches and maintenance tips into your wooden steps installation, you'll not only elevate the visual appeal of your home's exterior but also ensure the long-term durability and safety of the steps. Regular care and attention will preserve the beauty and functionality of the wooden steps, allowing you to enjoy their benefits for years to come.