
Home>Create & Decorate>DIY & Crafts>How To Build A Fence With Metal Posts
DIY & Crafts
How To Build A Fence With Metal Posts
Published: June 10, 2024

Content Creator specializing in woodworking and interior transformations. Caegan's guides motivate readers to undertake their own projects, while his custom furniture adds a personal touch.
Learn how to build a sturdy fence using metal posts with our step-by-step DIY guide. Perfect for your next crafting project.
(Many of the links in this article redirect to a specific reviewed product. Your purchase of these products through affiliate links helps to generate commission for Twigandthistle.com, at no extra cost. Learn more)
Introduction
So, you've decided to take on the challenge of building a fence with metal posts. Congratulations! This can be a great DIY project that not only adds value to your property but also enhances its aesthetic appeal. Whether you're looking to increase privacy, keep pets and children safe, or simply define your property boundaries, a well-built fence can serve multiple purposes. In this guide, we'll walk you through the steps of building a fence with metal posts, providing you with the knowledge and confidence to tackle this project like a pro. Let's get started!
Choosing the Right Materials
When it comes to building a fence with metal posts, selecting the right materials is crucial for a sturdy and long-lasting result. Here's what you'll need:
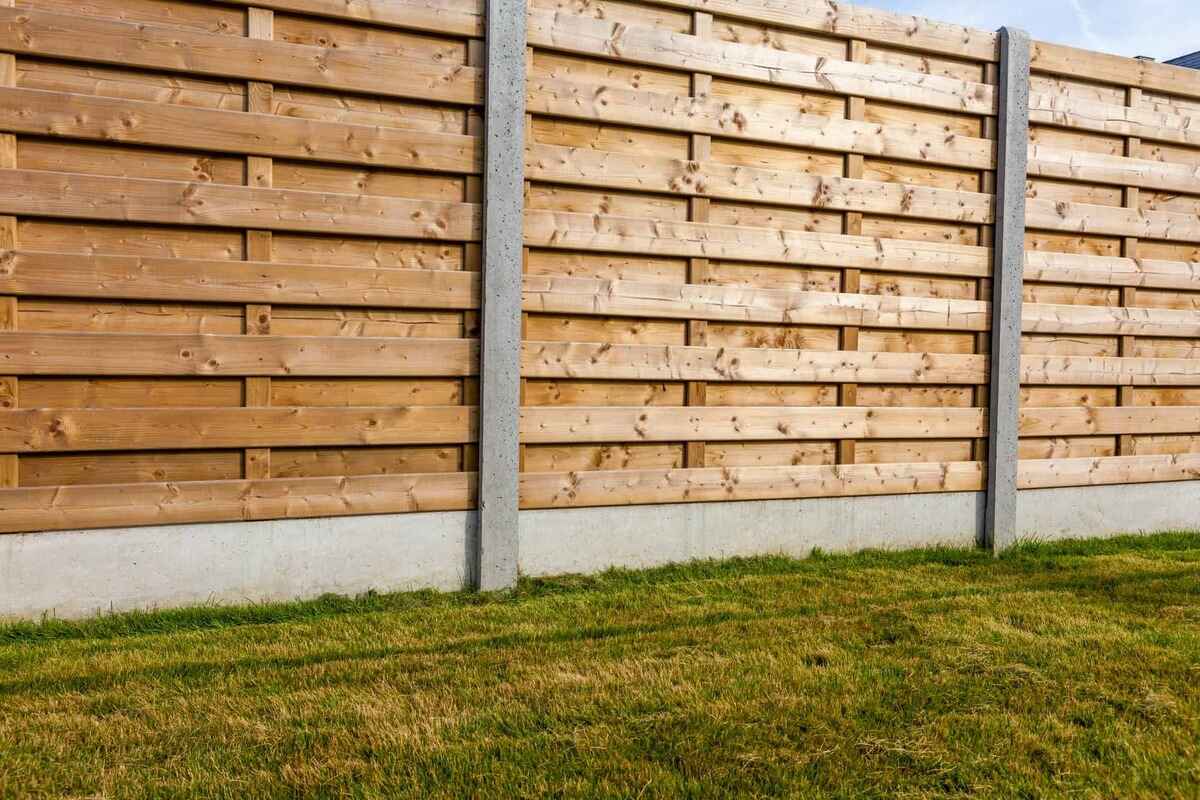
1. Metal Posts
Opt for durable, rust-resistant metal posts such as steel or aluminum. These materials are known for their strength and ability to withstand the elements, ensuring that your fence remains sturdy for years to come.
2. Fence Panels
Choose fence panels that complement the style of your property while serving their intended purpose. Whether you prefer the classic look of wrought iron or the privacy provided by solid metal panels, make sure the panels are designed to be compatible with metal posts.
3. Concrete
Invest in high-quality concrete to secure the metal posts firmly in the ground. This will provide stability and prevent the posts from shifting over time, especially in areas prone to high winds or extreme weather conditions.
4. Fasteners
Select appropriate fasteners such as screws or bolts to attach the fence panels securely to the metal posts. Ensure that the fasteners are designed for outdoor use and can withstand exposure to the elements without corroding.
5. Tools
Gather essential tools including a post hole digger, level, measuring tape, and a sturdy ladder. Having the right tools on hand will make the installation process more efficient and help you achieve professional-looking results.
By carefully choosing the right materials, you can ensure that your fence with metal posts not only serves its purpose but also enhances the overall appearance of your property.
Preparing the Ground
Before you start setting up your fence with metal posts, it's crucial to prepare the ground properly. Here's a step-by-step guide to getting the ground ready for your new fence:
-
Marking the Layout: Begin by marking the layout of your fence using stakes and string. This will give you a clear visual guide and help ensure that the fence line is straight and consistent.
-
Clearing the Area: Remove any obstacles such as rocks, roots, or vegetation along the fence line. Clearing the area will make it easier to dig the post holes and prevent any obstructions during the installation process.
-
Digging Post Holes: Use a post hole digger to excavate holes for the metal posts. The depth and diameter of the holes will depend on the specific requirements of your fence, so be sure to refer to the manufacturer's guidelines for the appropriate measurements.
-
Adding Gravel: After digging the post holes, add a layer of gravel to the bottom of each hole. This will facilitate drainage and help prevent the accumulation of water around the metal posts, reducing the risk of rust and corrosion.
-
Setting the Corner Posts: Begin by setting the corner posts first, ensuring that they are plumb and securely positioned. Use a level to check for vertical alignment, making any necessary adjustments before proceeding.
-
Aligning the Intermediate Posts: Once the corner posts are in place, align and set the intermediate posts along the fence line. Again, use a level to ensure that the posts are straight and level before proceeding to the next step.
By properly preparing the ground for your fence with metal posts, you'll create a solid foundation for the rest of the installation process. Taking the time to complete this step meticulously will contribute to the overall stability and longevity of your new fence.
Setting the Metal Posts
Now that the ground is prepared, it's time to set the metal posts for your fence. Follow these steps to ensure that the posts are installed securely and accurately:
-
Positioning the Posts: Begin by placing the metal posts in the designated post holes, ensuring that they are aligned according to your fence layout. Use a level to check for plumb and adjust the position of the posts as needed to achieve vertical alignment.
-
Bracing the Posts: To keep the metal posts in position while the concrete sets, brace them using temporary supports. This will prevent the posts from shifting or leaning during the installation process, ensuring that they remain perfectly upright.
-
Mixing and Pouring Concrete: Prepare the concrete mix according to the manufacturer's instructions. Once mixed, pour the concrete into the post holes, ensuring that it completely surrounds the metal posts. Use a shovel to consolidate the concrete and eliminate any air pockets.
-
Securing the Posts: As the concrete sets, continue to check the posts for plumb and alignment, making any necessary adjustments. It's crucial to ensure that the posts remain straight and properly positioned until the concrete has fully cured.
-
Curing Time: Allow an adequate amount of time for the concrete to cure and harden before proceeding with the next steps of the installation. This typically takes at least 24-48 hours, depending on the specific type of concrete used and the prevailing weather conditions.
By following these steps, you can effectively set the metal posts for your fence, laying the groundwork for the remaining stages of the installation process. Taking the time to position and secure the posts correctly will contribute to the overall stability and durability of your new fence.
Attaching the Fence Panels
Once the metal posts are securely set, it's time to attach the fence panels to complete the installation. Follow these steps to ensure that the panels are attached securely and evenly:
-
Measuring and Cutting: Begin by measuring the distance between the center of one post to the center of the next. This will help you determine the exact width of the fence panels needed. If necessary, use a saw to trim the panels to the appropriate size, ensuring a precise fit.
-
Positioning the Panels: With the panels cut to size, position them between the metal posts, ensuring that they are aligned evenly and at a consistent height. Use a level to check for horizontal alignment, making any necessary adjustments to ensure that the panels are straight.
-
Attaching the Panels: Once the panels are properly positioned, use fasteners such as screws or bolts to attach them to the metal posts. Depending on the design of the panels, you may need to pre-drill holes to prevent the metal from bending or warping during the attachment process.
-
Ensuring Stability: As you attach each panel, periodically check for stability and alignment. Make any adjustments as needed to ensure that the panels are securely fastened and that they form a continuous, cohesive barrier along the length of the fence.
-
Adding Decorative Elements: Depending on your preference, you may choose to add decorative elements to the top or bottom of the fence panels. This could include ornamental caps, finials, or trim pieces that enhance the visual appeal of the fence while providing additional stability.
By following these steps, you can effectively attach the fence panels to the metal posts, completing the installation process. Taking the time to ensure that the panels are securely fastened and evenly aligned will result in a professional-looking fence that enhances the overall appearance of your property.
Adding Finishing Touches
As you near the completion of your fence installation, adding finishing touches can elevate the overall look and functionality of your project. Here are some essential steps to consider:
-
Applying Protective Coating: Depending on the material of your fence panels, applying a protective coating can enhance their durability and resistance to the elements. For metal panels, consider using a rust-resistant paint or coating to prevent corrosion and maintain a polished appearance.
-
Installing Gate Hardware: If your fence includes a gate, installing high-quality gate hardware is essential for smooth operation and security. This includes hinges, latches, and handles that are designed to withstand frequent use while complementing the overall design of your fence.
-
Landscaping and Lighting: Enhance the visual appeal of your fence by incorporating landscaping elements such as shrubs, flowers, or climbing vines along its perimeter. Additionally, consider adding outdoor lighting fixtures to illuminate the fence at night, providing both aesthetic and security benefits.
-
Addressing Drainage: Ensure that proper drainage is maintained around the base of the fence to prevent water accumulation, which can lead to soil erosion and potential damage to the fence posts. Consider incorporating gravel or a French drain system to manage excess water effectively.
-
Inspecting and Adjusting: Once the finishing touches are in place, thoroughly inspect the entire fence for any imperfections or areas that may require adjustments. This includes checking for loose fasteners, uneven panels, or any signs of wear that may need to be addressed before the project is considered complete.
By paying attention to these finishing touches, you can ensure that your newly installed fence with metal posts not only serves its practical purpose but also enhances the overall aesthetics and functionality of your property.
Conclusion
In conclusion, building a fence with metal posts is a rewarding DIY project that can enhance the appearance, security, and privacy of your property. By carefully selecting the right materials, preparing the ground meticulously, setting the metal posts securely, attaching the fence panels with precision, and adding the finishing touches, you can create a durable and visually appealing fence that stands the test of time. Whether you're a seasoned DIY enthusiast or tackling this project for the first time, following these steps will empower you to create a professional-looking fence that adds value and functionality to your outdoor space. So, roll up your sleeves, gather your materials, and get ready to enjoy the satisfaction of a job well done as you admire your newly built fence with metal posts.