
Home>Create & Decorate>DIY & Crafts>DIY Floor Building: Step-by-Step Guide To Creating A Beautiful And Durable Floor
DIY & Crafts
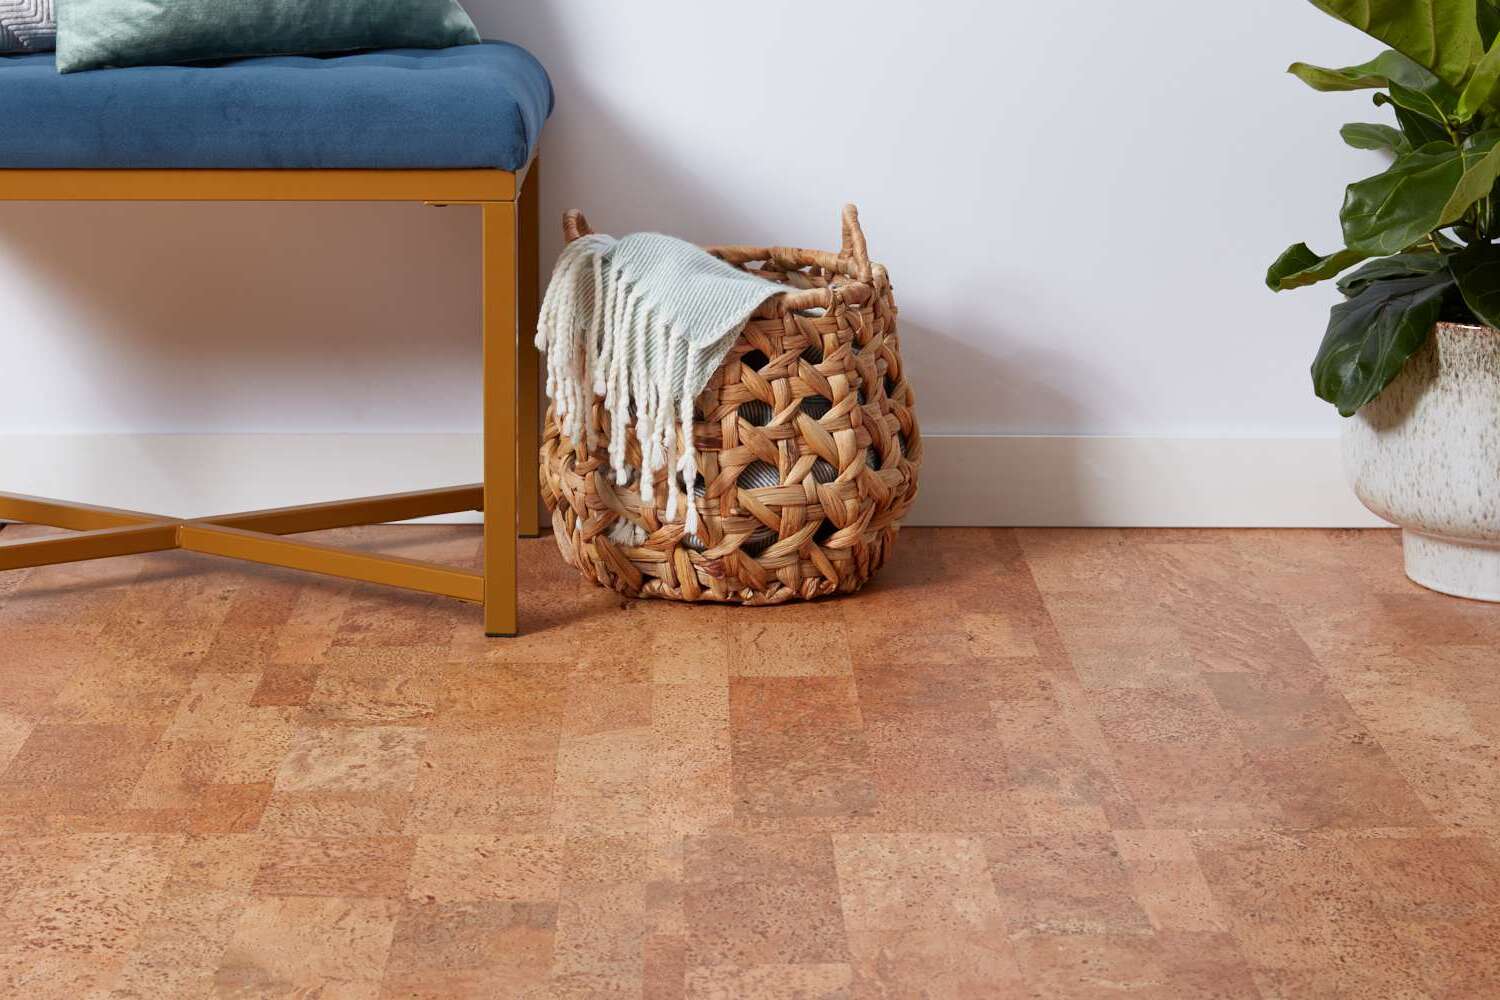
DIY Floor Building: Step-by-Step Guide To Creating A Beautiful And Durable Floor
Published: June 10, 2024

Content Creator specializing in woodworking and interior transformations. Caegan's guides motivate readers to undertake their own projects, while his custom furniture adds a personal touch.
Learn how to create a stunning and long-lasting floor with our step-by-step DIY floor building guide. Perfect for DIY & Crafts enthusiasts!
(Many of the links in this article redirect to a specific reviewed product. Your purchase of these products through affiliate links helps to generate commission for Twigandthistle.com, at no extra cost. Learn more)
Introduction
Are you ready to transform your space with a stunning new floor? Building your own floor can be a rewarding and cost-effective DIY project. Whether you're looking to install hardwood, laminate, or tile, creating a beautiful and durable floor is within your reach. In this step-by-step guide, we'll walk you through the process of building a floor that will enhance the aesthetic appeal and functionality of your home. From choosing the right materials to finishing and sealing the floor, we've got you covered. Let's dive in and get started on this exciting home improvement journey!
Choosing the Right Materials
When it comes to DIY floor building, selecting the right materials is crucial for achieving a high-quality and long-lasting result. Here are the key steps to consider when choosing the materials for your DIY floor project:
-
Type of Flooring: The first decision to make is the type of flooring material you want to use. Options include hardwood, laminate, vinyl, tile, and more. Consider the specific needs of the space, such as durability, moisture resistance, and maintenance requirements.
-
Quality and Durability: Opt for high-quality materials that are durable and suitable for the intended use of the space. For example, if you're building a floor in a high-traffic area, such as the living room or kitchen, choose materials known for their durability and resistance to wear and tear.
-
Aesthetic Appeal: The chosen flooring material should complement the overall design and style of the room. Consider the color, texture, and finish of the flooring to ensure it enhances the visual appeal of the space.
-
Budget Considerations: Determine a budget for your DIY floor project and explore materials that align with your financial plan. Keep in mind that while some materials may have a higher upfront cost, they could offer long-term savings due to their durability and low maintenance requirements.
-
Ease of Installation: If you're a beginner in DIY projects, consider the ease of installation of the flooring materials. Some materials may require specialized tools and skills, while others are designed for straightforward installation, making them more suitable for DIY enthusiasts.
By carefully considering these factors, you can select the right materials that will contribute to the success of your DIY floor building project.
Preparing the Subfloor
Before you begin the installation of your new floor, it's essential to ensure that the subfloor is properly prepared. The subfloor serves as the foundation for your new flooring and plays a critical role in its stability and longevity. Here's a detailed guide on how to prepare the subfloor for your DIY floor building project:
-
Inspect the Subfloor: Start by thoroughly inspecting the existing subfloor for any signs of damage, such as moisture issues, rot, or uneven surfaces. Addressing any underlying problems at this stage will prevent future issues with your new floor.
-
Remove Old Flooring: If there is existing flooring in place, carefully remove it to expose the subfloor. This may involve pulling up carpet, removing old tiles, or lifting laminate or hardwood flooring. Ensure that the subfloor is clean and free from any debris or adhesive residue.
-
Address Uneven Surfaces: Use a leveling compound to fill in any low spots or uneven areas on the subfloor. This step is crucial for achieving a smooth and uniform surface for the new flooring material.
-
Repair Subfloor Damage: If you encounter any damaged subfloor sections, such as rot or water damage, replace or repair the affected areas before proceeding with the installation. It's important to have a solid and stable subfloor to support the new flooring.
-
Ensure Subfloor Stability: Check the subfloor for any squeaks or loose areas. Secure loose floorboards or subfloor panels to eliminate any potential movement or noise once the new flooring is installed.
-
Moisture Barrier Installation: Depending on the type of flooring material you're installing, you may need to add a moisture barrier to the subfloor. This is particularly important for areas prone to moisture, such as basements or bathrooms.
By thoroughly preparing the subfloor, you'll create a solid foundation for your new floor, ensuring a professional and long-lasting result. Taking the time to address any subfloor issues before installation will contribute to the overall success of your DIY floor building project.
Installing the Underlayment
Installing the underlayment is a crucial step in the process of building a DIY floor. The underlayment serves as a supportive layer between the subfloor and the actual flooring material, providing several benefits such as moisture protection, sound insulation, and added support. Here's a detailed guide on how to install the underlayment for your DIY floor project:
-
Gather the Necessary Tools: Before starting the installation, ensure you have all the necessary tools and materials, including the underlayment material, utility knife, tape measure, and adhesive if required.
-
Measure and Cut the Underlayment: Begin by measuring the dimensions of the room and cutting the underlayment material to fit the space. Use a utility knife to make precise cuts, ensuring the underlayment fits snugly against the walls.
-
Lay the Underlayment: Once the underlayment is cut to size, carefully lay it over the prepared subfloor. Ensure that the underlayment panels are positioned tightly together, with no gaps or overlaps.
-
Secure the Underlayment: Depending on the type of underlayment material, you may need to secure it to the subfloor using adhesive or staples. Follow the manufacturer's guidelines for the recommended installation method.
-
Overlap and Seal Joints: If using underlayment panels, ensure that the joints are overlapped and sealed to prevent moisture from penetrating through the underlayment. Use an appropriate sealing tape or adhesive to secure the joints.
-
Trim Excess Underlayment: Trim any excess underlayment material along the edges of the room to create a clean and uniform surface for the installation of the flooring material.
-
Check for Smoothness and Stability: Once the underlayment is installed, walk over the surface to ensure it feels smooth and stable. Address any areas that may feel uneven or have noticeable imperfections.
By following these steps, you'll effectively install the underlayment, providing a solid foundation for the final flooring material. The underlayment plays a crucial role in the performance and longevity of the floor, making it an essential component of your DIY floor building project.
Laying the Flooring Material
Once the subfloor and underlayment are properly prepared, it's time to lay the flooring material of your choice. This step requires precision and attention to detail to ensure a professional and visually appealing result. Here's a detailed guide on how to lay the flooring material for your DIY floor project:
-
Acclimate the Flooring: If you're using materials such as hardwood or laminate, it's essential to acclimate the flooring to the room's temperature and humidity levels. Follow the manufacturer's recommendations for acclimation time to prevent issues such as warping or buckling after installation.
-
Start in a Corner: Begin the installation in a corner of the room, preferably the farthest from the main entrance. This allows for a more seamless and visually appealing layout, especially for materials with patterns or directional designs.
-
Use Spacers: Depending on the type of flooring material, use spacers to maintain a consistent expansion gap around the perimeter of the room. This gap allows the flooring to expand and contract with changes in temperature and humidity, preventing buckling or warping.
-
Follow the Pattern: If your flooring material has a specific pattern or directional design, ensure that you follow the manufacturer's recommendations for layout and installation. Pay attention to the alignment of each piece to create a cohesive and visually pleasing result.
-
Cutting and Trimming: Use appropriate tools to cut and trim the flooring material as needed to fit around obstacles, doorways, and irregular room shapes. Precision is key to achieving a professional-looking installation.
-
Secure the Flooring: Depending on the type of flooring material, use the recommended method to secure the pieces in place. This may involve adhesive, nails, or interlocking mechanisms, depending on the specific requirements of the material.
-
Check for Uniformity: As you progress with the installation, periodically step back and assess the uniformity and alignment of the flooring. Make any necessary adjustments to ensure a consistent and visually appealing result.
-
Address Obstacles and Transitions: Pay special attention to areas where the flooring meets transitions, such as doorways or transitions between different rooms. Use appropriate transition pieces or techniques to create a seamless and professional finish.
By following these steps, you'll successfully lay the flooring material, creating a beautiful and durable floor that enhances the aesthetic appeal of your space. Attention to detail and precision during this phase of the project will contribute to the overall success of your DIY floor building endeavor.
Finishing and Sealing the Floor
After the flooring material is successfully installed, the final steps involve finishing and sealing the floor to enhance its durability and visual appeal. Here's a detailed guide on how to complete the finishing and sealing process for your DIY floor project:
-
Clean the Surface: Before applying any finishing or sealing products, ensure that the floor surface is clean and free from dust, debris, and any installation-related residues. Use a vacuum and a damp cloth to thoroughly clean the entire floor area.
-
Apply the Finish: Depending on the type of flooring material, you may need to apply a finish to protect and enhance the appearance of the floor. For hardwood floors, consider using a polyurethane or similar protective finish. Follow the manufacturer's instructions for application methods and drying times.
-
Sand and Buff (If Applicable): If you're working with hardwood flooring, consider sanding and buffing the floor after applying the finish. This process helps to smooth out any imperfections and achieve a uniform surface. Use a floor buffer and appropriate sanding pads for this step.
-
Seal the Joints (If Applicable): For certain types of flooring, such as tile or laminate, it's important to seal the joints between individual pieces to prevent moisture penetration. Use a high-quality seam sealer or grout for tiles to ensure a water-resistant finish.
-
Add Baseboards and Trim: Install baseboards and trim around the perimeter of the room to provide a finished look and conceal any expansion gaps. Use finishing nails or an appropriate adhesive to secure the baseboards in place.
-
Allow Sufficient Drying Time: After applying the finish and sealant, allow sufficient drying time before allowing foot traffic on the newly finished floor. Follow the manufacturer's recommendations for drying times to ensure the best results.
-
Regular Maintenance: Once the floor is finished and sealed, establish a regular maintenance routine to preserve its beauty and longevity. This may include routine cleaning, using appropriate floor cleaners, and addressing any spills or stains promptly.
By completing the finishing and sealing process with attention to detail, you'll achieve a beautiful and durable floor that enhances the overall aesthetic of your space. The finishing and sealing steps are essential for protecting the floor from daily wear and tear while maintaining its visual appeal for years to come.
Conclusion
In conclusion, building a beautiful and durable floor through a DIY project is an achievable endeavor with the right materials, preparation, and attention to detail. By carefully choosing the appropriate flooring material, preparing the subfloor, installing the underlayment, laying the flooring material, and finishing and sealing the floor, you can create a stunning and long-lasting addition to your home. Whether you opt for hardwood, laminate, vinyl, or tile, the satisfaction of completing a DIY floor building project and enjoying the results for years to come is truly rewarding. With the knowledge and guidance provided in this step-by-step guide, you're well-equipped to embark on your DIY floor building journey and transform your living space with a floor that reflects your personal style and craftsmanship.