Home>Home & Furniture>Garage & Basement>How to Apply Polyurea Garage Floor Coating

Garage & Basement
How to Apply Polyurea Garage Floor Coating
Published: September 29, 2024
Learn how to apply polyurea garage floor coating with our step-by-step guide. Enhance durability and aesthetics of your garage floor with expert tips and techniques.
(Many of the links in this article redirect to a specific reviewed product. Your purchase of these products through affiliate links helps to generate commission for Twigandthistle.com, at no extra cost. Learn more)
Adding polyurea coating to your garage floor can make it more durable and easier to clean. This project might sound challenging, but with some patience and the right tools, you can tackle it yourself. Polyurea is a strong, flexible material that resists stains and chemicals, making it perfect for garage floors. Whether you want to protect your floor from spills, impacts, or just give it a fresh look, this guide will help you through the process. With a bit of prep work and careful application, you'll soon have a garage floor that looks great and lasts for years.
Getting Ready for the Project
Clear the Garage: Remove all items from the garage. This includes cars, tools, and storage boxes. A clean space makes the job easier.
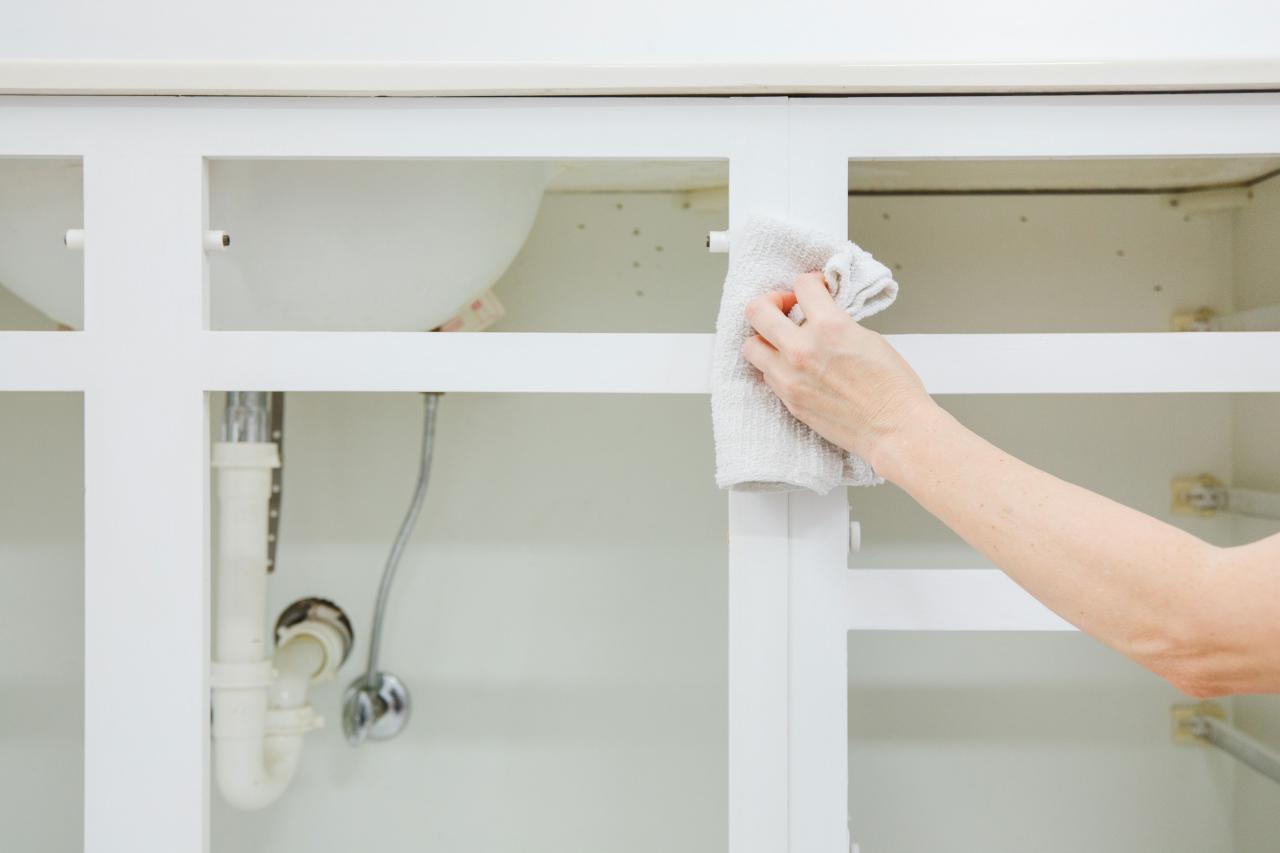
Clean the Floor: Sweep and vacuum the floor to remove dust and debris. Use a degreaser to clean any oil stains. Rinse thoroughly and let it dry.
Repair Cracks and Holes: Use a concrete patching compound to fill any cracks or holes. Smooth the surface with a trowel and let it cure as per the instructions.
Etch the Concrete: Apply a concrete etching solution to open up the pores of the concrete. This helps the coating adhere better. Rinse the floor well and let it dry completely.
Tape Off Edges: Use painter's tape to protect walls and any areas you don't want coated. This ensures clean lines and prevents accidental spills.
Mix the Coating: Follow the manufacturer's instructions to mix the polyurea coating. Make sure to mix thoroughly for a consistent application.
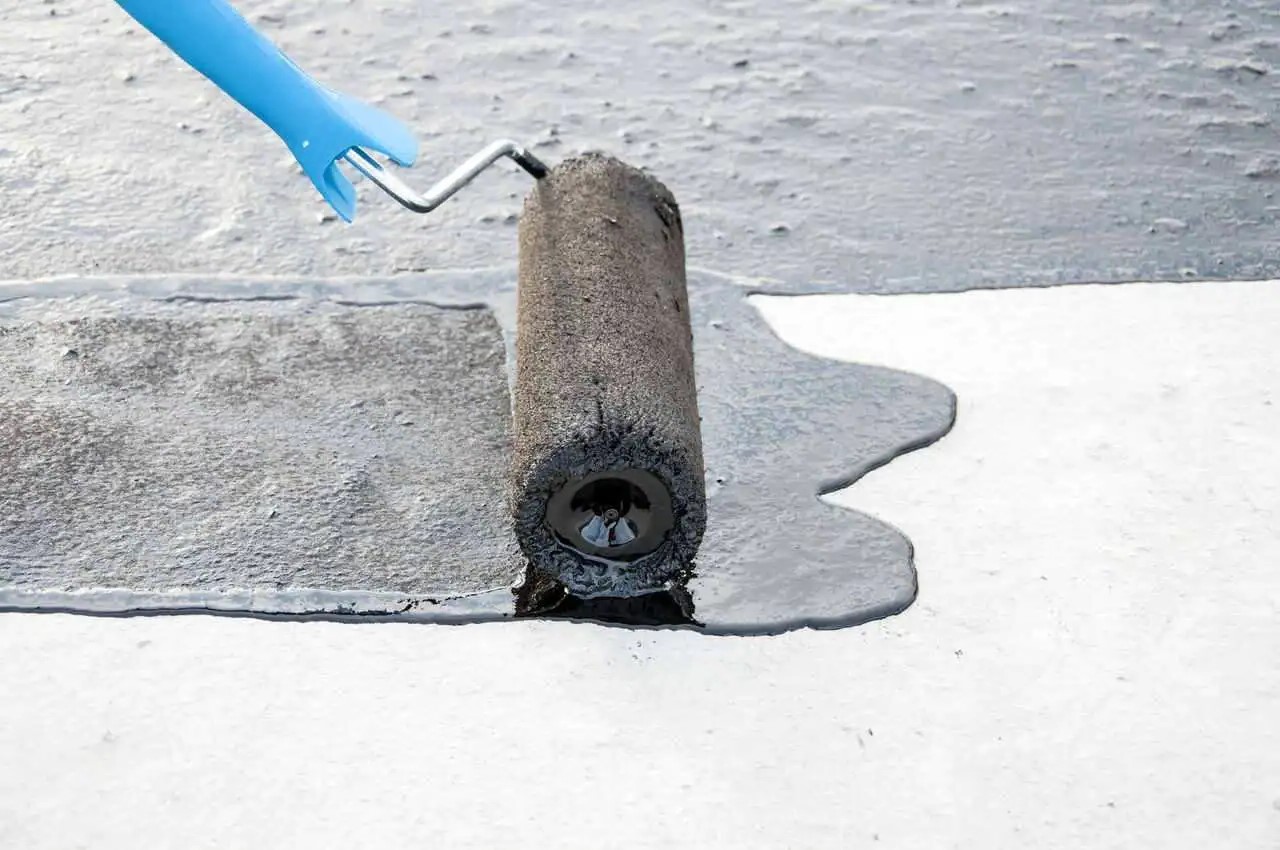
Apply the Base Coat: Use a roller to apply the base coat evenly. Start from the farthest corner and work your way towards the exit to avoid stepping on the wet coating.
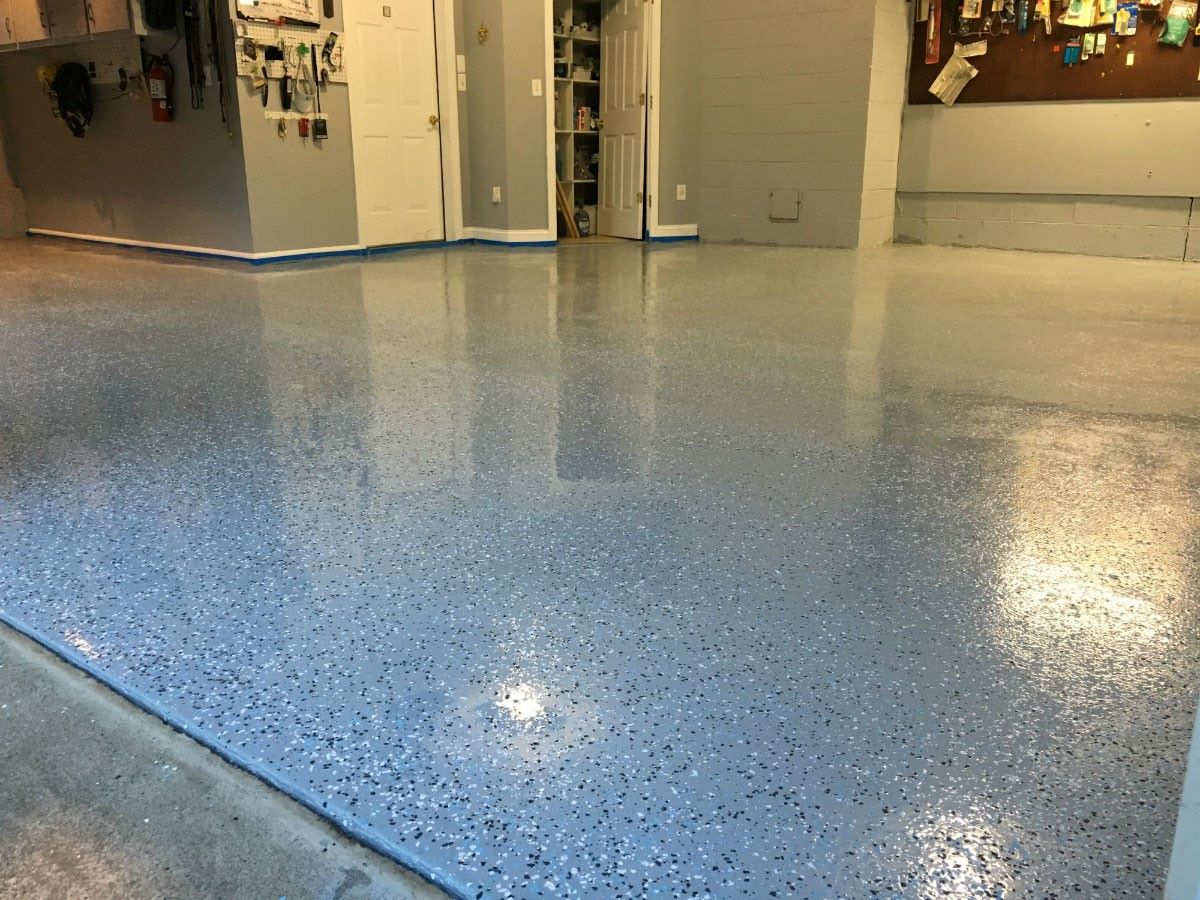
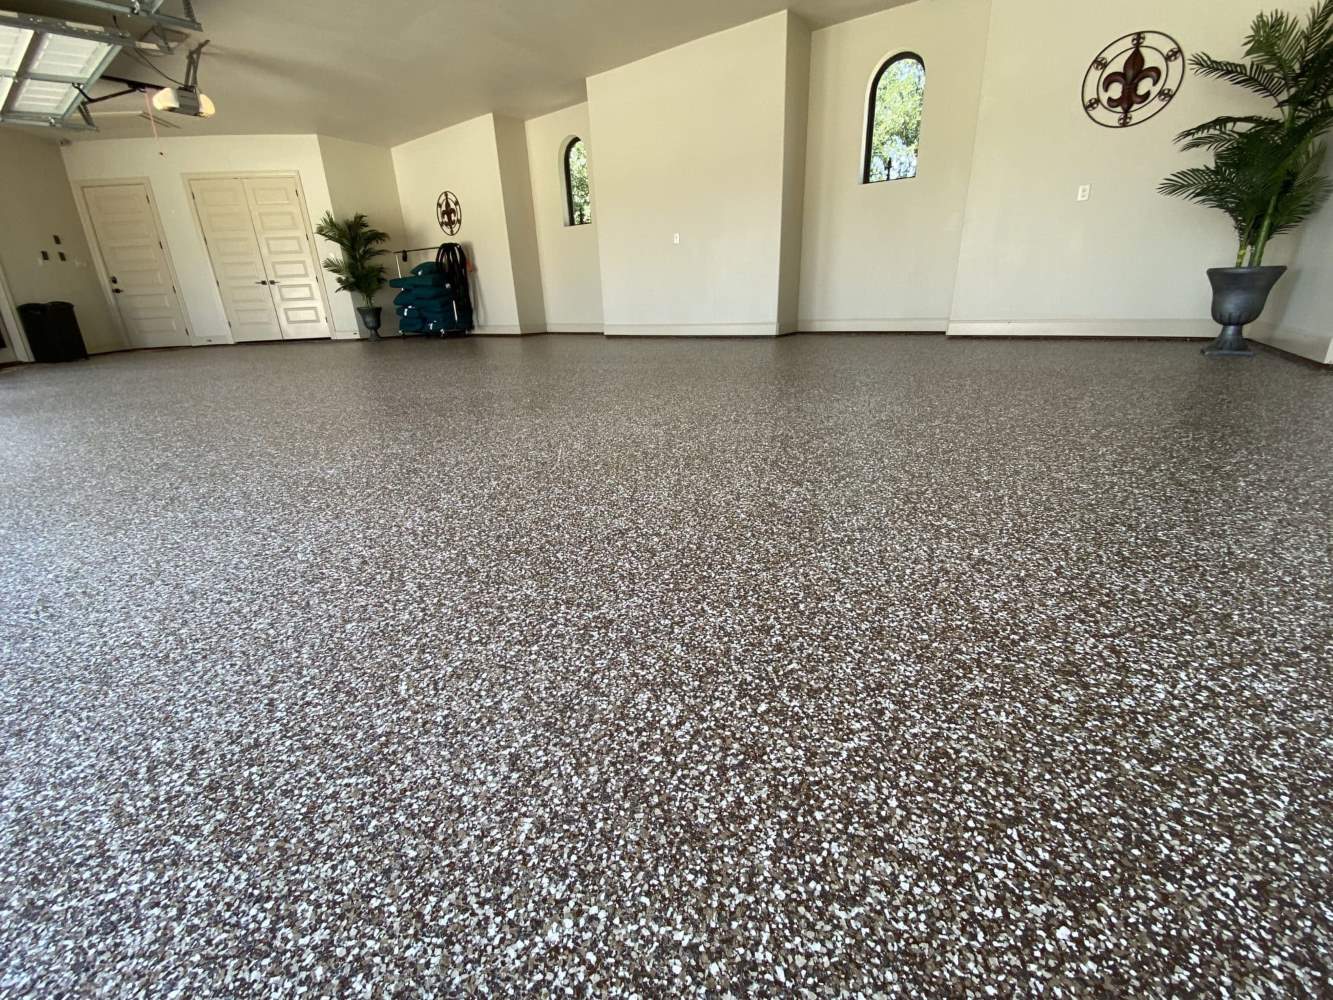
Add Color Chips: While the base coat is still wet, sprinkle color chips evenly across the floor. This adds texture and visual appeal.
Apply the Top Coat: Once the base coat has dried, apply the top coat. This seals the color chips and provides a durable finish.
Let it Cure: Allow the coating to cure for the recommended time before moving items back into the garage. This ensures a strong, long-lasting finish.
Safety Tips:
- Wear protective gear: gloves, goggles, and a mask.
- Ensure proper ventilation: Open windows and doors.
- Keep children and pets away from the workspace.
Essential Materials and Tools
Polyurea Coating Kit: Contains the polyurea base coat, topcoat, and any necessary additives. Provides a durable, glossy finish.
Concrete Cleaner/Degreaser: Removes oil, grease, and dirt from the garage floor. Ensures proper adhesion of the coating.
Concrete Etcher: Prepares the concrete surface by opening up pores. Helps the coating bond better.
Epoxy Crack Filler: Fills in any cracks or holes in the concrete. Creates a smooth, even surface.
Paint Roller and Extension Pole: Applies the polyurea coating evenly. The extension pole helps reach far areas without bending.
Paint Brushes: Used for cutting in edges and corners. Ensures all areas are covered.
Protective Gear: Includes gloves, safety glasses, and a respirator mask. Protects you from harmful chemicals.
Mixing Buckets and Stir Sticks: Mixes the polyurea components thoroughly. Ensures a consistent application.
Painter’s Tape: Masks off areas you don’t want coated. Keeps lines clean and professional.
Plastic Sheeting: Covers items in the garage to protect them from splatters. Keeps the workspace clean.
Shop Vacuum: Cleans up dust and debris from the floor. Prepares the surface for coating.
Squeegee: Spreads the etching solution evenly. Ensures thorough preparation of the concrete.
Floor Scraper: Removes any loose paint or debris. Prepares the surface for coating.
Measuring Cups: Measures the correct amounts of polyurea components. Ensures proper mixing ratios.
Drop Cloths: Protects the surrounding area from spills. Keeps the workspace tidy.
Stiff Bristle Brush: Scrubs the concrete cleaner into the floor. Ensures deep cleaning.
Garden Hose: Rinses off the cleaner and etcher. Prepares the floor for coating.
Heat Gun: Speeds up the drying process of the crack filler. Ensures a smooth surface quickly.
Non-Slip Additive: Mixed into the topcoat for added traction. Prevents slips and falls.
Required Skills and Time Commitment
Skill Level: Intermediate
Time Required: 2-3 days
- Preparation: Cleaning and etching the floor will take about 4-6 hours. This step is crucial for proper adhesion.
- Drying Time: Allow the floor to dry completely, which can take 24 hours.
- Applying Base Coat: This step will take around 2-3 hours.
- Flake Application: Broadcasting the flakes onto the wet base coat will take another 1-2 hours.
- Curing Time: Let the base coat cure for 12-24 hours.
- Top Coat Application: Applying the top coat will take about 2-3 hours.
- Final Curing: Allow the top coat to cure for 24 hours before using the garage.
Detailed Application Steps
Clean the Floor
- Sweep away all dirt and debris.
- Use a degreaser to remove oil stains.
- Rinse thoroughly with water and let dry.
Repair Cracks and Holes
- Fill cracks with a concrete patching compound.
- Smooth out the patched areas with a trowel.
- Allow the compound to dry completely.
Etch the Concrete
- Mix the etching solution according to the instructions.
- Apply the solution evenly over the floor using a watering can.
- Scrub the floor with a stiff-bristled brush.
- Rinse the floor thoroughly and let it dry.
Apply Primer
- Stir the primer well before use.
- Pour the primer into a paint tray.
- Use a roller to apply a thin, even coat of primer.
- Allow the primer to dry for the recommended time.
Mix the Polyurea Coating
- Follow the manufacturer's instructions for mixing.
- Mix the polyurea coating thoroughly to ensure an even consistency.
Apply the Base Coat
- Pour the mixed polyurea into a paint tray.
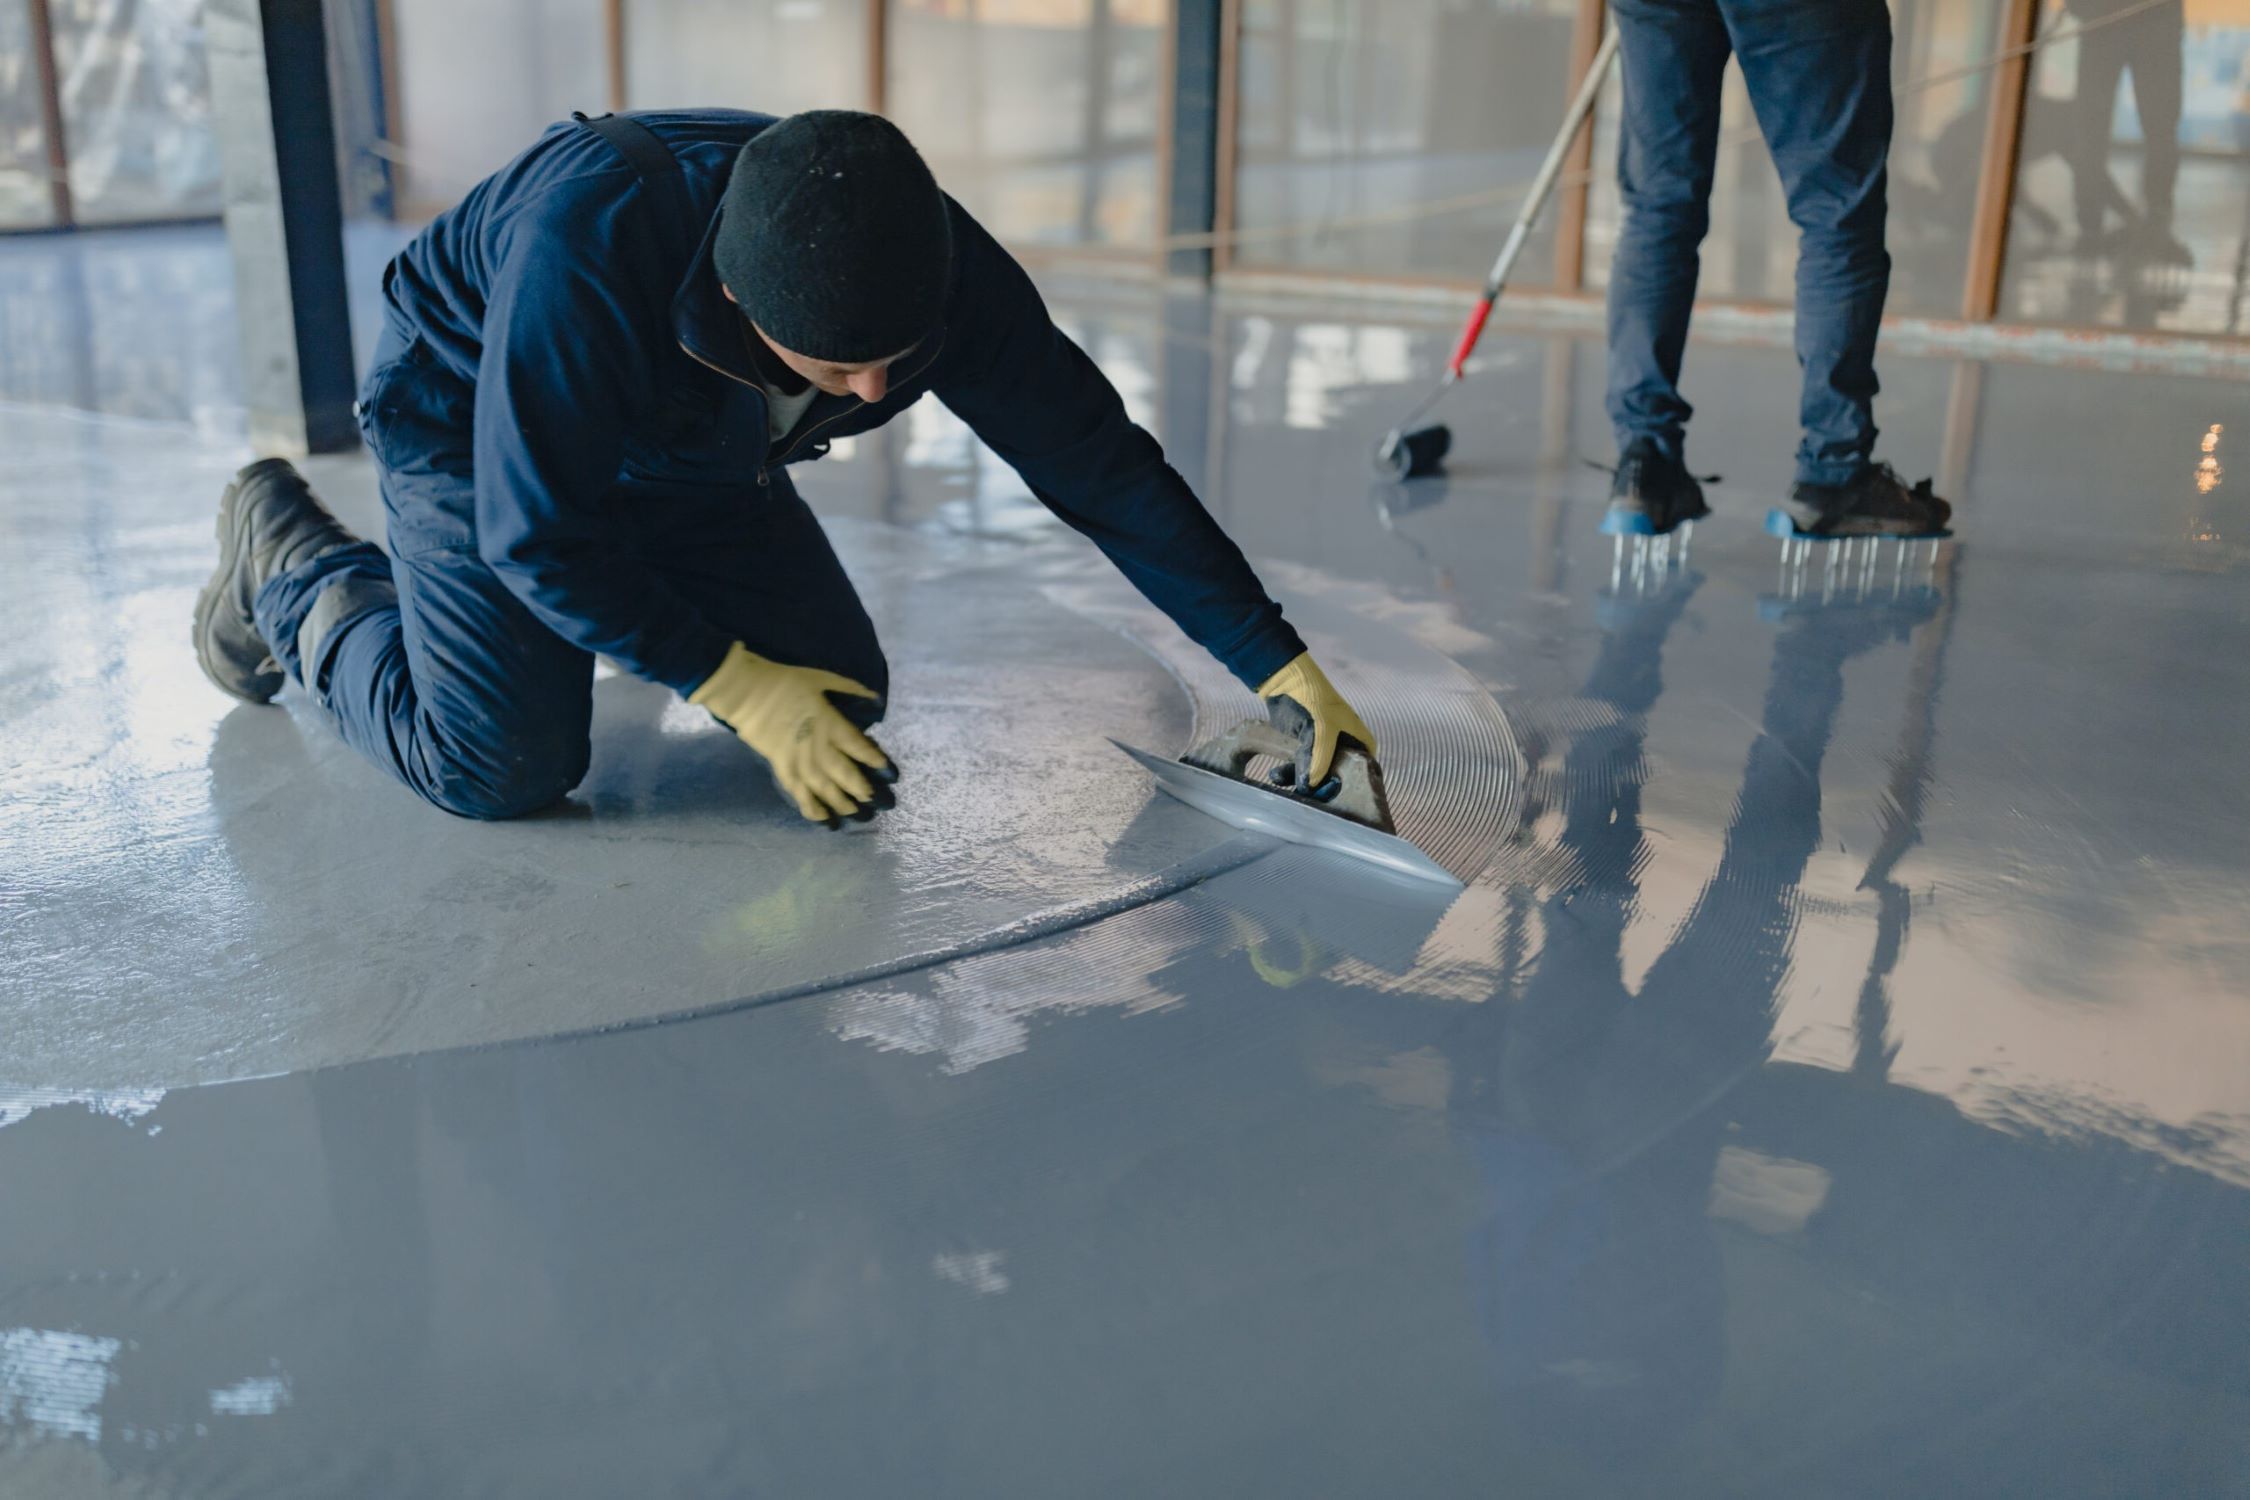
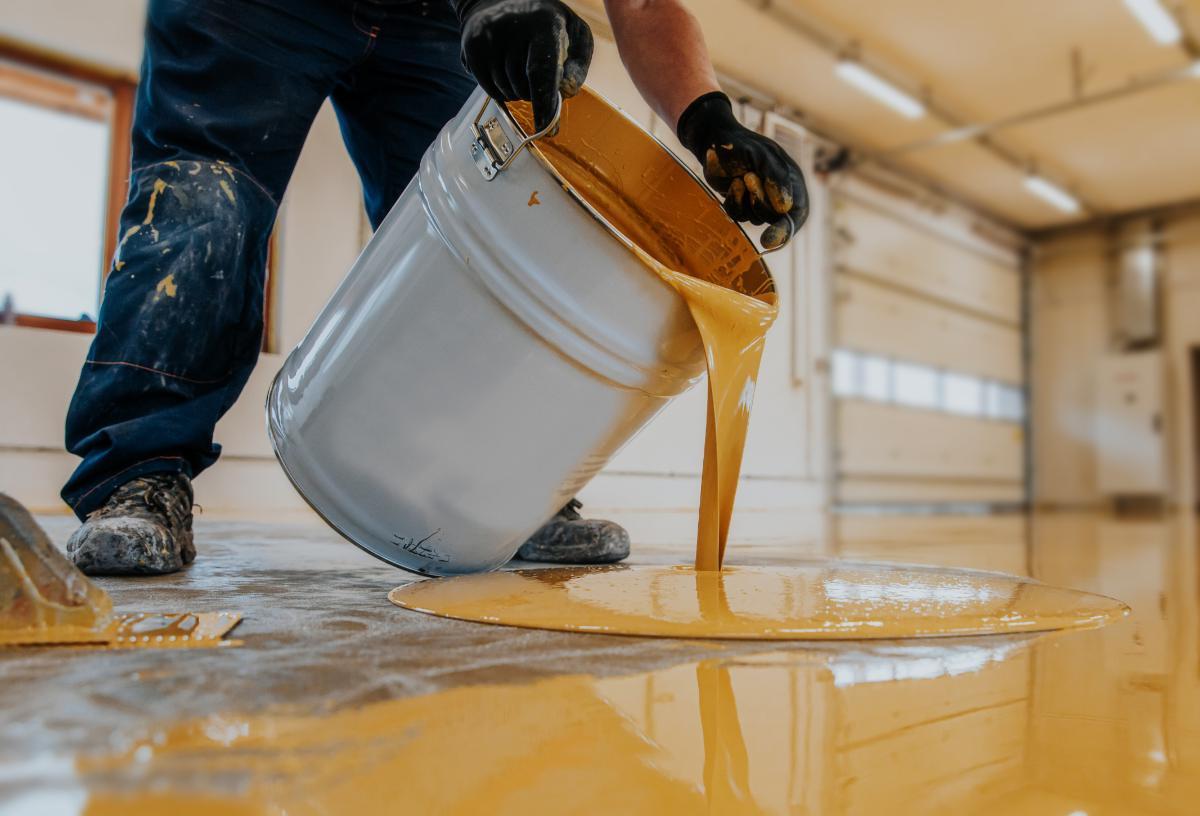
- Use a roller to apply the base coat evenly.
- Cut in edges and corners with a brush.
- Allow the base coat to dry as directed.
Broadcast Color Flakes (Optional)
- While the base coat is still wet, sprinkle color flakes evenly.
- Use a generous amount for full coverage.
- Let the base coat and flakes dry completely.
Apply the Top Coat
- Mix the top coat according to instructions.
- Pour it into a clean paint tray.
- Use a roller to apply the top coat evenly over the entire floor.
- Allow the top coat to dry for the recommended time.
Cure the Coating
- Let the floor cure for at least 24 hours before walking on it.
- Wait 72 hours before driving vehicles on the floor.
Clean Up
- Clean all tools and equipment immediately after use.
- Dispose of any leftover materials according to local regulations.
Helpful Tips and Tricks
Preparation is key. Clean the garage floor thoroughly. Remove oil stains with a degreaser. Use a pressure washer to get rid of dirt and debris. Etch the concrete with a muriatic acid solution to open up the pores. This helps the coating adhere better.
Mixing the polyurea should be done carefully. Follow the manufacturer's instructions. Use a drill with a mixing paddle for a consistent blend. Work quickly because polyurea sets fast. Have all tools ready before you start.
Apply the primer first. This ensures better adhesion. Use a roller for even coverage. Let it dry completely before moving on. Apply the polyurea coating in sections. Start from the farthest corner and work your way out. Use a squeegee to spread it evenly, then back-roll with a roller.
Common mistakes to avoid: Not cleaning the floor properly can lead to poor adhesion. Skipping the etching step can make the coating peel. Mixing too much polyurea at once can cause it to harden before application.
Alternatives: If polyurea seems too complicated, consider using epoxy. It's easier to work with and still provides a durable finish. For a more budget-friendly option, concrete paint can be used, though it won't be as durable.
Budgeting for Your Garage Floor Coating
Polyurea coating kit: $300-$500
Concrete cleaner: $20-$30
Etching solution: $20-$30
Paint roller and tray: $15-$25
Paintbrushes: $10-$15
Protective gear (gloves, mask, goggles): $20-$30
Painter's tape: $5-$10
Drop cloths: $10-$20
Mixing bucket: $5-$10
Total cost: $405-$670
Budget-friendly alternatives:
Epoxy coating kit: $100-$200
Household cleaner: $5-$10
Basic paint roller and tray: $10-$15
Old sheets or newspapers: Free
Unique Variations and Customizations
Alternative materials can change the look and feel of your garage floor. Instead of polyurea, consider epoxy or polyurethane coatings. Epoxy offers a glossy finish, while polyurethane provides a more flexible, durable surface.
Colors can dramatically alter the appearance. Polyurea coatings come in various shades. Choose neutral tones like gray or beige for a classic look, or go bold with reds, blues, or greens. Some brands even offer metallic finishes for a unique, shimmering effect.
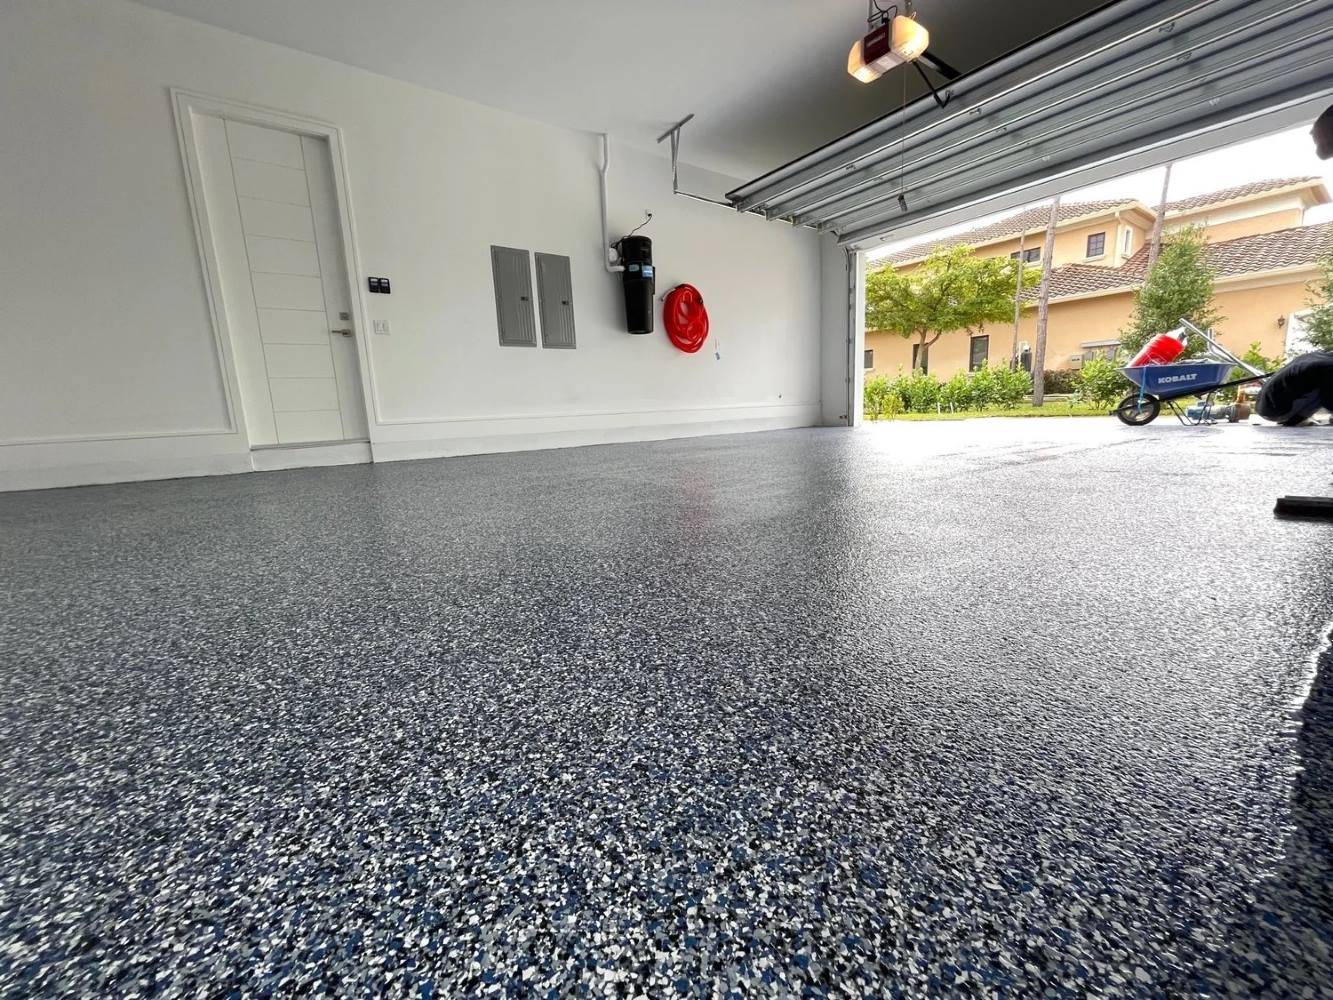
Styles can also be customized. Add decorative flakes or quartz granules to the coating for texture and slip resistance. Create patterns or designs using stencils or tape before applying the final coat. For a high-end look, consider a marbled effect by swirling different colors together.
Application techniques can vary. Use a roller for a smooth finish or a squeegee for a thicker, more even coat. For a textured surface, try a spray gun. Each method offers a different final appearance and feel.
Sealants can add extra protection. After applying the polyurea, consider a clear topcoat to enhance durability and shine. This layer can also make cleaning easier and extend the life of the coating.
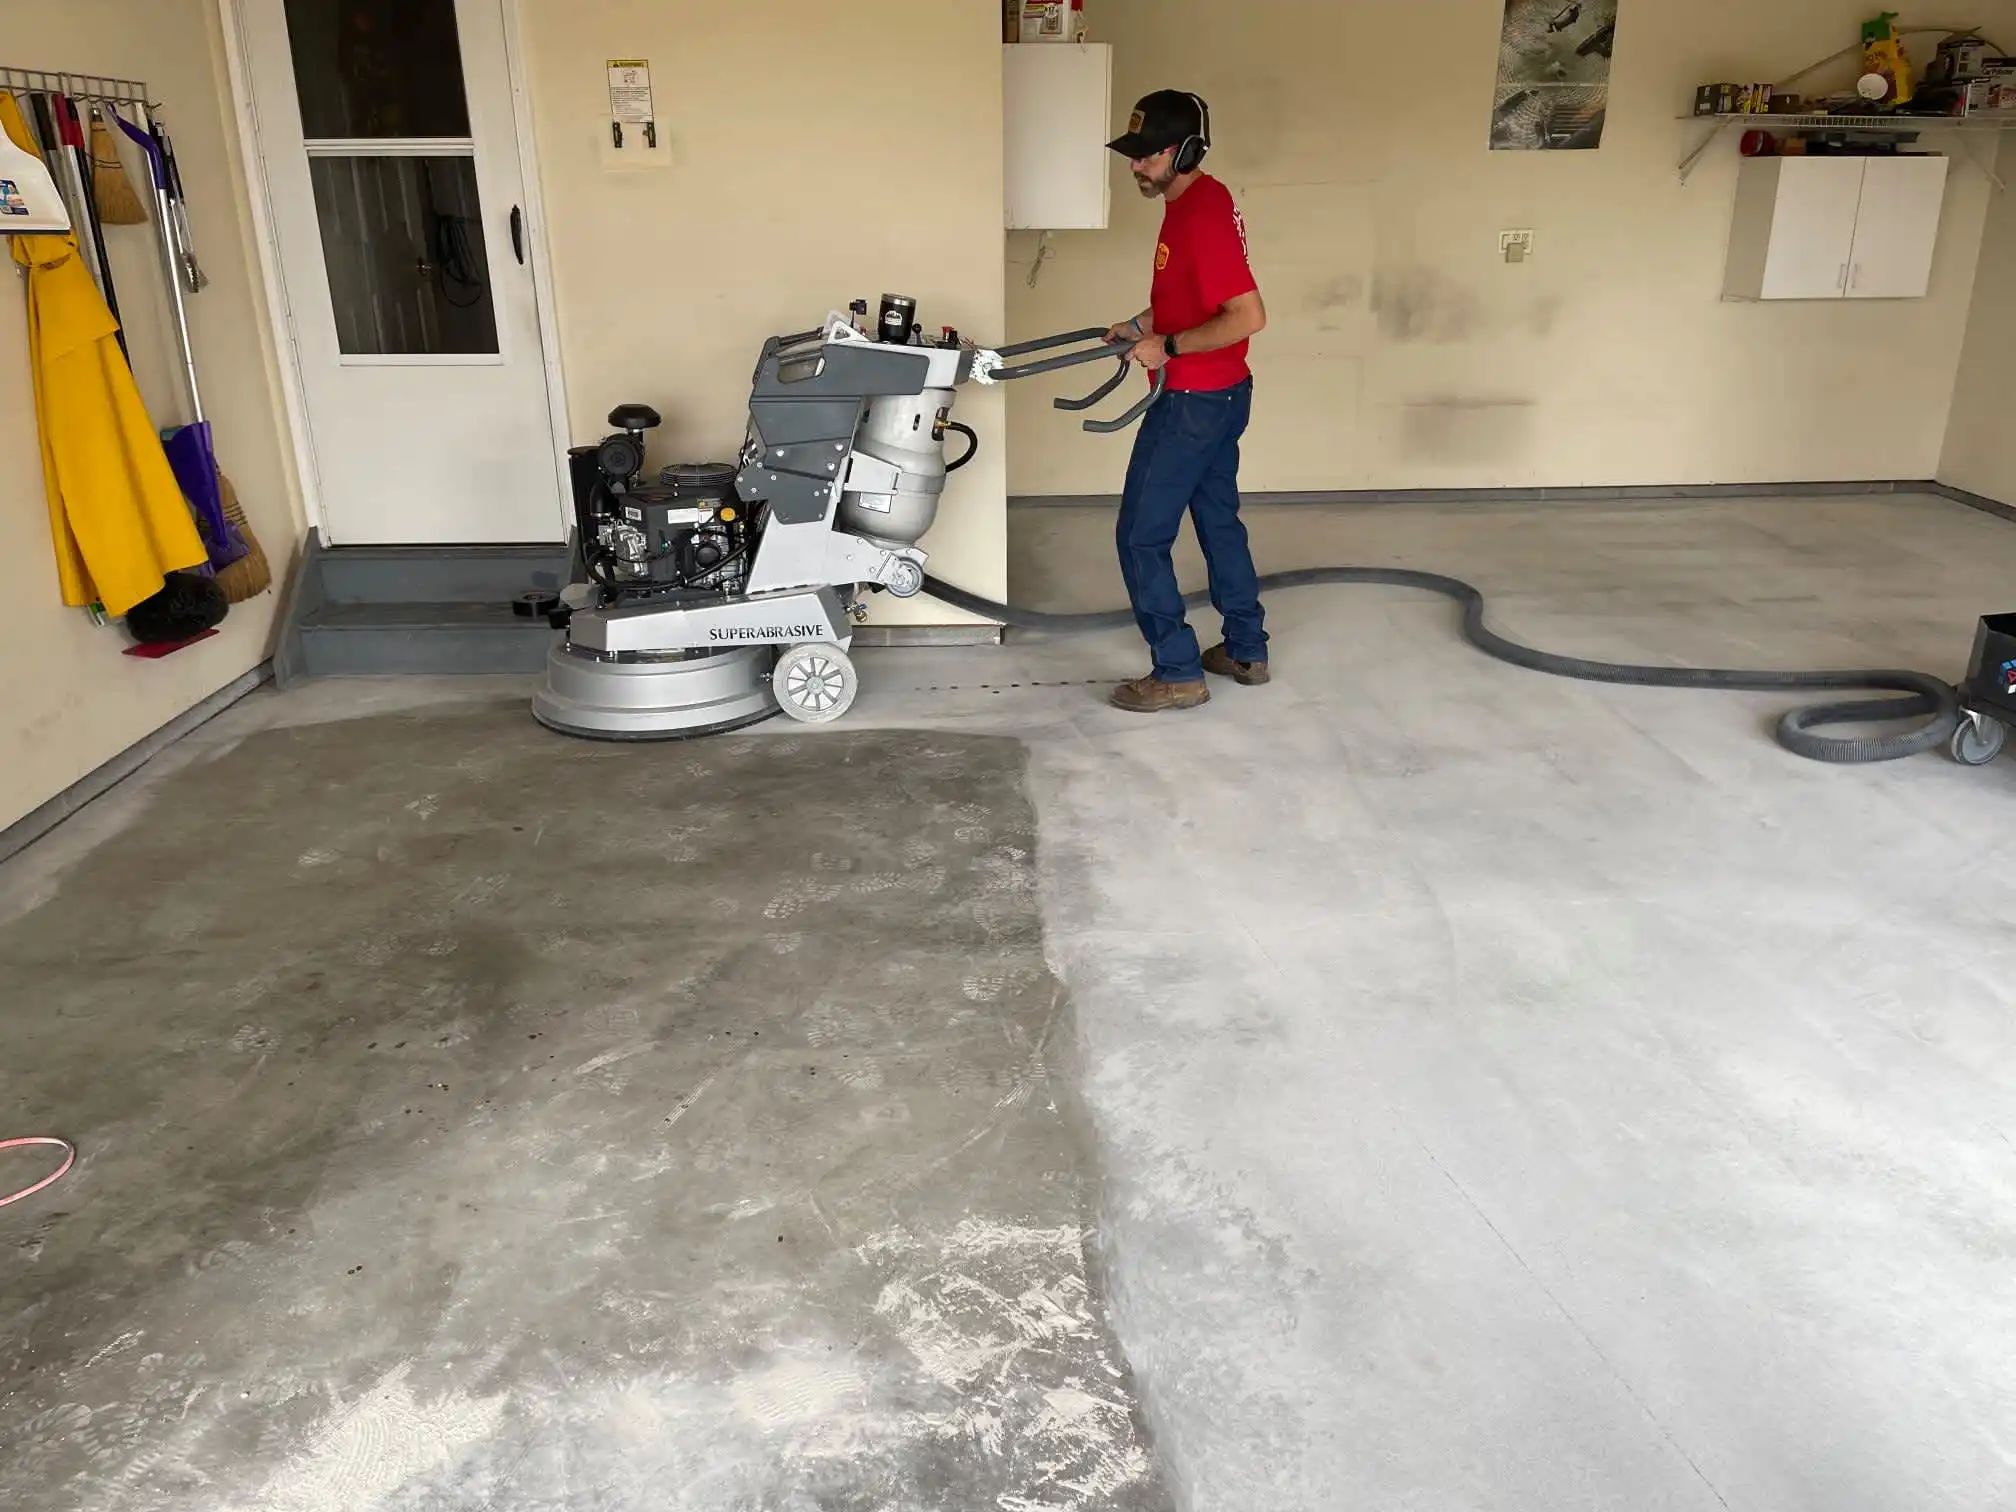
Preparation is key. Ensure the garage floor is clean and free of cracks. Use a concrete grinder or acid etch to prepare the surface. Proper prep work ensures the coating adheres well and lasts longer.
Temperature and humidity can affect the application. Polyurea coatings cure quickly, so work in small sections and ensure the garage is well-ventilated. Avoid applying in extreme temperatures for the best results.
Maintenance is simple. Regularly sweep and mop the floor to keep it looking new. Avoid harsh chemicals that can damage the coating. For stubborn stains, use a mild detergent and a soft brush.
Budget can influence your choices. Polyurea is more expensive than epoxy or polyurethane, but it offers superior durability. Weigh the costs and benefits of each material before deciding.
Eco-Friendly Tips for Your Project
Polyurea garage floor coating is durable and eco-friendly. Start by cleaning the floor with a biodegradable cleaner. This reduces harmful chemicals. Use a pressure washer to minimize water waste.
For patching cracks, choose an eco-friendly filler. These fillers often contain recycled materials. When mixing the polyurea, use a reusable mixing container. This cuts down on single-use plastics.
Apply the coating with a low-VOC (Volatile Organic Compounds) polyurea. Low-VOC products release fewer pollutants. Use a roller with a reusable handle. Replace only the roller cover when needed.
If you need to remove old coatings, opt for a mechanical grinder instead of chemical strippers. This method is less harmful to the environment. Collect and recycle any dust created during grinding.
Finally, ensure proper ventilation during application. This helps reduce indoor air pollution. Store any leftover materials properly for future use, reducing waste.
Your Garage Floor's New Look
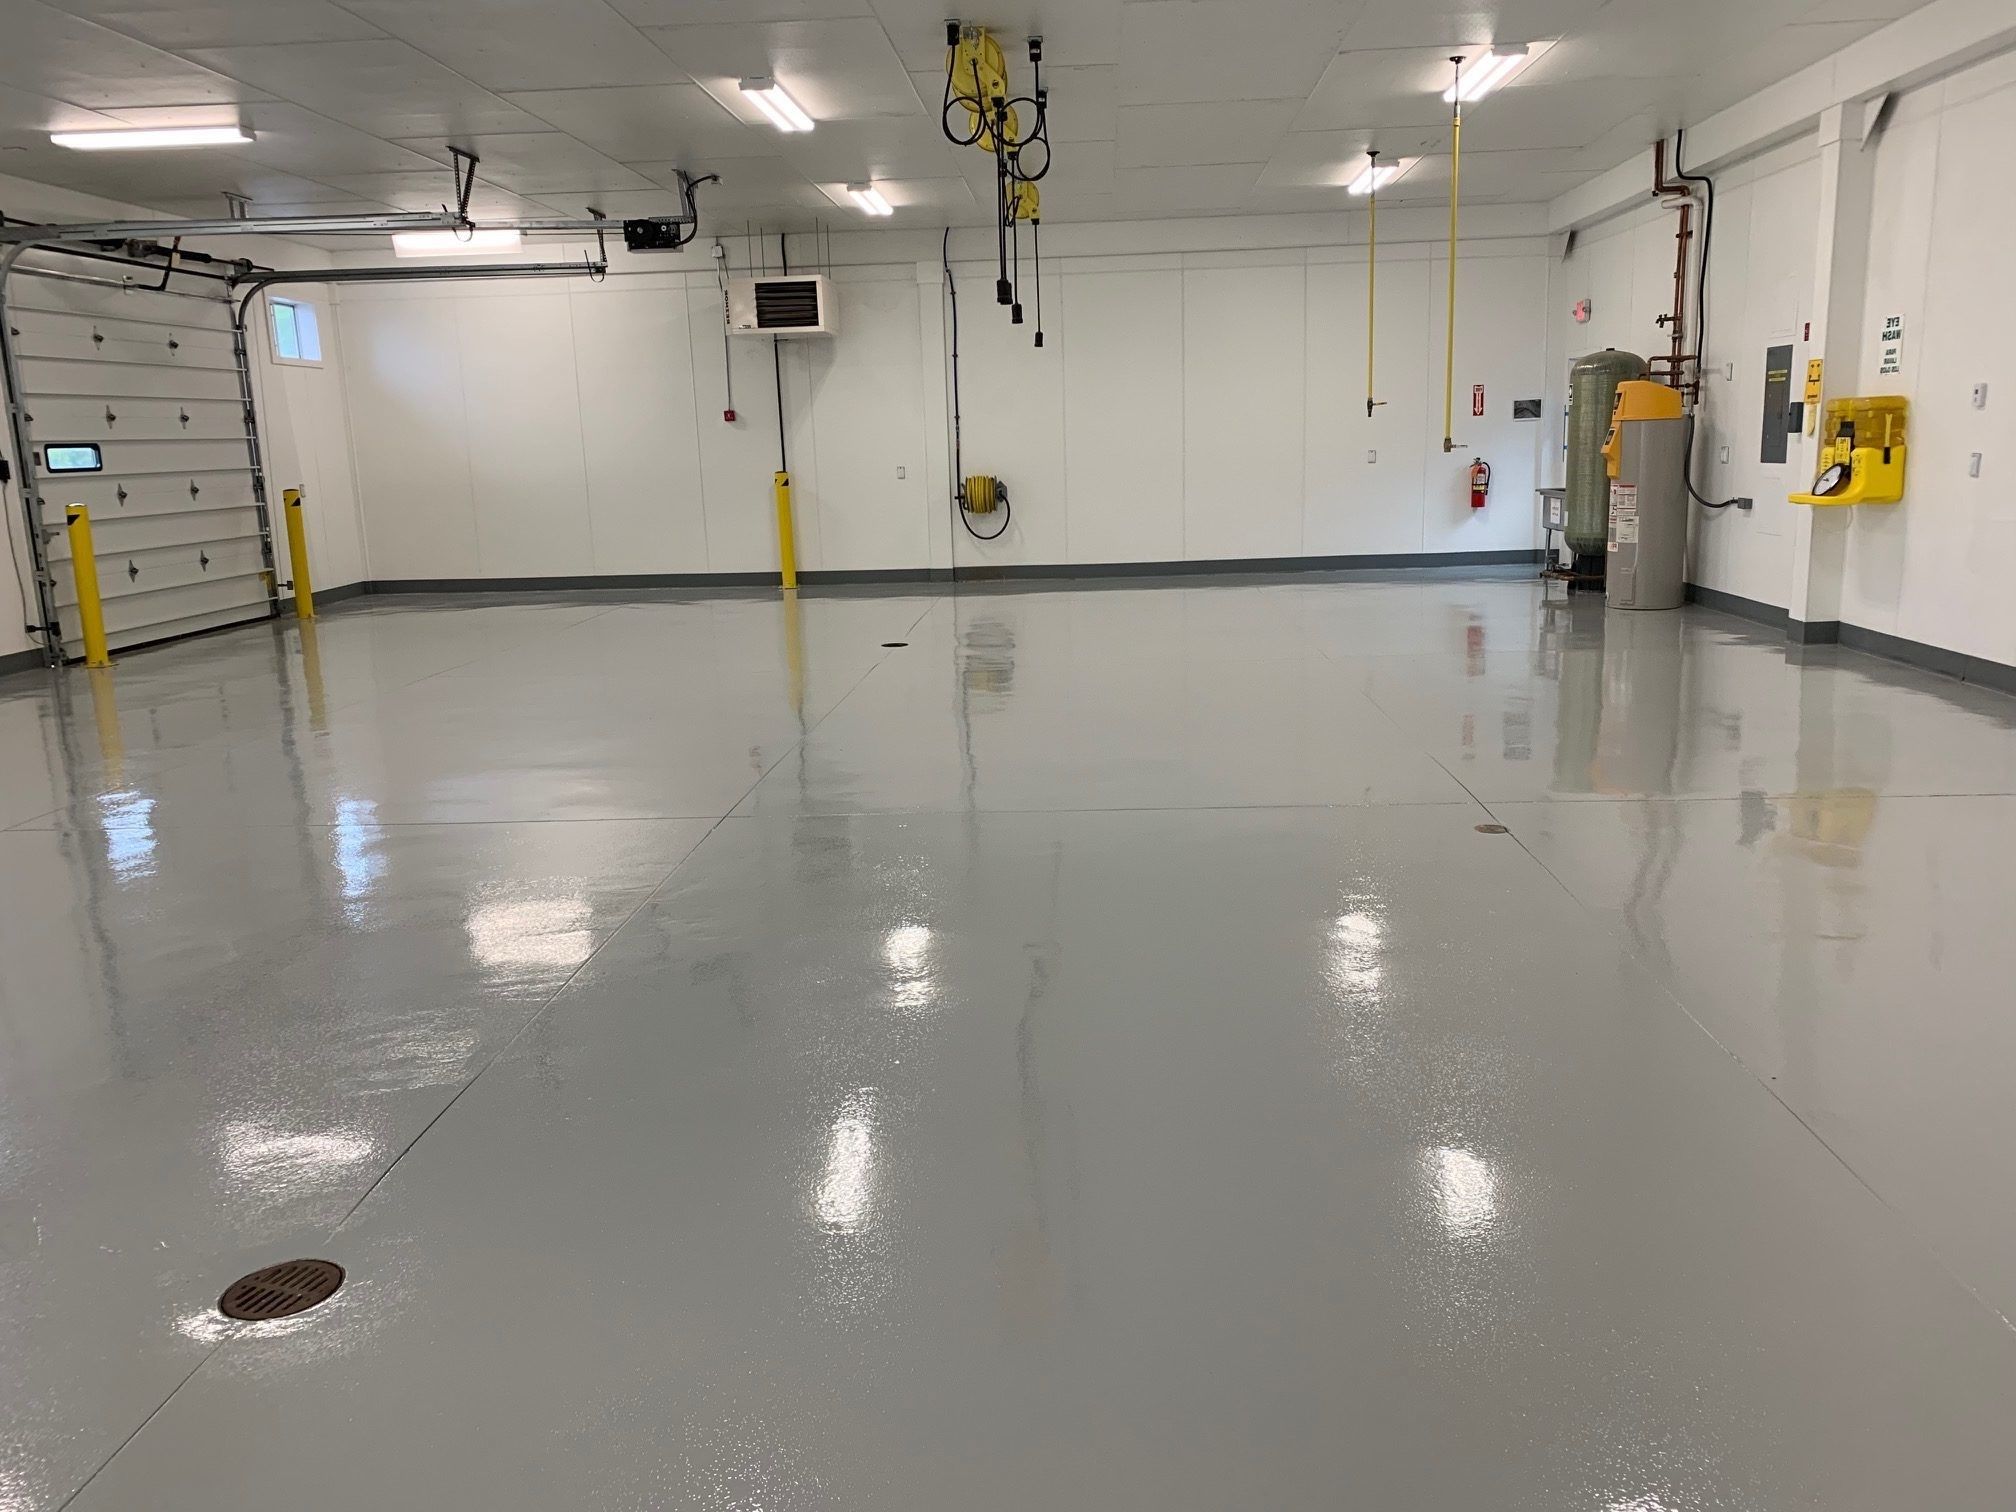
Applying polyurea garage floor coating transforms your space into a durable, attractive area. With proper preparation, application, and curing, you'll enjoy a floor that's resistant to chemicals, abrasion, and moisture. This project might seem daunting, but breaking it down into manageable steps makes it achievable. Remember to wear protective gear, follow the manufacturer's instructions, and allow ample time for each phase. Your garage will not only look fantastic but also stand up to the wear and tear of daily use. So, roll up your sleeves, gather your materials, and get started. Your garage floor will thank you!
What is polyurea garage floor coating?
Polyurea is a durable, fast-curing coating that protects garage floors from stains, chemicals, and wear. It's more flexible and long-lasting than epoxy.
How long does it take to apply and cure?
Applying polyurea usually takes a day. It cures quickly, often within 24 hours, so you can use your garage the next day.
Do I need special tools to apply it?
Yes, you'll need a concrete grinder, rollers, and protective gear. Renting tools from a hardware store is an option if you don't own them.
Can I apply polyurea myself, or should I hire a professional?
You can apply it yourself if you're comfortable with DIY projects and have the right tools. For best results, though, hiring a professional might be worth it.
How do I prepare my garage floor before applying polyurea?
Clean the floor thoroughly, repair any cracks, and grind the surface to ensure the coating adheres properly. Proper prep is key for a smooth finish.
Is polyurea resistant to chemicals and spills?
Yes, polyurea is highly resistant to chemicals, oil, and other spills. It creates a protective barrier that makes cleaning up messes easy.
How long does polyurea last compared to epoxy?
Polyurea can last 15-20 years or more with proper care, outlasting epoxy, which typically lasts 5-10 years. It's a more durable option for garage floors.

