
Home>Create & Decorate>DIY & Crafts>How To Build A Tiki Hut
DIY & Crafts
How To Build A Tiki Hut
Published: May 21, 2024

Senior Editor in Create & Decorate, Kathryn combines traditional craftsmanship with contemporary trends. Her background in textile design and commitment to sustainable crafts inspire both content and community.
Learn how to build a Tiki Hut with our DIY & Crafts guide. Create your own tropical oasis with step-by-step instructions and tips.
(Many of the links in this article redirect to a specific reviewed product. Your purchase of these products through affiliate links helps to generate commission for Twigandthistle.com, at no extra cost. Learn more)
Introduction
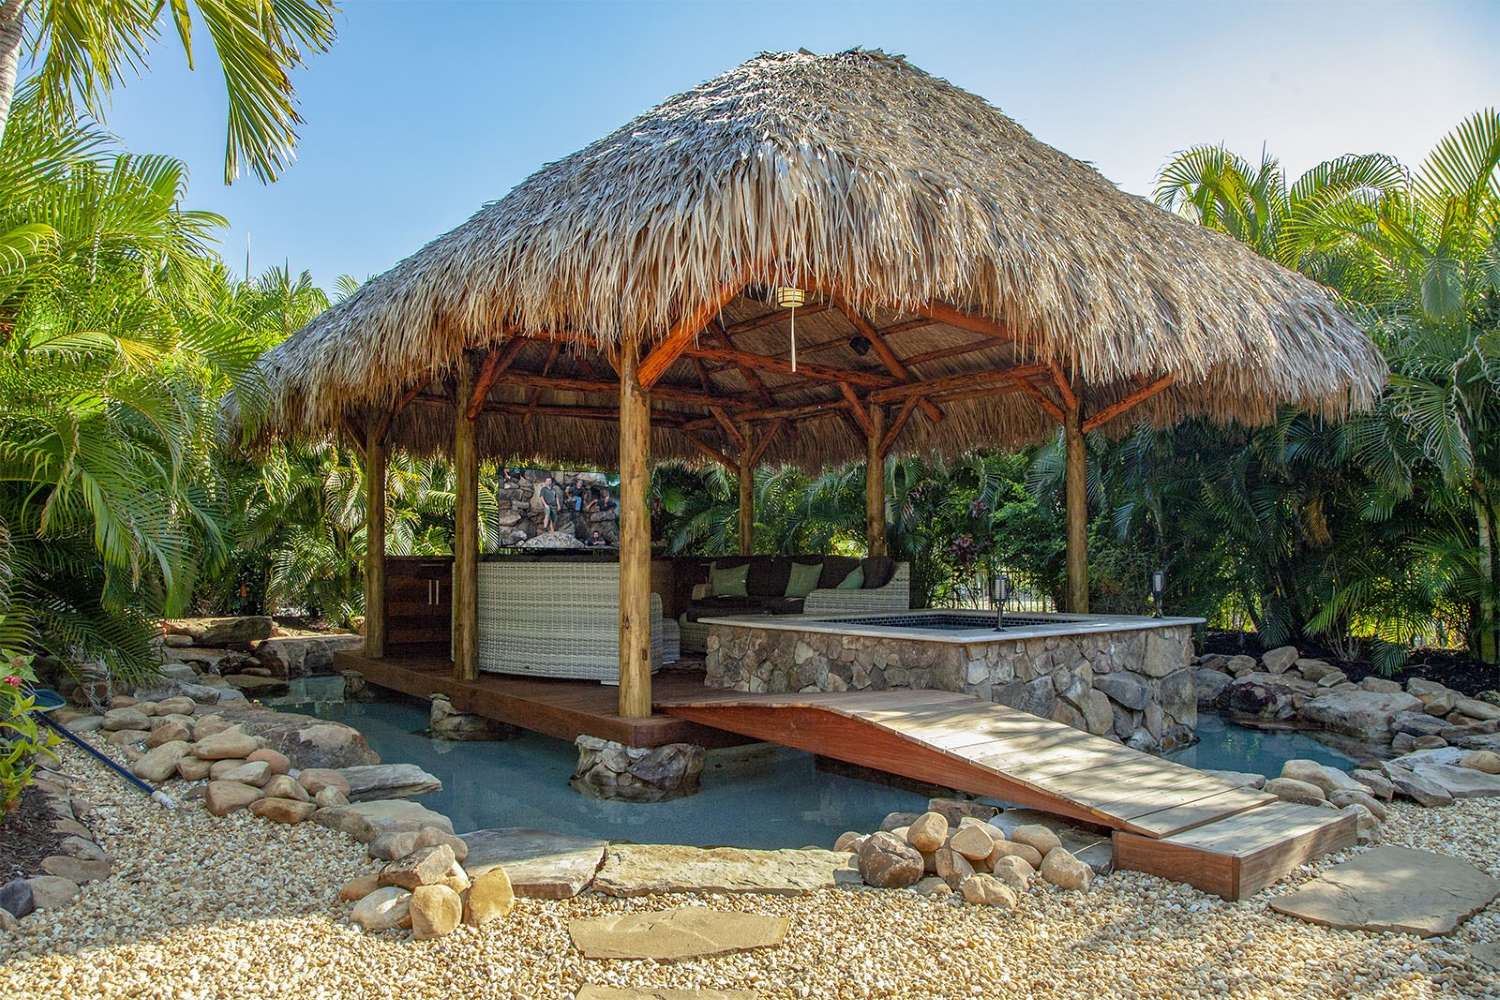
So, you've decided to bring a taste of the tropics to your backyard by building your very own tiki hut. Congratulations! Whether you're looking to create a cozy spot for entertaining guests or simply want to add a touch of exotic flair to your outdoor space, a tiki hut can be a fantastic addition to any home. In this guide, we'll walk you through the step-by-step process of building your own tiki hut, from choosing the right location to adding the finishing touches. Let's dive in and get started on this exciting DIY project!
Choosing the Right Location
When it comes to building a tiki hut, choosing the right location is crucial. Here are some key factors to consider when selecting the perfect spot for your tiki hut:
-
Space: Ensure that you have enough space in your backyard to accommodate the size of the tiki hut you want to build. Consider the dimensions of the hut and allow for additional space around it for seating and movement.
-
Sun and Shade: Take note of the sun's path throughout the day. You'll want to place your tiki hut in an area that offers a good balance of sun and shade, providing a comfortable environment for relaxation and socializing.
-
Accessibility: Think about how accessible the location is. You'll want to choose a spot that is easily reachable from your house and other outdoor living areas.
-
Landscaping: Consider the surrounding landscaping and natural features. A tiki hut nestled among lush greenery or overlooking a water feature can create a picturesque and tranquil setting.
-
Views: If your backyard offers scenic views, such as a garden, pond, or mountains, take advantage of these natural vistas when deciding on the location of your tiki hut.
By carefully considering these factors, you can select a location that not only complements your outdoor space but also enhances the overall ambiance of your backyard oasis.
Gathering Materials and Tools
Before you dive into the construction of your tiki hut, it's essential to gather all the necessary materials and tools. Here's a comprehensive list to ensure you have everything you need to bring your tiki hut to life:
Materials
- Bamboo or Treated Lumber: Choose high-quality bamboo poles or treated lumber for the frame and support structure of your tiki hut.
- Thatch Roofing Material: Opt for natural thatch or synthetic thatch panels to create an authentic tropical roof for your hut.
- Fasteners and Hardware: Stock up on screws, nails, and other fasteners, as well as the necessary hardware for assembling the frame and attaching the roofing material.
- Plywood or Bamboo Sheets: These will be used for the construction of the hut's walls and any additional decorative elements.
- Decorative Accents: Consider adding decorative elements such as bamboo fencing, tropical-themed decor, and lighting to enhance the aesthetic appeal of your tiki hut.
Tools
- Saw: A handsaw or circular saw for cutting lumber and bamboo to the required lengths.
- Drill and Bits: A power drill with a set of drill bits for creating pilot holes and securing fasteners.
- Measuring Tape: Essential for ensuring accurate dimensions and proper alignment during construction.
- Level: To ensure that the frame and roofing are installed evenly and straight.
- Ladder or Scaffolding: Depending on the height of your tiki hut, a ladder or scaffolding will be necessary for reaching elevated areas during construction.
- Work Gloves and Safety Gear: Protect your hands with work gloves and wear appropriate safety gear, including goggles and a dust mask, when working with materials and power tools.
By gathering these materials and tools, you'll be well-prepared to tackle the construction of your tiki hut with confidence and efficiency.
Building the Frame
Building the frame is a critical step in the construction of your tiki hut, as it provides the structural support for the entire structure. Here's a step-by-step guide to help you build a sturdy and durable frame for your tiki hut:
-
Prepare the Foundation: Start by preparing the foundation for your tiki hut. Depending on the size and design of your hut, you may need to dig post holes or install concrete footings to support the frame. Ensure that the foundation is level and securely anchored to the ground.
-
Cut and Assemble the Support Posts: Measure and cut the bamboo or treated lumber to the required lengths for the support posts. Arrange the posts according to your hut's design, ensuring that they are evenly spaced and aligned. Use fasteners and hardware to securely attach the posts to the foundation.
-
Construct the Roof Support Structure: Create the framework for the roof by installing horizontal beams or rafters across the top of the support posts. These beams will provide the base for attaching the roofing material. Use a level to ensure that the roof structure is even and well-balanced.
-
Secure Cross Bracing and Diagonal Supports: To reinforce the frame and enhance its stability, add cross bracing and diagonal supports between the vertical and horizontal elements of the frame. This will help distribute the weight of the roof and withstand external forces such as wind and rain.
-
Check for Stability and Alignment: Once the frame is assembled, carefully inspect the entire structure for stability and proper alignment. Make any necessary adjustments to ensure that the frame is solid and level before proceeding to the next phase of construction.
By following these steps and paying attention to detail, you can build a robust and reliable frame for your tiki hut, setting the stage for the next stages of the construction process.
Adding the Roof
After successfully constructing the frame, the next crucial step is adding the roof to your tiki hut. The roof not only provides shelter and protection from the elements but also contributes to the overall aesthetic appeal of the structure. Here's a detailed guide to help you add the perfect roof to your tiki hut:
-
Selecting the Roofing Material: Choose the roofing material that best suits your preferences and climate. Natural thatch, synthetic thatch panels, palm leaves, or even bamboo sheets can be used to create an authentic tropical look. Consider factors such as durability, maintenance requirements, and the desired visual effect when making your selection.
-
Measuring and Cutting the Roofing Material: Measure the dimensions of the roof structure and carefully cut the roofing material to fit. Ensure that the material overlaps appropriately to provide adequate coverage and protection from rain and sunlight. Use a saw or shears to trim the material to the required size.
-
Attaching the Roofing Material: Secure the roofing material to the frame using appropriate fasteners and hardware. Depending on the chosen material, you may need to use screws, nails, or zip ties to affix the roofing securely in place. Pay attention to the recommended installation guidelines for the specific roofing material you have selected.
-
Layering and Thatching: If you are using natural thatch or palm leaves, consider layering the material to create a thicker and more weather-resistant roof. Overlapping the thatch or leaves will help shed water and prevent leaks. Thatching is a skillful technique that involves weaving and securing the material to achieve a seamless and visually appealing finish.
-
Trimming and Finishing Touches: Once the roofing material is attached, trim any excess material and tidy up the edges for a neat and polished look. Consider adding decorative elements such as bamboo trim, rope accents, or tropical-themed embellishments to enhance the visual appeal of the roof and tie it in with the overall design of the tiki hut.
By following these steps, you can add a stunning and functional roof to your tiki hut, creating a captivating outdoor space that evokes the spirit of the tropics.
Decorating and Finishing Touches
Once the structural elements of your tiki hut are in place, it's time to focus on the fun part – decorating and adding the finishing touches. This is where you can infuse your personal style and creativity to transform your tiki hut into a captivating oasis. Here are some ideas to help you elevate the visual appeal and ambiance of your tiki hut:
-
Tropical Décor: Embrace the tropical theme by incorporating vibrant and exotic décor elements. Think tiki masks, tiki torches, seashells, colorful lanterns, and tropical plants. These additions will infuse your tiki hut with a lively and festive atmosphere.
-
Bamboo Accents: Utilize bamboo as a versatile and natural material for adding accents to your tiki hut. Bamboo fencing, wall coverings, and furniture pieces can enhance the tropical aesthetic while providing a sustainable and eco-friendly touch.
-
Lighting: Set the mood with strategic lighting. String lights, paper lanterns, and torches can create a warm and inviting ambiance, perfect for evening gatherings and relaxation. Consider solar-powered options for eco-friendly illumination.
-
Seating and Furnishings: Choose comfortable and weather-resistant seating options such as bamboo chairs, rattan furniture, or cushioned benches. Add colorful throw pillows and tropical-patterned fabrics to create a cozy and inviting seating area.
-
Themed Bar Area: If you plan to entertain guests in your tiki hut, consider incorporating a themed bar area. Use bamboo or reclaimed wood to construct a bar counter, and display tropical cocktails, glassware, and bar accessories to complete the setup.
-
Thatched Umbrellas and Shades: Enhance the comfort of your tiki hut by adding thatched umbrellas or shades to provide additional protection from the sun. These can be positioned strategically to create shaded areas for relaxation and dining.
-
Tropical Landscaping: Surround your tiki hut with lush tropical plants, palm trees, and colorful flowers to create a natural and immersive tropical environment. Incorporate a mix of textures and heights to add visual interest to the landscape.
-
Custom Signage and Artwork: Personalize your tiki hut with custom signage, hand-painted murals, or tropical-themed artwork. These unique touches can add character and charm to your outdoor retreat.
By incorporating these decorating and finishing touches, you can transform your tiki hut into a captivating and inviting space that reflects the laid-back and carefree spirit of the tropics. Let your imagination run wild and create a personalized paradise in your own backyard.
Maintenance and Care Tips
Maintaining your tiki hut is essential to ensure its longevity and continued enjoyment. Here are some valuable maintenance and care tips to keep your tiki hut in top condition:
-
Inspect Regularly: Schedule routine inspections of your tiki hut to check for any signs of wear, damage, or structural issues. Look for loose thatch, damaged roofing material, or any indications of pest infestation. Early detection can prevent minor issues from escalating into major problems.
-
Thatch Maintenance: If your tiki hut features a thatched roof, regular maintenance is crucial. Gently brush or comb the thatch to remove debris, dust, and potential mold growth. Trim any overhanging branches to prevent leaves and twigs from accumulating on the roof.
-
Weather Protection: Consider applying a weather-resistant sealant or protective coating to the roofing material to enhance its durability and resistance to moisture, UV rays, and mildew. This can prolong the lifespan of the roof and minimize the effects of harsh weather conditions.
-
Pest Control: Implement pest control measures to safeguard your tiki hut against termites, ants, and other wood-damaging insects. Consider using natural repellents or seeking professional pest control services to prevent infestations and protect the structural integrity of the hut.
-
Cleaning and Upkeep: Regularly clean the surfaces of your tiki hut, including the frame, roofing, and decorative elements. Use a gentle cleaning solution and a soft brush to remove dirt, dust, and grime. Avoid harsh chemicals that may damage the natural materials.
-
Re-staining and Sealing: If your tiki hut is constructed from treated lumber, consider re-staining and sealing the wood periodically to maintain its appearance and protect it from moisture and sun exposure. This can prevent warping, rot, and discoloration.
-
Trim Surrounding Vegetation: Keep the area around your tiki hut well-maintained by trimming overgrown vegetation and foliage. This not only enhances the visual appeal of the hut but also prevents potential damage from branches and leaves rubbing against the structure.
-
Seasonal Care: Take seasonal factors into account when caring for your tiki hut. In preparation for the winter months, ensure that the roof is secure and capable of withstanding heavy rain and snow. During the summer, provide adequate shade and ventilation to prevent heat buildup.
-
Professional Maintenance: For complex maintenance tasks or repairs, consider consulting with professionals who specialize in tiki hut maintenance and restoration. They can provide expert advice and services to address specific maintenance needs.
By following these maintenance and care tips, you can preserve the beauty and functionality of your tiki hut, allowing you to continue enjoying a tropical retreat in your own backyard for years to come.