
Home>Create & Decorate>DIY & Crafts>How To Make A Seesaw
DIY & Crafts
How To Make A Seesaw
Published: May 20, 2024

Content Creator specializing in woodworking and interior transformations. Caegan's guides motivate readers to undertake their own projects, while his custom furniture adds a personal touch.
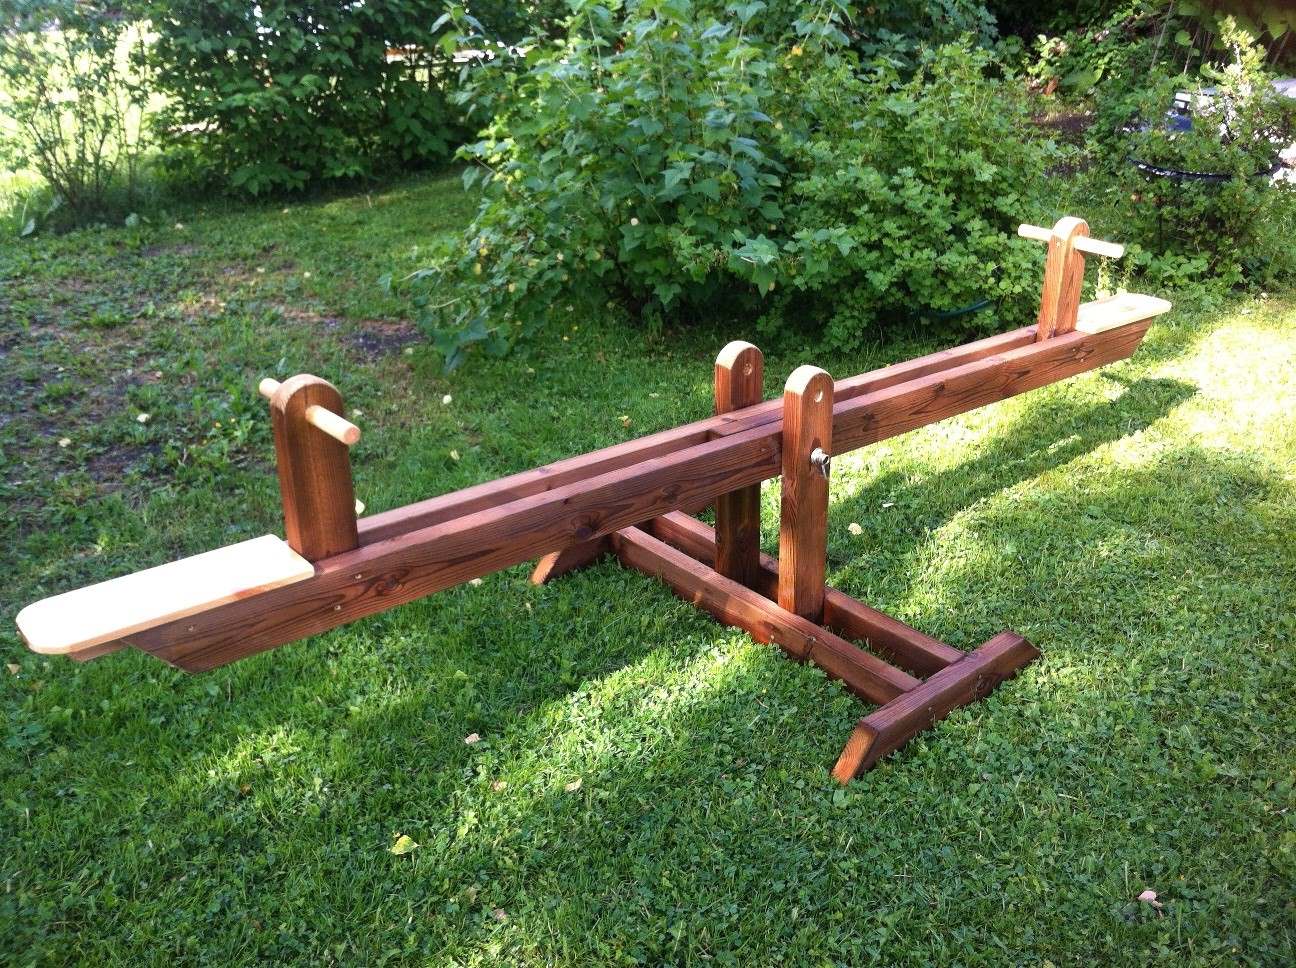
Learn how to make a DIY seesaw with our step-by-step guide. Get creative with our easy crafts and enjoy building your own backyard fun. Perfect for DIY & Crafts enthusiasts!
(Many of the links in this article redirect to a specific reviewed product. Your purchase of these products through affiliate links helps to generate commission for Twigandthistle.com, at no extra cost. Learn more)
Introduction
So, you want to add some fun to your backyard and give your kids a reason to put down their screens and play outside? Well, making a seesaw is a fantastic way to do just that! Not only is it a relatively simple project, but it's also a great opportunity to get creative and add a personal touch to your outdoor space. In this article, we'll guide you through the process of making your very own seesaw, from gathering the materials to putting the finishing touches on your new backyard attraction. Let's get started!
Materials Needed
To get started on your DIY seesaw project, you'll need the following materials:
- Wood: You'll need two pieces of sturdy, weather-resistant wood for the seats, and two longer pieces for the base. Make sure the wood is smooth and free from any splinters to ensure a safe and comfortable experience for the little ones.
- Screws and Nails: These will be essential for securing the various components of the seesaw together. Opt for durable, rust-resistant screws and nails to ensure the longevity of your creation.
- Measuring Tape and Pencil: Accurate measurements are crucial for ensuring the seesaw is balanced and safe, so having a measuring tape and pencil on hand is a must.
- Saw: A saw will be necessary for cutting the wood to the correct lengths. A handsaw or a power saw will both work for this project.
- Drill: You'll need a drill to create holes for the screws and to attach the fulcrum securely.
- Fulcrum: This is the pivotal point of the seesaw. You can use a metal pipe or a sturdy wooden dowel as the fulcrum.
- Paint and Sealant: If you want to add a pop of color to your seesaw and protect the wood from the elements, paint and sealant will be necessary.
- Level: Ensuring that the seesaw is level is crucial for safety, so having a level on hand will help you achieve this.
Gathering these materials will set you on the right path to creating a sturdy and safe seesaw for your backyard.
Step 1: Cutting the Wood
The first step in creating your DIY seesaw is to cut the wood to the appropriate lengths. Start by measuring and marking the wood according to the dimensions you've planned for the seats and the base. Use a measuring tape and a pencil to ensure accuracy in your markings. Once you have the measurements in place, carefully use a saw to cut the wood along the marked lines. It's crucial to make precise and straight cuts to ensure that the seesaw is stable and safe for use. Remember to prioritize safety during this step by wearing appropriate safety gear, such as goggles and gloves, and securing the wood properly before cutting.
After cutting the wood for the seats and the base, it's a good idea to sand the edges to remove any roughness or splinters. This will not only give the seesaw a more polished look but also prevent any potential injuries from sharp edges. Once the wood is cut and smoothed, you're ready to move on to the next step in assembling your DIY seesaw.
Step 2: Assembling the Base
With the wood pieces cut to the appropriate lengths, it's time to assemble the base of your DIY seesaw. Begin by laying out the two longer pieces of wood parallel to each other, ensuring that they are evenly spaced and aligned. Using a drill and screws, attach the shorter pieces of wood across the longer ones, creating a sturdy and stable base for the seesaw. It's essential to use the measuring tape and level during this step to guarantee that the base is even and balanced, as this will contribute to the overall stability and safety of the seesaw.
Once the base is assembled, it's a good idea to give it a test run to ensure that it can support the weight and movement of the seesaw. Sit on each end of the base to check for any wobbling or instability. If everything feels secure and balanced, you're ready to move on to the next step. If there are any issues, make the necessary adjustments to the base before proceeding.
Assembling the base is a critical step in the construction of your seesaw, as it forms the foundation for the entire structure. Taking the time to ensure that the base is well-constructed and stable will contribute to the safety and enjoyment of the finished product. With the base in place, you're one step closer to completing your DIY seesaw and providing hours of outdoor fun for your family.
Step 3: Attaching the Seat
Now that the base is securely assembled, it's time to attach the seats to complete the structure of your DIY seesaw. Place the pre-cut seat pieces on top of the base, ensuring that they are evenly positioned and aligned. Using a drill and screws, fasten the seats to the base, making sure that they are firmly attached and can support the weight of the intended users. It's important to space the seats evenly to maintain balance and stability during use.
After attaching the seats, give the seesaw a gentle test to ensure that the seats are secure and that there are no unexpected movements or instability. Sit on each end of the seesaw to check for any wobbling or shifting of the seats. If everything feels stable and secure, you're ready to move on to the next step. If there are any issues, make the necessary adjustments to the seat attachments before proceeding.
Attaching the seats is a crucial step in completing your DIY seesaw, as it directly impacts the safety and comfort of the users. Taking the time to ensure that the seats are securely fastened and well-aligned will contribute to the overall stability and enjoyment of the finished product. With the seats in place, your DIY seesaw is taking shape and getting closer to being ready for use.
Step 4: Adding the Fulcrum
Adding the fulcrum is a crucial step in completing your DIY seesaw. The fulcrum is the pivotal point on which the seesaw balances and rotates, so it's essential to ensure that it is securely attached and properly positioned. To add the fulcrum, start by determining the center point of the base where the seesaw will pivot. Once you've identified the center, use a drill to create a hole that is slightly larger than the diameter of the fulcrum. This hole will accommodate the fulcrum and allow for smooth movement when the seesaw is in use.
Next, insert the fulcrum into the hole, ensuring that it is positioned securely and extends equally on both sides of the base. The fulcrum can be a metal pipe, a sturdy wooden dowel, or any other cylindrical object that can support the weight and movement of the seesaw. Once the fulcrum is in place, use screws or nails to secure it to the base, ensuring that it is stable and immovable.
After adding the fulcrum, give the seesaw a gentle test to ensure that it pivots smoothly and that the fulcrum is securely attached. Apply some pressure to each end of the seesaw to check for any wobbling or instability around the fulcrum. If everything feels stable and secure, you're one step closer to completing your DIY seesaw. If there are any issues, make the necessary adjustments to the fulcrum attachment before proceeding.
Adding the fulcrum is a critical step that directly impacts the functionality and safety of your DIY seesaw. Taking the time to ensure that the fulcrum is securely attached and properly positioned will contribute to the overall stability and enjoyment of the finished product. With the fulcrum in place, your DIY seesaw is almost ready for some outdoor fun!
Step 5: Testing and Adjusting
Once you have completed the assembly of your DIY seesaw, it's crucial to thoroughly test and make any necessary adjustments to ensure its safety and functionality. Testing the seesaw will involve checking for stability, balance, and smooth movement to guarantee a fun and secure experience for the users.
To begin the testing process, have individuals of varying weights and sizes sit on each end of the seesaw. Observe how the seesaw responds to the weight distribution and movement. Ensure that the seesaw moves smoothly and without any sudden shifts or instability. If you notice any wobbling or unsteadiness, it may indicate that the seesaw requires further adjustments.
If the seesaw does not pivot smoothly around the fulcrum, you may need to reposition the fulcrum or make modifications to its attachment. Additionally, if the seats feel uneven or unbalanced, you may need to adjust their positioning or secure them more firmly to the base.
After making any necessary adjustments, repeat the testing process to ensure that the seesaw now functions as intended. It's essential to prioritize safety during this step, so take the time to thoroughly test and adjust the seesaw until you are confident in its stability and performance.
Once you are satisfied with the testing and have made any required adjustments, your DIY seesaw is ready for use. With its sturdy construction and careful attention to detail, your homemade seesaw is sure to provide countless hours of outdoor enjoyment for your family and friends. Now, it's time to sit back, relax, and watch the laughter and fun unfold in your backyard!
Conclusion
Congratulations! You've successfully completed the construction of your very own DIY seesaw. By following the steps outlined in this guide and paying attention to the details, you've created a fun and safe outdoor play equipment that will bring joy to your family and friends. Your dedication to precision and safety during the construction process ensures that the seesaw is not only entertaining but also reliable and secure for use.
As you watch the little ones enjoy the thrill of up-and-down motion on the seesaw, take pride in the fact that you've contributed to creating lasting memories and fostering outdoor play. The DIY seesaw stands as a testament to your creativity and craftsmanship, adding a personal touch to your backyard and providing a unique playtime experience.
With the right materials, careful assembly, and thorough testing, you've crafted a seesaw that promises hours of laughter and fun. So, grab a seat, take a moment to admire your handiwork, and bask in the satisfaction of a job well done. Your DIY seesaw is now ready to bring smiles and laughter to all who use it.