
Home>Create & Decorate>DIY & Crafts>How To Build A Hearth
DIY & Crafts
How To Build A Hearth
Published: April 20, 2024

Content Creator specializing in woodworking and interior transformations. Caegan's guides motivate readers to undertake their own projects, while his custom furniture adds a personal touch.
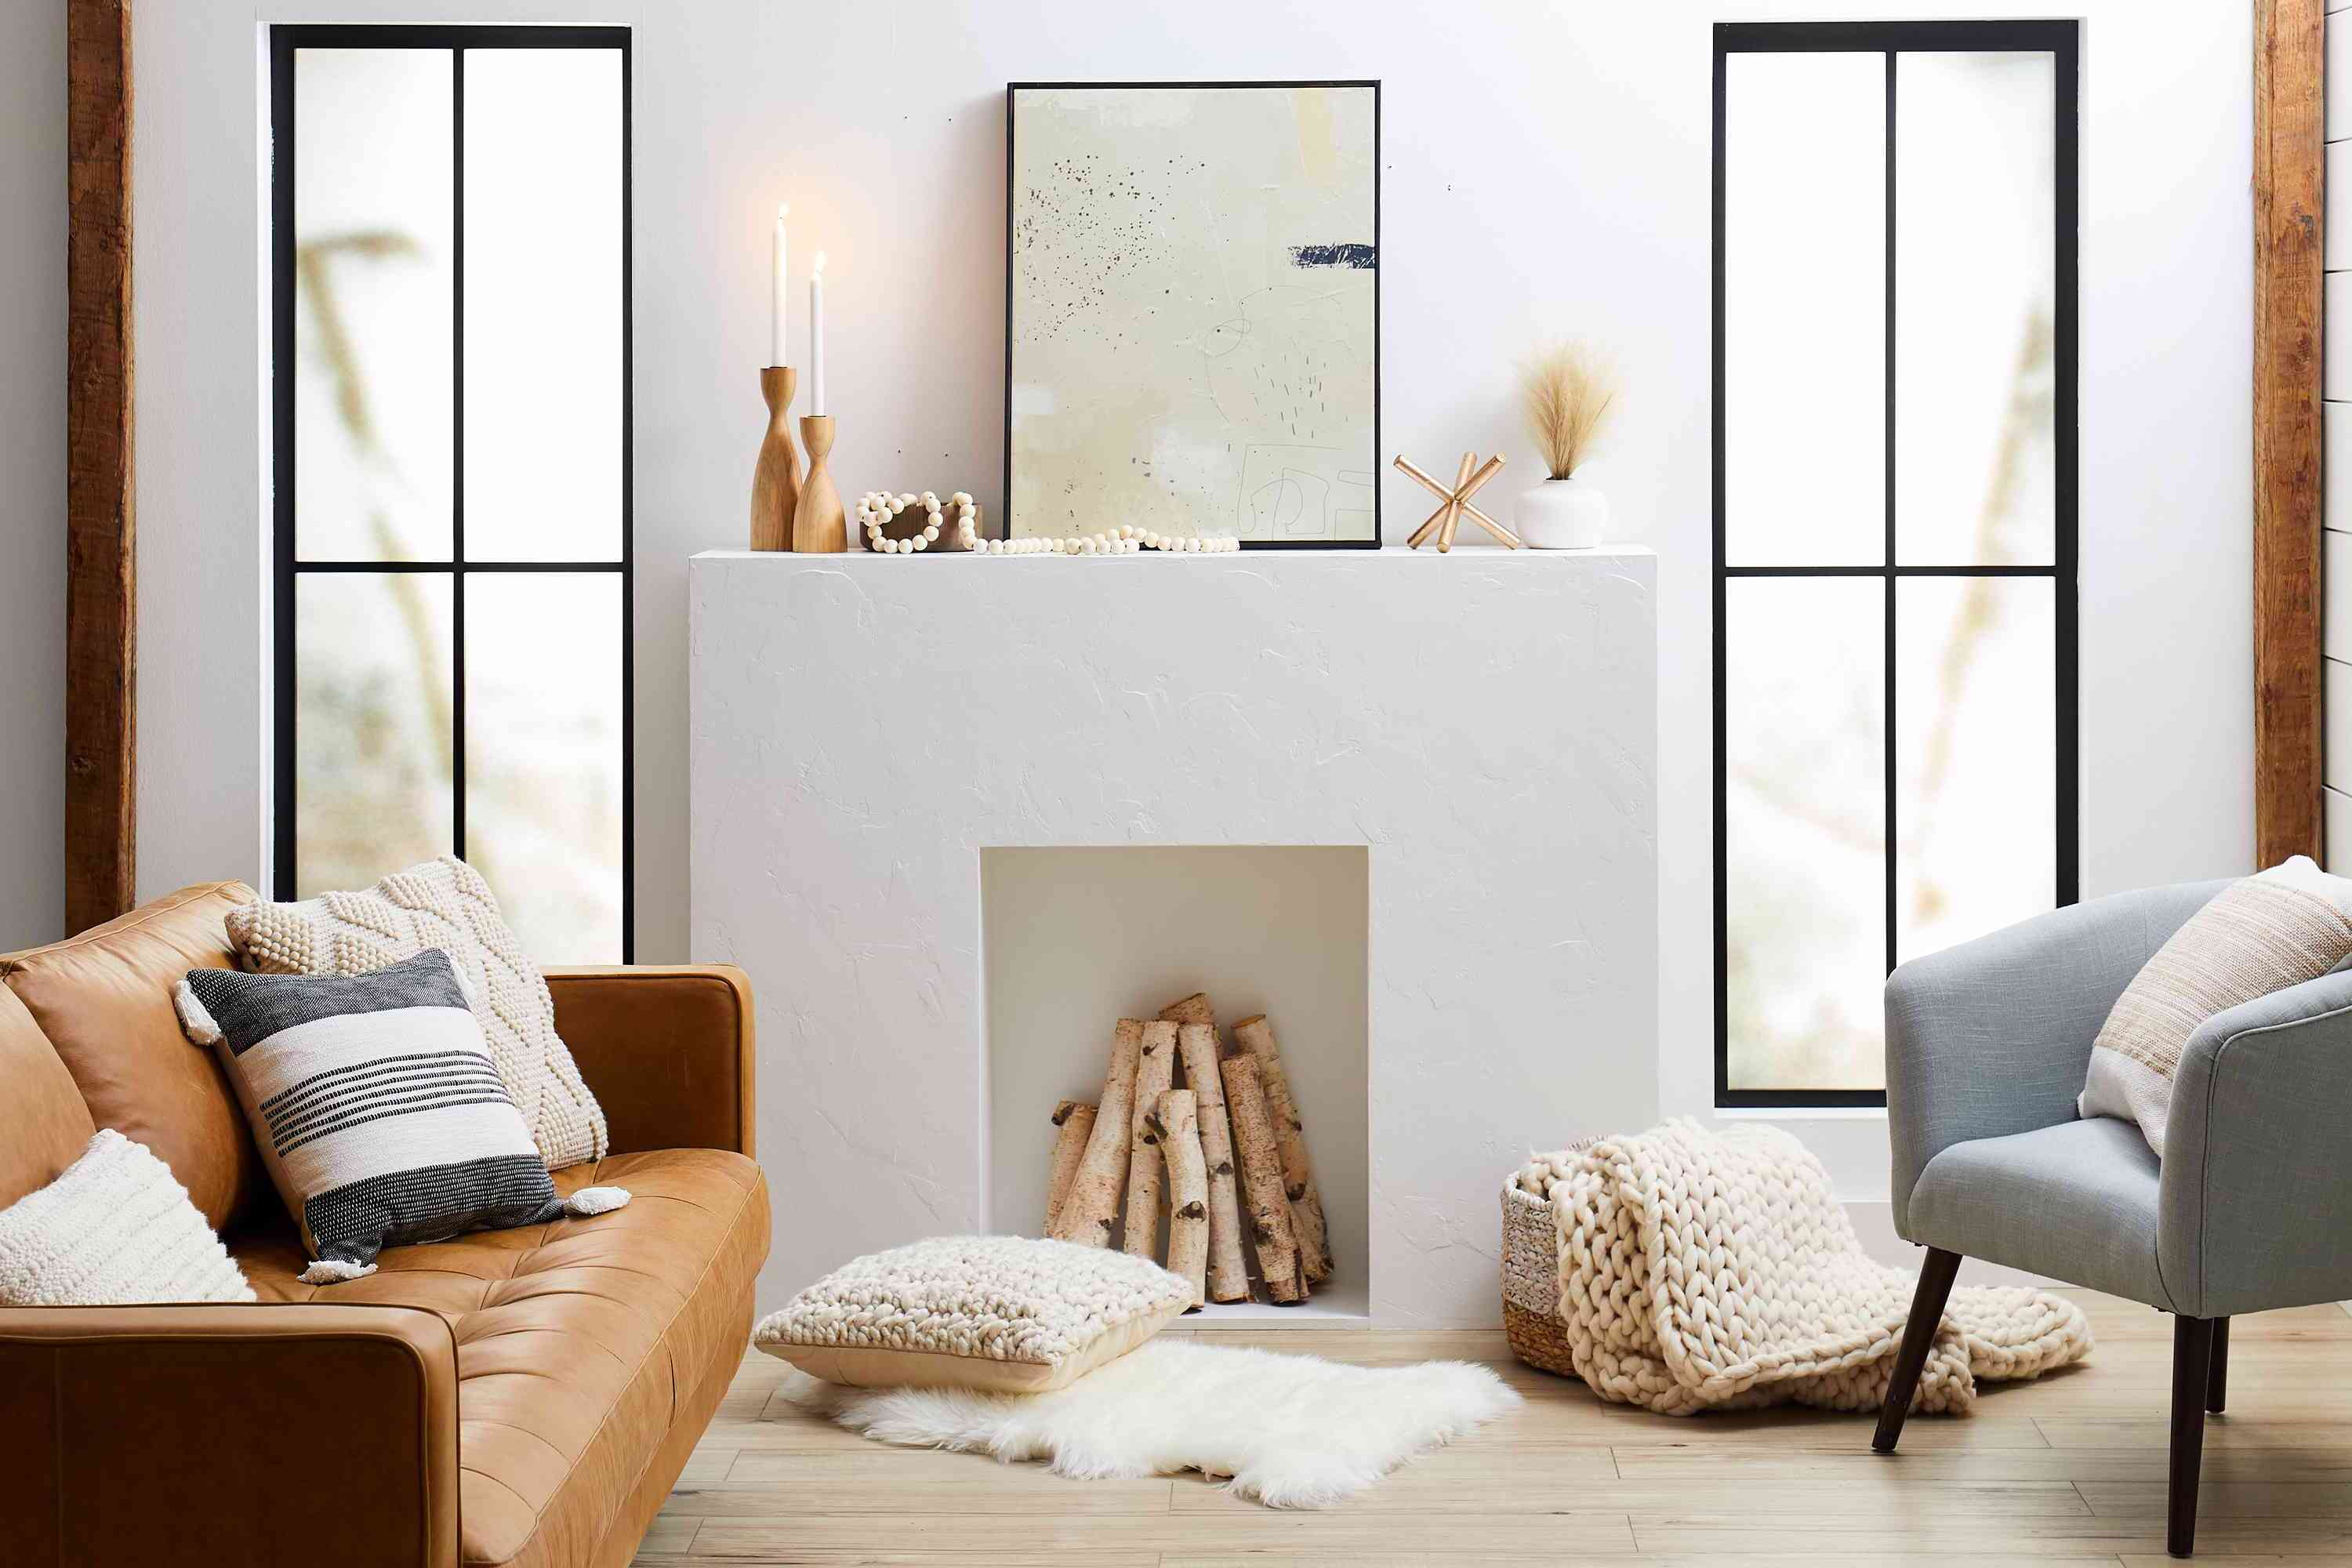
Learn how to build a beautiful and functional hearth with our DIY & Crafts guide. Get step-by-step instructions and expert tips for creating your own cozy fireplace. Start your project today!
(Many of the links in this article redirect to a specific reviewed product. Your purchase of these products through affiliate links helps to generate commission for Twigandthistle.com, at no extra cost. Learn more)
Introduction
So, you've decided to add a cozy and inviting hearth to your home. Whether you're looking to create a warm gathering place for family and friends or simply want to enhance the aesthetic appeal of your living space, building a hearth can be a rewarding and fulfilling DIY project. In this guide, we'll walk you through the step-by-step process of constructing your very own hearth, from choosing the right location to adding the finishing touches. Get ready to roll up your sleeves and unleash your inner craftsman as we delve into the art of building a hearth.
Choosing the Right Location
When it comes to building a hearth, selecting the right location is crucial. Here are some key factors to consider:
-
Safety First: Ensure that the location you choose complies with local building codes and regulations. Keep the hearth a safe distance from flammable materials such as curtains, furniture, and wooden walls.
-
Accessibility: Consider the flow of foot traffic in the room. The hearth should be easily accessible and not obstruct the natural pathways within the space.
-
Ventilation: If you're adding a fireplace insert or wood-burning stove, make sure there is proper ventilation for the smoke to exit the room safely.
-
Aesthetic Appeal: The hearth should serve as a focal point in the room, so choose a location that enhances the overall aesthetic of the space.
-
Structural Support: Ensure that the chosen location can support the weight of the hearth and firebox. If you're building a hearth on a wooden floor, consider adding additional support to bear the load.
By carefully considering these factors, you can choose a location that not only meets practical requirements but also enhances the visual appeal of your living space.
Gathering Materials and Tools
Before you embark on the exciting journey of building your hearth, it's essential to gather all the necessary materials and tools. Here's a comprehensive list to ensure you have everything you need to get started:
Materials
- Bricks or Stone: Choose a durable and heat-resistant material for the hearth's construction. Common options include fire bricks, natural stone, or ceramic tiles.
- Mortar: Select high-quality mortar that can withstand the intense heat produced by the fireplace or wood-burning stove.
- Fireproof Insulation: This is essential for insulating the firebox and ensuring that the heat is contained within the hearth.
- Fireback and Grate: If you're building a traditional fireplace, you'll need a fireback to protect the rear wall and a grate to hold the burning wood.
- Chimney Liner: For proper ventilation, a chimney liner is necessary to guide smoke and gases safely out of the home.
- Concrete or Masonry Blocks: These will be used as the foundation for the hearth.
Tools
- Trowel: A trowel is essential for applying mortar and leveling the bricks or stones.
- Masonry Saw: This tool will come in handy for cutting bricks or stone to the required size and shape.
- Spirit Level: To ensure that the hearth is perfectly level and plumb during construction.
- Work Gloves and Safety Goggles: Protect your hands and eyes from sharp edges and flying debris.
- Measuring Tape and Carpenter's Square: Accurate measurements and angles are crucial for a well-constructed hearth.
- Wheelbarrow and Shovel: For mixing mortar and transporting heavy materials.
By gathering these materials and tools, you'll be well-prepared to tackle the construction of your hearth with confidence and precision.
Constructing the Base
The base of the hearth serves as the foundation for the entire structure, providing stability and support for the firebox and chimney. Here's a step-by-step guide to constructing the base of your hearth:
-
Prepare the Foundation: Begin by clearing the area where the hearth will be built. If you're working on a wooden floor, ensure that the floorboards are reinforced to bear the weight of the hearth. Use a shovel to excavate the area and create a level surface for the foundation.
-
Lay the Concrete Base: Once the area is prepared, pour a layer of concrete to create a solid base for the hearth. Use a trowel and a spirit level to ensure that the concrete is evenly spread and perfectly level. Allow the concrete to cure according to the manufacturer's instructions.
-
Build the Support Structure: Next, construct a support structure using concrete or masonry blocks. This will provide additional stability for the hearth. Use a carpenter's square to ensure that the blocks are aligned at right angles.
-
Install the Fireproof Insulation: Once the support structure is in place, add a layer of fireproof insulation on top of the concrete base. This insulation will help contain the heat within the hearth and protect the underlying materials from damage.
-
Lay the Bricks or Stone: With the insulation in place, it's time to lay the bricks or stone that will form the visible surface of the hearth. Apply mortar to the concrete base and carefully position each brick or stone, ensuring that they are level and securely in place.
-
Check for Level and Stability: As you progress, use a spirit level to check that the surface is level and plumb. This step is crucial for ensuring that the rest of the hearth construction proceeds smoothly and that the finished product is structurally sound.
By following these steps, you can construct a sturdy and well-built base for your hearth, setting the stage for the next phase of the construction process.
Building the Firebox
The firebox is the heart of the hearth, where the fire will burn and radiate warmth into your home. Building a sturdy and well-insulated firebox is essential for the safety and efficiency of your hearth. Here's a detailed guide on how to construct the firebox:
-
Measure and Plan: Before you start building the firebox, carefully measure the dimensions to ensure that it will accommodate the size of the fire you intend to have. Take into account the type of fuel you'll be using, whether it's wood, gas, or pellets, as this will determine the specific requirements for the firebox.
-
Select Fireproof Materials: Choose fireproof materials such as fire bricks or refractory cement to line the interior of the firebox. These materials are designed to withstand high temperatures and protect the surrounding structure from heat damage.
-
Lay the Firebrick: Using fire-resistant mortar, carefully lay the fire bricks to create the interior walls of the firebox. Ensure that the bricks are tightly fitted together and that the mortar joints are smooth and even to prevent heat leakage.
-
Insulate the Firebox: To improve the efficiency of the firebox and prevent heat from escaping into the surrounding masonry, add a layer of fireproof insulation around the exterior of the firebox. This will help contain the heat within the firebox and maximize its heating capabilities.
-
Install the Fireback and Grate: If you're building a traditional fireplace, install a fireback to protect the rear wall of the firebox from heat damage. Additionally, place a sturdy grate at the base of the firebox to support the burning fuel and allow for proper airflow.
-
Check for Proper Ventilation: Ensure that the firebox is properly ventilated to allow for the efficient release of smoke and gases. If you're installing a wood-burning stove or fireplace insert, follow the manufacturer's guidelines for ventilation requirements.
By following these steps, you can construct a durable and well-insulated firebox that will provide a safe and efficient environment for enjoying the warmth and ambiance of a crackling fire in your home.
Adding the Chimney
Adding a chimney is a critical step in the construction of a hearth, as it provides the necessary ventilation for the safe release of smoke and gases produced by the fire. Here's a detailed guide on how to add the chimney to your hearth:
-
Determine the Proper Height: The height of the chimney is crucial for ensuring proper draft and efficient venting of smoke. As a general rule, the chimney should extend at least 3 feet above the highest point where it passes through the roof and 2 feet higher than any portion of the building within a horizontal distance of 10 feet.
-
Select the Right Materials: Choose high-quality chimney components that are suitable for the type of fuel you'll be using. For wood-burning fireplaces, stainless steel or insulated chimneys are commonly used, while gas fireplaces may require different venting materials.
-
Install the Flue Liner: If you're building a masonry chimney, install a flue liner to protect the chimney walls from heat and corrosion. The flue liner should be securely attached to the chimney and extend from the firebox to the top of the chimney.
-
Build the Chimney Structure: If you're constructing a masonry chimney, carefully lay bricks or stone around the flue liner to build the chimney structure. Use mortar to secure the bricks or stone in place, ensuring that the chimney is sturdy and well-constructed.
-
Add a Chimney Cap: Install a chimney cap at the top of the chimney to prevent debris, animals, and water from entering the flue. A chimney cap also helps to improve the draft and prevent downdrafts, enhancing the overall performance of the chimney.
-
Connect to the Firebox: Once the chimney structure is in place, connect it to the firebox or fireplace insert using the appropriate venting components. Ensure that the connection is secure and airtight to prevent any leaks or backdrafts.
By following these steps, you can add a well-constructed and efficient chimney to your hearth, ensuring safe and effective ventilation for your fireplace or wood-burning stove.
Finishing Touches
The finishing touches of your hearth are what truly bring the entire project together, adding aesthetic appeal and functionality to the completed structure. Here's a detailed guide on the essential finishing touches for your hearth:
-
Sealing and Waterproofing: Once the construction of the hearth is complete, it's crucial to seal and waterproof the exposed surfaces to protect them from moisture and wear. Use a high-quality masonry sealer to coat the bricks, stone, or mortar, ensuring long-lasting durability and resistance to the elements.
-
Decorative Accents: Consider adding decorative accents to enhance the visual appeal of your hearth. This could include a mantel shelf, decorative tiles, or ornamental ironwork. These elements can add a touch of elegance and personal style to your hearth, making it a focal point in the room.
-
Fireplace Doors or Screens: If you're building a traditional fireplace, installing fireplace doors or a decorative screen can enhance safety and functionality. These additions can help contain sparks and embers, prevent accidental contact with the fire, and improve the overall efficiency of the fireplace.
-
Hearth Rug or Mat: Place a hearth rug or mat in front of the fireplace to protect the flooring from sparks, ash, and soot. Choose a fire-resistant rug that complements the style of your hearth while providing a practical barrier between the fire and the surrounding floor.
-
Fireplace Tools: Invest in a set of fireplace tools, including a poker, shovel, brush, and tongs, to facilitate the maintenance and operation of your hearth. These tools not only serve a practical purpose but also add a traditional and rustic charm to the hearth area.
-
Lighting and Ambiance: Consider adding lighting elements around the hearth to create a warm and inviting ambiance. Wall sconces, recessed lighting, or strategically placed candles can enhance the cozy atmosphere and highlight the beauty of the hearth.
-
Final Inspection and Cleaning: Before using your hearth, perform a final inspection to ensure that all components are properly installed and functioning. Clean the hearth area, removing any construction debris or dust to prepare for the first fire.
By attending to these finishing touches, you can elevate the functionality and visual appeal of your hearth, creating a welcoming and captivating focal point in your home.
Conclusion
In conclusion, building a hearth is a gratifying endeavor that adds warmth, charm, and functionality to your home. By carefully selecting the location, gathering the necessary materials and tools, constructing a sturdy base, building the firebox, adding the chimney, and attending to the finishing touches, you can create a hearth that not only enhances the aesthetic appeal of your living space but also provides a cozy gathering place for family and friends. Whether you're enjoying the crackling warmth of a traditional fireplace or the radiant heat of a wood-burning stove, a well-constructed hearth is sure to become the heart of your home, providing comfort and joy for years to come. So, roll up your sleeves, unleash your creativity, and embark on the fulfilling journey of building your very own hearth.