
Home>Create & Decorate>Personal Projects>How To Build An Ark
Personal Projects
How To Build An Ark
Published: March 6, 2024

Content Creator specializing in woodworking and interior transformations. Caegan's guides motivate readers to undertake their own projects, while his custom furniture adds a personal touch.
Learn how to plan, execute, and manage personal projects with our comprehensive guide on building an ark. Discover essential tips and strategies for successful project completion.
(Many of the links in this article redirect to a specific reviewed product. Your purchase of these products through affiliate links helps to generate commission for Twigandthistle.com, at no extra cost. Learn more)
Introduction
So, you've decided to take on the monumental task of building an ark. Whether you're preparing for a flood or just looking for a unique DIY project, constructing an ark is no small feat. But fear not! With the right materials, a solid design, and a bit of elbow grease, you can create a sturdy and impressive vessel that would make Noah himself proud. In this guide, we'll walk you through the step-by-step process of building your very own ark. So, grab your tools and let's get started!
Choosing the Right Materials
When it comes to building an ark, choosing the right materials is crucial for ensuring the durability and longevity of your vessel. Here are some key materials you'll need to consider:
1. Wood
The primary material for building an ark is, of course, wood. Look for sturdy, weather-resistant wood such as cedar, cypress, or teak. These types of wood are known for their durability and ability to withstand the elements, making them ideal for constructing a seaworthy ark.
2. Fasteners
To hold your ark together, you'll need a variety of fasteners such as nails, screws, and bolts. Make sure to choose corrosion-resistant fasteners to prevent rust and degradation over time.
3. Sealant
Sealing your ark is essential for keeping out water and ensuring a watertight structure. Consider using marine-grade sealants to protect your ark from leaks and water damage.
4. Waterproofing
In addition to sealant, applying a waterproofing finish to the wood will provide an extra layer of protection against moisture and rot. Look for a high-quality waterproofing product designed for marine applications.
5. Structural Support
To reinforce the structural integrity of your ark, you'll need support beams, braces, and other structural components. Opt for heavy-duty, load-bearing materials to ensure the strength and stability of your vessel.
By carefully selecting the right materials for your ark, you can lay a solid foundation for a sturdy and reliable structure that will stand the test of time.
Designing the Structure
Designing the structure of your ark is a critical step that will determine the functionality, stability, and overall aesthetic of your vessel. Here are the key considerations to keep in mind as you plan the design:
-
Size and Proportions
- Determine the size of your ark based on its intended use and the number of occupants or cargo it will accommodate. Consider the proportions to ensure a balanced and seaworthy design.
-
Hull Shape
- The hull shape plays a crucial role in the ark's buoyancy and stability. Consider a rounded or V-shaped hull to improve its ability to navigate through water and withstand rough conditions.
-
Deck Layout
- Plan the layout of the decks to maximize usable space while maintaining a clear and efficient circulation path. Consider the placement of living quarters, storage areas, and any additional features you wish to include.
-
Ventilation and Drainage
- Incorporate ventilation openings and drainage systems to prevent the accumulation of water and moisture within the ark. Proper ventilation and drainage are essential for maintaining a healthy and habitable environment.
-
Access Points
- Design accessible entry and exit points for both humans and animals, taking into account the ease of boarding and disembarking from the ark.
-
Structural Integrity
- Ensure that the structural framework of the ark is robust and capable of withstanding the forces exerted by water, wind, and potential impacts. Consider the use of reinforcement elements to enhance the overall strength of the structure.
-
Aesthetics
- While functionality is paramount, don't overlook the aesthetic aspects of the design. Incorporate elements that reflect your personal style and preferences, whether it's the choice of wood finishes, decorative details, or other embellishments.
By carefully considering these design elements, you can create a well-thought-out plan for your ark that balances practicality with visual appeal, resulting in a structurally sound and visually striking vessel.
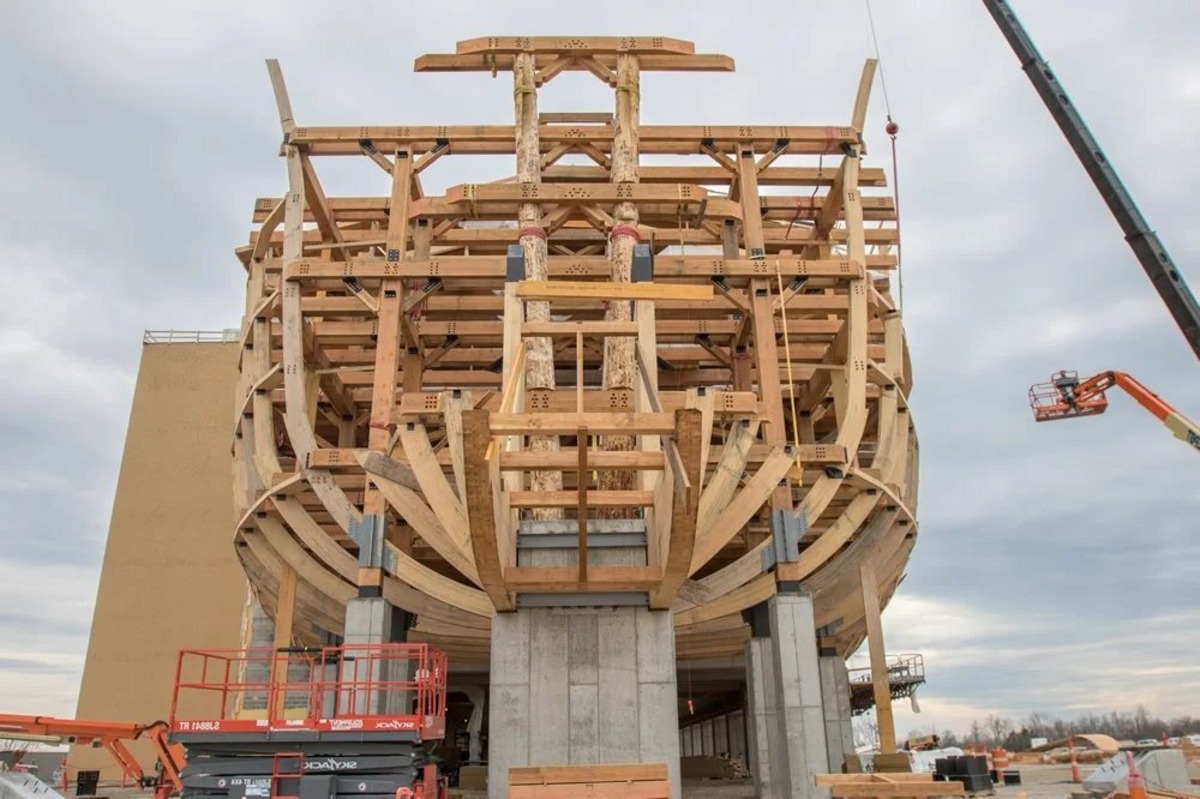
Constructing the Ark
With the design plan in hand and the materials at the ready, it's time to roll up your sleeves and embark on the exciting phase of constructing your ark. Follow these steps to bring your vision to life:
-
Prepare the Foundation: Begin by laying the groundwork for your ark. Construct a sturdy foundation or base to support the weight of the structure and provide a stable platform for building upward.
-
Frame the Structure: Using the selected wood and fasteners, start framing the basic structure of the ark according to your design plan. Pay close attention to the alignment and spacing of the structural elements to ensure a solid and uniform framework.
-
Assemble the Hull: Assemble the hull of the ark, carefully shaping and joining the hull components to form a watertight enclosure. Focus on creating smooth transitions and secure connections to prevent water infiltration.
-
Install Support Beams: Incorporate support beams and braces to reinforce the structural integrity of the ark. These elements will provide additional strength and stability, especially in areas prone to stress and load-bearing.
-
Add Decking and Flooring: Install the decking and flooring materials to create the various levels and compartments within the ark. Ensure that the surfaces are level, secure, and capable of withstanding the intended use.
-
Construct Access Points: Build the entryways, exits, and any necessary access points to facilitate movement in and out of the ark. Pay attention to the functionality and security of these openings.
-
Seal and Waterproof: Apply sealant and waterproofing treatments to the exterior and interior surfaces of the ark. Thoroughly coat the wood to create a protective barrier against moisture and potential water damage.
-
Reinforce Weak Points: Identify any weak points or areas of vulnerability in the structure and reinforce them with additional support or reinforcement materials. Addressing these weak points early on will enhance the overall durability of the ark.
-
Test for Stability: Once the construction is near completion, conduct stability tests to ensure that the ark can withstand simulated water conditions and external forces. Make any necessary adjustments to improve its stability and performance.
-
Final Inspections: Perform a comprehensive inspection of the completed ark, checking for any structural flaws, loose fasteners, or areas requiring additional attention. Address any issues before proceeding to the finishing touches.
By following these steps and exercising precision and care throughout the construction process, you can bring your vision of a sturdy and seaworthy ark to fruition. With the construction phase complete, your ark will be ready for the final phase of adding the finishing touches.
Adding the Finishing Touches
With the construction phase complete, it's time to shift the focus to adding the finishing touches that will elevate the functionality, aesthetics, and overall appeal of your ark. Paying attention to the details during this phase will ensure that your vessel is not only seaworthy but also a visually impressive and comfortable space for its occupants. Here's how to add the final touches to your ark:
-
Interior Furnishings: Install the necessary furnishings and amenities within the ark to create a comfortable and functional living space. Consider adding sleeping quarters, storage compartments, and any other essential features to accommodate occupants and cargo.
-
Safety Equipment: Equip the ark with essential safety gear such as life jackets, emergency flotation devices, and first aid kits. Safety should be a top priority, especially if the ark will be used for transporting passengers or animals.
-
Navigation and Communication Tools: Install navigation equipment, such as compasses or GPS systems, to aid in steering the ark and determining its position at sea. Additionally, consider including communication devices to stay connected with the outside world in case of emergencies.
-
Lighting and Electrical Systems: Implement a reliable lighting system within the ark to ensure visibility during low-light conditions. If applicable, integrate electrical systems to power essential equipment and appliances.
-
Weatherproofing and Insulation: Enhance the ark's resilience to varying weather conditions by adding weatherproofing elements such as seals, gaskets, and insulation. This will contribute to the comfort and safety of the occupants.
-
Exterior Finishes: Apply a protective and visually appealing finish to the exterior surfaces of the ark. Consider using marine-grade paints or coatings that are resistant to saltwater, UV rays, and other environmental factors.
-
Signage and Markings: Clearly label important areas of the ark, such as emergency exits, safety equipment storage, and directional signs. This will aid in navigation and emergency preparedness.
-
Final Inspections and Testing: Conduct thorough inspections and tests to ensure that all systems and components are functioning as intended. Address any issues or deficiencies before the ark is put into service.
By attending to these final details, you can transform your ark into a fully equipped and seaworthy vessel that is prepared to face the challenges of the open water. With the finishing touches in place, your ark is now ready to fulfill its purpose, whether it's for practical use or simply as a remarkable DIY project.
Conclusion
In conclusion, building an ark is a monumental undertaking that requires careful planning, precise execution, and a keen eye for detail. By selecting the right materials, designing a sturdy structure, and meticulously constructing and finishing the ark, you can create a remarkable vessel that is both functional and visually impressive. Whether you're building an ark for practical purposes or as a unique DIY project, the satisfaction of bringing such a significant endeavor to fruition is unparalleled. With the completion of your ark, you have not only crafted a tangible symbol of resilience and craftsmanship but also a vessel that stands as a testament to human ingenuity and determination. So, as you set sail on your next adventure or simply admire your handiwork from the shore, take pride in the fact that you have successfully built an ark that would make Noah himself proud.