
Home>Knowledge & Skills>Masonry & Tilework>How To Build A Chimney
Masonry & Tilework
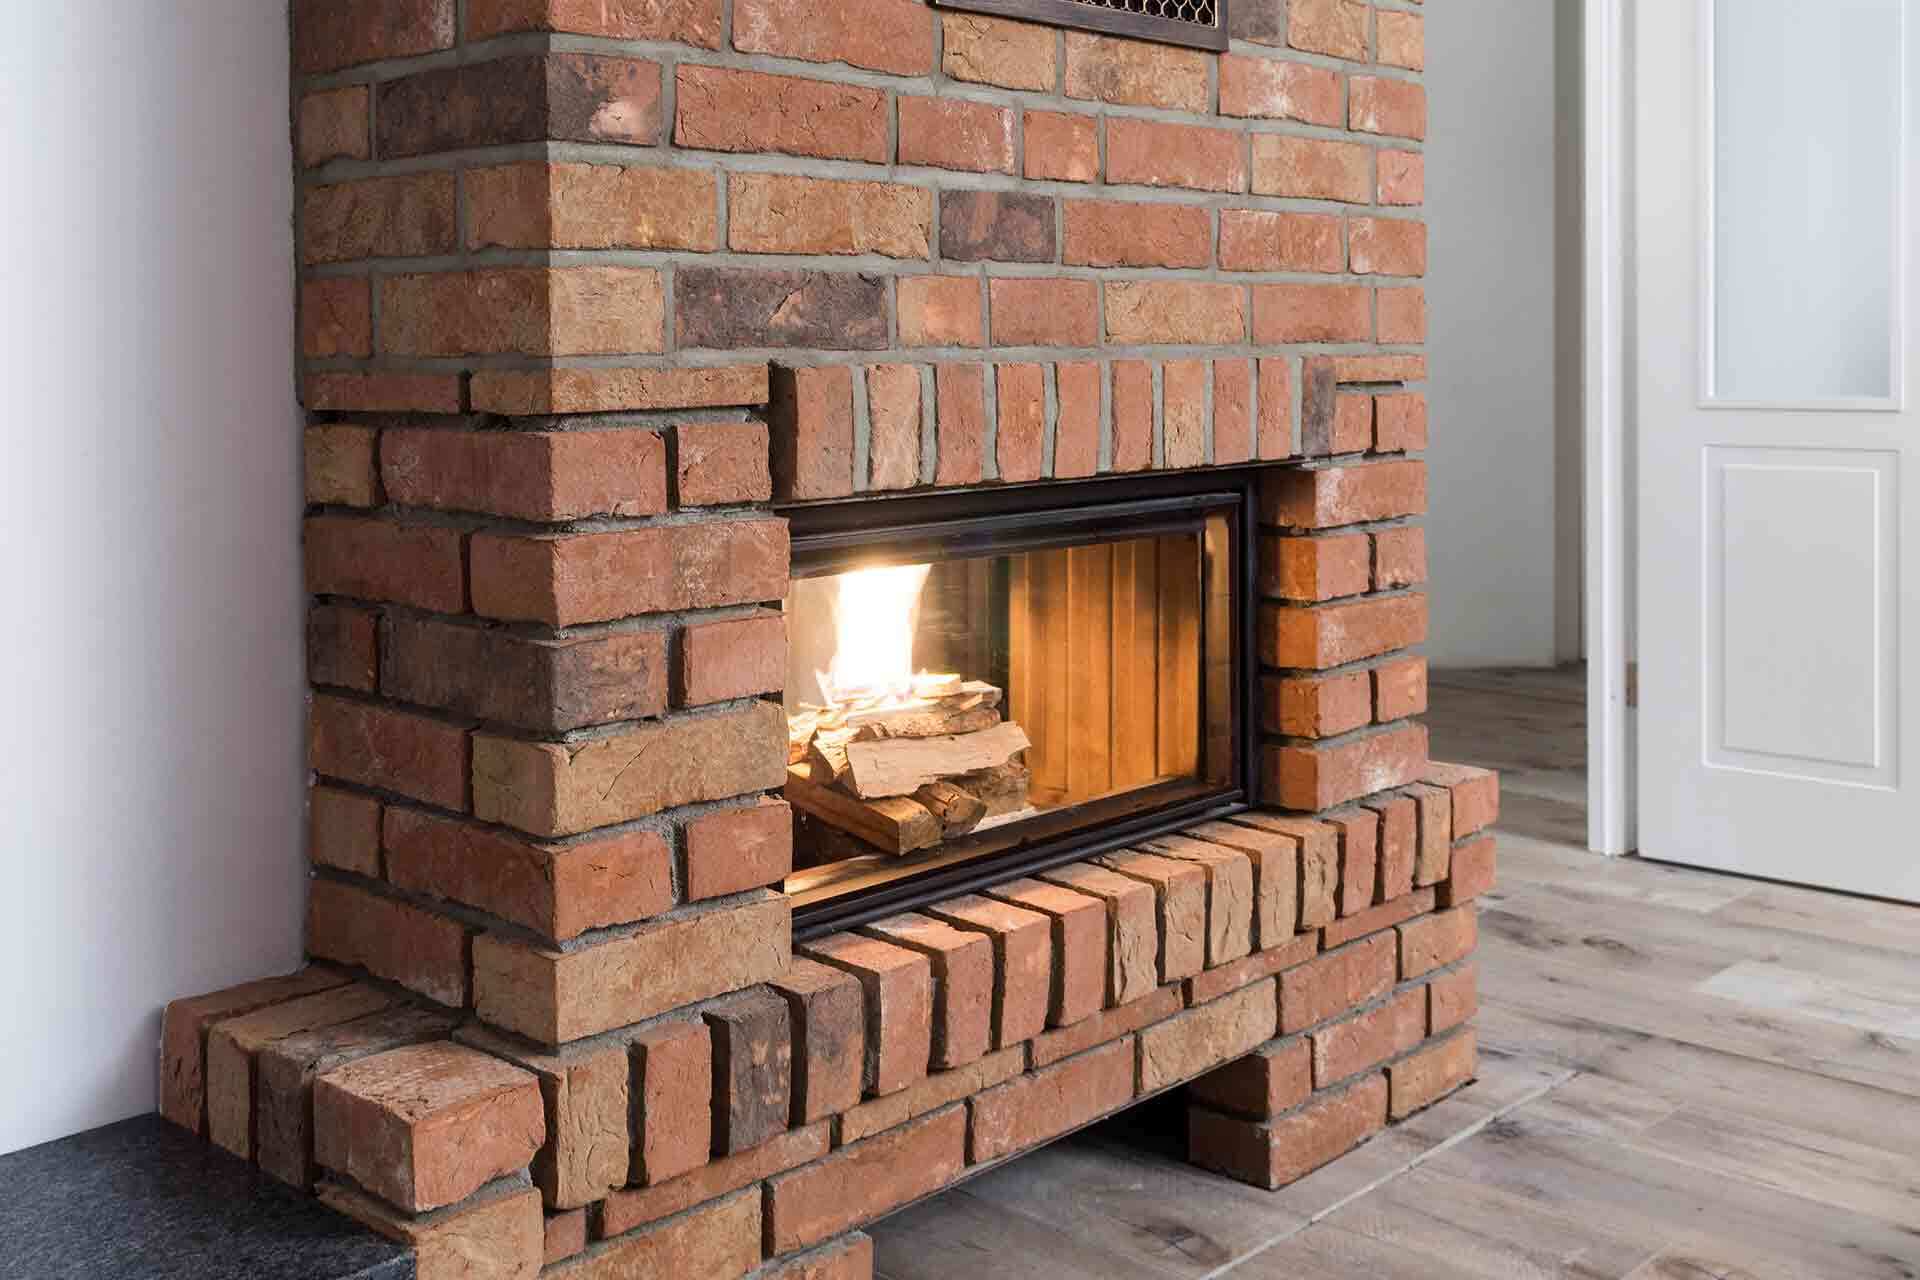
How To Build A Chimney
Published: March 6, 2024

Our Editor-in-Chief brings a fresh perspective with his expertise in modern home technologies and eco-friendly solutions. Philip bridges tradition with innovation across a wide range of DIY topics.
Learn the essential steps for building a chimney with expert masonry and tilework techniques. Discover the best practices for constructing a durable and functional chimney.
(Many of the links in this article redirect to a specific reviewed product. Your purchase of these products through affiliate links helps to generate commission for Twigandthistle.com, at no extra cost. Learn more)
Introduction
So, you've decided to take on the challenge of building a chimney for your home. Whether you're looking to add a cozy fireplace or a functional vent for your kitchen, a well-built chimney can enhance the comfort and value of your home. In this guide, we'll walk you through the step-by-step process of building a chimney from the ground up. From planning and designing to adding the finishing touches, we've got you covered. Let's roll up our sleeves and get started on this exciting DIY project!
Planning and Designing Your Chimney
When it comes to planning and designing your chimney, there are several crucial factors to consider. First, determine the purpose of your chimney. Are you building a fireplace, a wood stove, or a vent for your kitchen? Each of these requires different design considerations. Next, assess the local building codes and regulations in your area. These codes will dictate the dimensions, materials, and clearances required for your chimney. Additionally, consider the architectural style of your home and how the chimney will complement its overall design. Finally, sketch out a detailed plan for your chimney, including the dimensions, materials, and any special features such as a decorative chimney cap or masonry details. Taking the time to carefully plan and design your chimney will ensure a successful and visually appealing end result.
- Research the purpose of your chimney (fireplace, wood stove, kitchen vent).
- Check local building codes and regulations.
- Consider the architectural style of your home.
- Sketch out a detailed plan including dimensions and materials.
Gathering Materials and Tools
Before diving into the construction of your chimney, it's essential to gather all the necessary materials and tools. Here's a comprehensive list to ensure you have everything you need:
Materials
- Bricks or Stone: Choose high-quality, fire-resistant bricks or stone for the construction of the chimney structure.
- Mortar: Select a durable mortar that is suitable for chimney construction and can withstand high temperatures.
- Flue Liner: Depending on the type of chimney you're building, you'll need a flue liner made of clay, metal, or other suitable materials.
- Chimney Cap: Invest in a chimney cap to prevent debris, animals, and water from entering the chimney.
- Ventilation System Components: If you're building a vent for a kitchen or other appliance, gather the necessary ventilation system components such as ductwork and vents.
Tools
- Masonry Trowel: A masonry trowel is essential for spreading mortar and laying bricks or stone.
- Level: Ensure your chimney structure is plumb and level by using a reliable level throughout the construction process.
- Measuring Tape: Accurate measurements are crucial, so have a measuring tape on hand at all times.
- Safety Gear: Prioritize safety with gloves, safety goggles, and a dust mask to protect yourself during construction.
- Scaffolding or Ladder: Depending on the height of your chimney, you'll need a safe and stable way to access the construction site.
By gathering these materials and tools in advance, you'll be well-prepared to tackle the construction of your chimney with confidence and efficiency.
Building the Foundation
The foundation of your chimney is the backbone of its structural integrity, providing stability and support for the entire chimney structure. Here's a detailed guide on how to build a solid foundation for your chimney:
-
Excavation: Begin by excavating the area where the chimney will be located. The depth and dimensions of the excavation will depend on the size and type of your chimney. Ensure that the excavation is deep enough to reach stable, load-bearing soil.
-
Formwork: Construct formwork to create a mold for the concrete foundation. Use sturdy, straight boards to create the formwork, ensuring that it is level and square. The formwork will contain the concrete and give the foundation its shape.
-
Reinforcement: Once the formwork is in place, add reinforcement such as rebar or wire mesh to provide strength and prevent cracking in the concrete foundation. Position the reinforcement within the formwork, ensuring it is adequately supported and elevated from the ground.
-
Pouring Concrete: With the formwork and reinforcement in place, it's time to pour the concrete for the foundation. Use high-quality concrete mix and ensure it is thoroughly compacted to eliminate air pockets. Smooth the surface of the concrete to achieve a level finish.
-
Curing: Allow the concrete foundation to cure and gain strength. Follow the recommended curing time as per the concrete manufacturer's instructions. Proper curing is essential for the long-term durability of the foundation.
-
Anchor Bolts: If your chimney will support a fireplace or wood stove, install anchor bolts in the concrete foundation. These bolts will provide a secure connection between the chimney structure and the fireplace or stove, ensuring stability and safety.
By following these steps, you'll establish a sturdy and reliable foundation for your chimney, setting the stage for the construction of the chimney structure above. A well-built foundation is essential for the safety and longevity of your chimney.
Constructing the Chimney Structure
With the foundation in place, it's time to focus on constructing the chimney structure itself. This phase requires precision and attention to detail to ensure a sturdy and well-built chimney. Here's a step-by-step guide to constructing the chimney structure:
-
Laying the Bricks or Stones: Begin by laying the bricks or stones according to the design and dimensions outlined in your plan. Use a high-quality mortar to secure each brick or stone in place, ensuring a strong and durable bond. Pay close attention to the alignment and spacing of the bricks or stones to maintain a uniform and aesthetically pleasing appearance.
-
Building the Walls: As you progress upward, build the walls of the chimney to the desired height. Use a level to ensure that each course of bricks or stones is plumb and straight. Proper alignment is crucial for the structural integrity and visual appeal of the chimney.
-
Creating Openings: If your chimney will accommodate a fireplace or wood stove, create the necessary openings within the chimney structure. These openings will serve as the firebox or stove enclosure, and they must be carefully integrated into the chimney walls to ensure proper ventilation and safety.
-
Adding Support and Reinforcement: Depending on the height and design of your chimney, it may be necessary to incorporate support and reinforcement elements. This can include installing metal ties, anchors, or additional masonry components to enhance the stability and strength of the chimney structure.
-
Incorporating Flue Passages: Integrate the flue passages within the chimney structure to provide a clear pathway for smoke and gases to exit. The flue passages must be meticulously constructed to ensure proper draft and efficient venting of combustion byproducts.
-
Applying Finishing Touches: As you near the top of the chimney structure, pay attention to the finishing touches. This can include adding decorative elements, such as corbelling or masonry details, to enhance the visual appeal of the chimney. Additionally, ensure that the top of the chimney is properly capped to prevent water infiltration and debris buildup.
By following these steps, you'll be well on your way to constructing a robust and visually striking chimney structure. Attention to detail and adherence to best practices in masonry construction are essential for achieving a successful outcome.
Installing the Flue and Ventilation System
Installing the flue and ventilation system is a critical step in the construction of a functional chimney. The flue serves as the passage for smoke, gases, and combustion byproducts to exit the home safely, while the ventilation system ensures proper airflow and exhaust for appliances such as fireplaces and stoves. Here's a detailed guide on how to install the flue and ventilation system for your chimney:
-
Flue Liner Installation: If your chimney requires a flue liner, carefully install it within the chimney structure. The flue liner serves as a protective barrier, preventing heat transfer to combustible materials and promoting efficient venting. Ensure that the flue liner is properly sized and positioned to align with the chimney's design and function.
-
Sealing Joints and Connections: As you install the flue liner, pay close attention to sealing the joints and connections effectively. Use high-temperature mortar or specialized sealants designed for flue liner installations. Proper sealing is crucial for preventing leaks and maintaining the integrity of the flue system.
-
Ventilation Ductwork Installation: For chimneys serving as vents for appliances, such as kitchen hoods or furnaces, install the necessary ventilation ductwork. Ensure that the ductwork is appropriately sized and routed to provide efficient exhaust and airflow. Use rigid or flexible duct materials suitable for high-temperature applications and comply with local building codes and regulations.
-
Clearance and Insulation: Verify that the flue and ventilation ductwork maintain the required clearances from combustible materials. Additionally, consider insulation options for the flue liner to enhance draft performance and reduce the risk of condensation within the chimney. Insulation materials specifically designed for flue liners can improve the overall efficiency and safety of the chimney system.
-
Chimney Cap and Termination: Complete the installation by adding a chimney cap and termination assembly. The chimney cap serves as a protective cover, preventing debris, animals, and water from entering the chimney. Choose a durable and properly sized chimney cap that complements the design of your chimney. The termination assembly provides a finished appearance and ensures proper venting of the flue gases to the exterior of the home.
-
Professional Inspection and Testing: Once the flue and ventilation system are installed, consider engaging a professional chimney sweep or inspector to verify the integrity and functionality of the chimney. Conduct a smoke test to assess the draft and airflow within the flue system, ensuring that it operates as intended and complies with safety standards.
By following these steps, you'll successfully install the flue and ventilation system, essential components for a safe and efficient chimney. Proper installation and adherence to best practices in flue and ventilation system construction are crucial for the long-term performance and safety of your chimney.
Adding Finishing Touches
As you near the completion of your chimney construction, it's time to focus on adding the finishing touches that will enhance the visual appeal and functionality of the chimney. Attention to detail during this phase will contribute to the overall aesthetic and performance of the chimney. Here's a detailed guide on adding the essential finishing touches to your chimney:
-
Chimney Cap: Install a chimney cap to crown the top of the chimney. A chimney cap serves as a protective barrier, preventing debris, rainwater, and animals from entering the chimney flue. Choose a durable and properly sized chimney cap that complements the design of your chimney. Additionally, consider features such as spark arrestors to prevent the escape of embers and sparks.
-
Corbelling and Masonry Details: If desired, incorporate decorative elements such as corbelling or masonry details to add character to the chimney. Corbelling involves the use of protruding bricks or stones to create a decorative and structural feature. Similarly, masonry details such as arches, patterns, or contrasting brickwork can elevate the visual appeal of the chimney, adding a touch of craftsmanship to the structure.
-
Weatherproofing: Ensure that the top of the chimney and the chimney cap are effectively weatherproofed. Properly seal any gaps or joints to prevent water infiltration, which can lead to deterioration of the chimney structure over time. Consider using high-quality sealants or flashing materials to create a watertight barrier at vulnerable points.
-
Aesthetic Enhancements: Consider additional aesthetic enhancements to personalize the appearance of the chimney. This can include the integration of decorative metalwork, such as copper or wrought iron elements, to complement the architectural style of your home. These embellishments can add a distinctive and elegant touch to the chimney, elevating its visual impact.
-
Final Inspection: Once the finishing touches are in place, conduct a thorough inspection of the entire chimney structure. Verify that all components are securely installed, and there are no visible defects or imperfections. Address any remaining touch-ups or adjustments to ensure the chimney meets your expectations in terms of both appearance and functionality.
By focusing on these finishing touches, you'll elevate the overall look and performance of your chimney, creating a striking and functional addition to your home. The attention to detail in this phase will contribute to the long-term durability and visual appeal of your chimney.
Conclusion
In conclusion, building a chimney is a rewarding and impactful DIY project that can enhance the comfort, value, and aesthetic appeal of your home. From the initial planning and design stages to the meticulous construction of the chimney structure and the installation of the flue and ventilation system, each step plays a crucial role in creating a safe and functional chimney. By following best practices in chimney construction, paying attention to detail, and adhering to local building codes and regulations, you can achieve a well-built chimney that serves as a focal point in your home.
Remember, safety should always be a top priority throughout the chimney construction process. Prioritize the use of high-quality materials, proper ventilation, and professional inspections to ensure the structural integrity and performance of your chimney. Additionally, consider seeking guidance from experienced professionals or chimney experts to address any specific challenges or technical aspects of chimney construction.
As you complete your chimney construction, take pride in the craftsmanship and effort invested in creating a durable and visually appealing chimney. Whether it's a fireplace for cozy evenings or a reliable vent for your kitchen, your well-built chimney will undoubtedly contribute to the overall ambiance and functionality of your home for years to come.