Home>Create & Decorate>DIY & Crafts>DIY Barn Doors: Building Your Own Rustic Sliding Door

DIY & Crafts
DIY Barn Doors: Building Your Own Rustic Sliding Door
Published: April 3, 2024

Senior Editor in Create & Decorate, Kathryn combines traditional craftsmanship with contemporary trends. Her background in textile design and commitment to sustainable crafts inspire both content and community.
Discover how to create your own rustic sliding barn door with our DIY guide. Get inspired and start your crafting project today!
(Many of the links in this article redirect to a specific reviewed product. Your purchase of these products through affiliate links helps to generate commission for Twigandthistle.com, at no extra cost. Learn more)
Introduction
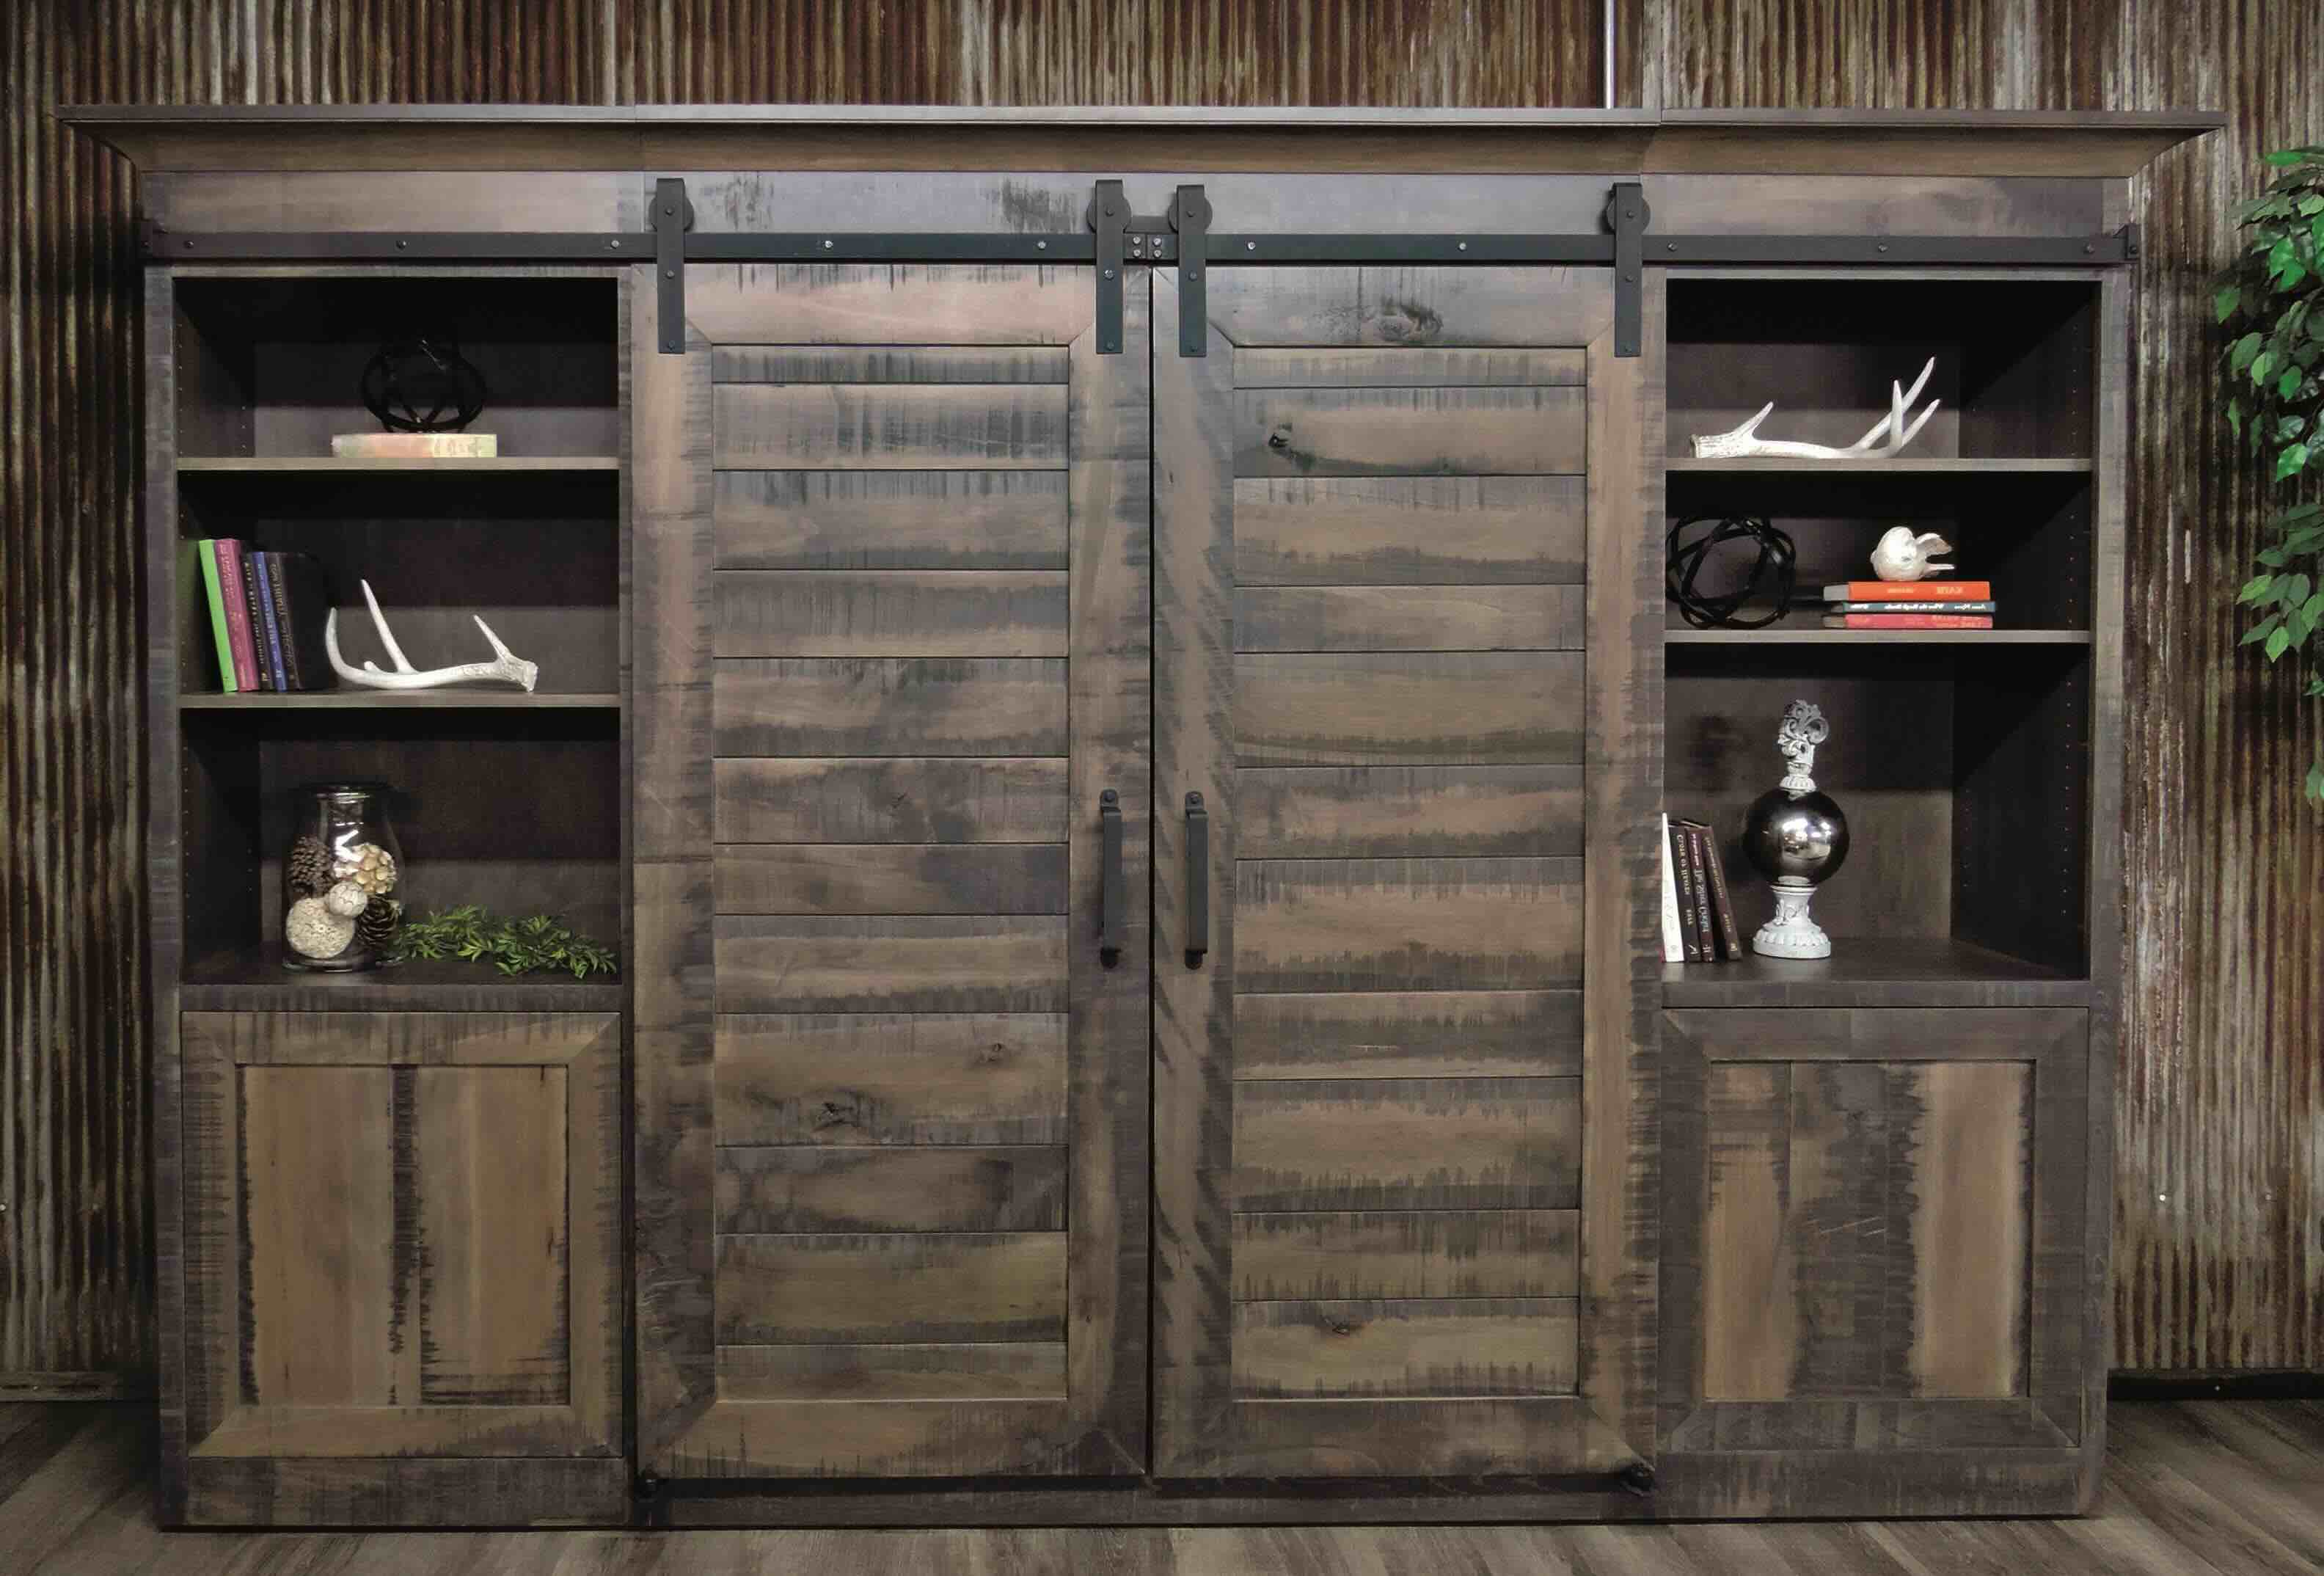
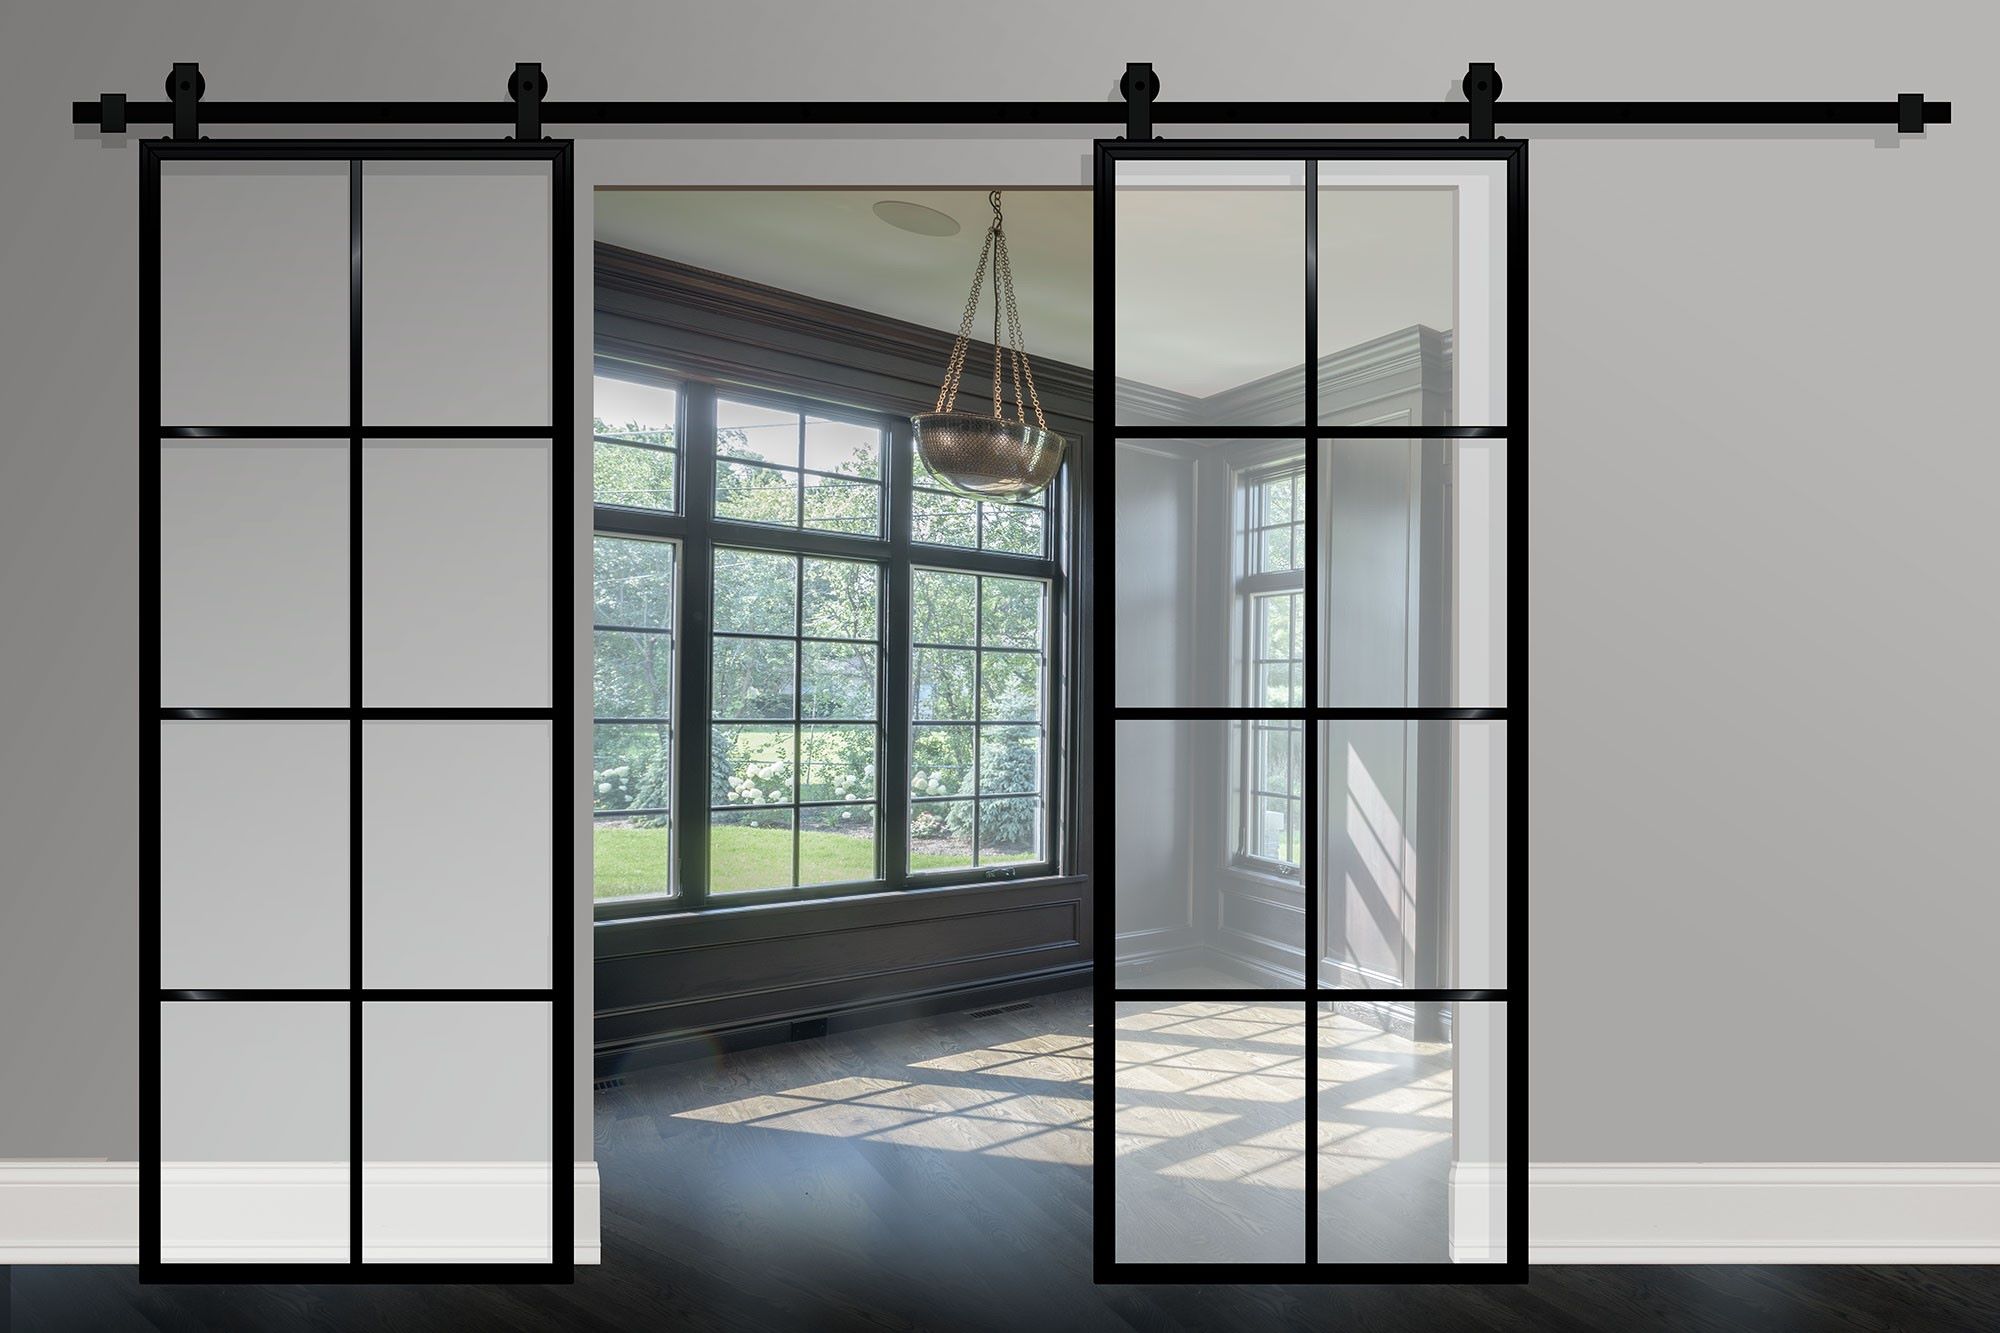
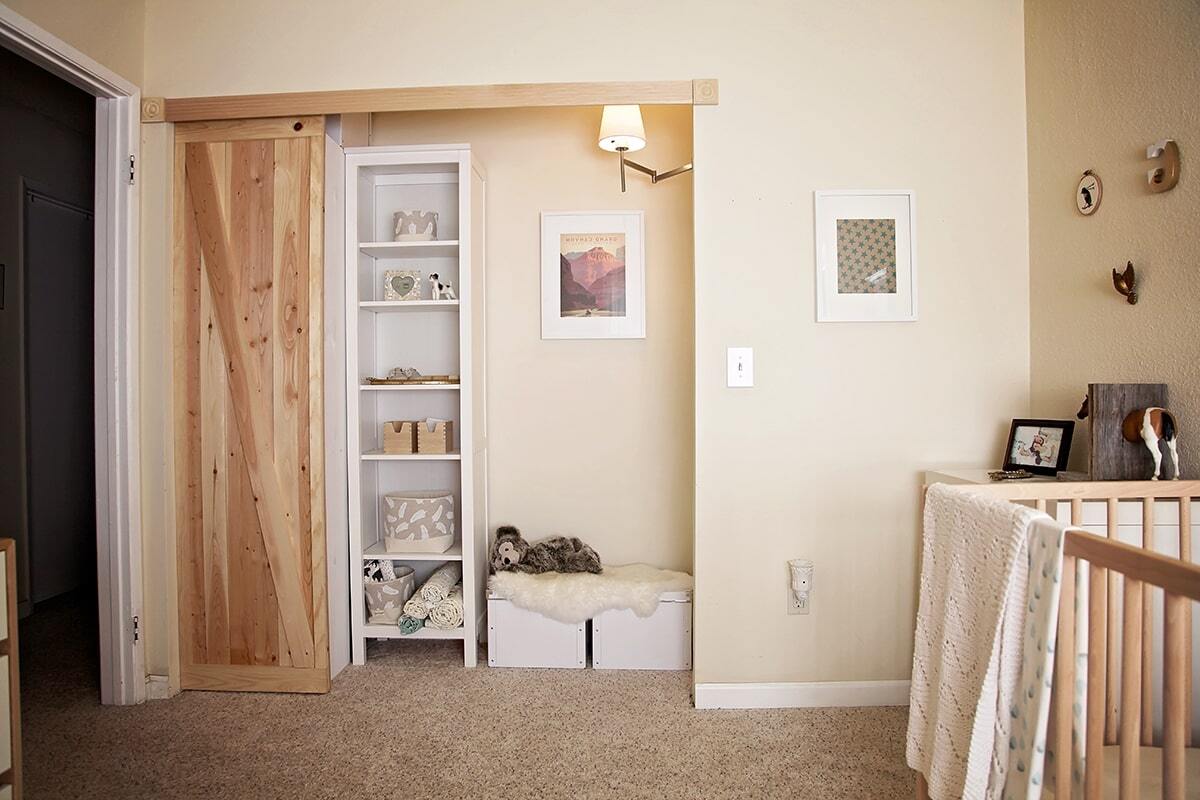
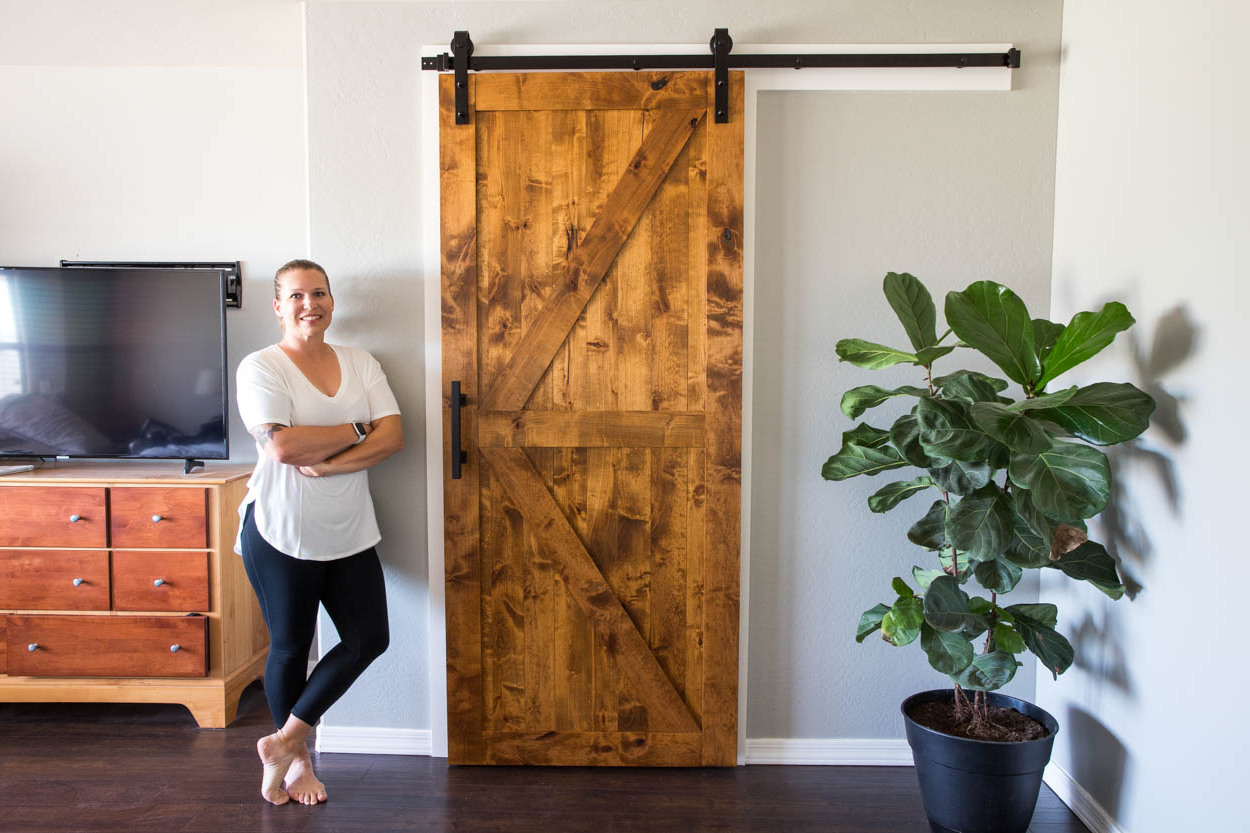
Are you looking to add a touch of rustic charm to your home? DIY barn doors are a fantastic way to achieve that cozy, farmhouse feel while also maximizing space. In this article, we'll guide you through the process of building your very own rustic sliding door. Whether you're a seasoned DIY enthusiast or a beginner looking for a fun project, creating your own barn door can be a rewarding and budget-friendly endeavor. Let's dive into the steps to bring this stylish and functional addition to your home.
Read more: DIY Bathroom Barn Door Ideas
Choosing the Right Materials
When it comes to building your own DIY barn door, selecting the right materials is crucial for both the aesthetic and functionality of the finished product. Here's a list of materials you'll need to get started:
-
Wood: Opt for sturdy and visually appealing wood such as reclaimed barn wood, pine, or cedar. These options not only exude a charming rustic vibe but also offer durability.
-
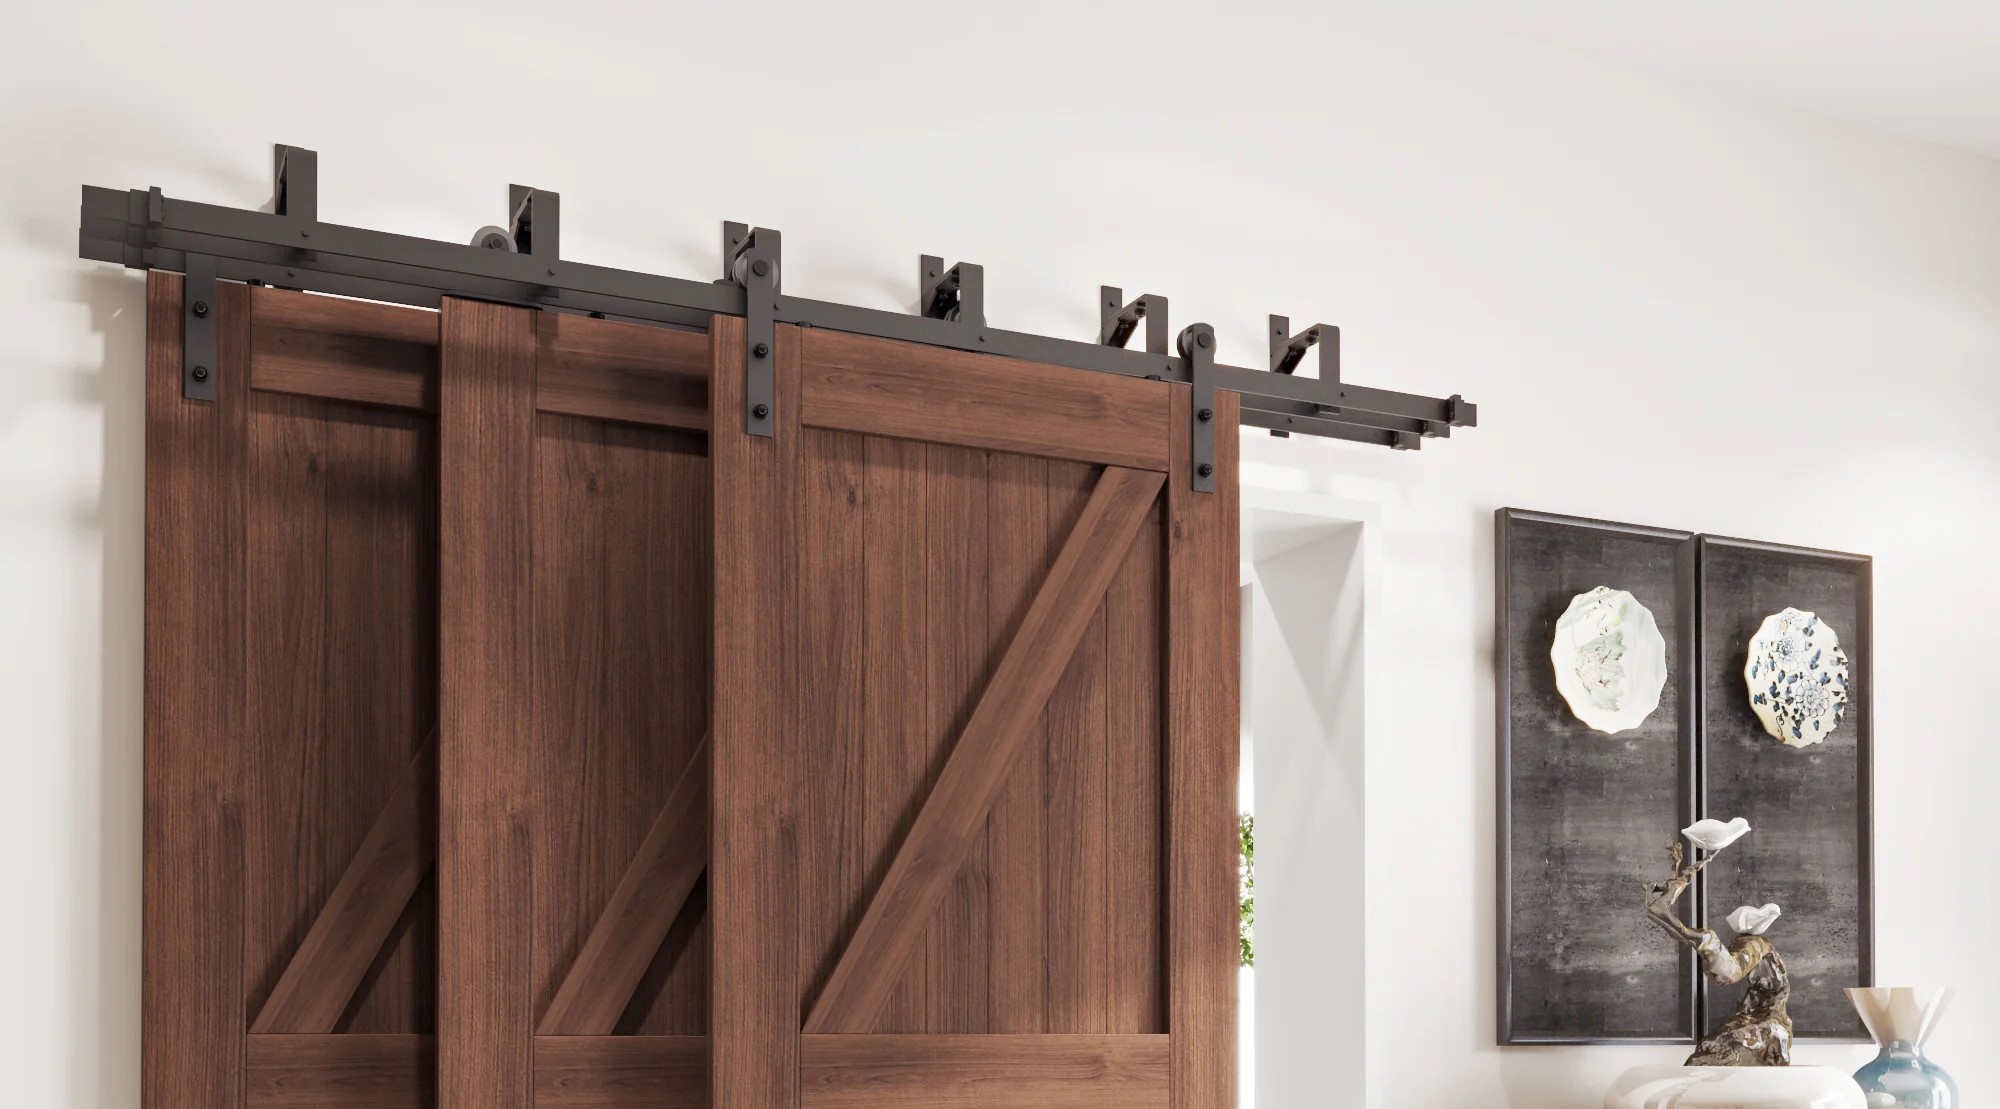
Hardware: Invest in high-quality sliding door hardware, including a sturdy track, rollers, and handles. Ensure that the hardware is suitable for the weight and size of your door.
-
Tools: Gather essential tools such as a saw, drill, measuring tape, and a level. These tools will be indispensable throughout the construction process.
-
Finishing Materials: Depending on your desired finish, you may need wood stain, paint, or sealant to protect the door from wear and tear.
By carefully selecting the right materials, you can ensure that your DIY barn door not only looks stunning but also functions smoothly for years to come.
Measuring and Cutting the Wood
Before diving into the construction of your DIY barn door, precise measurements and accurate wood cutting are essential for a seamless assembly process. Here's a step-by-step guide to help you get it right:
-
Measure the Space: Begin by measuring the doorway or space where the barn door will be installed. Take precise measurements of the height and width to ensure a perfect fit.
-
Select the Wood: Once you have the measurements, mark and cut the wood according to the dimensions. Use a saw to carefully cut the wood planks to the required lengths. It's crucial to double-check the measurements before making any cuts to avoid errors.
-
Create the Frame: After cutting the wood to size, assemble the pieces to create the door frame. Use a level to ensure that the frame is straight and even. Secure the joints with wood glue and screws for added stability.
-
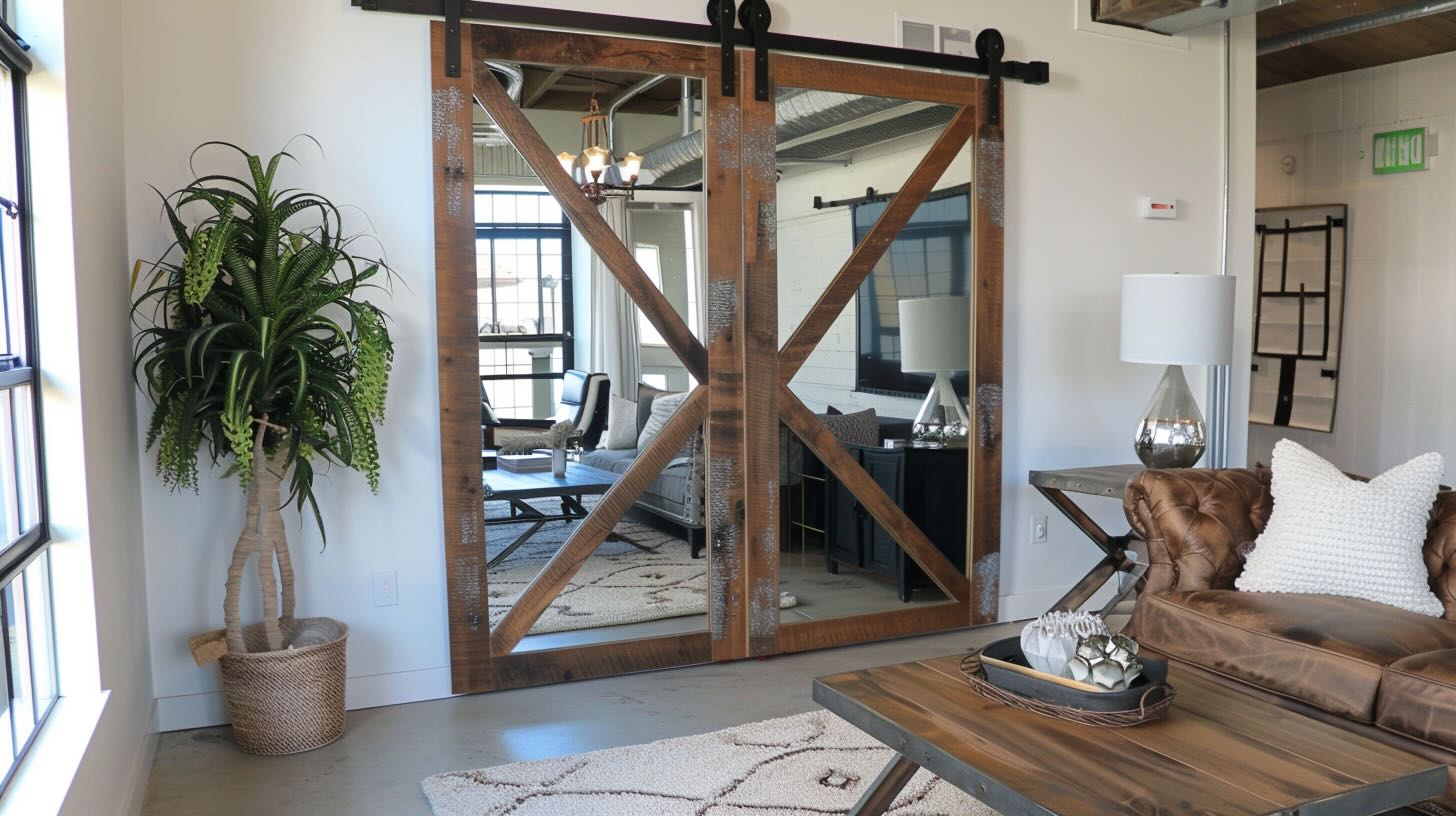
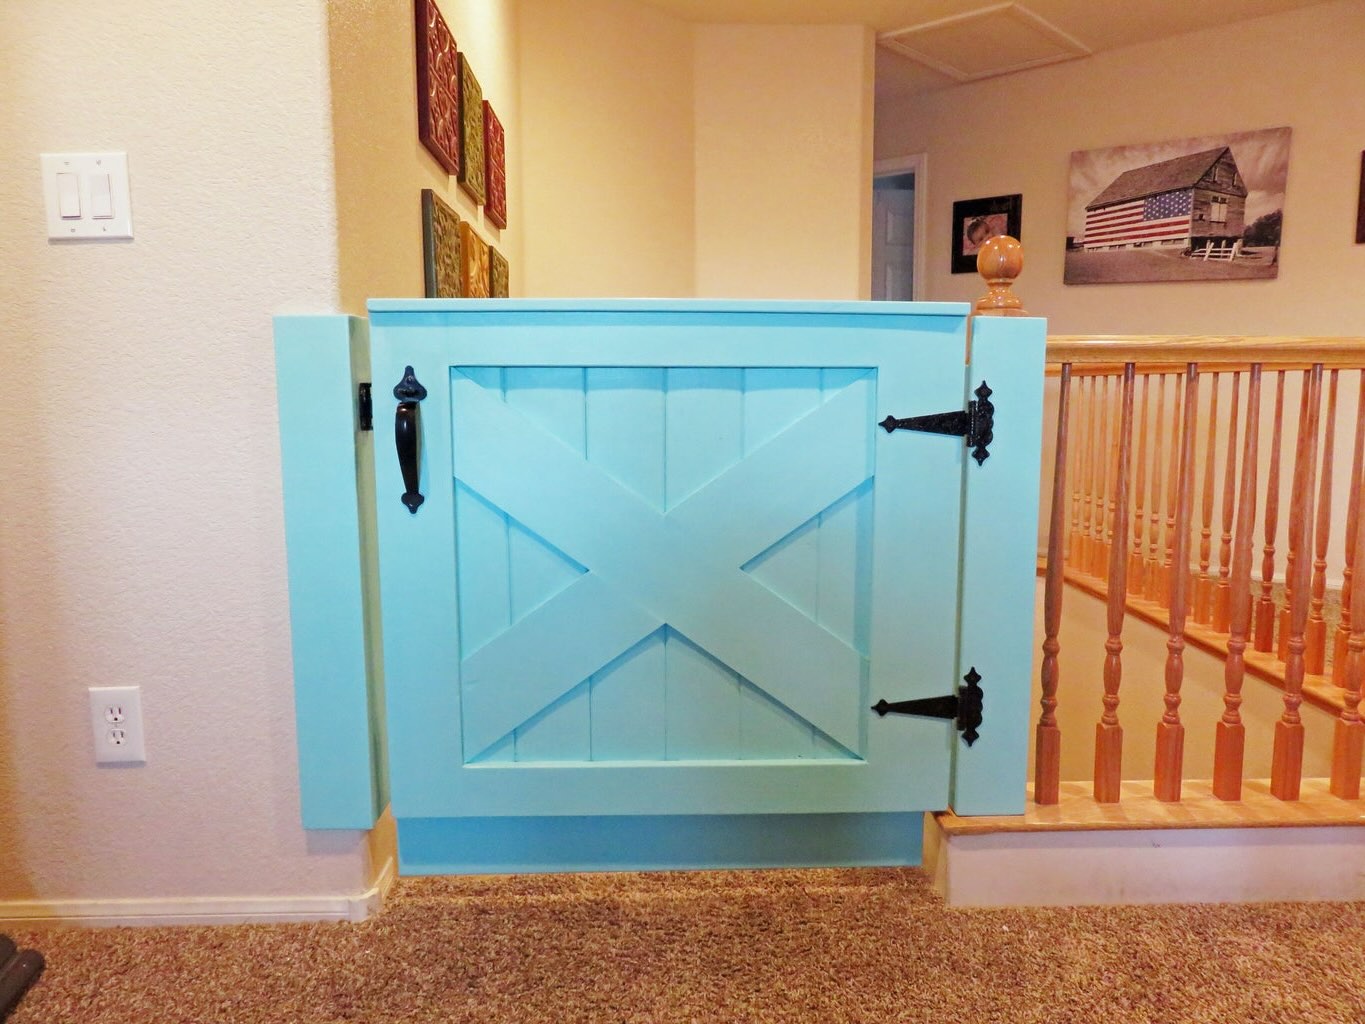
Cut Out the Design Elements: If you want to add any design elements, such as X-shaped patterns or windows, use a jigsaw to carefully cut out these features from the wood panels.
-
Sand the Edges: Once all the cutting is complete, use sandpaper to smooth out the edges and surfaces of the wood. This step is crucial for achieving a professional-looking finish and preventing any splinters.
By meticulously measuring and cutting the wood, you'll set the foundation for a well-crafted and visually appealing DIY barn door. This attention to detail ensures that the door fits perfectly and functions smoothly when it's time for installation.
Assembling the Door Frame
Once you have the wood pieces cut to the correct dimensions, it's time to assemble the door frame. This step is crucial in ensuring that your DIY barn door is sturdy and well-constructed. Here's a detailed guide to help you through the assembly process:
-
Lay Out the Pieces: Begin by laying out the cut wood pieces on a flat surface, ensuring that they align correctly to form the door frame. Double-check the measurements and angles to guarantee a precise fit.
-
Attach the Crosspieces: If your barn door design includes crosspieces, position them on the frame according to your desired pattern. Use a measuring tape to ensure that the crosspieces are evenly spaced and parallel to each other.
-
Secure the Joints: Once the pieces are in position, use wood glue to secure the joints. Apply a generous amount of glue on the ends of each piece before joining them together. This will create a strong bond between the wood pieces.
-
Reinforce with Screws: To further reinforce the frame, use screws to secure the joints. Pre-drill pilot holes to prevent the wood from splitting, then drive screws through the joints. This additional reinforcement will provide extra stability to the door frame.
-
Check for Alignment: After assembling the frame, use a level to check for any misalignments. Adjust the pieces as needed to ensure that the frame is perfectly straight and level.
-
Allow for Drying Time: Once the frame is assembled, allow the wood glue to dry completely before proceeding to the next steps. This drying time is essential for the joints to set firmly and securely.
By following these steps, you'll be able to assemble a robust and well-structured door frame for your DIY barn door. This sturdy foundation will ensure that your barn door not only looks impressive but also functions smoothly when it's time for installation.
Installing the Sliding Hardware
Installing the sliding hardware is a crucial step in bringing your DIY barn door to life. The sliding mechanism not only adds functionality to the door but also contributes to its rustic charm. Here's a comprehensive guide to help you seamlessly install the sliding hardware:
-
Select the Right Hardware: Before installation, ensure that you have the appropriate sliding door hardware for your specific door size and weight. This includes a sturdy track, rollers, and handles. The hardware should be durable and capable of smoothly supporting the weight of the door.
-
Prepare the Mounting Surface: Begin by preparing the mounting surface for the sliding track. If you're attaching the track to a wall, use a stud finder to locate and mark the positions of the wall studs. For a seamless sliding motion, it's essential to secure the track to solid and stable support.
-
Mount the Track: Once the mounting surface is prepared, position the track above the doorway or opening. Use a level to ensure that the track is perfectly horizontal. Secure the track in place by drilling pilot holes into the marked positions and then attaching it with screws.
-
Attach the Rollers: With the track securely in place, attach the rollers to the top of the door according to the manufacturer's instructions. The rollers should be evenly spaced and aligned to ensure smooth movement along the track.
-
Test the Sliding Motion: After attaching the rollers, carefully lift the door and hang it on the track. Test the sliding motion to ensure that the door moves smoothly along the track without any obstructions or unevenness.
-
Install the Floor Guide (if needed): Depending on the design of your barn door, you may need to install a floor guide to prevent the door from swinging. The floor guide helps maintain the door's alignment and stability as it slides open and closed.
-
Adjust for Smooth Operation: Once the sliding hardware is in place, make any necessary adjustments to ensure that the door slides effortlessly along the track. This may involve fine-tuning the roller positions or adjusting the track for optimal performance.
By following these steps, you'll be able to install the sliding hardware with precision, allowing your DIY barn door to glide smoothly and effortlessly. This essential component not only enhances the functionality of the door but also adds to its rustic appeal, creating a striking and practical feature for your home.
Read more: DIY Barn Door Blueprint Plans
Adding a Rustic Finish
Adding a rustic finish to your DIY barn door is the final step that brings out the character and charm of the wood, giving it that quintessential farmhouse appeal. Here's a detailed guide to help you achieve the perfect rustic finish for your barn door:
-
Choose the Right Stain or Paint: Decide whether you want to enhance the natural beauty of the wood with a stain or add a pop of color with paint. If you opt for a stain, select a shade that complements the existing decor and brings out the wood's grain. For a painted finish, choose a color that aligns with your overall design aesthetic.
-
Prepare the Wood Surface: Before applying the stain or paint, ensure that the wood surface is clean and free of any dust or debris. Use a tack cloth to remove any particles and create a smooth canvas for the finish.
-
Apply the Stain or Paint: Using a brush or rag, apply the stain or paint evenly across the entire surface of the door. Work in the direction of the wood grain for a seamless and professional finish. If you're using a stain, consider applying multiple coats to achieve the desired depth of color.
-
Create a Distressed Look (Optional): To enhance the rustic appeal, consider distressing the wood to give it a weathered and aged appearance. You can achieve this by lightly sanding the edges and corners of the door to reveal the natural wood underneath the finish.
-
Seal the Finish: Once the stain or paint has dried, seal the finish with a clear polyurethane or sealant. This protective layer not only enhances the durability of the door but also adds a subtle sheen to the rustic finish.
-
Add Decorative Hardware (Optional): To further accentuate the rustic charm, consider adding decorative hardware such as wrought iron handles or vintage-style hinges. These details can elevate the overall look of the barn door and tie in with the rustic theme.
By following these steps, you can achieve a stunning rustic finish that brings out the natural beauty of the wood and adds a touch of warmth and character to your DIY barn door. Whether you prefer a rich, stained look or a distressed, weathered appearance, the rustic finish is the perfect final touch to complete your project.
Conclusion
Congratulations! You've successfully embarked on the journey of creating your very own DIY barn door. By carefully selecting the right materials, meticulously measuring and cutting the wood, assembling a sturdy door frame, installing the sliding hardware, and adding a charming rustic finish, you've brought to life a functional and visually appealing addition to your home. The rustic sliding door not only exudes a cozy farmhouse vibe but also maximizes space and adds a touch of character to your living space. Whether it's for a pantry, bedroom, or closet, your DIY barn door is a testament to your creativity and craftsmanship. Embrace the sense of accomplishment that comes with completing this project, and enjoy the rustic charm and practicality that your new barn door brings to your home.

