
Home>Create & Decorate>DIY & Crafts>DIY Ping Pong Table: How To Create Your Own Game Room Essential
DIY & Crafts
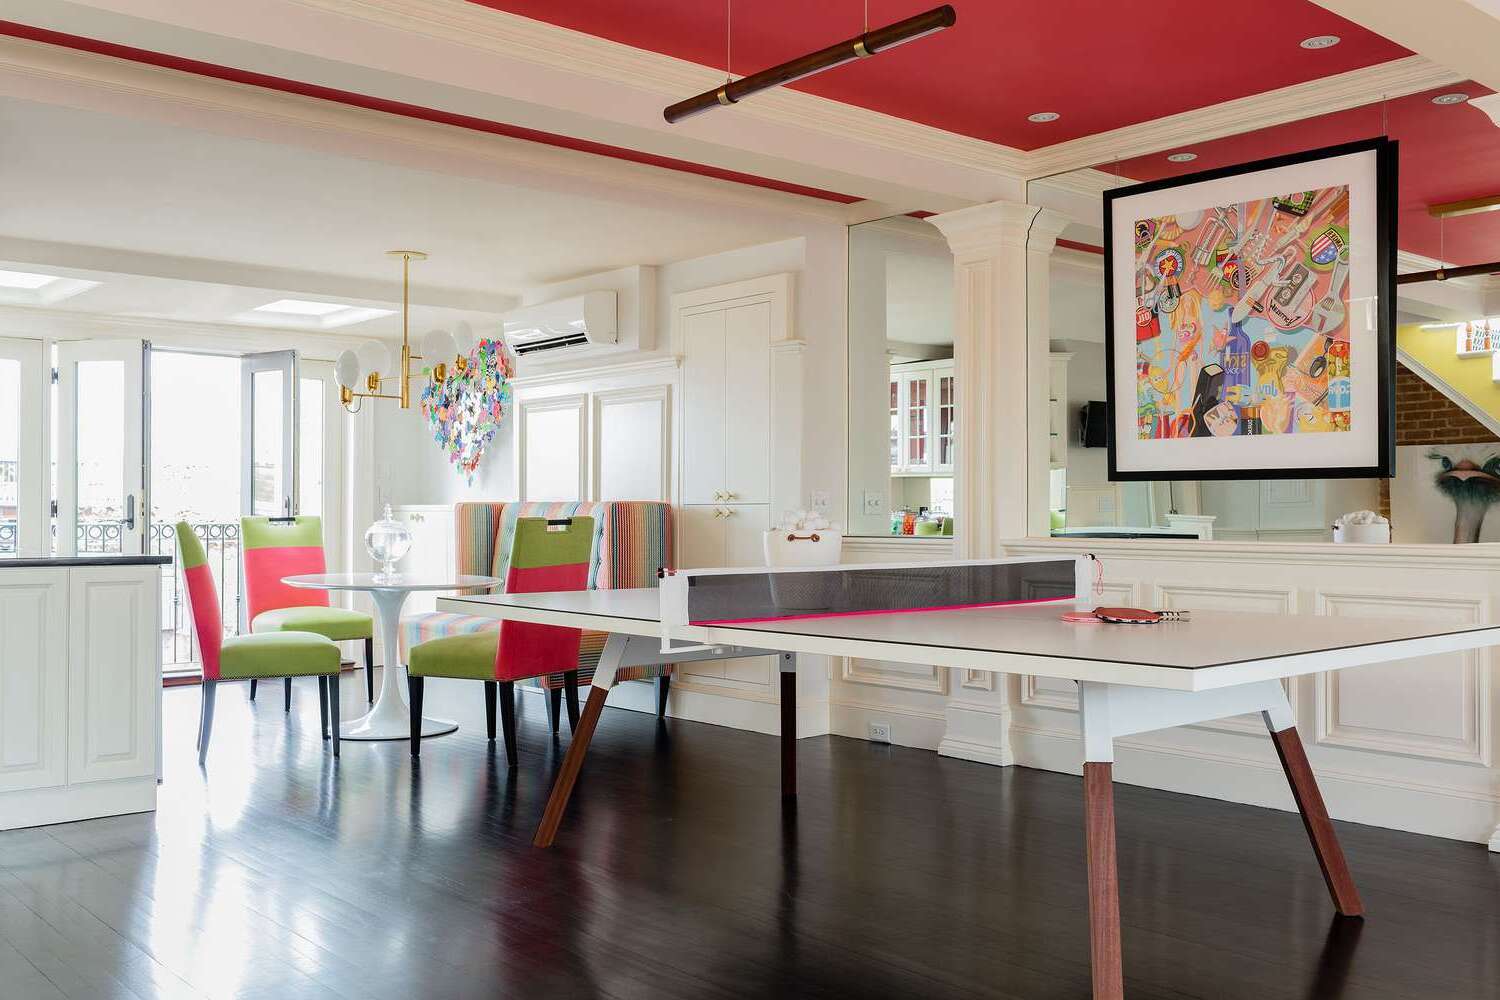
DIY Ping Pong Table: How To Create Your Own Game Room Essential
Published: April 3, 2024

Senior Editor in Create & Decorate, Kathryn combines traditional craftsmanship with contemporary trends. Her background in textile design and commitment to sustainable crafts inspire both content and community.
Learn how to build your own DIY ping pong table and transform your game room with this fun and practical craft project. Get step-by-step instructions and unleash your creativity today! Ideal for DIY & Crafts enthusiasts.
(Many of the links in this article redirect to a specific reviewed product. Your purchase of these products through affiliate links helps to generate commission for Twigandthistle.com, at no extra cost. Learn more)
Introduction
Are you a fan of ping pong but don't have the space or budget for a professional table? Fear not! Creating your own DIY ping pong table is a fun and cost-effective way to bring the game into your home. Not only will you have the satisfaction of building it yourself, but you'll also have a unique and personalized game room essential that will provide hours of entertainment for family and friends. In this guide, we'll walk you through the steps to create your very own ping pong table, so grab your tools and let's get started!
Materials Needed
To begin your DIY ping pong table project, you'll need the following materials:
- 4×8 plywood sheet: This will serve as the playing surface of your ping pong table.
- Four 2×4 wooden boards: These will be used to construct the frame of the table.
- Wood screws and nails: Essential for securing the frame and playing surface together.
- Net and post set: To divide the table into two halves for gameplay.
- Measuring tape and pencil: For accurate measurements and marking.
- Sanding block: To smooth out any rough edges on the plywood.
- Paint and brushes: Choose a color that suits your game room's aesthetic.
- Clear polyurethane: For a protective finish on the playing surface.
- Level: To ensure the playing surface is even and flat.
- Saw: To cut the wood to the required dimensions.
- Drill: For creating holes and securing screws.
- Sandpaper: For prepping the wood before painting.
- Safety goggles and gloves: To protect yourself during the construction process.
Gather these materials before you begin, and you'll be well-prepared to tackle the project.
Step 1: Building the Frame
-
Cut the Wood: Begin by cutting the 2×4 wooden boards to the desired dimensions for the frame. You will need to create a rectangular frame that measures 9 feet long by 5 feet wide, which are the standard dimensions for a ping pong table.
-
Assemble the Frame: Once the wood is cut, assemble the rectangular frame by attaching the boards at the corners using wood screws. Ensure that the frame is sturdy and square by using a level to check for evenness.
-
Add Support Beams: To provide additional support for the playing surface, add support beams across the middle of the frame. These beams will help prevent the plywood from sagging in the center during gameplay.
-
Secure the Frame: Use wood screws to secure the support beams to the frame, ensuring that everything is tightly fastened together. This will create a strong and stable base for the playing surface.
-
Sand the Frame: Once the frame is assembled, use sandpaper to smooth out any rough edges and surfaces. This will help prevent splinters and ensure a professional finish.
By following these steps, you will have successfully built the frame for your DIY ping pong table. The sturdy frame will provide the foundation for the playing surface, allowing for a high-quality and durable table for your game room.
Step 2: Attaching the Playing Surface
-
Prepare the Plywood: Place the 4×8 plywood sheet on top of the assembled frame. Ensure that it is centered and overhangs evenly on all sides. The plywood will serve as the playing surface of your ping pong table.
-
Secure the Plywood: Using wood screws, attach the plywood to the frame. Start by securing the corners and then add screws along the edges, ensuring that the plywood is firmly attached to the frame. This step is crucial in creating a stable and consistent playing surface.
-
Check for Evenness: Once the plywood is secured, use a level to check for any uneven areas. It's essential to have a flat and level playing surface to ensure fair gameplay. Make any necessary adjustments to achieve a uniform level across the entire table.
-
Smooth the Edges: After attaching the plywood, use a sanding block to smooth out the edges of the playing surface. This will not only provide a professional finish but also prevent any rough edges that could interfere with the gameplay or cause injuries.
-
Apply Polyurethane: To protect the playing surface and provide a smooth finish, apply a coat of clear polyurethane. This will seal the plywood, making it more durable and resistant to wear and tear. Allow the polyurethane to dry completely before moving on to the next step.
By following these steps, you will have successfully attached the playing surface to the frame, creating a sturdy and professional-looking DIY ping pong table. This step is crucial in ensuring that the table provides a consistent and enjoyable playing experience for years to come.
Step 3: Adding the Net
-
Position the Net Posts: Begin by positioning the net posts at the center of each end of the table. These posts will hold the net in place during gameplay, so ensure they are evenly spaced and securely positioned.
-
Attach the Net Posts: Using screws or clamps, attach the net posts to the table. Make sure they are firmly secured to prevent any wobbling or movement during intense ping pong matches.
-
Install the Net: Once the net posts are in place, it's time to install the net. Most net and post sets come with a simple clamp system that allows you to attach the net securely to the posts. Adjust the net to the correct height and tension, ensuring it is taut and straight across the table.
-
Test the Net: After installing the net, give it a gentle tug to ensure it is securely attached and doesn't sag in the middle. The net should be at the regulation height of 6 inches and create a clear division between the two halves of the table.
-
Double-Check Stability: Once the net is in place, double-check the stability of the posts and the tension of the net. A well-installed net will not only enhance the playing experience but also add a professional touch to your DIY ping pong table.
By following these steps, you will have successfully added the net to your DIY ping pong table, creating a complete and functional setup for endless hours of ping pong fun.
Step 4: Painting and Finishing Touches
-
Prepare the Surface: Before painting, ensure that the playing surface and the frame are clean and free of any dust or debris. Use a damp cloth to wipe down the entire table, allowing the surface to dry completely before proceeding.
-
Choose Your Paint: Select a high-quality paint that is suitable for wooden surfaces. Consider using a vibrant color that complements your game room's decor. Acrylic or latex paint is a popular choice for DIY projects due to its durability and ease of application.
-
Apply Primer: To ensure an even and long-lasting finish, apply a coat of primer to the entire table. This will help the paint adhere better to the surface and provide a consistent base for the color.
-
Paint the Table: Using a paintbrush or roller, apply an even coat of paint to the playing surface and the frame. Allow the first coat to dry completely before applying a second coat for a more vibrant and professional finish. Take your time to ensure that the paint is applied smoothly and evenly.
-
Add Personal Touches: Get creative and add personal touches to your ping pong table. Consider adding custom designs, patterns, or even your family's initials to make the table uniquely yours. This is an opportunity to showcase your creativity and make the table a focal point in your game room.
-
Apply a Protective Finish: Once the paint is dry, apply a clear polyurethane finish to the entire table. This will protect the paint and wood from scratches, spills, and general wear and tear. Choose a finish that provides both durability and a smooth texture for optimal gameplay.
-
Allow for Drying Time: After applying the protective finish, allow the table to dry completely before using it for gameplay. This will ensure that the paint and finish have fully cured, providing a long-lasting and professional-looking DIY ping pong table.
By following these steps, you will have successfully painted and added finishing touches to your DIY ping pong table, creating a visually appealing and durable game room essential. Get ready to enjoy countless hours of friendly competition and entertainment with your personalized ping pong table!
Conclusion
In conclusion, creating your own DIY ping pong table is a rewarding and enjoyable project that allows you to bring the excitement of the game into your home. By following the steps outlined in this guide and using the recommended materials, you can construct a high-quality and personalized ping pong table that will provide endless entertainment for you, your family, and your friends. From building the sturdy frame to adding the finishing touches, each step contributes to the overall functionality and aesthetic appeal of your DIY ping pong table. With your newfound DIY skills, you can proudly showcase your custom creation in your game room and enjoy countless memorable moments of friendly competition and fun. So, roll up your sleeves, gather your materials, and get ready to craft your very own DIY ping pong table for hours of active entertainment!