Home>Create & Decorate>DIY & Crafts>DIY Poker Table: How To Create Your Own Gaming Paradise

DIY & Crafts
DIY Poker Table: How To Create Your Own Gaming Paradise
Published: June 8, 2024

Content Creator specializing in woodworking and interior transformations. Caegan's guides motivate readers to undertake their own projects, while his custom furniture adds a personal touch.
Learn how to build your own DIY poker table and create the ultimate gaming paradise with our step-by-step guide. Perfect for DIY and crafts enthusiasts!
(Many of the links in this article redirect to a specific reviewed product. Your purchase of these products through affiliate links helps to generate commission for Twigandthistle.com, at no extra cost. Learn more)
Introduction
So, you want to take your poker nights to the next level? Building your own poker table can be a fun and rewarding project that will not only impress your friends but also add a touch of personalization to your gaming space. Whether you're a seasoned DIY enthusiast or a newcomer to the world of home improvement, creating your own gaming paradise is a project that anyone can tackle with the right guidance. In this guide, we'll walk you through the step-by-step process of building your very own DIY poker table from start to finish. Let's get ready to shuffle up and deal!
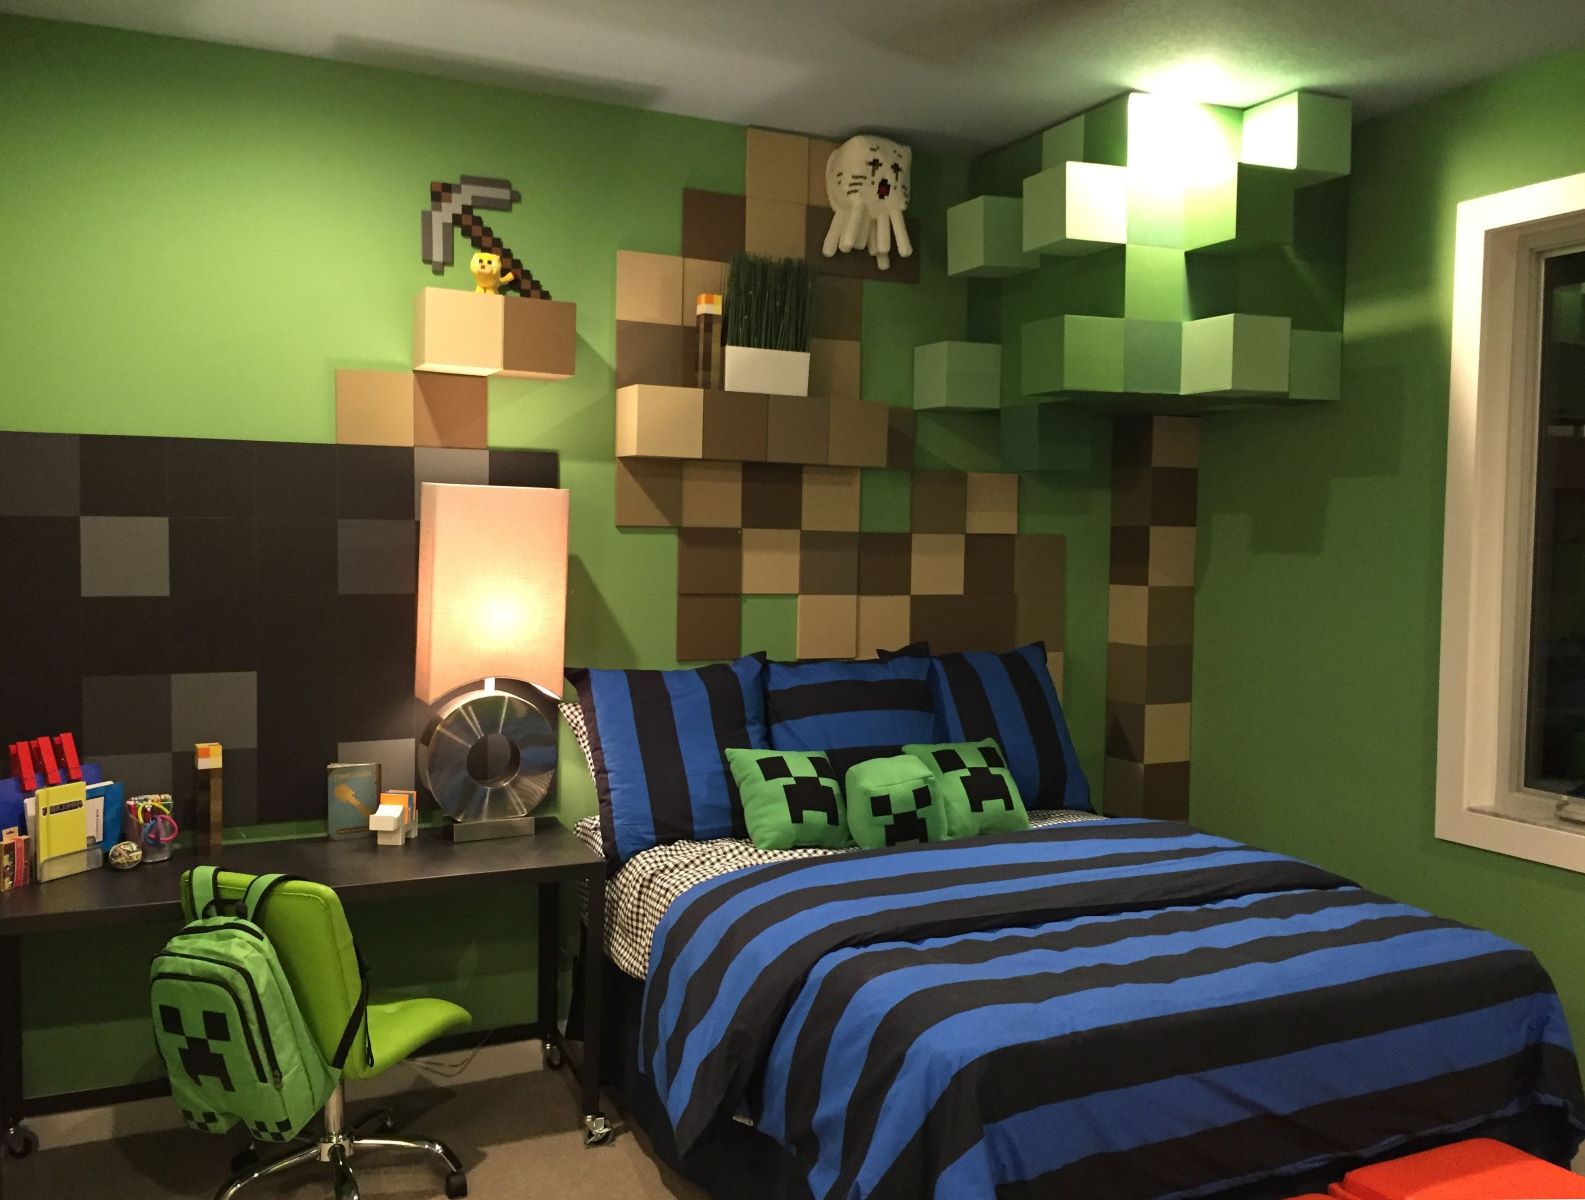
Read more: DIY Boys Game Room Ideas
Choosing the Right Materials
When it comes to building your own DIY poker table, selecting the right materials is crucial to ensure the durability and aesthetics of the finished product. Here's a list of materials you'll need to get started:
1. Plywood:
- Choose a high-quality plywood for the playing surface. A 4×8 foot sheet of ¾ inch plywood is a standard choice for a poker table.
2. Foam Padding:
- Opt for high-density, 1-inch thick foam padding to provide a comfortable and smooth playing surface.
3. Vinyl or Felt:
- Select a durable and easy-to-clean vinyl or felt material for covering the playing surface. This will be the area where the cards will be dealt and the chips will be stacked.
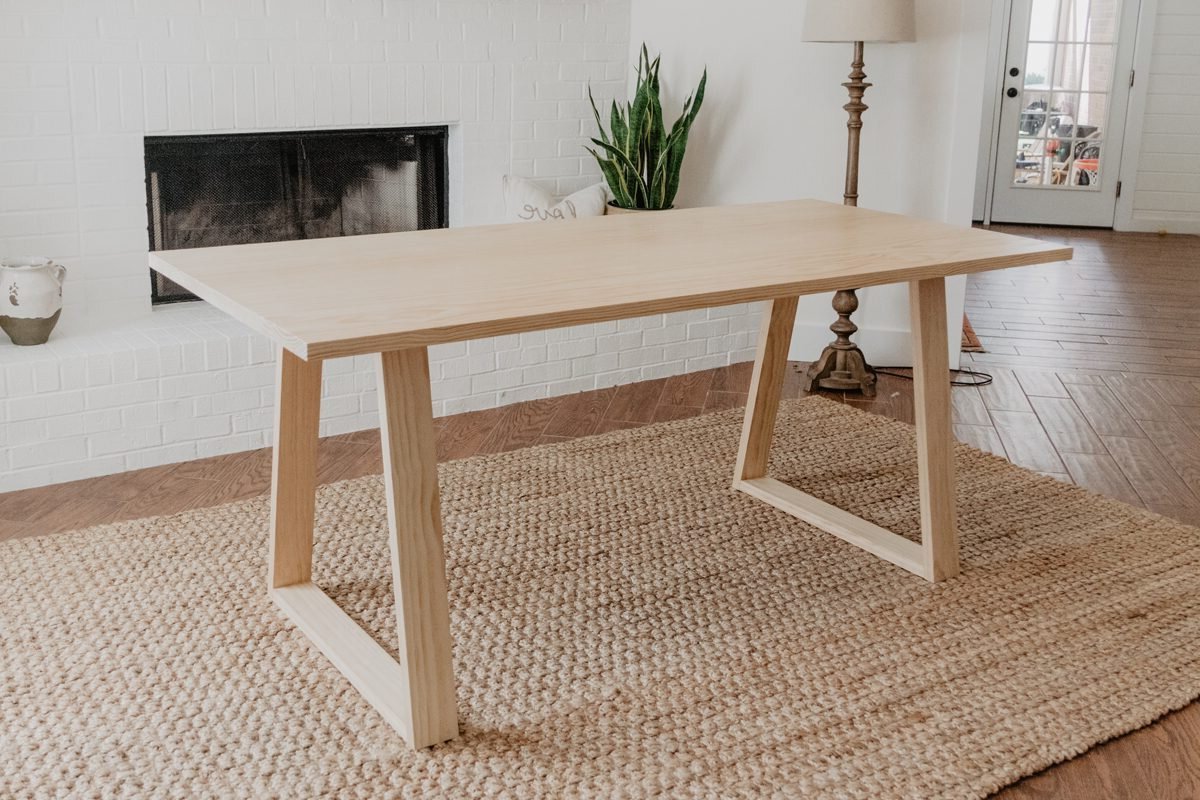
Read more: How to Build a DIY Dining Table
4. Wood for the Frame:
- Consider using sturdy and straight 2×4 or 2×6 lumber for constructing the frame of the table. This will provide the necessary support for the playing surface.
5. Cup Holders:
- If you want to include cup holders in your design, you'll need to purchase stainless steel or plastic cup holders that can be easily installed into the table.
6. Upholstery Staples and Adhesive:
- To secure the vinyl or felt to the playing surface and foam padding, you'll need upholstery staples and adhesive to ensure a smooth and tight fit.
By carefully selecting high-quality materials, you can ensure that your DIY poker table not only looks professional but also stands the test of time during countless game nights.
Designing Your Poker Table
Designing your poker table is where you can let your creativity shine. Consider the following aspects when planning the design of your DIY poker table:
-
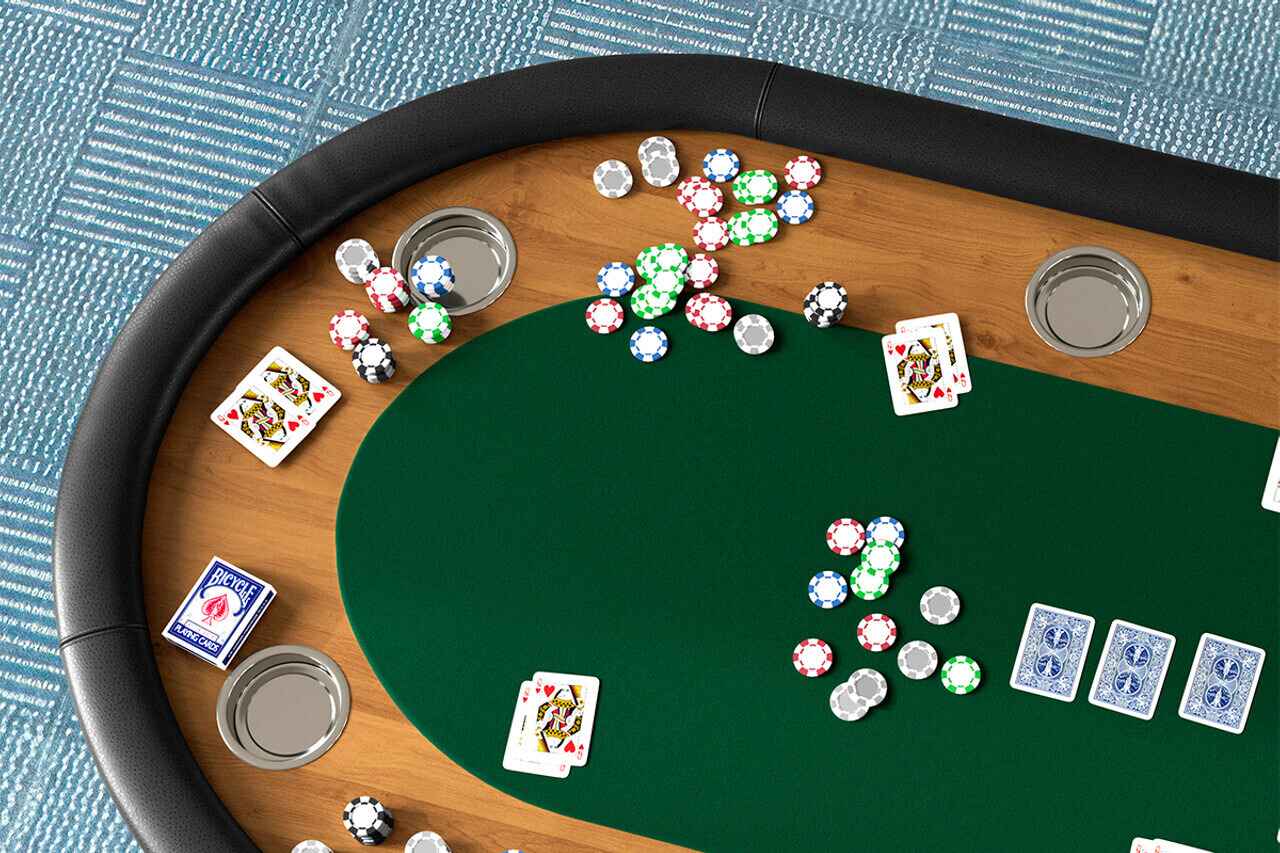
Table Shape: Decide on the shape of your poker table. Whether you prefer a classic oval shape or a more modern rectangular design, choose a shape that fits your gaming space and personal style.
-
Size: Determine the ideal size for your poker table based on the available space and the number of players you expect to accommodate. A standard poker table typically measures around 8 feet long and 4 feet wide, providing ample room for up to 10 players.
-
Legs or Pedestal: Choose whether you want your table to have traditional legs or a pedestal base. Legs offer stability and a classic look, while a pedestal base can add a sleek and modern touch to your gaming area.
-
Customization: Consider adding personal touches such as custom graphics, a logo, or LED lighting to make your poker table uniquely yours. These customizations can elevate the overall look and feel of the table, making it a standout piece in your game room.
-
Color Scheme: Select a color scheme that complements the existing decor of your gaming space. Whether you opt for a classic green felt or a bold, vibrant color, the playing surface should harmonize with the overall aesthetic of the room.
By carefully considering these design elements, you can create a poker table that not only enhances your gaming experience but also adds a touch of personality to your home.
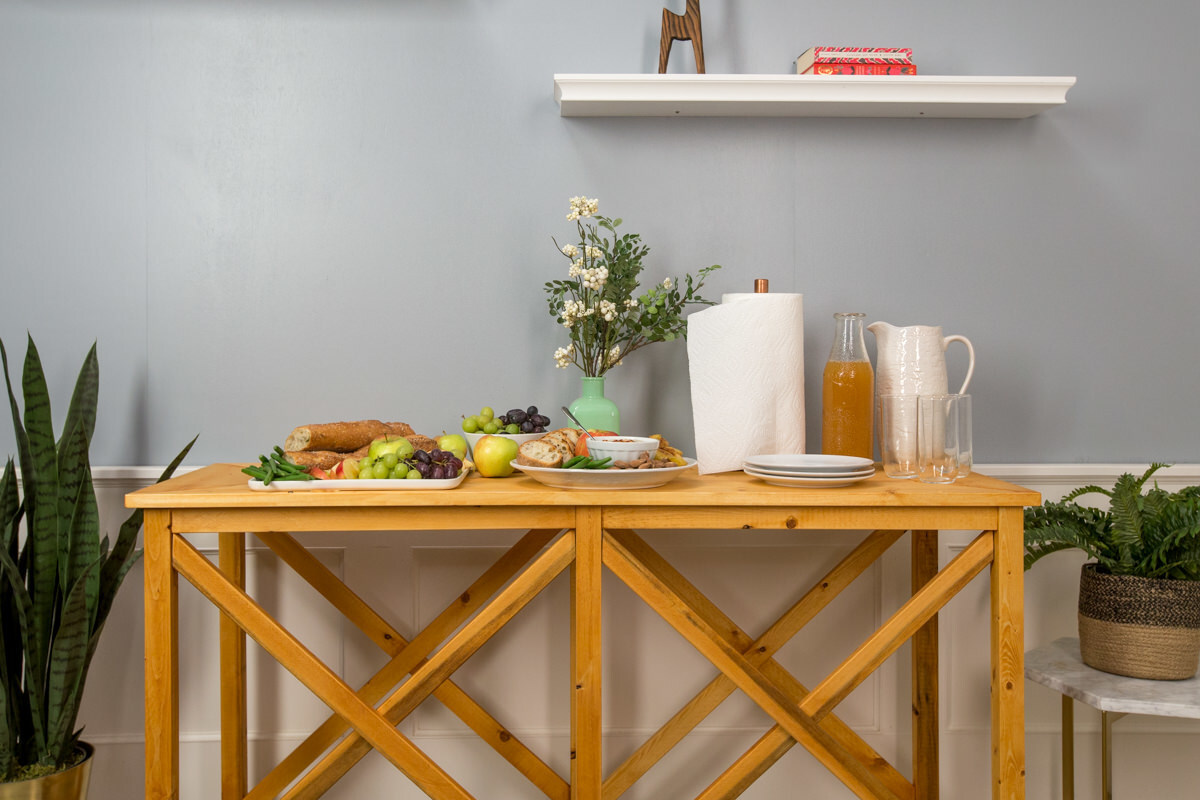
Read more: How to Build a DIY Bar Table
Building the Table Frame
Building the table frame is a critical step in constructing a sturdy and reliable foundation for your DIY poker table. Here's a step-by-step guide to help you build the table frame with ease:
-
Measure and Cut the Lumber: Begin by measuring and cutting the 2×4 or 2×6 lumber to the desired lengths for the table frame. Ensure that the cuts are precise and the pieces are uniform in size to maintain the structural integrity of the frame.
-
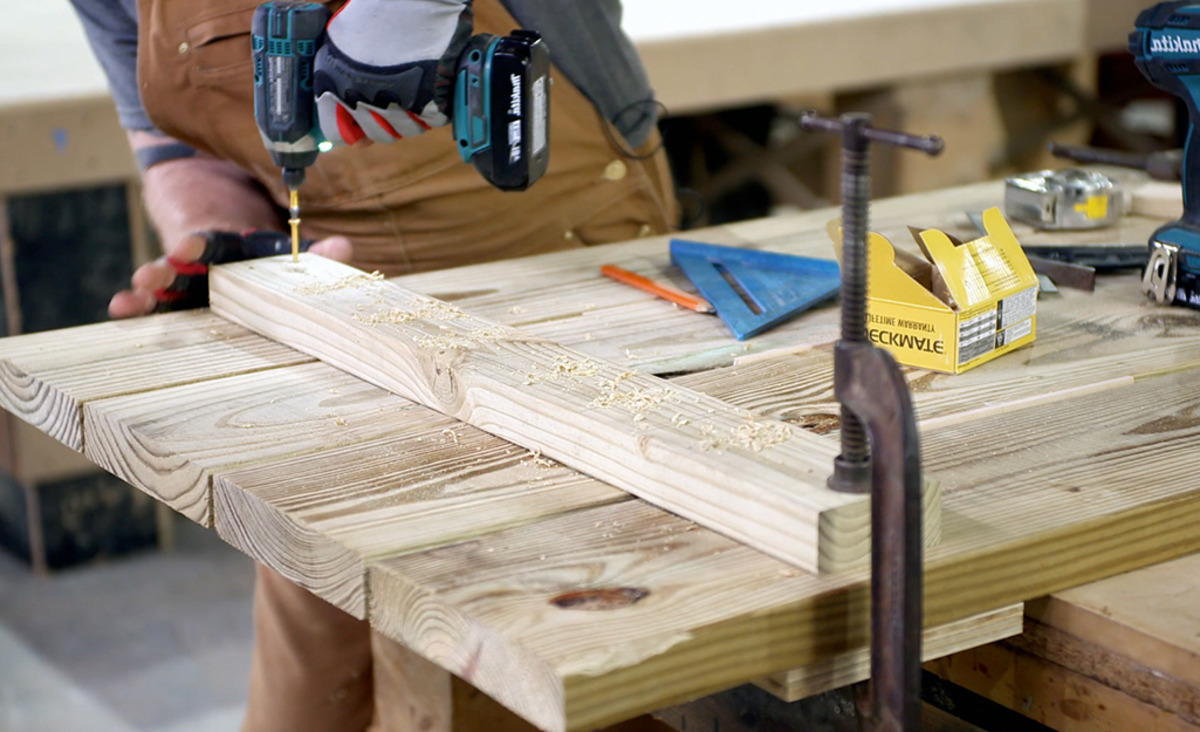
Assemble the Frame Base: Lay out the cut pieces of lumber to form the perimeter of the table. Use wood screws and a drill to securely attach the corners of the frame, creating a solid base for the playing surface.
-
Add Support Beams: To reinforce the frame and prevent any warping or sagging, add support beams across the interior of the frame. These beams will provide additional stability and ensure that the playing surface remains level during intense poker games.
-
Attach the Legs: If you opt for traditional legs, securely attach them to the corners of the frame using metal brackets or wood screws. For a pedestal base, follow the specific instructions for attaching the base to the frame, ensuring a snug and stable fit.
-
Check for Stability: Once the frame is assembled, carefully check for any wobbling or unevenness. Make any necessary adjustments to ensure that the table frame is level and stable.
By following these steps, you can build a robust and durable table frame that forms the backbone of your DIY poker table, setting the stage for countless memorable game nights with friends and family.
Adding the Playing Surface
Adding the playing surface is a crucial step in creating a comfortable and professional-looking DIY poker table. Here's a detailed guide to help you seamlessly add the playing surface to your table:
-
Prepare the Plywood: Place the 4×8 foot sheet of ¾ inch plywood on a flat, clean surface. Ensure that the plywood is free from any bumps or imperfections that could affect the smoothness of the playing surface.
-
Attach the Foam Padding: Lay the high-density, 1-inch thick foam padding over the plywood, ensuring that it completely covers the surface. Trim any excess foam to fit the dimensions of the plywood using a sharp utility knife.
-
Secure the Foam: Use adhesive spray to evenly coat the plywood surface before carefully placing the foam padding on top. Press down firmly to ensure a strong bond between the plywood and the foam.
-
Trim the Excess Foam: Trim any excess foam that extends beyond the edges of the plywood to create a clean and uniform playing surface.
-
Cover with Vinyl or Felt: Lay the chosen vinyl or felt material over the foam-padded plywood, ensuring that it overlaps the edges of the plywood by a few inches on all sides.
-
Secure the Material: Starting from the center and working outwards, use upholstery staples to secure the vinyl or felt to the underside of the plywood. Pull the material taut as you staple, ensuring a smooth and wrinkle-free finish.
-
Trim the Excess Material: Trim any excess vinyl or felt along the edges of the plywood, leaving a clean and neat finish.
By following these steps, you can add a professional-grade playing surface to your DIY poker table, providing a luxurious and comfortable area for endless hours of card-playing enjoyment.
Installing the Rail and Cup Holders
Installing the rail and cup holders is a crucial step in completing the functionality and aesthetics of your DIY poker table. Here's a detailed guide to help you seamlessly install the rail and cup holders:
-
Select the Rail Material: Choose a sturdy and attractive material for the rail, such as high-quality vinyl or leather. The rail will provide a comfortable and padded edge for players to lean on during intense poker games.
-
Cut and Attach the Rail Padding: Measure and cut the rail padding to match the perimeter of the playing surface. Secure the padding to the underside of the rail material, ensuring a snug and uniform fit. The padding will provide a soft and cushioned edge for added comfort during long gaming sessions.
-
Attach the Rail to the Table Frame: Position the rail along the edge of the table frame, ensuring that it aligns evenly with the playing surface. Use wood screws or adhesive to securely attach the rail to the frame, creating a seamless and polished look.
-
Install the Cup Holders: If you've opted to include cup holders in your design, carefully measure and mark the locations for the holders along the inner perimeter of the rail. Use a hole saw or jigsaw to create openings for the cup holders, ensuring a precise and uniform fit for each holder.
-
Secure the Cup Holders: Once the openings are made, insert the cup holders into their respective positions and secure them in place using adhesive or screws. Ensure that the cup holders are level and firmly attached to the rail, providing a convenient and practical solution for keeping drinks within reach during game nights.
By following these steps, you can seamlessly install the rail and cup holders, adding both functionality and a touch of sophistication to your DIY poker table. With the rail providing a comfortable edge for players and the cup holders offering convenience, your poker table will be fully equipped to host memorable and enjoyable gaming sessions.
Applying the Finishing Touches
Once the core components of your DIY poker table are in place, it's time to add the finishing touches that will elevate the overall look and functionality of the table. Here's a detailed guide to help you complete your poker table with finesse:
-
Trimming the Excess Material: Carefully trim any excess vinyl or felt along the edges of the rail and playing surface, ensuring a clean and polished appearance. Use a sharp utility knife to achieve precise cuts and create a seamless transition between the materials.
-
Adding Decorative Elements: Consider adding decorative elements such as brass or stainless steel decorative studs along the rail to enhance the visual appeal of the table. These studs can add a touch of sophistication and create a striking border for the playing surface.
-
Custom Graphics or Logos: If you want to personalize your poker table further, consider adding custom graphics or a logo to the playing surface. This can be achieved through vinyl decals or custom printing, allowing you to showcase your unique style and personality.
-
LED Lighting: For a modern and eye-catching feature, consider incorporating LED lighting around the perimeter of the table or within the rail. LED strips can be easily installed and controlled to create ambient lighting that enhances the gaming atmosphere.
-
Applying a Protective Finish: To protect the playing surface and ensure its longevity, consider applying a clear, protective finish over the vinyl or felt. This will guard against spills, stains, and general wear and tear, keeping your poker table looking pristine for years to come.
-
Quality Control: Before declaring your DIY poker table complete, perform a thorough quality check. Ensure that all components are securely attached, the playing surface is smooth and free from imperfections, and the overall construction meets your expectations.
By meticulously attending to these finishing touches, you can transform your DIY poker table into a stunning centerpiece for your game room. Whether you opt for decorative embellishments, personalized elements, or practical enhancements, these details will contribute to a poker table that not only functions flawlessly but also reflects your individual style and creativity.
Read more: How to Build a Stylish DIY Coffee Table
Conclusion
Congratulations! You've successfully navigated the exhilarating journey of creating your very own DIY poker table. From selecting the finest materials to adding the finishing touches, you've poured your creativity and craftsmanship into every aspect of this project. Now, as you stand back and admire the masterpiece you've brought to life, envision the countless memorable game nights and bonding moments that await around this custom-crafted gaming paradise. Your DIY poker table not only reflects your dedication to quality and attention to detail but also stands as a testament to your passion for creating an inviting and personalized space for entertainment. So, gather your friends, shuffle the cards, and revel in the pride of knowing that you've built more than just a poker table – you've built a hub for laughter, camaraderie, and unforgettable gaming experiences. Here's to the countless hands dealt, the strategic bluffs, and the shared moments of joy that will unfold around your one-of-a-kind poker table. Cheers to your DIY triumph!

