Home>Create & Decorate>DIY & Crafts>DIY Kegerator: How To Build Your Own Beer Dispenser

DIY & Crafts
DIY Kegerator: How To Build Your Own Beer Dispenser
Published: May 15, 2024

Content Creator specializing in woodworking and interior transformations. Caegan's guides motivate readers to undertake their own projects, while his custom furniture adds a personal touch.
Learn how to create your own DIY kegerator and enjoy freshly tapped beer at home with our step-by-step guide. Perfect for beer enthusiasts and DIY & Crafts lovers.
(Many of the links in this article redirect to a specific reviewed product. Your purchase of these products through affiliate links helps to generate commission for Twigandthistle.com, at no extra cost. Learn more)
Introduction
So, you love beer and want to enjoy the luxury of having your own draft beer at home? Well, building your own DIY kegerator is the perfect solution! Not only will it save you money in the long run, but it also gives you the freedom to have your favorite brew on tap whenever you want. In this guide, we'll walk you through the step-by-step process of creating your very own beer dispenser. Whether you're a seasoned DIY enthusiast or a beginner, building a kegerator is a fun and rewarding project that will elevate your home entertainment experience. Let's dive in and get started on this exciting journey to beer bliss!
Read more: DIY Sunflower Bathroom Decor Ideas
Materials Needed
Before you embark on this DIY kegerator project, it's essential to gather all the necessary materials and tools. Here's a comprehensive list to ensure you have everything you need to build your own beer dispenser:
-
Refrigerator: Look for a gently used or new refrigerator that can accommodate the size of the keg you plan to use. Ensure it has enough space to fit the keg and the necessary components.
-
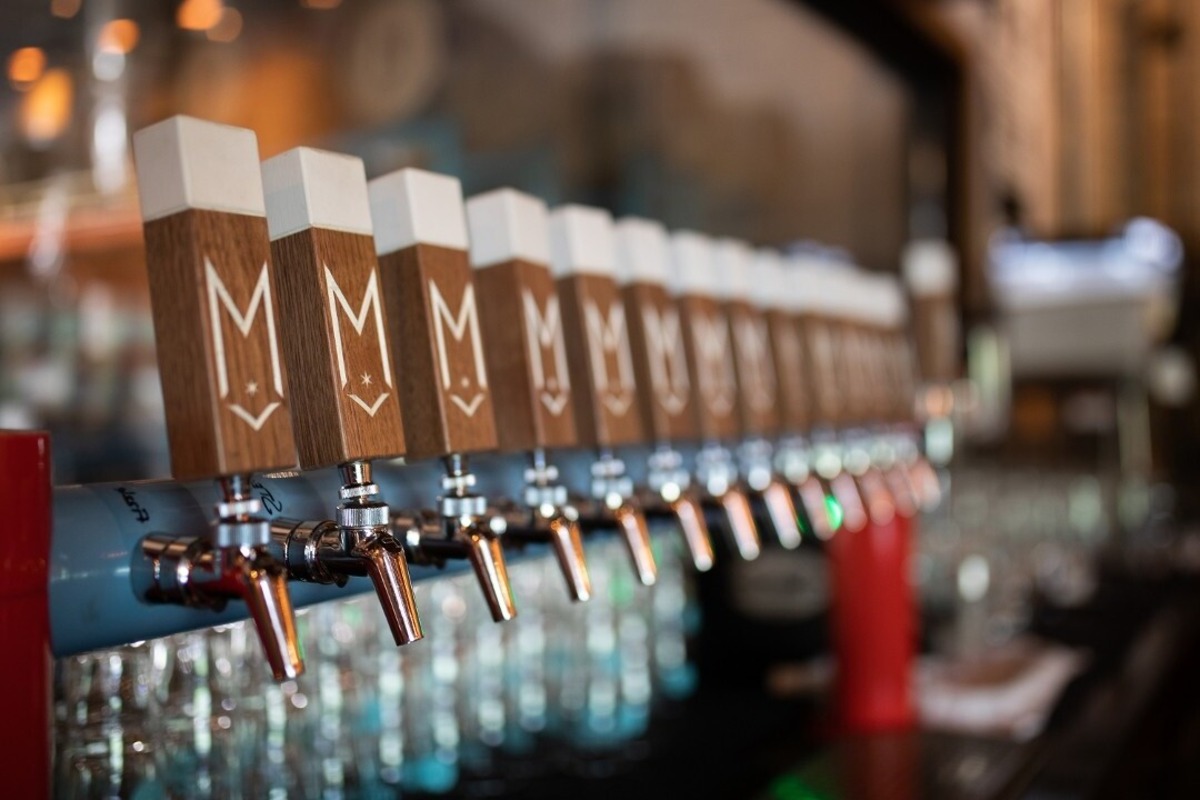
Draft Tower: This is where the beer tap will be mounted. Choose a draft tower that fits the style and size of your kegerator.
-
CO2 Tank and Regulator: The CO2 tank is essential for dispensing the beer, and the regulator controls the pressure of the CO2. Make sure to get the right size tank for your setup.
-
Beer Lines and Fittings: You'll need food-grade beer lines and the appropriate fittings to connect the keg to the draft tower.
-
Drip Tray: To catch any drips or spills, a drip tray is a must-have accessory for your kegerator.
-
Keg Coupler: This device connects the CO2 and beer lines to the keg, allowing for smooth dispensing.
-
Wrenches and Screwdrivers: These basic tools will come in handy for assembling and installing various components.
-
Drill and Hole Saw: You'll need these to create holes for the draft tower and CO2 line.
-
Teflon Tape: This will help ensure a tight seal when connecting fittings.
-
Cleaning Kit: Keeping your kegerator clean is crucial for maintaining the quality of your beer. Invest in a cleaning kit specifically designed for beer lines and faucets.
-
Keg of Beer: Of course, you'll need your favorite keg of beer to complete your kegerator setup.
With these materials and tools at your disposal, you'll be well-equipped to tackle the construction of your DIY kegerator with confidence and ease.
Step 1: Choosing the Right Refrigerator
When it comes to building your DIY kegerator, selecting the right refrigerator is a critical first step. Here are the key factors to consider when choosing the perfect refrigerator for your beer dispenser:
Size and Capacity
Ensure that the refrigerator you choose has enough space to accommodate the size of the keg you plan to use. Measure the interior dimensions of the refrigerator to ensure that the keg, CO2 tank, and other components will fit comfortably inside. Additionally, consider the available space in your home where the kegerator will be located to ensure the refrigerator will fit in the designated area.
Temperature Control
Look for a refrigerator with adjustable temperature settings. Maintaining the ideal temperature for storing and dispensing beer is crucial for preserving its flavor and quality. A refrigerator with a digital thermostat or the ability to modify the temperature settings will give you greater control over the chilling process.
Read more: DIY Home Improvement: Girls Drink Beer Too!
Door Configuration
Consider the door configuration of the refrigerator. A top-freezer refrigerator with a single door is often the preferred choice for converting into a kegerator. This configuration provides ample space for the keg and other components, and the single door simplifies access to the interior for installation and maintenance.
Energy Efficiency
Opt for an energy-efficient refrigerator to minimize operating costs and reduce environmental impact. Look for models with an Energy Star rating, which indicates that the appliance meets strict energy efficiency guidelines set by the Environmental Protection Agency.
Used vs. New
While a brand-new refrigerator offers the latest features and warranties, a gently used refrigerator can be a cost-effective option for your DIY kegerator project. Explore local classifieds, online marketplaces, or appliance stores for pre-owned refrigerators in good condition. Just ensure that the used refrigerator is clean, in good working order, and free from any lingering odors.
By carefully considering these factors, you can select a refrigerator that serves as the ideal foundation for your DIY kegerator, setting the stage for a successful and enjoyable beer dispensing experience at home.
Step 2: Installing the Draft Tower
Now that you have the refrigerator ready, it's time to move on to the exciting step of installing the draft tower. This is where the magic happens, as it's the focal point for dispensing your favorite brew. Here's a detailed guide on how to install the draft tower for your DIY kegerator:
-
Choose the Location: Select a suitable location on the top of the refrigerator where the draft tower will be installed. Ensure that there is enough space for the tower and that it is easily accessible for pouring beer.
-
Mark and Measure: Use a tape measure and a pencil to mark the precise location where the draft tower will be installed. Double-check the measurements to ensure accuracy before proceeding.
-
Prepare for Drilling: Before drilling, remove any shelves or obstacles from the top of the refrigerator. This will provide a clear and unobstructed surface for the installation process.
-
Drill the Hole: Using a drill and an appropriate hole saw attachment, carefully drill a hole through the top of the refrigerator. Take your time and apply gentle, consistent pressure to create a clean and precise opening for the draft tower.
-
Mount the Draft Tower: Once the hole is drilled, carefully insert the draft tower into the opening. Secure it in place according to the manufacturer's instructions, which may involve using screws or other fastening methods to ensure a stable and secure installation.
-
Connect the Beer Lines: With the draft tower securely in place, it's time to connect the beer lines. Follow the specific instructions provided with your draft tower to ensure that the beer lines are properly attached and secured.
-
Test for Leaks: After connecting the beer lines, perform a thorough check to ensure there are no leaks. Turn on the CO2 and pressurize the system, then inspect all connections for any signs of leaking beer or CO2. Address any leaks immediately to prevent wastage and maintain the integrity of the system.
By following these steps, you can successfully install the draft tower for your DIY kegerator, bringing you one step closer to enjoying fresh, perfectly poured draft beer in the comfort of your own home.
Read more: DIY Sea Shell Bathroom Accessories
Step 3: Adding the CO2 Tank and Regulator
Adding the CO2 tank and regulator is a crucial step in setting up your DIY kegerator. This component is responsible for maintaining the proper pressure needed to dispense your beer with precision and consistency. Here's a detailed guide on how to add the CO2 tank and regulator to your kegerator:
-
Select the Location: Choose a suitable location outside of the refrigerator to mount the CO2 tank. This could be inside a cabinet or on the back of the kegerator. Ensure that the location provides easy access for adjusting the regulator and connecting the CO2 lines.
-
Secure the CO2 Tank: Use straps or brackets to securely fasten the CO2 tank in place. It's essential to prevent the tank from tipping or moving during operation. Make sure the tank is positioned upright and stable to avoid any potential hazards.
-
Attach the Regulator: Connect the regulator to the CO2 tank by screwing it onto the tank's valve. Use a wrench to tighten the connection, ensuring a secure and leak-free attachment. The regulator allows you to adjust the pressure of the CO2, providing precise control over the dispensing process.
-
Adjust the Pressure: Once the regulator is attached, set the pressure to the recommended level for the type of beer you are dispensing. Consult the guidelines provided with your specific beer to determine the appropriate pressure setting. This step is crucial for achieving the perfect pour and maintaining the beer's carbonation.
-
Connect the CO2 Lines: With the regulator in place, connect the CO2 lines to the keg coupler and the regulator. Ensure that the connections are tight and secure, using Teflon tape if necessary to create a reliable seal. Carefully inspect the connections to verify that there are no leaks.
-
Test for Leaks: Before proceeding, conduct a thorough leak check to ensure that the CO2 system is airtight. Turn on the CO2 tank and pressurize the lines, then inspect all connections for any signs of leaking gas. Address any leaks immediately to prevent wastage and maintain the safety of the system.
By following these steps, you can successfully add the CO2 tank and regulator to your DIY kegerator, setting the stage for a smooth and reliable beer dispensing experience. With the CO2 system in place, you're one step closer to enjoying the convenience and satisfaction of having your favorite draft beer on tap at home.
Step 4: Connecting the Beer Lines
Connecting the beer lines is a critical step in the construction of your DIY kegerator, as it directly impacts the quality and consistency of your beer dispensing. Here's a detailed guide on how to connect the beer lines for your kegerator:
-
Prepare the Beer Lines: Before connecting the beer lines, ensure that they are clean and free from any obstructions. Use a cleaning kit designed for beer lines to flush out any residue or impurities that could affect the flavor and quality of your beer.
-
Measure and Cut: Measure the required length of beer line to connect the keg coupler to the draft tower. Use a sharp pair of scissors or a tubing cutter to cut the beer line to the appropriate length. Ensure that the cut is clean and straight to facilitate a secure connection.
-
Attach the Beer Lines: Once the beer lines are cut to size, attach them to the keg coupler and the draft tower. Follow the specific instructions provided with your kegerator components to ensure that the beer lines are properly connected and secured. Use the appropriate fittings and clamps to create a reliable seal.
-
Secure the Connections: After attaching the beer lines, secure the connections to prevent any leaks or disconnections during operation. Double-check the fittings and clamps to ensure that they are tight and secure. A secure connection is essential for maintaining the integrity of the beer dispensing system.
-
Test for Leaks: With the beer lines connected, conduct a thorough leak check to verify that the connections are airtight. Pressurize the system and inspect all the connections for any signs of leaking beer. Address any leaks immediately to prevent wastage and maintain the quality of your beer.
-
Adjust the Flow Rate: Once the beer lines are connected and secure, adjust the flow rate to achieve the desired pour. The flow rate can be adjusted using the faucet or by modifying the length and diameter of the beer lines. Experiment with different settings to find the optimal flow rate for your specific beer and serving preferences.
By following these steps, you can successfully connect the beer lines for your DIY kegerator, ensuring a reliable and consistent beer dispensing experience. With the beer lines in place, you're one step closer to enjoying the convenience and pleasure of having your favorite draft beer on tap at home.
Step 5: Testing and Troubleshooting
After completing the assembly of your DIY kegerator, it's crucial to conduct thorough testing to ensure that the system is functioning as intended. Additionally, being prepared to troubleshoot any potential issues will help you address and resolve problems effectively. Here's a detailed guide on how to test and troubleshoot your newly constructed beer dispenser:
-
Initial Testing: Begin by testing the functionality of the kegerator by dispensing a small amount of beer. Ensure that the CO2 pressure is set to the appropriate level and that the beer flows smoothly from the tap. Verify that the temperature inside the kegerator is at the optimal level for serving beer.
-
Temperature Check: Use a reliable thermometer to measure the temperature inside the kegerator. The ideal temperature for storing and dispensing beer is typically between 38-40 degrees Fahrenheit. Adjust the refrigerator's settings if necessary to achieve the desired temperature range.
-
Pouring Test: Pour a full glass of beer from the tap and observe the quality of the pour. The beer should flow smoothly with a proper head formation. If the pour appears foamy or uneven, adjust the CO2 pressure or the flow rate to achieve a balanced and visually appealing pour.
-
Taste Test: After pouring a sample of beer, taste it to ensure that the flavor and carbonation meet your expectations. The beer should maintain its desired level of carbonation and taste as intended. If the beer tastes flat or over-carbonated, adjust the CO2 pressure accordingly.
-
Leak Inspection: Thoroughly inspect all connections, fittings, and lines for any signs of leaks. Look for dripping beer or CO2, as well as any hissing sounds that may indicate a leak. Address any leaks immediately by tightening connections or replacing faulty components.
-
Troubleshooting: If you encounter any issues during testing, such as inconsistent pouring, off-flavors, or unusual noises, refer to the troubleshooting guide provided with your kegerator components. Common issues may include improper CO2 pressure, clogged lines, or faulty seals. Follow the recommended steps to diagnose and resolve the problem effectively.
-
Repeat Testing: After making adjustments or addressing any issues, repeat the testing process to verify that the kegerator is functioning optimally. Conduct multiple pouring tests and taste evaluations to ensure that the beer is dispensed with consistency and quality.
By following these testing and troubleshooting steps, you can ensure that your DIY kegerator is fully operational and ready to deliver a delightful draft beer experience. With careful testing and proactive troubleshooting, you'll be able to enjoy the convenience and satisfaction of having your favorite beer on tap at home.
Conclusion
Congratulations on successfully completing the construction of your very own DIY kegerator! By following the step-by-step process outlined in this guide, you've transformed a standard refrigerator into a fully functional beer dispenser that will undoubtedly enhance your home entertainment experience. With careful consideration of the refrigerator, precise installation of the draft tower, meticulous setup of the CO2 system, and thorough testing, you've created a reliable and efficient kegerator that will provide you with the joy of having fresh, perfectly poured draft beer at your fingertips.
As you raise a glass of your favorite brew from your newly built kegerator, take pride in the craftsmanship and dedication you've put into this project. Whether you're hosting gatherings with friends or simply unwinding after a long day, your DIY kegerator will be a centerpiece of enjoyment and relaxation. With the ability to customize your beer selection and pour a perfect pint whenever the mood strikes, you've elevated your home to a new level of hospitality and enjoyment.
As you continue to use and maintain your kegerator, remember to keep it clean, perform regular maintenance, and monitor the CO2 levels to ensure a consistent and delightful beer dispensing experience. With proper care and attention, your DIY kegerator will continue to be a source of satisfaction and enjoyment for years to come.
So, here's to the successful completion of your DIY kegerator project and to the countless moments of enjoyment and camaraderie it will bring. Cheers to your craftsmanship and to the delightful draft beer experiences that await you in the comfort of your own home!

