
Home>Create & Decorate>DIY & Crafts>How To Build Porch Steps
DIY & Crafts
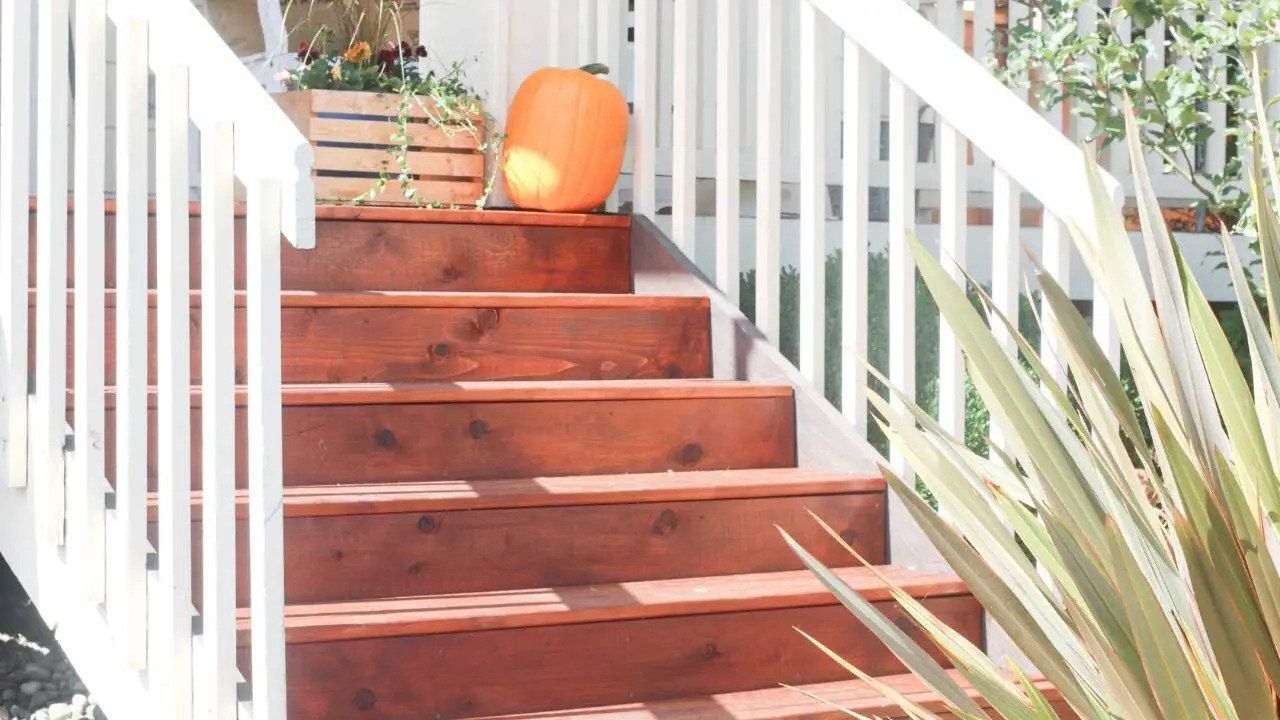
How To Build Porch Steps
Published: June 8, 2024

Content Creator specializing in woodworking and interior transformations. Caegan's guides motivate readers to undertake their own projects, while his custom furniture adds a personal touch.
Learn how to build porch steps with our easy DIY & Crafts guide. Create a beautiful entrance to your home with our step-by-step instructions.
(Many of the links in this article redirect to a specific reviewed product. Your purchase of these products through affiliate links helps to generate commission for Twigandthistle.com, at no extra cost. Learn more)
Introduction
So, you've decided to spruce up your home by adding a new set of porch steps. Whether you're a seasoned DIY enthusiast or a novice looking to tackle your first big project, building porch steps can be a rewarding and practical endeavor. Not only will a well-built set of steps enhance the curb appeal of your home, but it will also provide a safe and convenient entryway for you and your guests. But where do you start? How do you ensure that your porch steps are not only aesthetically pleasing but also structurally sound? In this guide, we'll walk you through the step-by-step process of building porch steps, from planning and preparation to adding the finishing touches. So, grab your tools and let's get started!
Planning and Preparation
Before you dive into the nitty-gritty of building porch steps, it's crucial to start with a solid plan and thorough preparation. Here's what you need to do to set yourself up for success:
-
Check Local Building Codes: The first step in planning your porch steps is to familiarize yourself with the local building codes and regulations. These codes will dictate the specific requirements for the dimensions, materials, and safety features of your porch steps.
-
Assess Your Space: Take a good look at the area where you plan to install the steps. Consider the slope of the ground, the available space, and any existing structures that may impact the design and placement of your steps.
-
Determine the Size and Design: Decide on the size and design of your porch steps. Consider the height of the porch, the number of steps needed, and the overall aesthetic you want to achieve. This is also the time to think about any additional features, such as handrails or lighting.
-
Create a Materials List: Once you have a clear idea of the size and design of your porch steps, make a list of all the materials you'll need. This may include lumber, concrete, fasteners, and any decorative elements you plan to incorporate.
-
Gather Your Tools: In addition to the materials, you'll need a variety of tools to complete the project. Common tools for building porch steps include a circular saw, drill, level, tape measure, and a framing square. Make sure you have everything you need before you start.
-
Budget and Timeline: Consider your budget and the time you have available for the project. Setting a budget will help you make informed decisions about materials and design, while establishing a timeline will keep you on track and motivated.
By taking the time to plan and prepare, you'll lay a solid foundation for the rest of the project. This initial phase is essential for ensuring that your porch steps not only look great but also meet safety and structural standards.
Gathering Materials and Tools
When it comes to gathering materials and tools for building porch steps, being well-prepared is key to a successful project. Here's a detailed breakdown of the essential items you'll need:
Materials
- Lumber: Select high-quality, pressure-treated lumber that is suitable for outdoor use. The specific dimensions and quantity will depend on the size and design of your porch steps.
- Concrete: If your porch steps will be supported by a concrete pad, you'll need to gather concrete mix and form materials.
- Fasteners: Stock up on galvanized or stainless steel screws, nails, and other fasteners that are resistant to rust and corrosion.
- Handrail Materials: If you plan to include handrails, gather the necessary materials such as handrail brackets, balusters, and a sturdy handrail.
- Decorative Elements: Consider any decorative elements you want to incorporate, such as post caps, lighting, or trim pieces.
Tools
- Circular Saw: A reliable circular saw will be essential for cutting lumber to the appropriate dimensions.
- Drill: A power drill with a variety of bits will be used for drilling pilot holes and driving screws.
- Level: Ensure you have a long, sturdy level to check the horizontal and vertical alignment of your steps.
- Tape Measure: A tape measure is indispensable for accurately measuring and marking the materials.
- Framing Square: This tool will help you ensure that your cuts and angles are precise and square.
- Safety Gear: Don't forget to gather safety gear such as goggles, gloves, and hearing protection to keep yourself safe during the construction process.
By gathering all the necessary materials and tools before you begin, you'll avoid unnecessary delays and ensure that the construction of your porch steps progresses smoothly. It's always better to have everything you need on hand from the outset, rather than scrambling to gather items as you go along.
Measuring and Marking
Accurate measurements and precise markings are crucial for the successful construction of porch steps. Here's a detailed guide on how to approach the measuring and marking phase:
-
Measure the Space: Begin by measuring the available space for your porch steps. Take into account the width and depth of the area, as well as the height from the ground to the porch. These measurements will inform the size and design of your steps.
-
Determine the Rise and Run: The rise refers to the vertical height between each step, while the run is the horizontal depth. Use a level and tape measure to calculate the rise and run for each step, ensuring consistency and safety.
-
Mark the Layout: With the measurements in hand, use a chalk line or string to mark the layout of the steps on the ground. This will provide a visual guide for the construction process and help you visualize the final placement of the steps.
-
Check for Level: Use a level to ensure that the layout markings are level and even. Adjust the markings as needed to maintain a consistent and safe slope for the steps.
-
Mark the Stringers: If you're using stringers to support the steps, mark and cut them according to the layout. Use a framing square to ensure that the angles are accurate and that the stringers will provide sturdy support for the steps.
-
Double-Check Measurements: Before cutting any materials, double-check all measurements and markings to avoid costly mistakes. It's better to spend extra time verifying the accuracy of your layout than to proceed with incorrect dimensions.
By taking the time to measure and mark the space accurately, you'll set the stage for a smooth and precise construction process. This phase is critical for ensuring that your porch steps are not only visually appealing but also safe and structurally sound.
Cutting and Assembling the Frame
Once you have completed the measuring and marking phase, it's time to move on to cutting and assembling the frame for your porch steps. This phase is where the individual components of the steps start to take shape, and precision is key to ensuring a sturdy and safe structure.
Cutting the Stringers
Begin by cutting the stringers to the appropriate dimensions based on the layout markings. Use a circular saw to make the necessary cuts, ensuring that the angles are accurate and the cuts are clean. Stringers provide the support for the steps, so it's crucial to double-check the measurements and angles before making any cuts.
Assembling the Frame
With the stringers cut to size, it's time to assemble the frame of the porch steps. Position the stringers in place according to the layout markings, ensuring that they are level and securely anchored. Use galvanized or stainless steel fasteners to attach the stringers to the porch and the ground, providing a solid foundation for the steps.
Adding the Treads and Risers
Once the frame is securely in place, it's time to add the treads and risers. Cut the treads to the desired width and attach them to the stringers using screws or nails. Ensure that the treads are evenly spaced and securely fastened to provide a stable surface for stepping. Next, attach the risers between the treads to complete the basic structure of the steps.
Reinforcing the Frame
To reinforce the frame and ensure long-term durability, consider adding additional supports and braces as needed. This may involve installing diagonal braces or additional framing to strengthen the overall structure of the porch steps. Reinforcement is particularly important for steps that will experience heavy foot traffic or are exposed to the elements.
By carefully cutting and assembling the frame of your porch steps, you'll lay the groundwork for a safe and reliable entryway to your home. Attention to detail and precision during this phase will contribute to the overall strength and stability of the steps, providing a solid foundation for the next stages of the construction process.
Attaching the Steps
Attaching the steps is a critical phase in the construction of porch steps, as it involves securing the individual components to create a cohesive and functional structure. Here's a detailed guide on how to approach this essential step:
-
Securing the Treads: Begin by securing the treads to the frame of the steps. Use screws or nails to firmly attach the treads to the stringers, ensuring that they are evenly spaced and securely fastened. Pay close attention to the alignment and levelness of each tread to provide a uniform and safe walking surface.
-
Installing the Risers: Once the treads are in place, install the risers between each step. The risers not only contribute to the overall aesthetics of the steps but also provide additional support and stability. Secure the risers to the stringers using appropriate fasteners, ensuring a snug fit and consistent alignment.
-
Checking for Stability: As you attach each step, periodically check for stability and alignment. Use a level to ensure that the steps are even and that the risers are perpendicular to the treads. Making adjustments as you progress will help maintain the structural integrity of the steps.
-
Securing Additional Supports: Depending on the design and dimensions of your porch steps, you may need to install additional supports to reinforce the structure. This could involve adding support brackets, braces, or additional framing to enhance the overall stability and load-bearing capacity of the steps.
-
Applying Non-Slip Surface (Optional): For added safety, consider applying a non-slip surface to the treads of the steps. This can be achieved using specialized non-slip tape or paint designed for outdoor use. A non-slip surface is particularly beneficial in areas prone to moisture or where the steps are likely to be exposed to the elements.
-
Final Stability Check: Once all the steps are securely attached, perform a final stability check. Walk up and down the steps to test for any signs of movement or instability. Address any issues immediately to ensure that the steps are safe and reliable for regular use.
By following these steps and ensuring that each component is securely attached, you'll create a set of porch steps that not only look great but also provide a safe and sturdy entryway to your home. Attention to detail and thoroughness during the attachment phase will contribute to the long-term durability and functionality of the steps.
Adding Handrails and Finishing Touches
Once the main structure of the porch steps is in place, it's time to focus on adding handrails and incorporating the finishing touches that will enhance both the aesthetics and safety of the steps.
Installing Handrails
- Selecting Handrail Materials: Choose the appropriate materials for your handrails, ensuring that they are durable and complement the overall design of the steps. Common options include wood, metal, or composite materials.
- Measuring and Cutting Handrails: Measure the desired length for the handrails and cut them to size using a saw. Ensure that the handrails are level and securely anchored to the porch and the steps.
- Attaching Handrail Brackets: Install handrail brackets at appropriate intervals along the length of the handrails. Use a level to ensure that the brackets are aligned and that the handrails will be securely attached.
Adding Finishing Touches
- Applying Protective Finish: If you're using wood for your porch steps, consider applying a protective finish to enhance durability and weather resistance. This could involve staining, painting, or applying a weatherproof sealant to the wood surfaces.
- Incorporating Decorative Elements: Add decorative elements such as post caps, lighting, or trim pieces to enhance the visual appeal of the steps. These elements can add a personalized touch and contribute to the overall curb appeal of your home.
- Ensuring Safety Features: Double-check that all safety features, such as non-slip surfaces and adequate lighting, are in place. Safety should always be a top priority when adding finishing touches to your porch steps.
By focusing on adding handrails and carefully incorporating the finishing touches, you'll complete the construction of your porch steps with a polished and functional end result. These final details not only contribute to the overall appearance of the steps but also ensure that they are safe and durable for regular use.
Conclusion
In conclusion, building porch steps is a rewarding DIY project that can enhance the appearance and functionality of your home. By following the step-by-step process outlined in this guide, you can create a set of porch steps that are not only visually appealing but also safe and structurally sound. From careful planning and preparation to precise measuring, cutting, and assembling, each phase of the construction process plays a crucial role in the overall success of the project. By paying attention to detail and taking the time to ensure that each component is securely attached and finished, you can create a durable and attractive entryway to your home. Whether you're a seasoned DIY enthusiast or a first-time builder, the satisfaction of completing this project and the lasting impact it will have on your home make the effort well worth it. So, roll up your sleeves, gather your materials and tools, and get ready to enjoy the benefits of a beautifully constructed set of porch steps.