
Home>Create & Decorate>DIY & Crafts>How To Build A Screened In Porch On Concrete
DIY & Crafts
How To Build A Screened In Porch On Concrete
Published: May 17, 2024

Senior Editor in Create & Decorate, Kathryn combines traditional craftsmanship with contemporary trends. Her background in textile design and commitment to sustainable crafts inspire both content and community.
Learn how to build a screened-in porch on concrete with our DIY & Crafts guide. Create a beautiful outdoor space with our step-by-step instructions.
(Many of the links in this article redirect to a specific reviewed product. Your purchase of these products through affiliate links helps to generate commission for Twigandthistle.com, at no extra cost. Learn more)
Introduction
So, you've got a concrete porch and you're thinking about turning it into a cozy screened-in retreat? Well, you've come to the right place! Building a screened-in porch on concrete can be a fantastic way to add extra living space to your home and create a comfortable outdoor area to enjoy all year round. In this guide, we'll take you through the step-by-step process of transforming your plain concrete porch into a beautiful screened-in oasis. Whether you're a seasoned DIY enthusiast or a first-time home improvement warrior, we've got you covered. Let's dive in and get started on this exciting project!
Planning and Design
Before you start swinging hammers and driving in screws, it's crucial to spend some time planning and designing your screened-in porch. Here are the essential steps to consider:
-
Determine the Purpose: First things first, decide how you want to use your screened-in porch. Will it be a cozy spot for reading and sipping coffee, a dining area for entertaining, or a play area for the kids? Understanding the primary purpose will help you make informed decisions about the layout and features.
-
Check Local Regulations: Depending on where you live, there may be specific building codes and regulations that govern the construction of screened-in porches. Check with your local authorities to ensure that your project complies with all necessary requirements.
-
Choose the Right Location: Assess your concrete porch and determine the best location for the screened-in addition. Consider factors such as sunlight exposure, views, and proximity to indoor living spaces.
-
Sketch Out the Layout: Grab a pen and paper and sketch out a rough layout for your screened-in porch. Consider the size, shape, and placement of doors and windows. This will serve as a helpful reference as you move through the construction process.
-
Select Materials and Finishes: Think about the materials and finishes you want to use for your screened-in porch. From the framing and screening to the flooring and ceiling, there are numerous options to choose from. Consider the aesthetic appeal, durability, and maintenance requirements of each material.
By taking the time to plan and design your screened-in porch thoroughly, you'll set the stage for a successful and enjoyable construction process. Once you've nailed down these crucial details, you'll be ready to move on to the next phase of the project.
Preparing the Concrete Base
-
Clean the Surface: Start by thoroughly cleaning the concrete surface of your porch. Remove any dirt, debris, and grease using a stiff brush and a mild detergent. Rinse the area with a hose and allow it to dry completely.
-
Repair Cracks and Imperfections: Inspect the concrete for any cracks or imperfections. Use a concrete patching compound to fill in any gaps and smooth out the surface. This step is crucial for ensuring a level and stable base for your screened-in porch.
-
Apply a Bonding Agent: To promote strong adhesion between the existing concrete and the new construction, apply a bonding agent to the surface. This will help the framing and screening materials adhere securely to the concrete base.
-
Install Pressure-Treated Sleepers: To create a thermal break and prevent moisture buildup, install pressure-treated sleepers over the concrete surface. These sleepers will serve as the foundation for the porch framing, providing a gap for air circulation and drainage.
-
Lay Down Vapor Barrier: Before proceeding with the framing, consider laying down a vapor barrier over the sleepers. This will help control moisture and prevent any potential issues related to condensation and humidity.
By meticulously preparing the concrete base, you'll ensure a solid foundation for the construction of your screened-in porch. Taking the time to clean, repair, and properly treat the surface will contribute to the longevity and stability of your project. Once the base is prepped and ready, you'll be all set to move on to the exciting phase of framing your new outdoor retreat.
Framing the Porch
Framing the porch is a critical phase in the construction of your screened-in oasis. This step involves creating the structural framework that will support the walls, roof, and screening of your porch. Here's a detailed breakdown of the framing process:
-
Measure and Mark: Begin by measuring and marking the layout of the porch on the sleepers. Use a tape measure, level, and chalk line to ensure accurate and straight lines for the framing.
-
Cut and Assemble the Frame: Using pressure-treated lumber, cut the framing members to the appropriate lengths according to your layout. Commonly used materials for framing include 2×4 or 4×4 lumber. Assemble the frame on the marked layout, securing the pieces together with galvanized screws or nails.
-
Attach the Frame to the Sleepers: Once the frame is assembled, secure it to the pressure-treated sleepers using anchor bolts or concrete screws. Ensure that the frame is level and securely anchored to the base.
-
Add Support Beams and Posts: Depending on the size and design of your porch, you may need to incorporate support beams and posts to reinforce the structure. These elements will provide additional stability and load-bearing capacity for the porch.
-
Install Door and Window Openings: If your screened-in porch will include doors and windows, frame out the openings accordingly. Ensure that the dimensions and placements align with your initial design plans.
-
Consider Roof Support: If you plan to add a roof to your porch, take into account the necessary support for the roof structure. This may involve adding additional framing elements to accommodate the roof's weight and design.
By following these steps, you'll establish a sturdy and reliable framework for your screened-in porch. The framing phase sets the stage for the next steps in the construction process, bringing you one step closer to enjoying your new outdoor living space.
Installing the Screen Panels
Installing the screen panels is a crucial step in creating a comfortable and bug-free environment within your screened-in porch. Here's a detailed guide on how to effectively install the screen panels:
-
Measure and Cut the Screens: Begin by measuring the dimensions of each section of the porch where the screens will be installed. Use these measurements to cut the screen material to the appropriate sizes, ensuring a precise fit for each panel.
-
Secure the Screen Material: With the help of a staple gun or screen installation tool, secure the screen material to the framing of the porch. Start at one corner and gradually work your way around, pulling the screen taut as you go. Ensure that the screen is evenly stretched and free of wrinkles or sagging.
-
Trim Excess Screen: Once the screen material is securely attached, trim any excess material using a utility knife or scissors. Take care to trim along the edges of the framing, creating a neat and tidy finish.
-
Install Screen Molding: To further secure the screen material and create a clean edge, consider installing screen molding around the perimeter of each panel. This molding will provide a finished look while holding the screen in place.
-
Address Door and Window Openings: If your screened-in porch includes doors and windows, pay special attention to the installation of screens in these areas. Ensure that the screens are properly fitted and allow for smooth operation of doors and windows.
-
Consider Screen Options: When selecting the screen material, consider options such as fiberglass, aluminum, or specialty screening designed to resist tears and damage. Choose a material that suits your specific needs for durability, visibility, and insect protection.
By following these steps, you'll effectively install the screen panels, creating a comfortable and inviting space within your screened-in porch. With the screens in place, you'll be one step closer to enjoying the benefits of your newly transformed outdoor retreat.
Adding the Roof
-
Select Roofing Materials: Choose the roofing materials that best suit your design and climate. Options include shingles, metal roofing, or polycarbonate panels. Consider factors such as durability, aesthetics, and maintenance requirements when making your selection.
-
Measure and Cut Roofing Materials: Measure the dimensions of the porch roof and cut the roofing materials to fit. Ensure precise cuts to achieve a professional and weather-tight finish.
-
Install Roofing Underlayment: Before laying the roofing materials, install a waterproof underlayment to provide an additional layer of protection against moisture. This underlayment will help prevent water infiltration and protect the structure of your porch.
-
Lay the Roofing Materials: Begin laying the roofing materials according to the manufacturer's instructions. Whether you're installing shingles, metal panels, or other roofing materials, ensure that each piece is securely fastened and properly aligned.
-
Address Roof Ventilation: Consider incorporating ventilation elements into the roof design to promote air circulation and prevent heat buildup. Ridge vents, soffit vents, or gable vents can help maintain a comfortable environment within the porch.
-
Add Flashing and Trim: Install flashing and trim components to seal the edges and transitions of the roof. Properly installed flashing will prevent water from seeping into vulnerable areas, ensuring a watertight and durable roof structure.
-
Inspect for Proper Drainage: Check that the roof is designed to allow for proper drainage of rainwater. Ensure that gutters and downspouts are in place to direct water away from the porch and foundation of your home.
-
Consider Decorative Elements: If desired, consider adding decorative elements to enhance the visual appeal of the roof. This could include architectural details, such as exposed rafters, decorative trusses, or ceiling finishes.
By following these steps, you'll successfully add a functional and visually appealing roof to your screened-in porch. The roof not only provides protection from the elements but also adds character and charm to your outdoor living space. With the roof in place, your screened-in porch will be well on its way to becoming a cherished retreat for relaxation and enjoyment.
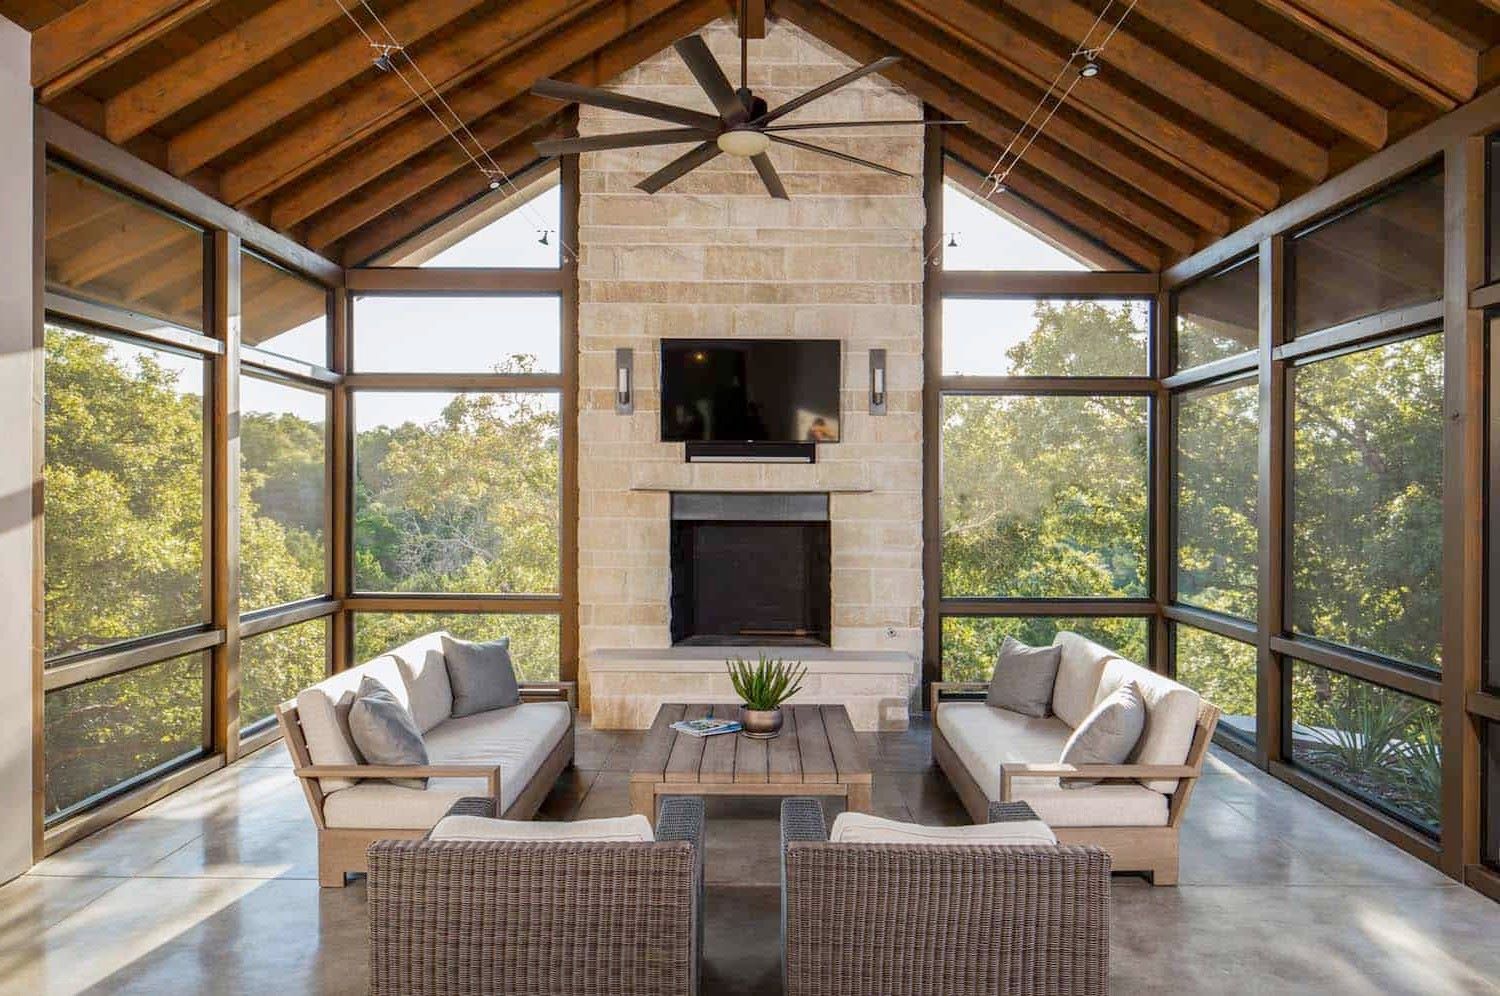
Finishing Touches and Decorations
As you near the completion of your screened-in porch project, it's time to add the finishing touches and decorations that will elevate the space and make it truly inviting. Here are some essential steps to consider as you put the final polish on your outdoor retreat:
-
Choose Furniture and Accessories: Select furniture pieces and accessories that align with the intended use of your screened-in porch. Whether it's cozy seating for relaxation, a dining set for entertaining, or a combination of both, opt for pieces that are durable, comfortable, and suited to the outdoor environment.
-
Incorporate Lighting: Enhance the ambiance of your screened-in porch with carefully chosen lighting. Consider options such as string lights, lanterns, sconces, or ceiling fans with integrated lighting. Lighting not only adds functionality but also contributes to the overall atmosphere of the space.
-
Add Greenery and Plants: Introduce greenery and potted plants to bring a touch of nature into your screened-in porch. Consider low-maintenance plants that thrive in the conditions of your porch, such as ferns, succulents, or flowering varieties. Greenery adds visual interest and a sense of tranquility to the space.
-
Consider Window Treatments: If your screened-in porch includes windows, consider adding window treatments for privacy, light control, and decorative appeal. Options include outdoor curtains, bamboo blinds, or solar shades that can be adjusted to suit your preferences.
-
Personalize with Decor: Infuse your personality into the space by incorporating decorative elements that reflect your style and interests. This could include outdoor rugs, throw pillows, artwork, or decorative accents that add color and character to the porch.
-
Install Ceiling Fans or Air Circulation: Ensure optimal comfort by installing ceiling fans or other forms of air circulation to keep the porch cool during warmer months. Ceiling fans not only provide a refreshing breeze but also help deter insects and maintain a comfortable environment.
-
Create a Cozy Nook: If space allows, consider creating a cozy nook within your screened-in porch. This could be a reading corner with a comfortable chair and a small side table, or a hammock for leisurely lounging. A designated nook adds charm and functionality to the space.
By attending to these finishing touches and decorations, you'll transform your screened-in porch into a welcoming and stylish retreat that enhances your home and lifestyle. With careful attention to detail and a touch of creativity, your outdoor oasis will be ready to be enjoyed for years to come.
Conclusion
Congratulations! You've successfully transformed your plain concrete porch into a stunning screened-in oasis. By following the step-by-step process outlined in this guide, you've created a versatile and inviting space that adds value and enjoyment to your home. From meticulous planning and preparation to the installation of screen panels and the addition of a protective roof, you've brought your vision to life. With the finishing touches and decorations in place, your screened-in porch is now a cherished retreat for relaxation, entertainment, and connection with the outdoors. As you bask in the comfort and beauty of your new outdoor living space, take pride in the accomplishment of creating a functional and stylish addition to your home. Here's to many memorable moments and enjoyable experiences in your newly built screened-in porch!