
Home>Create & Decorate>DIY & Crafts>DIY Headboard: Transform Your Bedroom With These Creative Ideas
DIY & Crafts
DIY Headboard: Transform Your Bedroom With These Creative Ideas
Published: June 1, 2024

Senior Editor in Create & Decorate, Kathryn combines traditional craftsmanship with contemporary trends. Her background in textile design and commitment to sustainable crafts inspire both content and community.
Transform your bedroom with these creative DIY headboard ideas! Get inspired with our DIY & Crafts projects to revamp your space.
(Many of the links in this article redirect to a specific reviewed product. Your purchase of these products through affiliate links helps to generate commission for Twigandthistle.com, at no extra cost. Learn more)
Introduction
Are you looking to spruce up your bedroom with a personal touch? A DIY headboard might just be the perfect project for you. Adding a headboard to your bed can instantly transform the look and feel of your bedroom, giving it a cozy and inviting atmosphere. Whether you prefer a rustic, modern, or eclectic style, there are numerous creative ideas for DIY headboards that can cater to your unique taste and budget. In this article, we'll explore some innovative DIY headboard ideas that you can easily tackle to revamp your bedroom space.
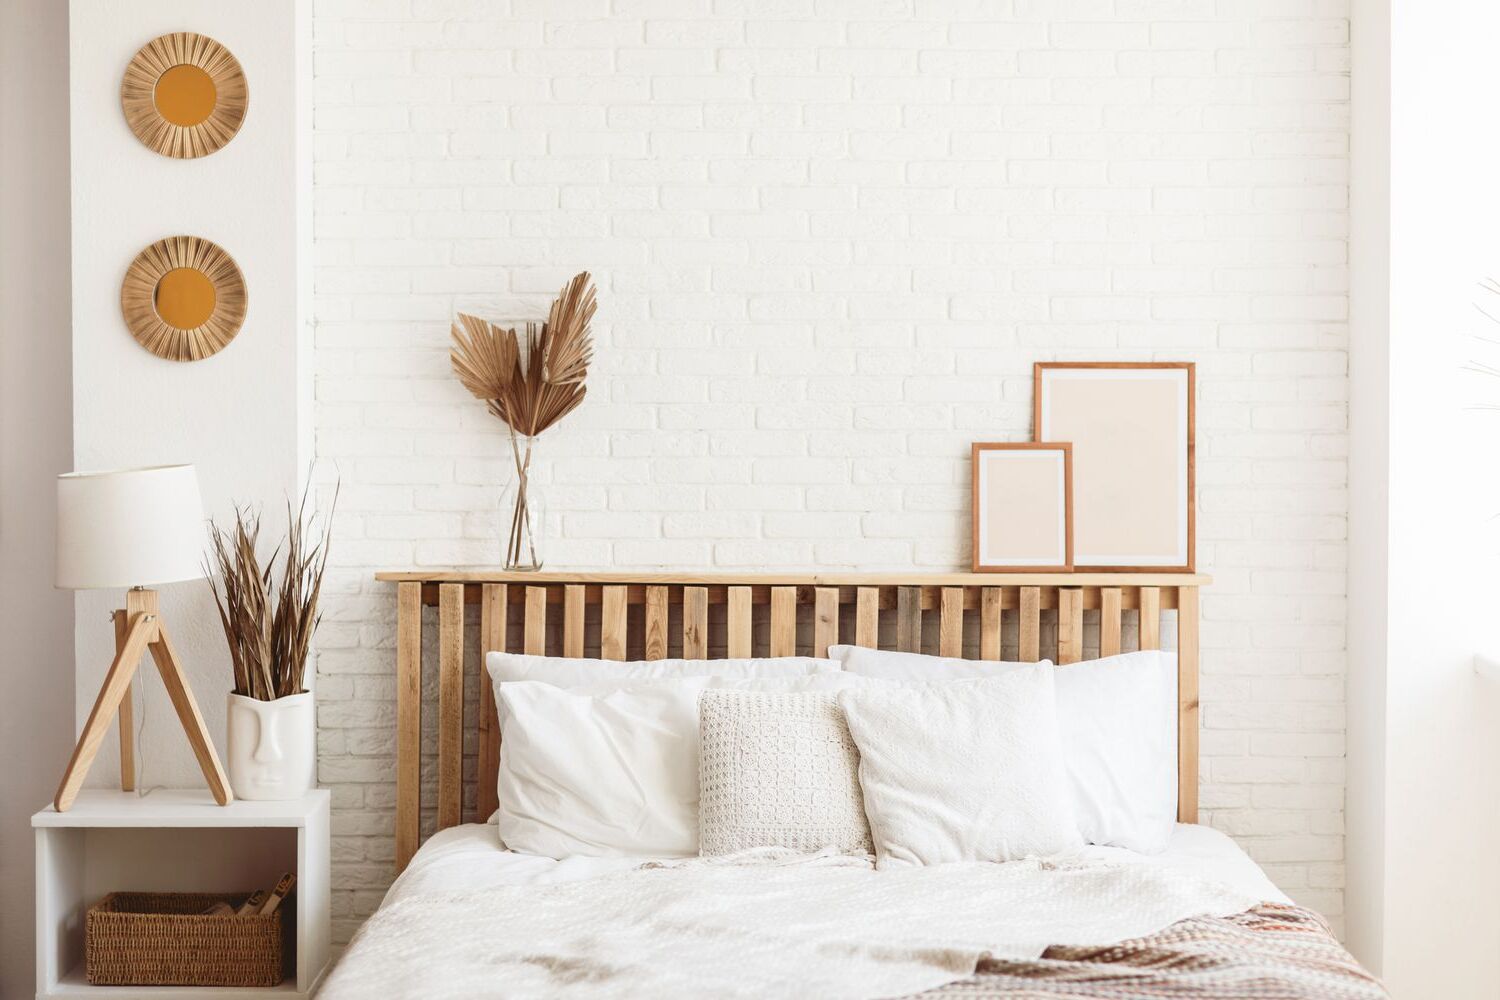
Upholstered Headboard
An upholstered headboard can add a touch of elegance and comfort to your bedroom. Here's how you can create your own:
Materials Needed:
- Plywood
- Foam padding
- Fabric of your choice
- Batting
- Adhesive spray
- Staple gun
- Screws and washers
- French cleat hanger
Steps to Create an Upholstered Headboard:
- Measure and Cut: Begin by measuring the width of your bed and cutting the plywood to the desired headboard size.
- Attach Foam Padding: Use adhesive spray to attach foam padding to the plywood, ensuring it is evenly distributed.
- Add Batting: Lay the fabric on the floor, followed by the batting, and then the foam-padded plywood on top. Pull the batting and fabric tightly around the plywood and staple them in place.
- Attach Fabric: Repeat the same process with the fabric, ensuring it is smooth and wrinkle-free.
- Secure the French Cleat Hanger: Attach a French cleat hanger to the back of the headboard and another to the wall to easily mount the headboard.
An upholstered headboard not only adds a luxurious feel to your bedroom but also provides a comfortable backrest for late-night reading or watching TV in bed. With a wide range of fabric options available, you can customize the headboard to complement your bedroom decor perfectly.
Reclaimed Wood Headboard
Creating a reclaimed wood headboard is a fantastic way to infuse your bedroom with rustic charm and eco-friendly flair. Here's how you can fashion your own reclaimed wood headboard:
Materials Needed:
- Reclaimed wood planks
- Sandpaper
- Wood stain or paint
- Wood screws
- Drill
- L-brackets
- Wall anchors
Steps to Create a Reclaimed Wood Headboard:
-
Gather and Prepare the Wood: Begin by collecting reclaimed wood planks of various sizes and textures. Sand down the wood to remove any rough edges or splinters, and then wipe them clean.
-
Arrange the Wood: Lay the wood planks on the floor and experiment with different arrangements until you find a pattern that appeals to you. Consider mixing up the sizes and colors of the planks for a more eclectic look.
-
Stain or Paint the Wood: Once you're satisfied with the arrangement, apply a wood stain or paint of your choice to the planks. This step allows you to customize the headboard to match your bedroom's color scheme.
-
Assemble the Headboard: After the stain or paint has dried, attach the wood planks together using wood screws. For added stability, reinforce the back of the headboard with L-brackets.
-
Mount the Headboard: Use wall anchors and screws to securely mount the headboard to the wall behind your bed. Make sure it is level and well-supported.
A reclaimed wood headboard not only adds a touch of natural beauty to your bedroom but also serves as a sustainable decor piece. The unique character of the reclaimed wood brings warmth and personality to your sleeping space, making it a focal point that exudes both style and environmental consciousness.
Tufted Headboard
A tufted headboard exudes a sense of luxury and sophistication, elevating the overall ambiance of your bedroom. Here's how you can craft your own tufted headboard:
Materials Needed:
- Plywood
- Foam padding
- Fabric of your choice
- Batting
- Button cover kit
- Upholstery needle
- Upholstery thread
- Adhesive spray
- Staple gun
- Screws and washers
- French cleat hanger
Steps to Create a Tufted Headboard:
-
Cut and Prepare the Plywood: Begin by cutting the plywood to the desired headboard size. Sand the edges to ensure a smooth finish.
-
Attach Foam Padding: Use adhesive spray to affix the foam padding to the plywood, providing a comfortable surface for the tufting.
-
Cover with Batting and Fabric: Lay the fabric on the floor, followed by the batting, and then the foam-padded plywood on top. Pull the batting and fabric tightly around the plywood and staple them in place, ensuring a taut and smooth surface.
-
Create Tufting: Using an upholstery needle and thread, create tufts by sewing through the fabric, foam, and plywood. For a professional finish, use a button cover kit to craft fabric-covered buttons and secure them at the tufting points.
-
Secure the French Cleat Hanger: Attach a French cleat hanger to the back of the headboard and another to the wall to facilitate easy mounting.
A tufted headboard not only adds a touch of opulence to your bedroom but also serves as a plush backdrop for your bed. The tufting creates a visually appealing texture, while the fabric choice allows you to tailor the headboard to suit your personal style. Whether you opt for a classic neutral fabric or a bold, patterned material, a tufted headboard can instantly elevate the aesthetic appeal of your sleeping space.
Pallet Headboard
Creating a pallet headboard is a fantastic way to infuse your bedroom with rustic charm and eco-friendly flair. Here's how you can fashion your own pallet headboard:
Materials Needed:
- Pallets
- Sandpaper
- Wood stain or paint
- Wood screws
- Drill
- L-brackets
- Wall anchors
Steps to Create a Pallet Headboard:
-
Gather and Prepare the Pallets: Begin by collecting pallets in good condition. Ensure that the pallets are clean and free from any protruding nails or splinters. Sand down the surfaces to create a smooth finish, and wipe them clean.
-
Arrange the Pallets: Lay the pallets on the floor and experiment with different arrangements until you find a pattern that appeals to you. Consider alternating the direction of the planks or leaving gaps between them for a more visually interesting design.
-
Stain or Paint the Pallets: Once you're satisfied with the arrangement, apply a wood stain or paint of your choice to the pallets. This step allows you to customize the headboard to match your bedroom's color scheme or overall aesthetic.
-
Assemble the Headboard: After the stain or paint has dried, attach the pallets together using wood screws. For added stability, reinforce the back of the headboard with L-brackets. This ensures that the pallets are securely fastened and will stay in place once mounted.
-
Mount the Headboard: Use wall anchors and screws to securely mount the pallet headboard to the wall behind your bed. Make sure it is level and well-supported, especially if the headboard is large or heavy.
A pallet headboard not only adds a touch of natural, rustic beauty to your bedroom but also serves as a sustainable decor piece. The unique character of the pallet wood brings warmth and personality to your sleeping space, making it a focal point that exudes both style and environmental consciousness.
Barn Door Headboard
Creating a barn door headboard can infuse your bedroom with a charming, rustic appeal reminiscent of countryside living. Here's how you can craft your own barn door headboard:
Materials Needed:
- Barn door (or reclaimed wood to construct a barn door)
- Sandpaper
- Wood stain or paint
- Wood screws
- Drill
- L-brackets
- Wall anchors
Steps to Create a Barn Door Headboard:
-
Prepare the Barn Door: If you have an old barn door, ensure it is clean and free from any protruding nails or splinters. If you're constructing a barn door from reclaimed wood, assemble the planks to create the door's structure. Sand down the surfaces to create a smooth finish and wipe them clean.
-
Stain or Paint the Barn Door: Once the door is ready, apply a wood stain or paint of your choice to match your bedroom's color scheme or overall aesthetic. This step allows you to customize the headboard to complement your decor.
-
Secure the Door: Mount the barn door securely to the wall behind your bed using wood screws, L-brackets, and wall anchors. Ensure that the door is level and well-supported, especially if it's large or heavy. You may also choose to leave a gap between the door and the wall to add depth and dimension to the headboard.
A barn door headboard not only adds a touch of rustic, countryside charm to your bedroom but also serves as a unique and eye-catching decor piece. The weathered appearance of the barn door brings character and warmth to your sleeping space, making it a focal point that exudes both style and a sense of rural nostalgia.
Fabric Headboard
A fabric headboard is a versatile and customizable option that allows you to infuse your bedroom with a touch of elegance and personal flair. Here's how you can create your own fabric headboard:
Materials Needed:
- Plywood
- Foam padding
- Fabric of your choice
- Batting
- Adhesive spray
- Staple gun
- Screws and washers
- French cleat hanger
Steps to Create a Fabric Headboard:
- Measure and Cut: Begin by measuring the width of your bed and cutting the plywood to the desired headboard size.
- Attach Foam Padding: Use adhesive spray to attach foam padding to the plywood, ensuring it is evenly distributed and provides a comfortable surface for the fabric.
- Add Batting and Fabric: Lay the fabric on the floor, followed by the batting, and then the foam-padded plywood on top. Pull the batting and fabric tightly around the plywood and staple them in place, ensuring a smooth and taut surface.
- Secure the Fabric: Repeat the same process with the fabric, ensuring it is smooth and wrinkle-free, and staple it securely to the plywood.
- Mount the Headboard: Attach a French cleat hanger to the back of the headboard and another to the wall to easily mount the headboard securely.
A fabric headboard not only adds a luxurious feel to your bedroom but also provides a comfortable backrest for late-night reading or watching TV in bed. With a wide range of fabric options available, you can customize the headboard to complement your bedroom decor perfectly. Whether you opt for a classic neutral fabric or a bold, patterned material, a fabric headboard can instantly elevate the aesthetic appeal of your sleeping space.
Chalkboard Headboard
Creating a chalkboard headboard can add a playful and interactive element to your bedroom, allowing you to unleash your creativity and change up the look of your headboard whenever inspiration strikes. Here's how you can craft your own chalkboard headboard:
Materials Needed:
- Plywood
- Chalkboard paint
- Foam paint roller
- Painter's tape
- Chalk or chalk markers
- French cleat hanger
Steps to Create a Chalkboard Headboard:
-
Prepare the Plywood: Begin by cutting the plywood to the desired headboard size. Sand the edges to ensure a smooth finish and wipe off any dust.
-
Apply Chalkboard Paint: Use a foam paint roller to apply chalkboard paint to the plywood. Apply multiple coats as needed, allowing each coat to dry completely before applying the next. Ensure that the paint is applied evenly for a smooth chalkboard surface.
-
Create a Border (Optional): If you prefer a defined border for your chalkboard headboard, use painter's tape to mark off the border area and apply the chalkboard paint within the taped-off section. This creates a neat and polished look for your chalkboard.
-
Season the Chalkboard: Once the chalkboard paint has fully dried, it's important to "season" the chalkboard. To do this, simply rub the side of a piece of chalk over the entire surface and then erase it. This step helps to prevent "ghosting" or permanent marks when you write on the chalkboard.
-
Mount the Headboard: Attach a French cleat hanger to the back of the headboard and another to the wall to easily mount the headboard securely.
A chalkboard headboard not only adds a fun and customizable element to your bedroom but also serves as a functional space for jotting down notes, inspirational quotes, or creating ever-changing artwork. Whether you use traditional chalk or vibrant chalk markers, the chalkboard headboard provides a unique way to express yourself and switch up your bedroom decor with ease.
Woven Headboard
Crafting a woven headboard can bring a touch of bohemian charm and textural allure to your bedroom, adding a cozy and inviting atmosphere to your sleeping space. Here's how you can create your own woven headboard:
Materials Needed:
- Plywood
- Rope or yarn in various textures and colors
- Wood stain or paint
- Wood screws
- Drill
- L-brackets
- Wall anchors
Steps to Create a Woven Headboard:
-
Prepare the Plywood: Begin by cutting the plywood to the desired headboard size. Sand the edges to ensure a smooth finish and wipe off any dust.
-
Stain or Paint the Plywood: Apply a wood stain or paint of your choice to the plywood. This step allows you to customize the headboard to match your bedroom's color scheme or overall aesthetic.
-
Create the Woven Pattern: Start by attaching the ropes or yarn to the top of the plywood using wood screws. You can create a simple vertical or horizontal pattern, or get creative with intricate designs such as chevron or herringbone. Secure the ropes or yarn with knots or staples to keep them in place.
-
Weave the Ropes or Yarn: Once the initial ropes or yarn are secured, begin weaving the additional ropes or yarn through the attached strands to create the woven pattern. You can experiment with different weaving techniques, such as plain weave, twill, or soumak, to achieve varying textures and visual interest.
-
Secure the Weaving: Ensure that the weaving is tight and secure, adjusting the tension as needed to create a uniform and visually appealing pattern. Trim any excess ropes or yarn and secure the ends to prevent unraveling.
-
Mount the Headboard: Attach L-brackets to the back of the headboard and use wall anchors and screws to securely mount the woven headboard to the wall behind your bed. Make sure it is level and well-supported.
A woven headboard not only adds a touch of artisanal craftsmanship to your bedroom but also serves as a striking focal point that exudes both style and a cozy, bohemian vibe. The tactile nature of the woven ropes or yarn brings warmth and visual interest to your sleeping space, making it a unique and personalized addition to your bedroom decor.
Conclusion
In conclusion, a DIY headboard offers a fantastic opportunity to personalize and enhance the ambiance of your bedroom. Whether you opt for the luxurious appeal of an upholstered or tufted headboard, the rustic charm of reclaimed wood, pallet, or barn door headboards, the versatility of a fabric headboard, the interactive nature of a chalkboard headboard, or the bohemian allure of a woven headboard, there are endless creative possibilities to transform your sleeping space. By embarking on a DIY headboard project, you not only add a unique and personalized touch to your bedroom but also unleash your creativity and craftsmanship, resulting in a space that truly reflects your style and personality. So, roll up your sleeves, gather your materials, and get ready to revamp your bedroom with a stunning DIY headboard that will leave a lasting impression.