
Home>Create & Decorate>DIY & Crafts>DIY Kitchen Island: Transform Your Space With This Crafty Project
DIY & Crafts
DIY Kitchen Island: Transform Your Space With This Crafty Project
Published: April 28, 2024

Senior Editor in Create & Decorate, Kathryn combines traditional craftsmanship with contemporary trends. Her background in textile design and commitment to sustainable crafts inspire both content and community.
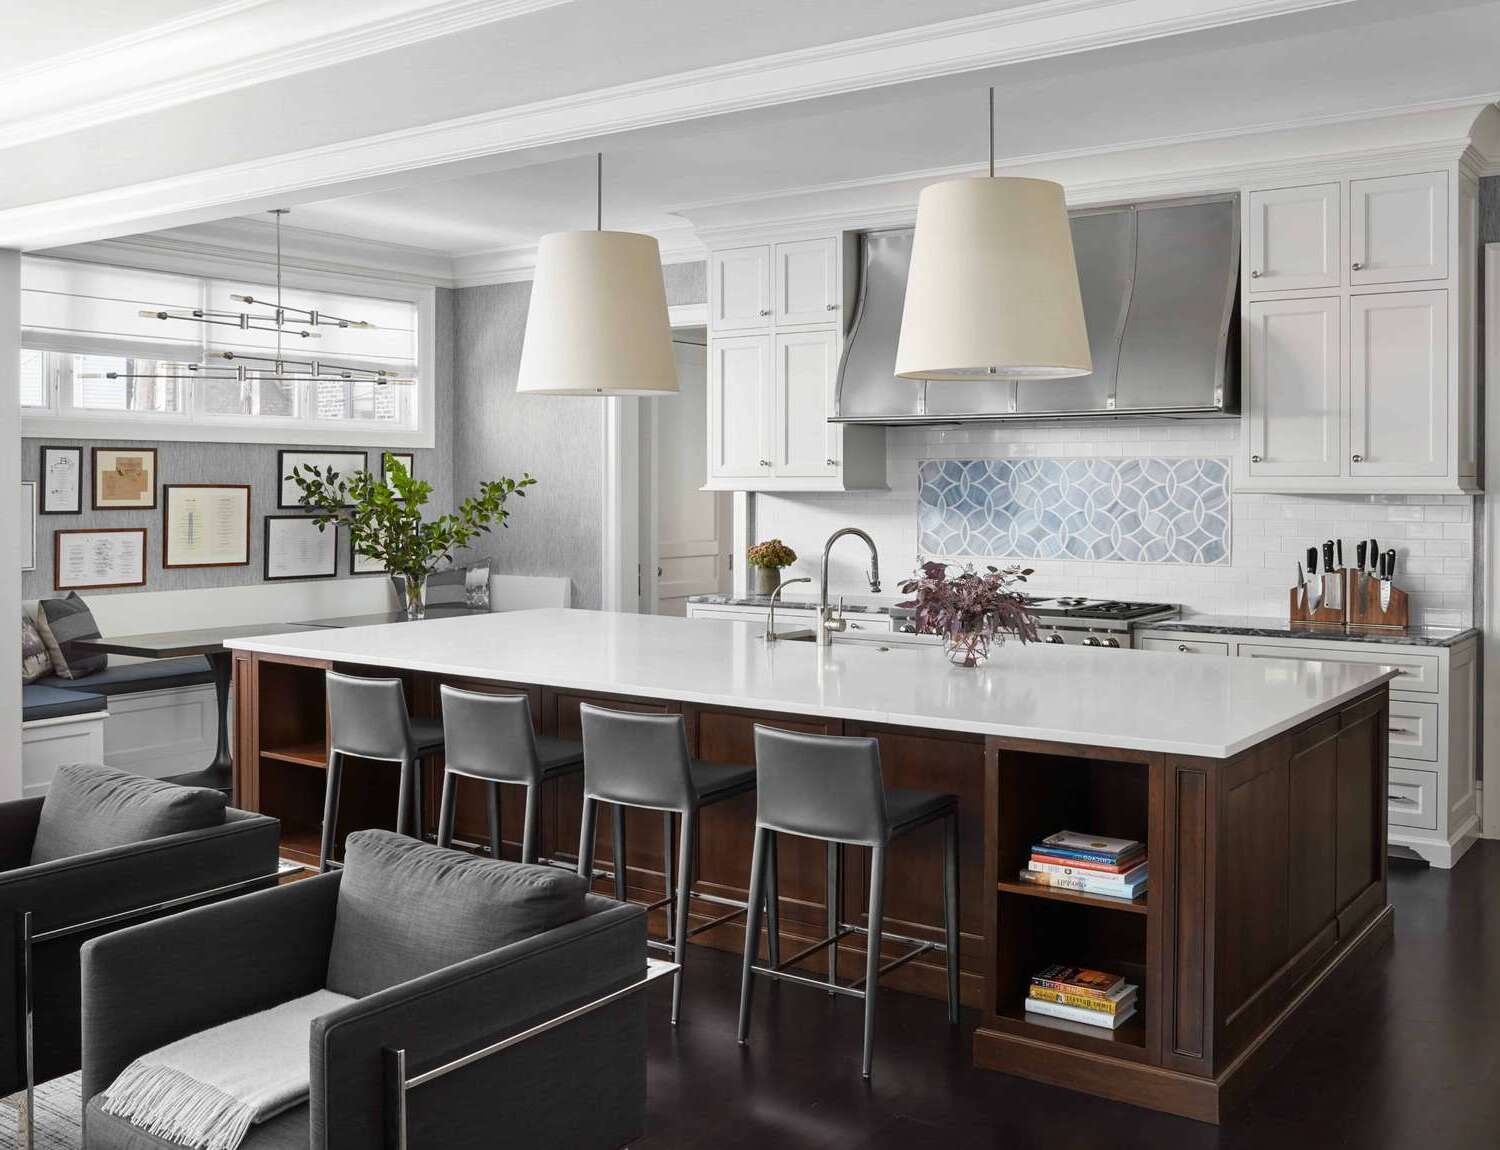
Transform your kitchen with this DIY & Crafts project! Build your own kitchen island and add style and functionality to your space. Step-by-step guide included.
(Many of the links in this article redirect to a specific reviewed product. Your purchase of these products through affiliate links helps to generate commission for Twigandthistle.com, at no extra cost. Learn more)
Introduction
Are you looking to add some extra functionality and style to your kitchen? A DIY kitchen island might just be the perfect project for you. Whether you're an experienced DIY enthusiast or just starting out, building your own kitchen island can be a rewarding and cost-effective way to transform your space. In this article, we'll guide you through the process of creating a custom kitchen island that suits your needs and complements your kitchen's aesthetic. From planning and gathering materials to building and adding finishing touches, we've got you covered with all the essential steps and tips for this crafty project. Let's dive in and get ready to revamp your kitchen with a personalized touch!
Planning Your DIY Kitchen Island
When embarking on the journey of building your own kitchen island, the first step is to plan meticulously. Consider the available space in your kitchen and envision how the island will fit into the layout. Determine the dimensions of the island, keeping in mind the countertop overhang and the space required for seating if you plan to incorporate it. Additionally, think about the functionality you desire. Do you want extra storage, a wine rack, or a built-in sink? These considerations will help you create a clear vision for your DIY kitchen island project.
Next, it's essential to decide on the materials and style that will complement your kitchen's design. Whether you opt for a rustic, industrial, modern, or traditional look, the choice of materials such as wood, metal, or a combination of both will play a significant role in achieving the desired aesthetic. Take inspiration from home improvement magazines, websites, or even social media platforms to gather ideas and refine your vision for the perfect DIY kitchen island.
Consider the workflow in your kitchen as well. The island should enhance the functionality of the space, providing convenient access to frequently used items and optimizing the cooking and food preparation process. By carefully planning the layout and features of your DIY kitchen island, you can ensure that it not only looks fantastic but also serves as a practical and efficient addition to your kitchen.
Gathering Materials and Tools
Gathering the right materials and tools is crucial for the success of your DIY kitchen island project. Here's a comprehensive list to get you started:
Materials
- Wood: Select high-quality lumber for the base and frame of the island. Consider the durability and appearance of the wood, such as oak, maple, or pine, based on your design preferences.
- Countertop Material: Choose a durable and visually appealing material for the countertop, such as butcher block, granite, marble, or quartz.
- Hardware: Purchase hinges, drawer slides, knobs, and handles that complement the style of your kitchen and the design of the island.
- Fasteners: Stock up on screws, nails, and other fasteners required for assembling the island.
- Paint or Stain: If you plan to paint or stain the island, select high-quality products in the desired color or finish.
Tools
- Measuring Tape: Accurate measurements are essential for ensuring the proper fit and alignment of the components.
- Circular Saw or Table Saw: These tools are essential for cutting the wood to the required dimensions.
- Drill and Bits: A drill will be used for making holes and driving screws during the assembly process.
- Sander: Smooth out rough edges and surfaces for a professional finish.
- Clamps: These are handy for holding pieces together securely during assembly.
- Level: Ensure that the island is level and plumb during installation.
- Paintbrushes or Rollers: If you plan to paint the island, have the necessary brushes or rollers on hand.
By gathering these materials and tools, you'll be well-prepared to start the construction of your DIY kitchen island. Remember to prioritize safety by using appropriate protective gear and following best practices when using power tools and handling materials.
Building the Base
The base of your DIY kitchen island serves as the foundation for the entire structure, providing stability and support for the countertop and any additional features. Here's a step-by-step guide to constructing the base:
-
Cutting the Wood: Begin by cutting the wood to the appropriate dimensions for the base components, including the sides, front, back, and any internal support pieces. Use a circular saw or table saw to ensure precise cuts.
-
Assembling the Frame: Once the pieces are cut, assemble the frame of the base using wood screws or nails. Ensure that the corners are square and the frame is sturdy. Use clamps to hold the pieces in place during assembly.
-
Adding Internal Supports: Depending on the size of your kitchen island, it may be necessary to add internal supports to the base for additional stability. These supports can be installed horizontally between the front and back of the frame.
-
Attaching the Legs: If your design includes legs for the island, attach them securely to the corners of the base frame. Use a level to ensure that the legs are plumb and the base is level.
-
Creating Space for Storage: If you plan to incorporate storage shelves or cabinets into the base of the island, this is the stage to create the necessary openings or compartments. Consider the dimensions of the items you intend to store to ensure adequate space.
-
Checking for Stability: Once the base is assembled, check for stability by gently rocking the structure. If there is any wobbling, reinforce the connections and add additional support as needed.
By following these steps, you can build a solid and reliable base for your DIY kitchen island. The base sets the stage for the rest of the construction process, so take your time to ensure that it is well-constructed and able to support the weight of the countertop and any other features you plan to add.
Adding Countertop and Storage
Once the base of your DIY kitchen island is constructed, it's time to focus on adding the countertop and incorporating storage solutions. Here's how you can proceed with this essential phase of the project:
-
Selecting the Countertop Material: Choose a countertop material that aligns with your kitchen's style and meets your functional needs. Popular options include butcher block for a warm and natural look, granite for durability and elegance, or quartz for low maintenance and versatility.
-
Measuring and Cutting the Countertop: Take precise measurements of the base to determine the dimensions of the countertop. Use a circular saw or a specialized countertop cutting tool to cut the material to the required size. Ensure that the edges are smooth and even.
-
Attaching the Countertop: Place the countertop onto the base and secure it in place using appropriate fasteners. Depending on the material, you may need to use brackets or adhesive to ensure a secure attachment. Double-check that the countertop is level and flush with the base.
-
Incorporating Storage Features: If your design includes storage elements such as shelves, drawers, or cabinets, this is the stage to install them. Measure and install shelf brackets, drawer slides, or hinges according to the planned layout. Ensure that the storage components are securely attached and operate smoothly.
-
Customizing Storage Options: Tailor the storage solutions to accommodate your specific kitchen needs. Consider adjustable shelves for versatility, deep drawers for pots and pans, or a wine rack for a touch of elegance. Maximize the use of space while maintaining accessibility and organization.
-
Finishing Touches: Once the countertop and storage features are in place, take the time to inspect the overall appearance and functionality of the island. Make any necessary adjustments to ensure that the countertop is securely attached and the storage elements are aligned and operational.
By following these steps, you can successfully add a stylish and functional countertop to your DIY kitchen island while integrating customized storage solutions that enhance the efficiency and organization of your kitchen space.
Painting and Finishing Touches
After the structural components of your DIY kitchen island are in place, it's time to add the finishing touches that will elevate its appearance and ensure durability. Here's how you can proceed with the painting and final details:
-
Preparing the Surface: Before applying any paint or finish, ensure that the surfaces are clean and free of any dust or debris. Use a tack cloth to remove any remaining particles and create a smooth canvas for the finishing materials.
-
Priming the Wood: If you plan to paint the kitchen island, applying a coat of primer is essential to promote adhesion and create a uniform base for the paint. Choose a high-quality primer that is suitable for the type of wood you are using.
-
Choosing the Right Paint or Stain: Select a paint color or wood stain that complements the overall design of your kitchen and aligns with your personal style. Consider the existing color scheme and the desired aesthetic impact when making your choice.
-
Applying the Paint or Stain: Use a paintbrush or roller to apply an even coat of paint or stain to the surfaces of the kitchen island. Work in the direction of the wood grain for a professional finish. Allow the first coat to dry completely before applying additional coats as needed.
-
Sealing the Surface: Once the paint or stain has dried, consider applying a clear sealant to protect the wood and enhance its longevity. A polyurethane or varnish can provide a durable and water-resistant finish that withstands the demands of a kitchen environment.
-
Adding Decorative Elements: To further personalize your DIY kitchen island, consider adding decorative elements such as trim, molding, or decorative hardware. These details can elevate the visual appeal of the island and tie it in with the overall design of your kitchen.
-
Installing Lighting or Power Outlets: If desired, this is also the stage to incorporate lighting fixtures or power outlets into the island. Under-cabinet lighting or integrated outlets can enhance the functionality of the island and contribute to a well-equipped kitchen workspace.
By following these steps, you can ensure that your DIY kitchen island not only looks fantastic but also withstands the rigors of daily use. The painting and finishing touches are the final steps in the construction process, allowing you to create a customized and functional centerpiece for your kitchen.
Final Thoughts and Tips for Your DIY Kitchen Island
-
Embrace Creativity: Don't be afraid to think outside the box when designing your DIY kitchen island. Incorporate unique features or repurpose materials to add a personal touch to your creation.
-
Functionality is Key: While aesthetics are important, prioritize the functionality of your kitchen island. Ensure that it enhances your workflow and provides convenient storage and workspace.
-
Consider Mobility: If you have a dynamic kitchen layout, consider adding wheels to your kitchen island for easy mobility. This allows you to adapt the space according to your needs.
-
Maintenance and Durability: Choose materials and finishes that are easy to clean and maintain. Consider the wear and tear that your kitchen island may endure and select materials that can withstand the demands of daily use.
-
Seek Inspiration: Look for inspiration from DIY communities, home improvement shows, and online platforms. You may discover innovative ideas and practical solutions that can enhance your DIY kitchen island project.
-
Safety First: When using power tools and handling materials, prioritize safety. Wear appropriate protective gear, follow safety guidelines, and work in a well-ventilated area.
-
Personalize the Design: Tailor the design of your kitchen island to reflect your personal style and preferences. Whether it's a pop of color, a unique shape, or decorative accents, make it your own.
-
Test the Layout: Before finalizing the construction, use cardboard or tape to outline the dimensions of your kitchen island on the floor. This allows you to visualize the space it will occupy and make any necessary adjustments.
-
Seek Assistance if Needed: If you encounter challenges during the construction process, don't hesitate to seek guidance from experienced DIYers or professionals. Sometimes a fresh perspective can provide valuable insights.
-
Enjoy the Process: Building a DIY kitchen island is a rewarding endeavor. Embrace the journey, enjoy the creative process, and take pride in the fact that you've crafted a functional and stylish addition to your home.