Home>Create & Decorate>DIY & Crafts>How To Build Drawers In A Closet

DIY & Crafts
How To Build Drawers In A Closet
Published: May 20, 2024

Content Creator specializing in woodworking and interior transformations. Caegan's guides motivate readers to undertake their own projects, while his custom furniture adds a personal touch.
Learn how to maximize closet space with DIY drawer installation. Get step-by-step instructions for building drawers in your closet. Perfect for DIY & Crafts enthusiasts!
(Many of the links in this article redirect to a specific reviewed product. Your purchase of these products through affiliate links helps to generate commission for Twigandthistle.com, at no extra cost. Learn more)
Introduction
So, you're tired of rummaging through your closet, trying to find that one elusive item buried at the back. Well, building drawers in your closet can be the perfect solution to keep your belongings organized and easily accessible. Whether it's clothes, accessories, or other items, having drawers in a closet can maximize your storage space and make your daily routine more efficient. In this guide, we'll walk you through the step-by-step process of building drawers in your closet, so you can say goodbye to clutter and hello to a more organized living space. Let's dive in!
Read more: DIY Closet Drawer Build Guide
Planning and Measuring
Before you start building drawers in your closet, it's crucial to plan and measure the space where the drawers will be installed. Here's how to get started:
-
Assess Your Needs: Take a look at the items you plan to store in the drawers. Are they mostly small items like socks and accessories, or do you need larger drawers for bulkier items? Understanding your storage needs will help you determine the size and quantity of drawers required.
-
Measure the Space: Use a tape measure to carefully measure the width, height, and depth of the closet where the drawers will be located. Take into account any obstructions such as baseboards or trim that may affect the dimensions of the drawers.
-
Consider Drawer Depth: Depending on the items you plan to store, decide on the depth of the drawers. Shallow drawers work well for smaller items, while deeper drawers are suitable for larger clothing items or linens.
-
Sketch a Plan: Create a simple sketch or diagram of the closet layout, indicating where each drawer will be located. This visual representation will help you visualize the end result and ensure that the drawers fit seamlessly into the space.
-
Allow for Clearances: When planning the drawer layout, remember to leave adequate clearance space for the drawers to open and close smoothly. Consider the surrounding areas and ensure that the drawers won't interfere with other closet components.
By carefully planning and measuring the space, you'll set the foundation for a successful drawer installation project. This initial step will help you determine the size, quantity, and placement of the drawers, ensuring a customized storage solution that meets your specific needs.
Choosing Materials
When it comes to building drawers in a closet, selecting the right materials is essential for ensuring durability and functionality. Here's what you need to consider when choosing materials for your closet drawers:
-
Drawer Box Material: Opt for sturdy and warp-resistant materials such as plywood or hardwood for constructing the drawer boxes. These materials offer strength and stability, ensuring that the drawers can withstand the weight of the items stored inside.
-
Drawer Fronts: The material for the drawer fronts should complement the overall aesthetic of your closet. Common options include solid wood, MDF (medium-density fiberboard), or plywood. Consider the style and finish that will seamlessly integrate with the existing closet design.
-
Drawer Slides: Select high-quality drawer slides that provide smooth and effortless operation. Full-extension ball-bearing slides are a popular choice, allowing the drawers to fully extend for easy access to the contents. Ensure that the slides are compatible with the drawer material and size.
-
Hardware: Choose drawer pulls or knobs that not only enhance the visual appeal of the closet but also offer ergonomic functionality. Consider the size, style, and finish of the hardware to complement the overall design scheme.
-
Finishing Materials: Depending on your preference, you may need finishing materials such as paint, stain, or varnish to complete the look of the drawers. Ensure that the finishing materials are suitable for the chosen drawer materials and compatible with the closet's existing finish.
By carefully selecting the materials for your closet drawers, you can create a cohesive and functional storage solution that adds both practicality and aesthetic appeal to your living space. The right materials will contribute to the longevity and visual impact of your custom-built closet drawers.
Building the Drawer Boxes
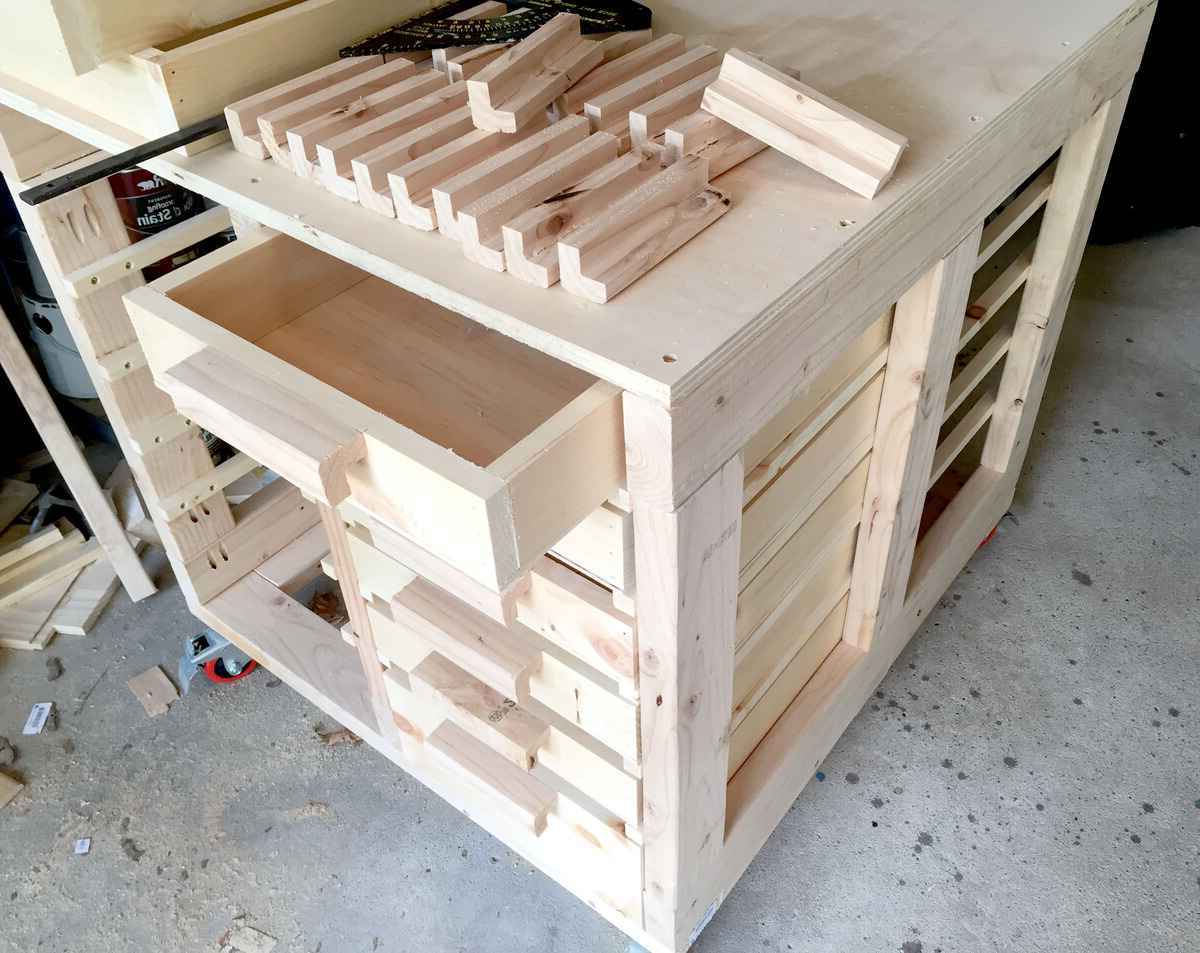
Now that you've planned, measured, and selected the materials, it's time to roll up your sleeves and start building the drawer boxes for your closet. Here's a step-by-step guide to help you through the process:
-
Cut the Drawer Components: Using the measurements from your planning phase, carefully cut the plywood or hardwood panels to create the front, back, sides, and bottom of each drawer. Ensure precise cuts to achieve seamless assembly.
-
Assemble the Box: Begin by assembling the front, back, and sides of the drawer box. Apply wood glue along the edges for added strength, then secure the pieces together using finishing nails or screws. Check for squareness to ensure the box is perfectly aligned.
-
Install the Bottom Panel: Once the frame is assembled, insert the bottom panel into the grooves or rabbets created in the side panels. Secure the bottom panel in place using glue and nails, ensuring a snug fit within the frame.
-
Add Reinforcements: To enhance the structural integrity of the drawer box, consider adding corner braces or additional supports at the joints. This step is especially important for larger or heavier drawers.
-
Sand and Smooth: After the assembly is complete, sand the surfaces of the drawer box to remove any rough edges or imperfections. This will create a smooth finish and prepare the box for the finishing process.
-
Apply Finish: Depending on your preference, apply a suitable finish to the drawer box to protect the wood and enhance its appearance. Whether it's paint, stain, or varnish, ensure that the finish complements the overall aesthetic of your closet.
By following these steps, you can construct sturdy and well-crafted drawer boxes that form the foundation of your closet organization system. The quality of the drawer boxes is essential for ensuring the longevity and functionality of your custom-built closet drawers.
Installing Drawer Slides
Installing drawer slides is a critical step in the process of building drawers in a closet. Proper installation ensures smooth operation and stability for the drawers. Here's a detailed guide on how to install drawer slides effectively:
-
Select the Right Slides: Before installation, ensure that you have chosen the appropriate drawer slides for your project. Consider factors such as the type of slide (side-mount, under-mount, or center-mount), weight capacity, and extension length.
-
Measure and Mark: Begin by measuring and marking the placement of the drawer slides inside the closet. Use a pencil and a level to ensure accurate positioning. For side-mount slides, mark the vertical and horizontal placement on both sides of the closet interior.
-
Attach the Slides: Secure the drawer slides to the sides of the closet using screws. For side-mount slides, ensure that the slides are level and aligned with the markings. Use a drill to attach the slides securely to the closet interior.
-
Install the Drawer Members: With the slides in place, install the complementary drawer members onto the sides of the drawer boxes. These members will engage with the slides to allow the drawers to glide in and out smoothly.
-
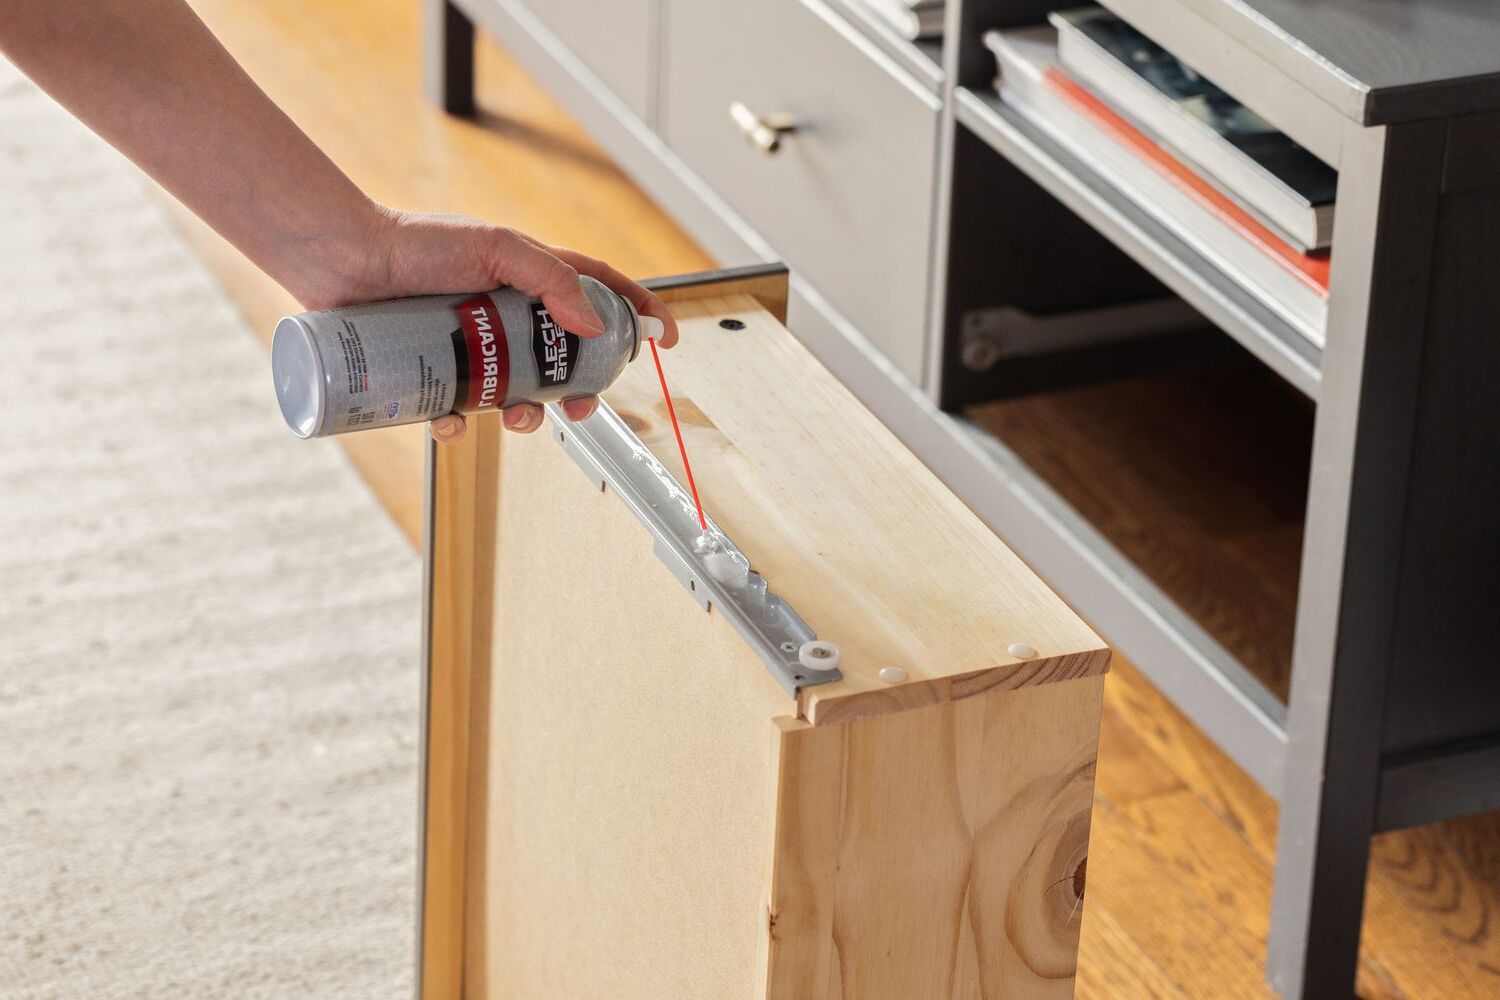
Test for Smooth Movement: Once the drawer members are attached, carefully test the movement of the drawers along the installed slides. Ensure that the drawers slide in and out effortlessly without any obstructions or misalignments.
-
Adjust if Necessary: If the drawers do not glide smoothly, make any necessary adjustments to the slides or drawer members. This may involve loosening screws, repositioning the slides, or ensuring that the members are properly aligned with the slides.
-
Secure the Slides: Once the drawers move smoothly, secure the slides in their final position by tightening the screws. This step ensures that the slides remain firmly in place, providing long-term stability for the drawers.
By following these steps, you can effectively install drawer slides in your closet, setting the stage for the seamless operation of your custom-built drawers. Proper installation of drawer slides is essential for the functionality and longevity of your closet organization system.
Read more: How To Build A Drawer With Slides
Attaching Drawer Fronts
Attaching the drawer fronts is a crucial step that adds the final aesthetic touch to your custom-built closet drawers. Here's a detailed guide on how to effectively attach the drawer fronts for a polished and professional finish:
-
Positioning the Fronts: Place the drawer boxes in their designated positions within the closet. Ensure that they are aligned and spaced evenly, allowing for a consistent gap between each drawer front.
-
Temporary Fastening: Use double-sided tape or small clamps to temporarily secure the drawer fronts to the boxes. This temporary attachment will allow you to make adjustments as needed before the final installation.
-
Check for Alignment: Step back and visually inspect the alignment of the drawer fronts. Ensure that they are level and evenly spaced, maintaining a uniform appearance across the entire row of drawers.
-
Secure from Inside: From inside the drawer box, drive screws through the back of the drawer front into the drawer box. This method ensures a secure attachment while keeping the screw heads hidden from view.
-
Drill Pilot Holes: Before driving the screws, it's essential to drill pilot holes to prevent the wood from splitting. Use a drill bit that matches the diameter of the screws to create precise pilot holes.
-
Adjust as Needed: After securing the drawer fronts, check for smooth operation by opening and closing each drawer. Make any necessary adjustments to ensure that the drawers operate seamlessly and align perfectly with the surrounding framework.
-
Add Decorative Hardware: Once the drawer fronts are securely attached, consider adding decorative hardware such as knobs or pulls. Choose hardware that complements the overall style of your closet and enhances the visual appeal of the drawers.
-
Apply Final Finish: If necessary, apply a final coat of paint, stain, or varnish to the drawer fronts to achieve a consistent finish that matches the rest of the closet. This step adds a professional touch and protects the wood from wear and tear.
By following these steps, you can effectively attach the drawer fronts to complete the installation of your custom-built closet drawers. The proper attachment of drawer fronts ensures a cohesive and visually appealing storage solution that enhances the functionality and aesthetic of your closet space.
Final Adjustments and Finishing Touches
After the main components of the closet drawers are in place, it's time to focus on the final adjustments and finishing touches to ensure that everything is polished and functional. Here's a detailed guide on how to complete this crucial phase of the drawer installation process:
-
Check for Smooth Operation: Open and close each drawer to test for smooth and effortless movement. Pay attention to any signs of sticking, misalignment, or resistance. If any issues are identified, make the necessary adjustments to the drawer slides, alignment, or hardware to ensure that the drawers operate seamlessly.
-
Ensure Proper Alignment: Step back and visually inspect the overall alignment and symmetry of the installed drawers. Verify that the spacing between drawers is consistent and that the drawer fronts are level and evenly positioned. Making any final adjustments at this stage will contribute to a cohesive and professional appearance.
-
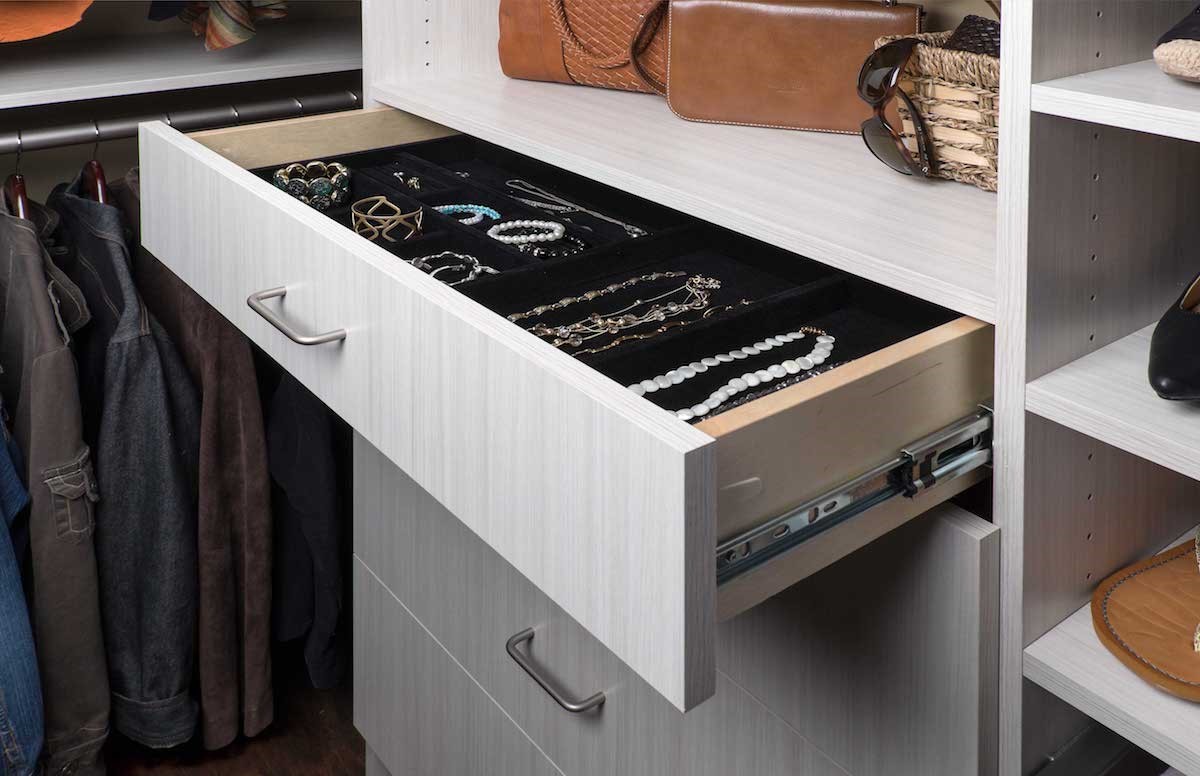
Apply Drawer Stops: Consider installing drawer stops to prevent the drawers from being pulled out too far, especially if you're using full-extension slides. Drawer stops can help protect the drawers, prevent damage to the surrounding framework, and enhance safety in the closet.
-
Fine-Tune Hardware: If you've installed drawer pulls or knobs, ensure that they are securely fastened and aligned. Tighten any loose hardware and make any necessary adjustments to ensure that the pulls or knobs are uniform in position and appearance across all drawers.
-
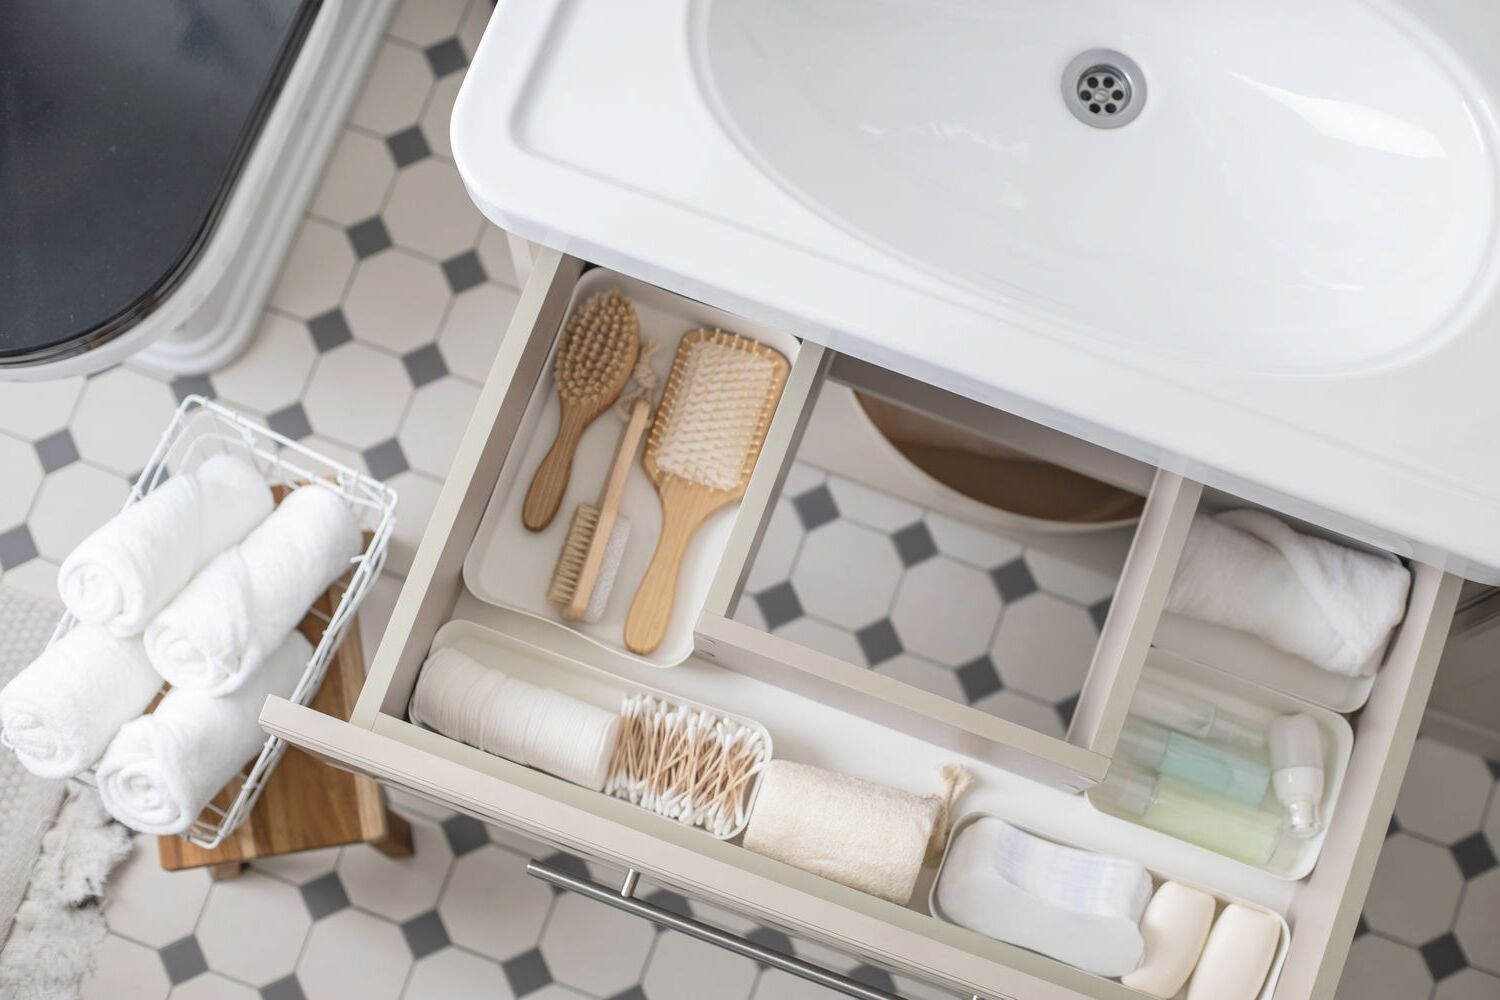
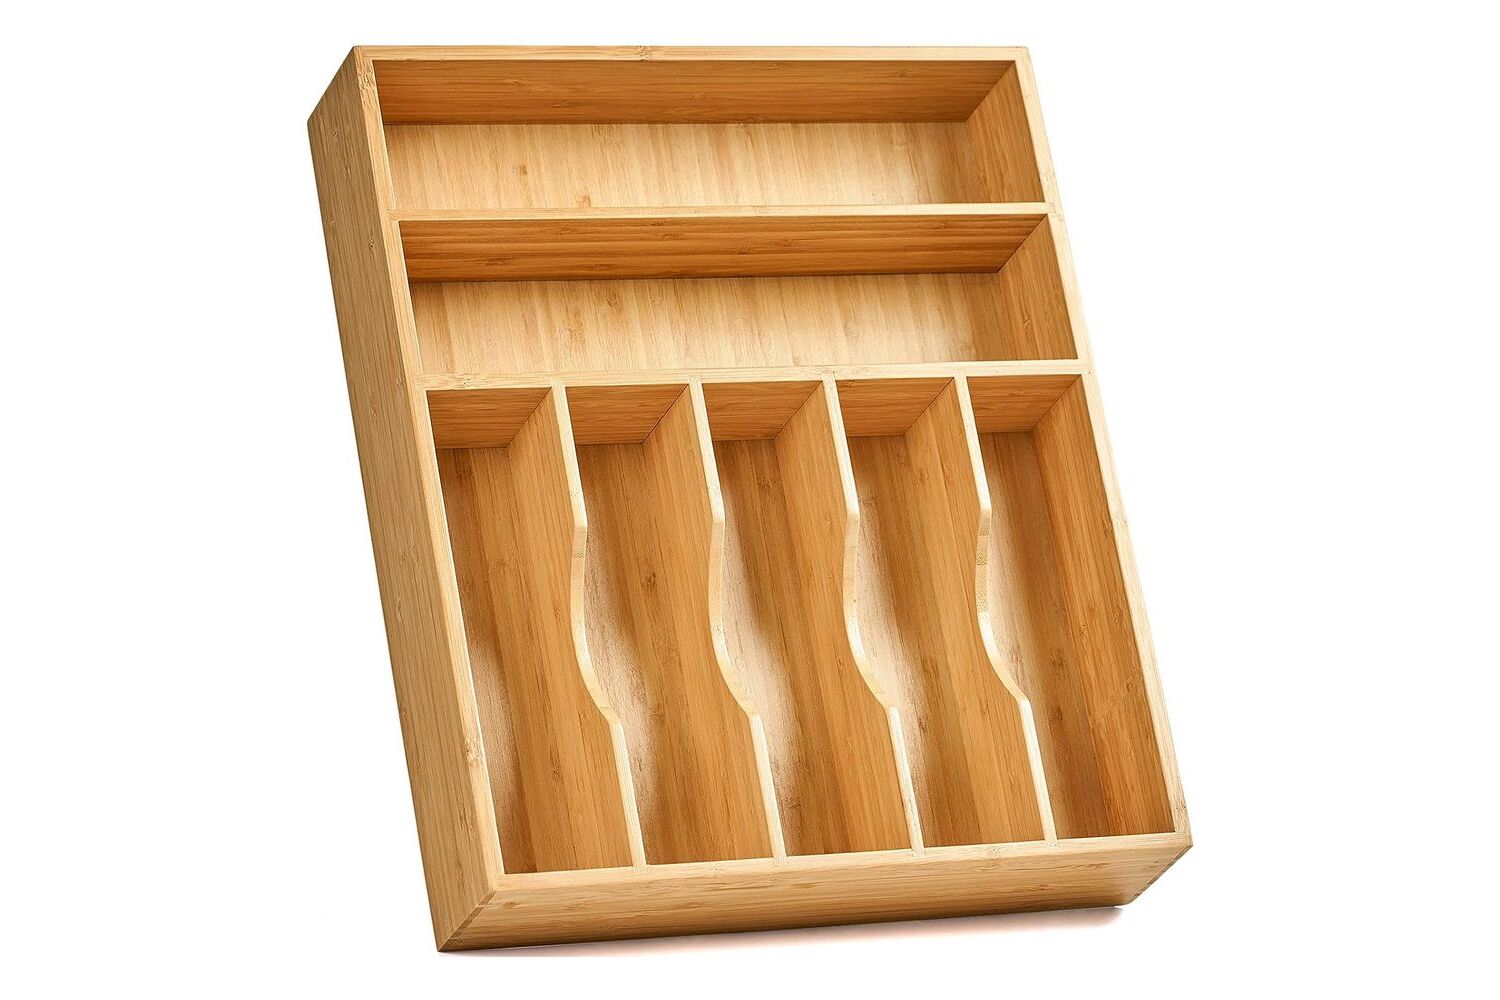
Add Drawer Organizers: Depending on your storage needs, consider incorporating drawer organizers or dividers to maximize the functionality of the drawers. These accessories can help compartmentalize the space, making it easier to organize and access smaller items within the drawers.
-
Apply Final Finish: If any touch-ups or final coats of finish are needed, now is the time to apply them. Ensure that the finish is consistent across all components, including the drawer boxes, fronts, and any added hardware. This step adds a professional and polished look to the completed drawers.
-
Clean Up and Inspect: Once all adjustments and finishing touches are in place, thoroughly clean the interior and exterior of the drawers and the surrounding closet space. Remove any dust, debris, or construction residues to reveal the full impact of your newly installed closet drawers.
By focusing on these final adjustments and finishing touches, you can elevate the overall quality and functionality of your custom-built closet drawers. Attention to detail during this phase ensures that the drawers not only look visually appealing but also operate smoothly and efficiently, providing a practical and organized storage solution for your belongings.
Conclusion
In conclusion, building drawers in a closet is a rewarding DIY project that can transform the functionality and organization of your living space. By carefully planning, measuring, selecting materials, and following the step-by-step construction process, you can create custom-built drawers that cater to your specific storage needs. From constructing sturdy drawer boxes to installing smooth-operating slides and attaching polished drawer fronts, each phase of the project contributes to the overall success of your closet organization system. The final adjustments and finishing touches ensure that the drawers not only look visually appealing but also operate seamlessly, providing a practical and organized storage solution for your belongings. With the right tools, materials, and attention to detail, you can achieve a professional and customized result that enhances the functionality and aesthetic of your closet. Say goodbye to clutter and hello to a more organized and efficient living space with your newly built closet drawers.

