
Home>Home & Furniture>Bathroom>How To Build A Shower Pan On Plywood Floor
Bathroom
How To Build A Shower Pan On Plywood Floor
Published: March 7, 2024
Editor-in-Chief with a decade in home renovation and a passion for vintage furniture. Diane is known for her weekend treasure hunts at flea markets, enriching our content with unique style insights.
Learn how to build a sturdy shower pan on a plywood floor in your bathroom with our step-by-step guide. Ensure a waterproof and durable foundation for your shower installation.
(Many of the links in this article redirect to a specific reviewed product. Your purchase of these products through affiliate links helps to generate commission for Twigandthistle.com, at no extra cost. Learn more)
Introduction
So, you've decided to take on the challenge of building a shower pan on a plywood floor. Congratulations! This DIY project can be a rewarding and cost-effective way to create a custom shower in your home. Whether you're renovating your bathroom or building a new one, a well-constructed shower pan is essential for preventing leaks and ensuring a long-lasting, functional shower. In this guide, we'll walk you through the step-by-step process of building a shower pan on a plywood floor, from preparing the surface to waterproofing and testing for leaks. Let's dive in and get started on this exciting home improvement project!
Materials Needed
To build a shower pan on a plywood floor, you'll need the following materials:
- Plywood: Ensure you have sturdy, exterior-grade plywood that is at least 3/4 inch thick to provide a solid base for the shower pan.
- Shower Pan Liner: This waterproof barrier is essential for preventing leaks. Look for a durable, flexible liner specifically designed for shower pans.
- Mortar Mix: Choose a high-quality mortar mix that is suitable for shower pan installations. This will be used to create the sloped base of the shower pan.
- Waterproofing Membrane: A waterproofing membrane is crucial for protecting the shower pan from moisture and ensuring a long lifespan.
- Shower Drain: Select a high-quality shower drain that is compatible with the shower pan liner and designed for efficient water drainage.
- Trowel: A notched trowel will be needed for spreading the mortar mix and creating a smooth, even base for the shower pan.
- Utility Knife: A sharp utility knife is essential for cutting the shower pan liner to the appropriate size and shape.
- Measuring Tape: Accurate measurements are crucial for ensuring a properly sized and sloped shower pan.
- Level: A level will help you confirm that the shower pan base is sloped correctly to ensure proper drainage.
- Protective Gear: Don't forget to prioritize safety with gloves, eye protection, and a dust mask when working with mortar and other construction materials.
Gathering these materials before you begin will ensure a smooth and efficient shower pan construction process.
Preparing the Plywood Floor
Before you can begin building the shower pan on the plywood floor, it's crucial to properly prepare the surface to ensure a solid foundation for the shower. Follow these steps to prepare the plywood floor:
-
Inspect the Plywood: Start by inspecting the plywood to ensure it is in good condition and free from any damage or rot. Replace any damaged sections to guarantee a sturdy base for the shower pan.
-
Install a Vapor Barrier: To protect the plywood from moisture, consider installing a vapor barrier. This will help prevent any potential water damage to the plywood over time.
-
Create a Slope: Use shims or tapered strips of plywood to create a gentle slope towards the shower drain. This slope is essential for ensuring proper drainage within the shower pan.
-
Secure the Plywood: Ensure the plywood is securely fastened to the floor joists to prevent any flexing or movement. Use screws to secure the plywood, as they provide a stronger hold compared to nails.
-
Apply a Waterproofing Sealer: Consider applying a waterproofing sealer to the plywood to provide an additional layer of protection against moisture. This step can help prolong the lifespan of the plywood and prevent water damage.
By thoroughly preparing the plywood floor, you'll create a stable and moisture-resistant foundation for the shower pan, setting the stage for the next steps in the construction process.
Installing the Shower Pan Liner
Installing the shower pan liner is a critical step in creating a watertight barrier that prevents moisture from seeping into the plywood floor. Follow these detailed steps to properly install the shower pan liner:
-
Measure and Cut: Begin by measuring the dimensions of the shower floor and cut the shower pan liner to the appropriate size, leaving enough material to extend up the walls around the perimeter of the shower.
-
Place the Liner: Carefully position the shower pan liner over the prepared plywood floor, ensuring that it covers the entire shower base and extends several inches up the walls. Smooth out any wrinkles or folds in the liner to ensure a snug fit.
-
Cut Openings: Use a utility knife to cut openings in the liner for the shower drain and any other necessary fixtures. Make sure to trim the liner neatly around these openings to create a precise fit.
-
Secure the Liner: Secure the shower pan liner in place using staples or a suitable adhesive designed for the specific type of liner you are using. Pay close attention to the corners and edges, ensuring that the liner is securely fastened without any gaps or loose areas.
-
Fold and Seal Corners: Fold and overlap the corners of the liner to create a seamless, watertight seal. Use a waterproofing adhesive or specialized seam tape to secure the folded corners and prevent any potential leaks.
-
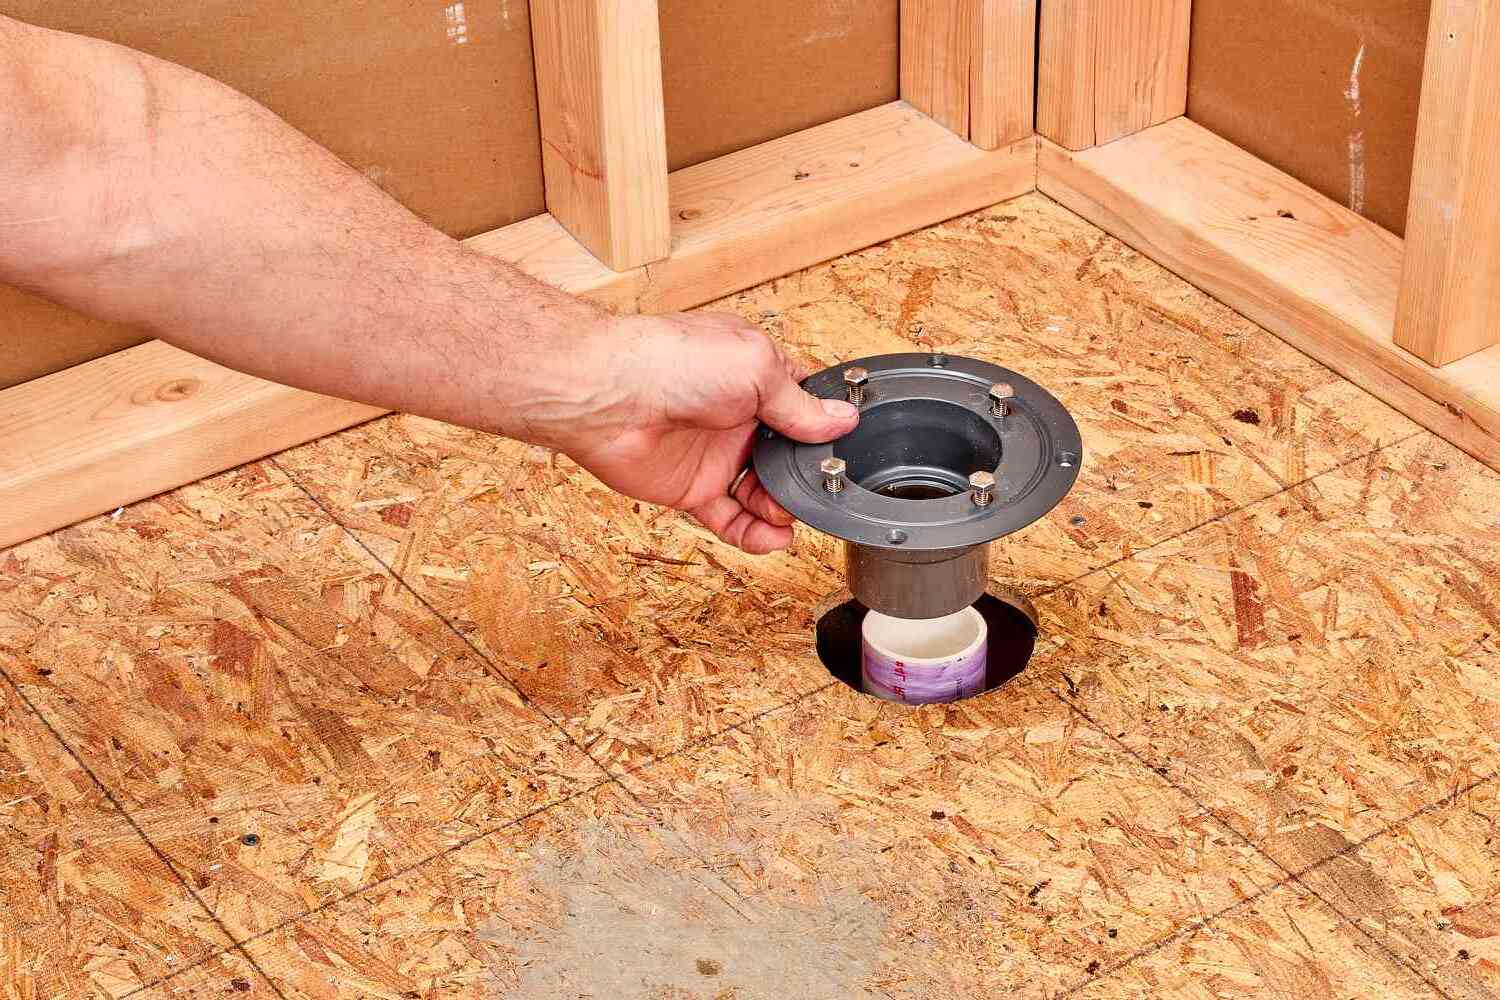
Test for Drain Fit: Place the shower drain over the liner and ensure that it fits securely, with the weep holes in the drain positioned correctly. Trim the liner if necessary to accommodate the drain.
-
Inspect and Trim Excess: Once the liner is securely in place, carefully inspect the entire installation for any excess material or areas that may require trimming. Trim any excess liner, leaving just enough to extend up the walls and create a waterproof seal.
By following these detailed steps, you can effectively install the shower pan liner, creating a reliable barrier that protects the plywood floor from water damage and sets the stage for the next phase of building the shower pan.
Pouring the Mortar Base
Pouring the mortar base is a crucial step in the construction of a shower pan on a plywood floor. This process involves creating a sloped surface that allows water to drain properly towards the shower drain. Follow these detailed steps to pour the mortar base effectively:
-
Prepare the Mortar Mix: Begin by preparing the mortar mix according to the manufacturer's instructions. Ensure that the mix has the appropriate consistency for shaping and smoothing.
-
Start at the Drain: With the shower drain in place, start pouring the mortar mix around the drain. Use a trowel to shape the mortar, creating a gentle slope from the outer edges towards the drain. This slope is essential for directing water towards the drain and preventing pooling.
-
Smooth and Shape: Work the mortar mix with the trowel to create a smooth and even surface. Pay close attention to the slope, using a level to confirm that the surface slopes consistently towards the drain from all directions.
-
Build Up the Edges: Gradually build up the edges of the mortar base to create a slightly raised perimeter. This raised edge helps contain water within the shower pan and prevents it from spilling onto the surrounding floor.
-
Check for Consistency: Throughout the pouring process, periodically check the consistency of the mortar mix to ensure it remains workable. Adjust the mix as needed to maintain the desired texture for shaping and smoothing.
-
Create a Uniform Thickness: Aim for a uniform thickness of the mortar base across the entire shower pan area. This consistency helps ensure that the shower floor is level and provides adequate support for the tile or flooring that will be installed later.
-
Smooth Out Imperfections: After pouring the mortar base, carefully inspect the surface for any imperfections or uneven areas. Use the trowel to smooth out any rough spots and create a uniform, sloped surface for proper water drainage.
By following these detailed steps, you can effectively pour the mortar base, creating a solid and properly sloped foundation for the shower pan on the plywood floor. This essential step sets the stage for the subsequent waterproofing and testing phases of the shower pan construction process.
Waterproofing the Shower Pan
Waterproofing the shower pan is a critical step in ensuring that your shower remains free from leaks and water damage. Follow these detailed steps to effectively waterproof the shower pan:
-
Apply the Waterproofing Membrane: Start by applying a high-quality waterproofing membrane to the entire surface of the mortar base. Use a paintbrush or roller to evenly coat the mortar with the waterproofing membrane, ensuring thorough coverage.
-
Focus on Seams and Corners: Pay special attention to the seams and corners of the shower pan, as these areas are particularly vulnerable to water penetration. Apply additional layers of the waterproofing membrane to reinforce these critical areas.
-
Extend Up the Walls: Extend the waterproofing membrane several inches up the walls surrounding the shower pan. This extension creates a seamless barrier that prevents water from seeping into the surrounding walls and causing damage.
-
Seal Around the Drain: Ensure that the area around the shower drain is thoroughly sealed with the waterproofing membrane. This step is crucial for preventing any potential leaks around the drain opening.
-
Inspect for Coverage: After applying the waterproofing membrane, carefully inspect the entire surface of the shower pan to ensure that there are no missed spots or thin areas. Proper coverage is essential for effective waterproofing.
-
Allow Sufficient Drying Time: Follow the manufacturer's recommendations for drying time to allow the waterproofing membrane to fully cure. This curing process is essential for creating a durable, watertight seal.
-
Apply Additional Coats if Necessary: Depending on the specific waterproofing membrane you are using, you may need to apply multiple coats to achieve the desired level of protection. Follow the manufacturer's guidelines for the recommended number of coats.
By following these detailed steps, you can effectively waterproof the shower pan, creating a reliable barrier that protects the plywood floor and surrounding areas from water damage. This essential waterproofing process ensures that your shower pan is fully prepared to withstand the rigors of daily use and provides long-lasting performance.
Testing for Leaks
Testing for leaks is a crucial step to ensure that your newly constructed shower pan on a plywood floor is watertight and free from any potential water seepage. Follow these detailed steps to effectively test for leaks and confirm the integrity of your shower pan installation:
-
Block the Drain: Begin by blocking the shower drain using a drain plug or a suitable waterproof seal. This step prevents water from flowing down the drain during the testing process, allowing you to observe any potential leaks within the shower pan.
-
Fill the Shower Pan: Carefully pour a significant amount of water into the shower pan, ensuring that the entire base is covered with water to a depth of at least a few inches. Use a bucket or a hose to fill the shower pan evenly and consistently.
-
Monitor for Leakage: Once the shower pan is filled with water, closely monitor the entire surface for any signs of leakage. Pay particular attention to the areas around the shower drain, seams, corners, and the perimeter where the shower pan meets the walls.
-
Observe Over Time: Allow the water to remain in the shower pan for an extended period, typically 24 to 48 hours. During this time, regularly check for any indications of water seepage, such as damp spots, pooling water outside the shower pan, or any visible signs of moisture on the plywood floor.
-
Inspect Surrounding Areas: While the water is in the shower pan, inspect the surrounding areas, including the walls and the floor adjacent to the shower pan, for any signs of water damage or moisture. This comprehensive inspection helps identify any potential leaks that may affect the surrounding surfaces.
-
Check the Drain Connection: After the testing period, carefully remove the drain blockage and observe the drainage process. Confirm that the water drains efficiently and without any unexpected issues, indicating that the shower pan and drain connection are functioning properly.
-
Address Any Leaks: If you detect any leaks during the testing process, promptly identify the source of the leakage and take the necessary steps to address and repair the issue. This may involve resealing seams, applying additional waterproofing, or making adjustments to the shower pan to ensure a watertight seal.
By following these detailed steps for testing for leaks, you can thoroughly evaluate the integrity of your shower pan installation and address any potential issues before proceeding with the final stages of your bathroom renovation or construction project. This comprehensive testing process provides peace of mind and ensures that your shower pan is ready for long-term, leak-free performance.
Conclusion
In conclusion, building a shower pan on a plywood floor is a challenging yet rewarding DIY project that can enhance the functionality and aesthetics of your bathroom. By following the step-by-step process outlined in this guide, you can create a durable and watertight shower pan that provides reliable performance for years to come. From preparing the plywood floor to pouring the mortar base, installing the shower pan liner, waterproofing, and testing for leaks, each phase of the construction process plays a crucial role in ensuring the success of your project. With the right materials, attention to detail, and a commitment to quality craftsmanship, you can achieve a professional-quality shower pan that meets your specific needs and enhances the value of your home. Whether you're a seasoned DIY enthusiast or tackling this project for the first time, the satisfaction of completing a well-constructed shower pan is well worth the effort. So, roll up your sleeves, gather your materials, and get ready to enjoy the benefits of a custom-built shower pan on your plywood floor.