Home>Home & Furniture>Roof>How To Build A Gazebo Roof

Roof
How To Build A Gazebo Roof
Published: March 6, 2024
Editor-in-Chief with a decade in home renovation and a passion for vintage furniture. Diane is known for her weekend treasure hunts at flea markets, enriching our content with unique style insights.
Learn how to build a sturdy and attractive gazebo roof with our comprehensive guide. Find expert tips and techniques for constructing the perfect roof for your outdoor space.
(Many of the links in this article redirect to a specific reviewed product. Your purchase of these products through affiliate links helps to generate commission for Twigandthistle.com, at no extra cost. Learn more)
Introduction
So, you've decided to take on the challenge of building a gazebo roof. Congratulations! A gazebo roof can add charm and functionality to your outdoor space, providing a shady retreat for relaxation and entertainment. Whether you're looking to create a cozy spot for reading or a picturesque setting for outdoor gatherings, a well-built gazebo roof can be the perfect addition to your backyard. In this guide, we'll walk you through the step-by-step process of building a gazebo roof, from choosing the right materials to adding the finishing touches. Let's get started!
Read more: DIY Gazebo Roof Ideas Guide
Choosing the Right Materials
When it comes to building a gazebo roof, selecting the right materials is crucial for ensuring durability and aesthetic appeal. Here are the key materials you'll need to gather before diving into the construction process:
1. Wood:
Opt for high-quality, weather-resistant wood such as cedar, redwood, or pressure-treated lumber. These options are known for their durability and ability to withstand outdoor elements.
2. Roofing Material:
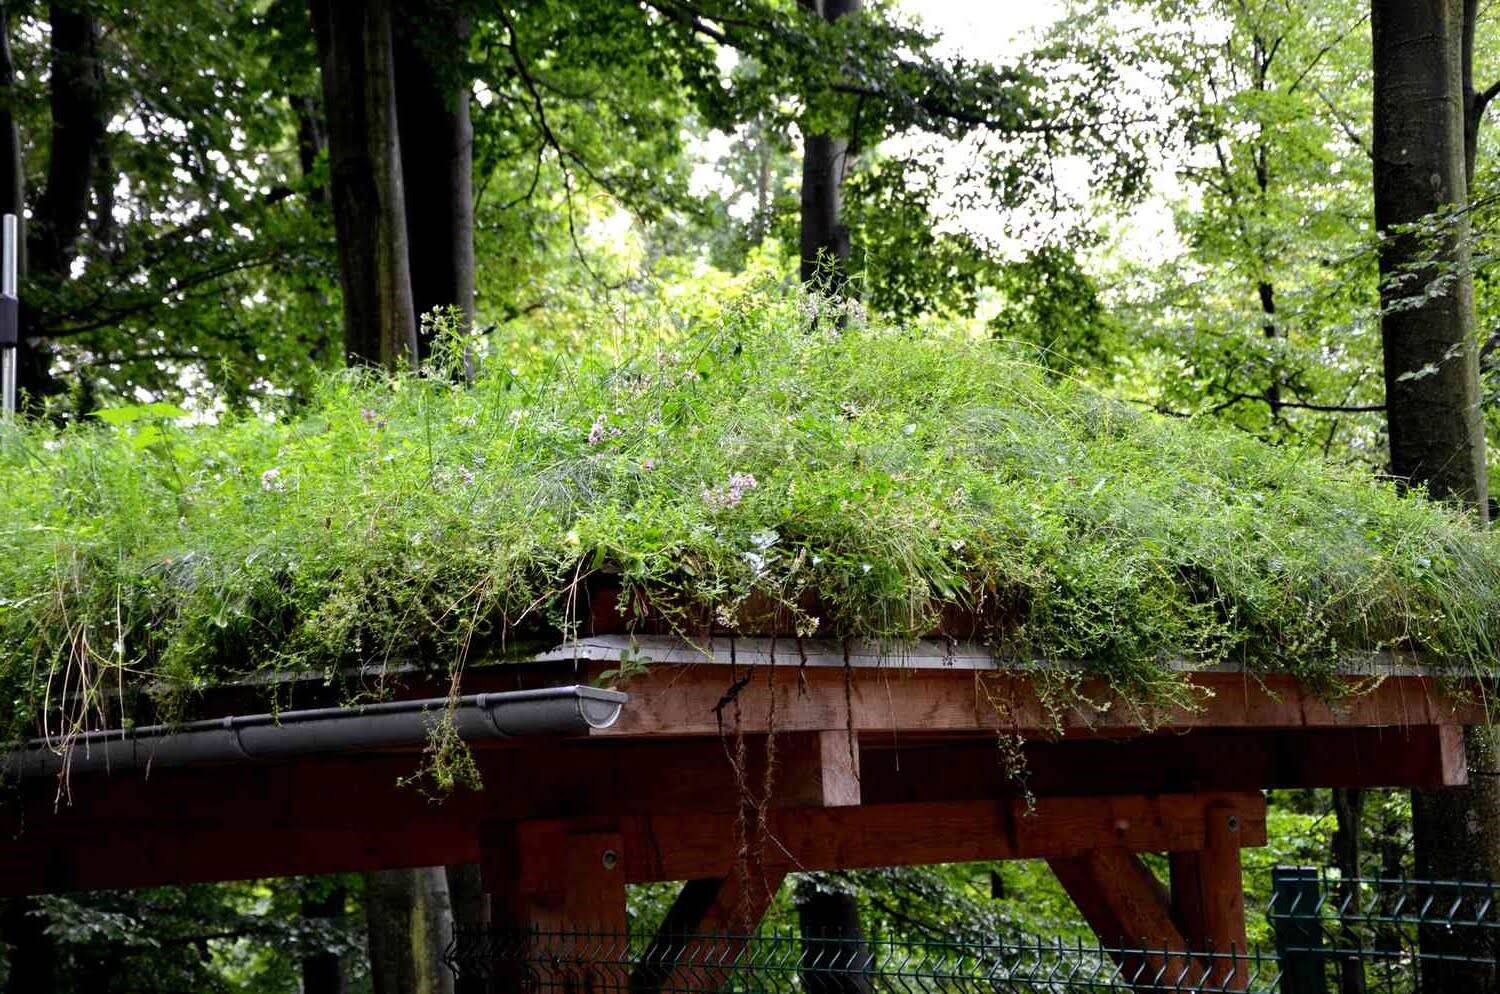
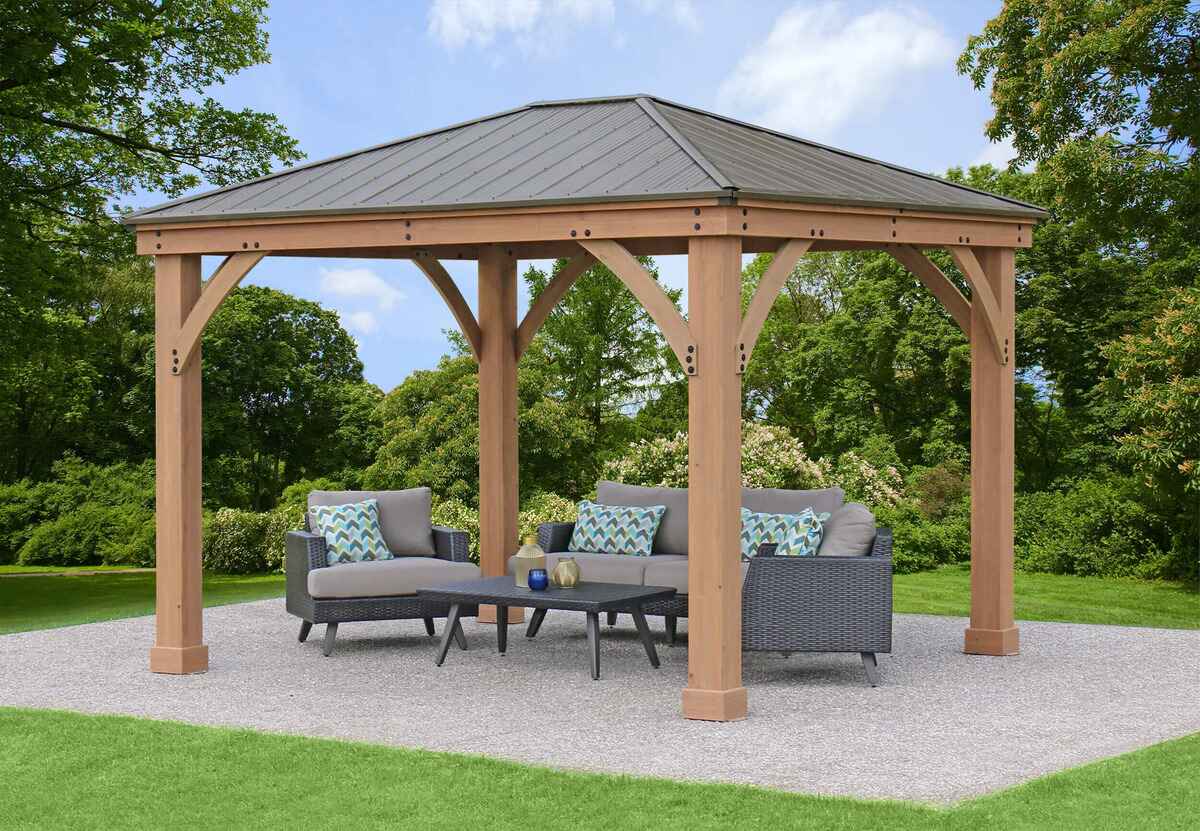
Consider using asphalt shingles for a traditional look, metal roofing for a sleek and modern appearance, or thatch for a more rustic vibe. Each material comes with its own set of benefits, so choose one that complements the overall style of your gazebo.
3. Fasteners:
Invest in galvanized or stainless steel screws and nails to secure the structural components and roofing material. These materials are resistant to rust and corrosion, ensuring the longevity of your gazebo roof.
Read more: How To Build A Gazebo
4. Decorative Elements:
If you want to add decorative flair to your gazebo roof, explore options such as ornamental brackets, finials, or lattice panels. These elements can elevate the visual appeal of your gazebo while also providing structural support.
By carefully selecting the right materials, you can set the foundation for a sturdy and visually appealing gazebo roof that will enhance your outdoor space for years to come.
Measuring and Cutting the Roof Beams
Before diving into the construction of your gazebo roof, it's crucial to ensure precise measurements and accurate cuts for the roof beams. This step lays the groundwork for a structurally sound and visually appealing roof. Here's a detailed guide on how to measure and cut the roof beams for your gazebo:
-
Gather the Necessary Tools: To begin, gather essential tools such as a tape measure, carpenter's square, pencil, and a reliable saw. These tools will aid in taking accurate measurements and making precise cuts.
-
Measure the Gazebo Dimensions: Start by measuring the dimensions of your gazebo to determine the length and width of the roof beams needed. Use a tape measure to record these measurements, ensuring accuracy to avoid any discrepancies during the construction phase.
-
Calculate the Required Beam Length: Based on the dimensions of your gazebo, calculate the required length of the roof beams. Take into account any overhang you desire and add it to the measurements to ensure proper coverage and aesthetics.
-
Mark and Cut the Beams: Using the calculated measurements, mark the wood beams accordingly with a pencil. Utilize a carpenter's square to ensure precise markings. Once marked, carefully cut the beams using a saw, following the marked lines to achieve accurate cuts.
-
Double-Check for Accuracy: After cutting the beams, double-check the measurements and cuts to ensure they align with the gazebo dimensions and design specifications. This step is crucial in avoiding errors that could affect the structural integrity and overall appearance of the gazebo roof.
By meticulously measuring and cutting the roof beams, you lay a solid foundation for the construction of your gazebo roof. Accurate measurements and precise cuts are essential for ensuring a seamless assembly process and a professionally finished gazebo roof.
Assembling the Roof Frame
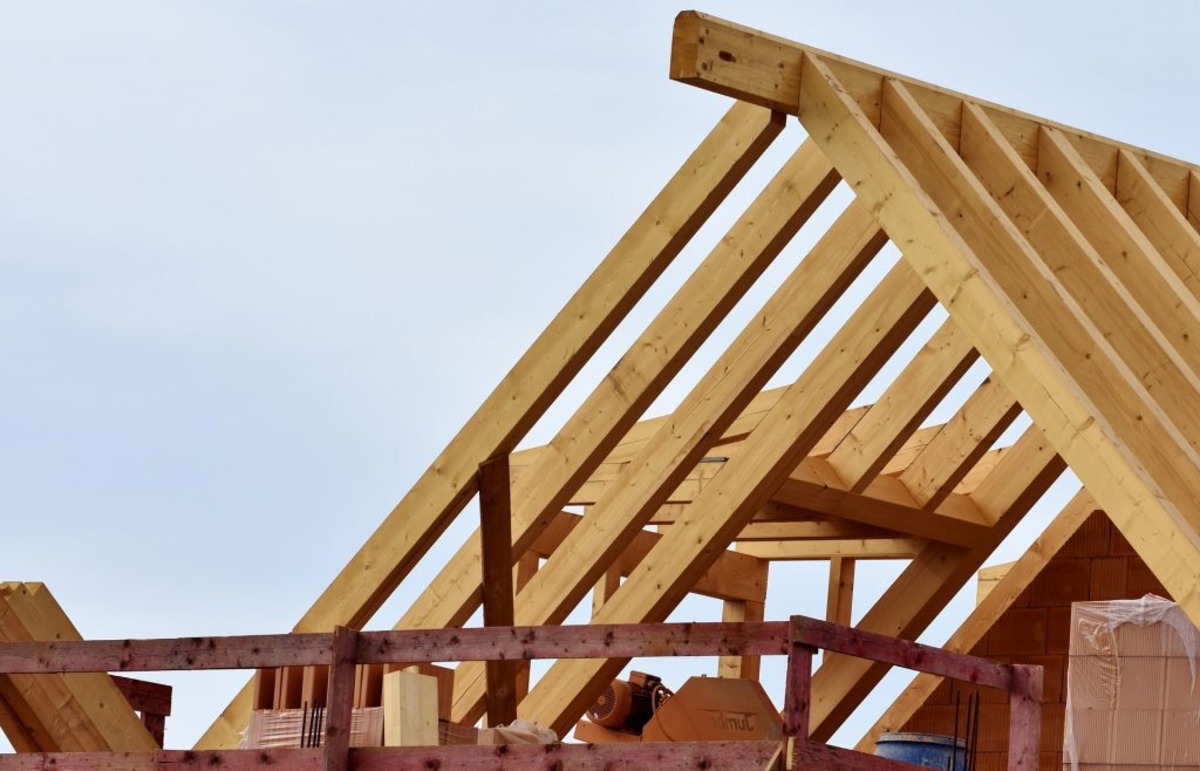
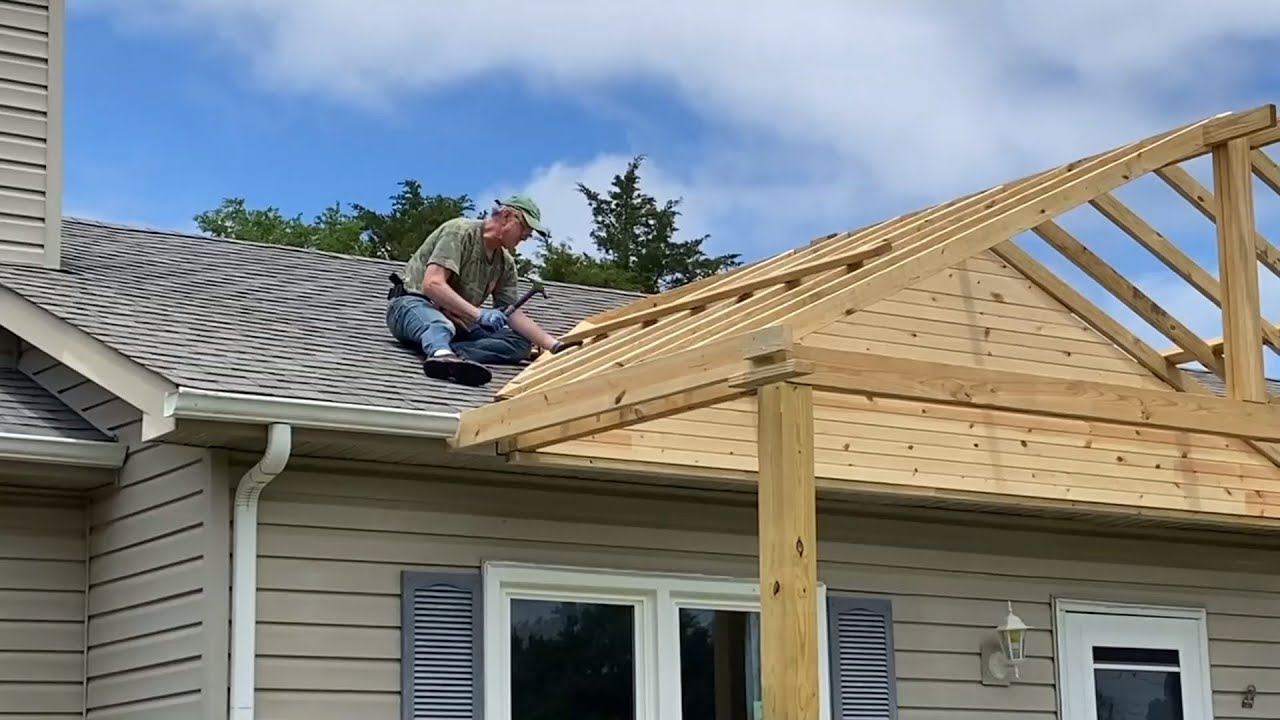
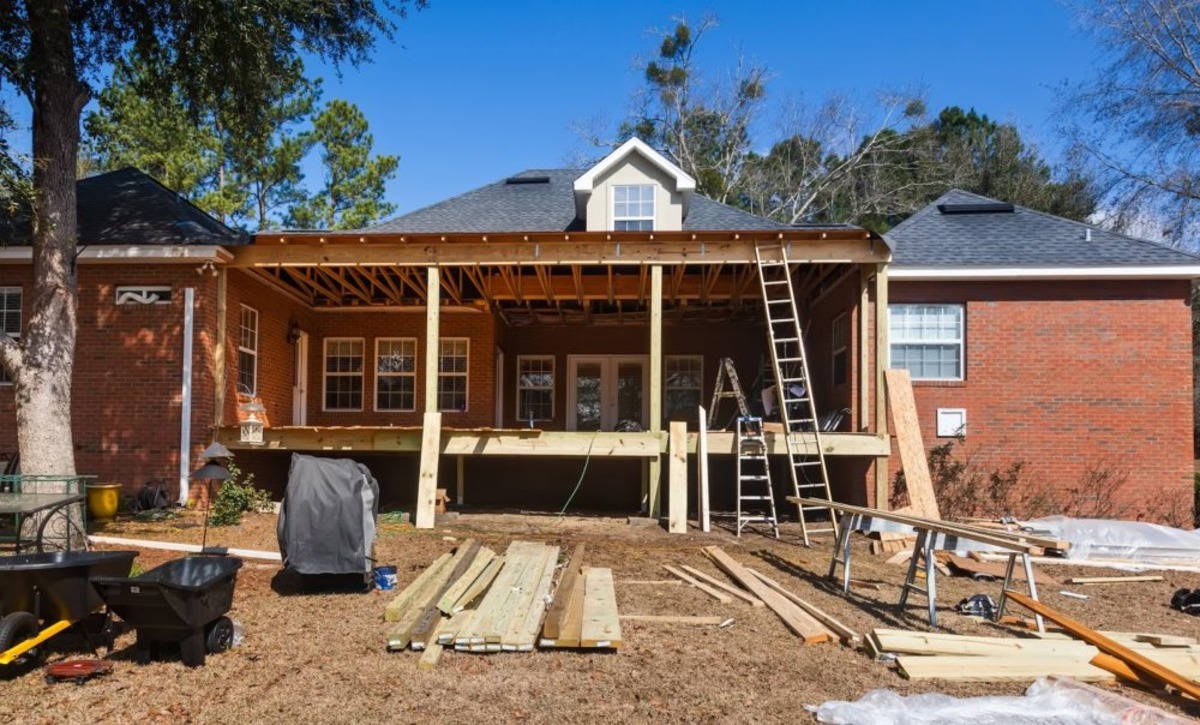
With the roof beams accurately measured and cut, the next crucial step in building your gazebo roof is assembling the roof frame. This process involves joining the roof beams together to form the underlying structure that will support the roofing material. Here's a detailed guide on how to assemble the roof frame for your gazebo:
-
Lay Out the Roof Beams: Begin by laying out the cut roof beams in the designated area where the gazebo will stand. Arrange the beams according to the gazebo's design and the predetermined layout, ensuring that they are positioned correctly for assembly.
-
Secure the Beams: Use galvanized or stainless steel screws and nails to secure the roof beams at their designated connection points. Ensure that the beams are aligned properly and securely fastened to form a stable framework for the roof.
-
Add Cross Bracing for Support: To enhance the structural integrity of the roof frame, consider adding cross braces between the roof beams. These braces provide additional support and stability, especially in areas prone to high winds or heavy snow loads.
-
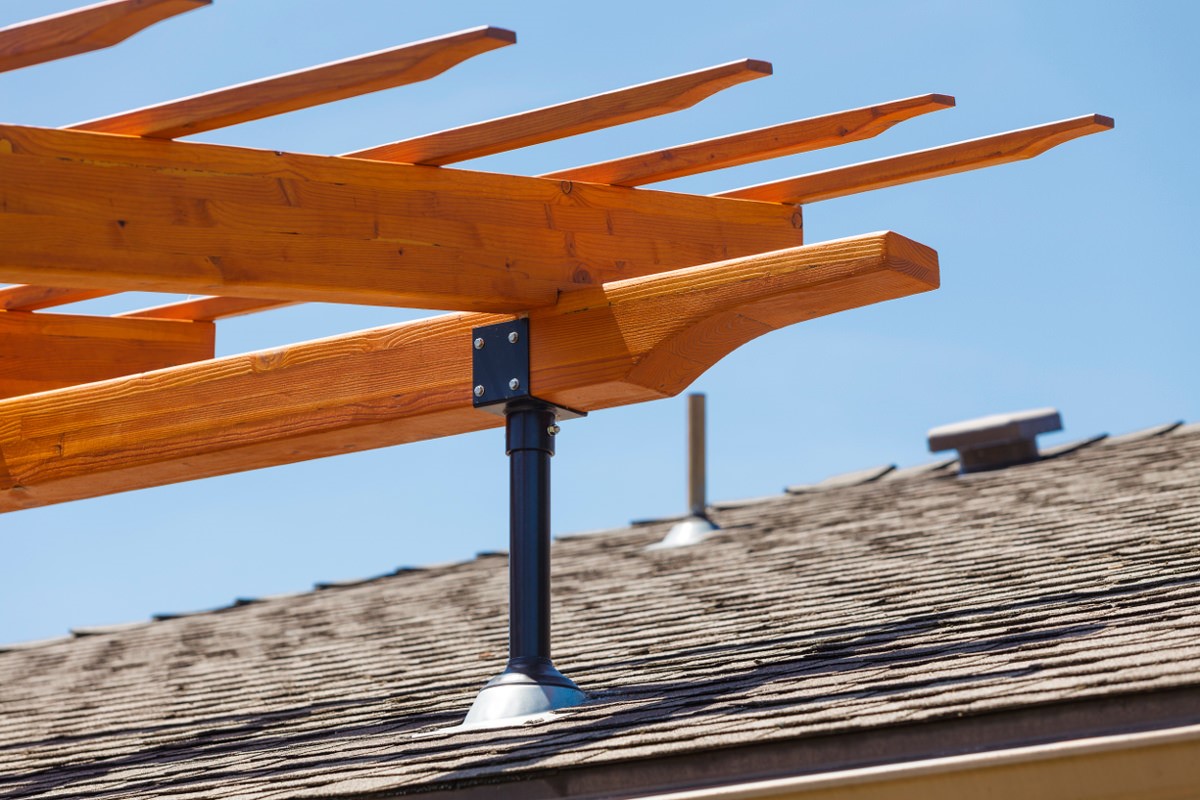
Install Ridge Beam and Rafters: If your gazebo design includes a ridge beam and rafters, carefully install these components to complete the roof frame structure. The ridge beam runs along the peak of the roof, while the rafters extend from the ridge beam to the eaves, providing essential support for the roofing material.
-
Check for Level and Alignment: Throughout the assembly process, regularly check for level and alignment to ensure that the roof frame is being constructed accurately. Proper alignment is crucial for the overall stability and visual appeal of the gazebo roof.
-
Reinforce Joints and Connections: Once the roof frame is assembled, reinforce the joints and connections to eliminate any potential weak points. Adding additional screws or braces at critical junctures can further strengthen the roof frame and enhance its durability.
By following these steps, you can effectively assemble the roof frame for your gazebo, setting the stage for the next phase of installing the roofing material. A well-constructed roof frame forms the backbone of a sturdy and visually appealing gazebo roof, ensuring its longevity and structural integrity.
Installing the Roofing Material
Now that the roof frame is securely in place, the next crucial step in building your gazebo roof is installing the roofing material. The choice of roofing material plays a significant role in the functionality, aesthetics, and longevity of your gazebo roof. Whether you opt for traditional asphalt shingles, sleek metal roofing, or rustic thatch, the installation process requires careful attention to detail and precision. Here's a comprehensive guide on how to install the roofing material for your gazebo:
-
Prepare the Surface: Before laying the roofing material, ensure that the surface of the roof frame is clean, smooth, and free from any debris or protruding nails. This preparatory step sets the stage for a seamless installation process and ensures the roofing material adheres properly to the roof frame.
-
Lay Underlayment (If Applicable): Depending on the chosen roofing material, you may need to lay down an underlayment to provide an additional layer of protection against moisture and enhance the roof's insulation. Follow the manufacturer's guidelines for the specific underlayment material you are using.
-
Start from the Bottom Up: When installing the roofing material, begin from the bottom of the roof and work your way up. This approach allows for proper overlapping of the roofing material, ensuring effective water shedding and protection against the elements.
-
Follow Manufacturer's Instructions: Whether you are working with asphalt shingles, metal roofing panels, or thatch, it's essential to carefully follow the manufacturer's instructions for installation. Pay attention to recommended fastening methods, overlap measurements, and any specific guidelines provided.
-
Secure the Roofing Material: Use appropriate fasteners, such as nails or screws, to securely attach the roofing material to the roof frame. Ensure that the material is evenly and securely fastened to prevent potential uplift during inclement weather.
-
Maintain Consistent Overlap and Alignment: As you progress with the installation, maintain a consistent overlap and alignment of the roofing material. This attention to detail contributes to the overall visual appeal and weatherproofing of the gazebo roof.
-
Trim and Finish Edges: Once the main area of the roof is covered, trim the roofing material as needed to fit the edges and ensure a clean, polished appearance. Pay special attention to the eaves and gable ends for a professional finish.
-
Inspect for Quality and Functionality: After installing the roofing material, thoroughly inspect the entire roof surface to ensure that the material is properly installed, free from defects, and capable of providing effective protection against the elements.
By following these steps, you can successfully install the roofing material for your gazebo, creating a durable, weather-resistant, and visually appealing roof that enhances the overall charm of your outdoor space. The proper installation of the roofing material is essential for ensuring the longevity and functionality of your gazebo roof.
Read more: DIY Outdoor Kitchen Gazebo Build
Adding Finishing Touches
With the gazebo roof structure and roofing material in place, it's time to add the finishing touches that will elevate the visual appeal and functionality of your outdoor retreat. These final details can enhance the overall aesthetics and usability of the gazebo, creating a welcoming and comfortable space for relaxation and entertainment. Here's a detailed guide on adding the finishing touches to your gazebo roof:
-
Decorative Trim and Molding: Consider adding decorative trim and molding to the edges and corners of the gazebo roof. This embellishment not only provides a polished look but also helps protect the edges of the roofing material from exposure to the elements.
-
Gutter Installation: If your gazebo roof is designed to collect rainwater, installing gutters and downspouts is essential. Properly installed gutters help channel water away from the gazebo's foundation, preventing potential water damage and erosion.
-
Paint or Stain Application: Apply a coat of paint or stain to the wood components of the gazebo roof to enhance their durability and visual appeal. Choose a color that complements the overall design of your outdoor space and provides protection against UV rays and moisture.
-
Lighting Fixtures: Incorporating lighting fixtures into the gazebo roof can extend its functionality into the evening hours. Whether it's string lights, lanterns, or recessed lighting, strategically placed fixtures can create a warm and inviting ambiance.
-
Ceiling Fan Installation: For added comfort during warm weather, consider installing a ceiling fan under the gazebo roof. A ceiling fan not only provides a cooling breeze but also adds a decorative element to the space.
-
Curtains or Screens: If you desire privacy or protection from insects, consider adding curtains or screens to the gazebo. These additions can create a cozy and intimate atmosphere while also serving a practical purpose.
-
Seating and Furnishings: Complete the gazebo by adding comfortable seating and furnishings. Whether it's a cozy outdoor sofa, a dining set, or a couple of lounge chairs, the right furnishings can transform the gazebo into a functional and inviting outdoor living space.
By adding these finishing touches, you can transform your gazebo roof into a stylish and functional retreat that complements your outdoor lifestyle. These details not only enhance the visual appeal of the gazebo but also contribute to its usability and comfort, creating a space where you can relax and entertain with ease.
Conclusion
In conclusion, building a gazebo roof is a rewarding DIY project that can enhance the beauty and functionality of your outdoor space. By carefully selecting the right materials, meticulously measuring and cutting the roof beams, assembling the roof frame, installing the roofing material, and adding the finishing touches, you can create a stunning gazebo roof that provides a welcoming retreat for relaxation and entertainment. Whether you choose a traditional design or opt for a more modern aesthetic, the process of building a gazebo roof allows you to customize your outdoor space to suit your preferences and lifestyle. With proper planning, attention to detail, and a bit of creativity, you can enjoy the satisfaction of creating a gazebo roof that becomes a focal point of your backyard, offering a charming and versatile space for years to come.

