
Home>Home & Furniture>Roof>How To Build A Slanted Roof
Roof
How To Build A Slanted Roof
Published: March 6, 2024
Editor-in-Chief with a decade in home renovation and a passion for vintage furniture. Diane is known for her weekend treasure hunts at flea markets, enriching our content with unique style insights.
Learn how to build a slanted roof with our comprehensive guide. Get expert tips and advice for constructing a durable and stylish roof for your project.
(Many of the links in this article redirect to a specific reviewed product. Your purchase of these products through affiliate links helps to generate commission for Twigandthistle.com, at no extra cost. Learn more)
Introduction
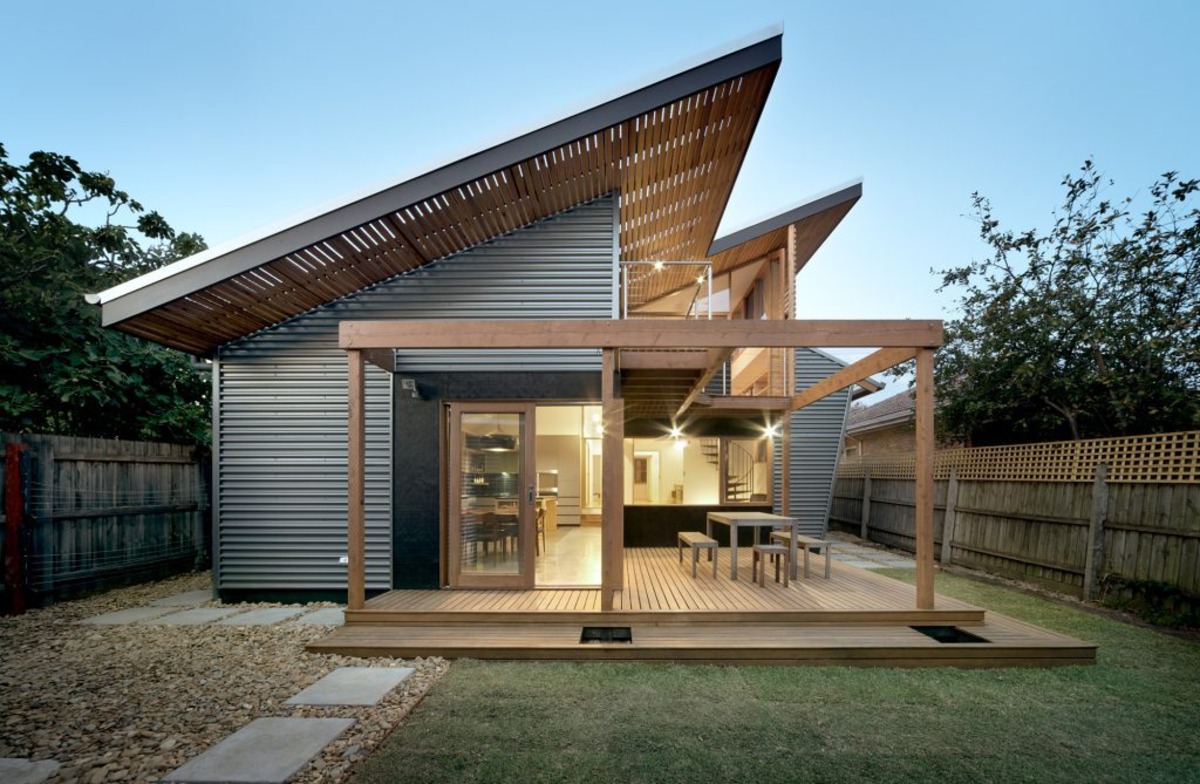
So, you've decided to take on the challenge of building a slanted roof for your outdoor structure. Whether it's a shed, a porch, or a gazebo, a slanted roof can add a touch of style and functionality to your space. But where do you start? How do you ensure that your slanted roof is not only aesthetically pleasing but also structurally sound? In this guide, we'll walk you through the process of building a slanted roof, from choosing the right materials to putting on the finishing touches. Let's dive in and get your project off the ground!
Choosing the Right Materials
When it comes to building a slanted roof, selecting the right materials is crucial for the success and longevity of your project. Here are some key materials to consider:
1. Roofing Materials
- Asphalt Shingles: These are a popular choice for slanted roofs due to their affordability and ease of installation.
- Metal Roofing: Durable and long-lasting, metal roofing is a great option for those looking for a modern and sleek aesthetic.
- Wood Shingles or Shakes: For a more rustic and natural look, wood shingles or shakes can add charm to your slanted roof.
2. Support Structure Materials
- Pressure-Treated Lumber: Essential for the support frame of your slanted roof, pressure-treated lumber is resistant to rot and decay.
- Steel Beams: If you're aiming for a more industrial or contemporary design, steel beams can provide the necessary strength for your roof structure.
3. Fasteners and Connectors
- Galvanized Nails or Screws: These are essential for securing the roofing materials and the support frame together.
- Metal Connectors: To ensure the stability and safety of your slanted roof, metal connectors such as hurricane ties and truss connectors are vital.
By carefully selecting the right materials for your slanted roof, you can ensure that it not only looks great but also stands the test of time. Now that you have an idea of the materials needed, let's move on to the next step in the process.
Designing the Roof Structure
Designing the roof structure is a critical step in the process of building a slanted roof. It involves creating a plan that outlines the shape, pitch, and overall layout of the roof. Here are the key aspects to consider when designing the roof structure:
-
Roof Pitch: The pitch, or slope, of the roof will determine its ability to shed water and withstand the elements. A steeper pitch is more effective at channeling water away from the roof, while a shallower pitch may be suitable for certain design preferences.
-
Roof Shape: The shape of the roof, whether it's a simple gable, hip, or more complex designs like a gambrel or saltbox, will impact the overall aesthetic and functionality of the structure.
-
Overhangs and Eaves: Consider whether you want to incorporate overhangs and eaves into your roof design. These features not only provide additional protection from the elements but also contribute to the architectural style of the structure.
-
Structural Support: Ensure that the design accounts for the necessary structural support, including rafters, trusses, and beams. The spacing and size of these components will depend on the span and load requirements of the roof.
-
Ventilation and Insulation: Plan for adequate ventilation and insulation within the roof structure to maintain a comfortable and moisture-free environment underneath.
-
Regulatory Considerations: Check local building codes and regulations to ensure that your roof design complies with any specific requirements or restrictions.
By carefully considering these aspects during the design phase, you can create a roof structure that not only meets your functional needs but also enhances the overall appeal of your outdoor space. With the design in place, you're ready to move on to the next phase of building your slanted roof.
Building the Support Frame
Building the support frame is a crucial step in the construction of a slanted roof, as it provides the structural backbone for the entire roof system. Here's a detailed breakdown of the process:
-
Prepare the Site: Before constructing the support frame, ensure that the site is level and free from any obstructions. Use a tape measure and a level to mark the precise locations for the support posts and beams.
-
Install the Support Posts: The support posts, typically made of pressure-treated lumber, are the vertical elements that bear the weight of the roof. Dig post holes at the marked locations and set the posts securely in place using concrete or compacted gravel.
-
Attach the Beams: Once the support posts are in position, it's time to install the horizontal beams that will span between the posts. These beams provide the primary framework for the roof structure and distribute the load evenly. Secure the beams to the posts using appropriate hardware such as post caps and structural screws.
-
Add Cross Bracing: To enhance the stability and rigidity of the support frame, consider adding cross bracing between the support posts. This diagonal bracing helps prevent lateral movement and ensures that the frame can withstand wind and other external forces.
-
Incorporate Rafter Elements: Depending on the design of your slanted roof, you may need to incorporate additional rafter elements into the support frame. Rafters are the inclined members that support the roofing material and transfer the roof loads to the beams. Ensure that the rafters are properly spaced and securely attached to the beams.
-
Check for Alignment and Plumb: Throughout the construction of the support frame, regularly check for alignment and plumb to ensure that the structure is level and true. Adjust the position of the posts, beams, and rafters as needed to maintain the correct orientation.
-
Consider Additional Reinforcement: Depending on the size and load requirements of your slanted roof, you may need to consider additional reinforcement such as collar ties, ridge beams, or other structural elements to further strengthen the support frame.
By following these steps and paying close attention to the construction of the support frame, you can lay a solid foundation for the rest of the roof-building process. With the support frame in place, you're ready to move on to the next phase of the project.
Installing the Roofing Materials
Now that the support frame is in place, it's time to focus on installing the roofing materials to complete the slanted roof. This step requires precision and attention to detail to ensure that the roof not only looks great but also provides reliable protection from the elements. Here's a detailed guide on how to install the roofing materials for your slanted roof:
-
Prepare the Roof Surface: Before laying the roofing materials, ensure that the roof surface is clean, dry, and free from any debris. Use a broom or blower to remove any dirt, leaves, or other obstructions that could interfere with the installation process.
-
Underlayment Installation: Start by installing an appropriate underlayment over the roof deck. The underlayment acts as a secondary barrier against moisture and helps protect the interior of the structure. Secure the underlayment according to the manufacturer's guidelines, ensuring proper overlap and fastening.
-
Starter Shingle Application: If you're using asphalt shingles, begin by applying starter shingles along the eaves of the roof. These specialized shingles provide a secure foundation for the rest of the shingle courses and help prevent wind uplift.
-
Shingle Installation: When installing asphalt shingles, work your way up the roof, overlapping each course to ensure proper water shedding. Use roofing nails to secure the shingles, following the manufacturer's recommendations for placement and quantity. For metal roofing, follow the specific installation instructions provided by the manufacturer, which may involve interlocking panels or fastening individual pieces.
-
Flashing and Trim Installation: Pay close attention to the installation of flashing and trim around roof penetrations, such as chimneys, vents, and skylights. Properly installed flashing and trim are essential for preventing water infiltration and maintaining the integrity of the roof.
-
Wood Shingle or Shake Application: If you've opted for wood shingles or shakes, carefully follow the manufacturer's guidelines for installation. This may involve staggering the shingles to create a uniform and visually appealing pattern.
-
Metal Roofing Panel Placement: For metal roofing, carefully place and fasten the panels according to the manufacturer's instructions. Pay attention to the alignment and overlap of the panels to ensure a watertight seal.
-
Ridge Cap Installation: Once the main roofing materials are in place, install ridge caps along the peak of the roof. Ridge caps provide a finished look and help protect the roof's highest point from water infiltration and wind damage.
-
Quality Check and Clean-Up: After the roofing materials are installed, conduct a thorough quality check to ensure that all components are properly secured and aligned. Remove any debris or excess materials from the roof surface to complete the installation process.
By following these steps and adhering to the specific guidelines for the chosen roofing materials, you can achieve a professionally installed slanted roof that enhances the functionality and visual appeal of your outdoor structure. With the roofing materials in place, the final phase of the project involves adding the finishing touches and addressing any necessary maintenance considerations.
Finishing Touches and Maintenance
Once the roofing materials are in place, it's time to add the finishing touches that will enhance the overall look and functionality of your slanted roof. Additionally, considering the long-term maintenance of the roof is crucial to ensure its durability and performance over time. Here's a detailed guide on the final steps and maintenance considerations for your slanted roof:
-
Gutter Installation: Install gutters and downspouts to effectively channel water away from the roof and the foundation of your structure. Properly installed gutters help prevent water damage and erosion, preserving the integrity of your slanted roof and the surrounding area.
-
Painting and Sealing: If your slanted roof is constructed using wood materials, consider applying a protective sealant or paint to enhance its resistance to moisture, UV exposure, and other environmental factors. This step not only adds a decorative touch but also extends the lifespan of the roof.
-
Trim and Fascia Detailing: Pay attention to the trim and fascia elements of the roof, ensuring that they are properly installed and sealed. Well-maintained trim and fascia contribute to the overall aesthetics of the roof and provide additional protection against the elements.
-
Inspection and Maintenance Schedule: Establish a regular inspection and maintenance schedule for your slanted roof. Check for signs of damage, such as loose or missing shingles, rust on metal roofing, or deterioration of wood components. Address any issues promptly to prevent further damage and maintain the structural integrity of the roof.
-
Debris Removal: Regularly remove debris, such as leaves, branches, and dirt, from the roof surface and gutters. Accumulated debris can impede water drainage and contribute to the deterioration of roofing materials, so keeping the roof clear is essential for its long-term performance.
-
Trim Overhanging Branches: If there are trees near your structure, trim back overhanging branches to prevent them from rubbing against the roof or causing damage during storms. This proactive measure helps protect the roof from potential hazards and extends its lifespan.
-
Professional Inspections: Consider scheduling professional inspections of your slanted roof, especially after severe weather events or as part of routine maintenance. A qualified roofing professional can identify any issues that may not be immediately apparent and provide recommendations for necessary repairs or improvements.
By attending to these finishing touches and implementing a proactive maintenance plan, you can ensure that your slanted roof remains in top condition and continues to enhance the functionality and visual appeal of your outdoor space for years to come.