
Home>Home & Furniture>Roof>How To Build A Pergola With Roof
Roof
How To Build A Pergola With Roof
Published: March 6, 2024
Editor-in-Chief with a decade in home renovation and a passion for vintage furniture. Diane is known for her weekend treasure hunts at flea markets, enriching our content with unique style insights.
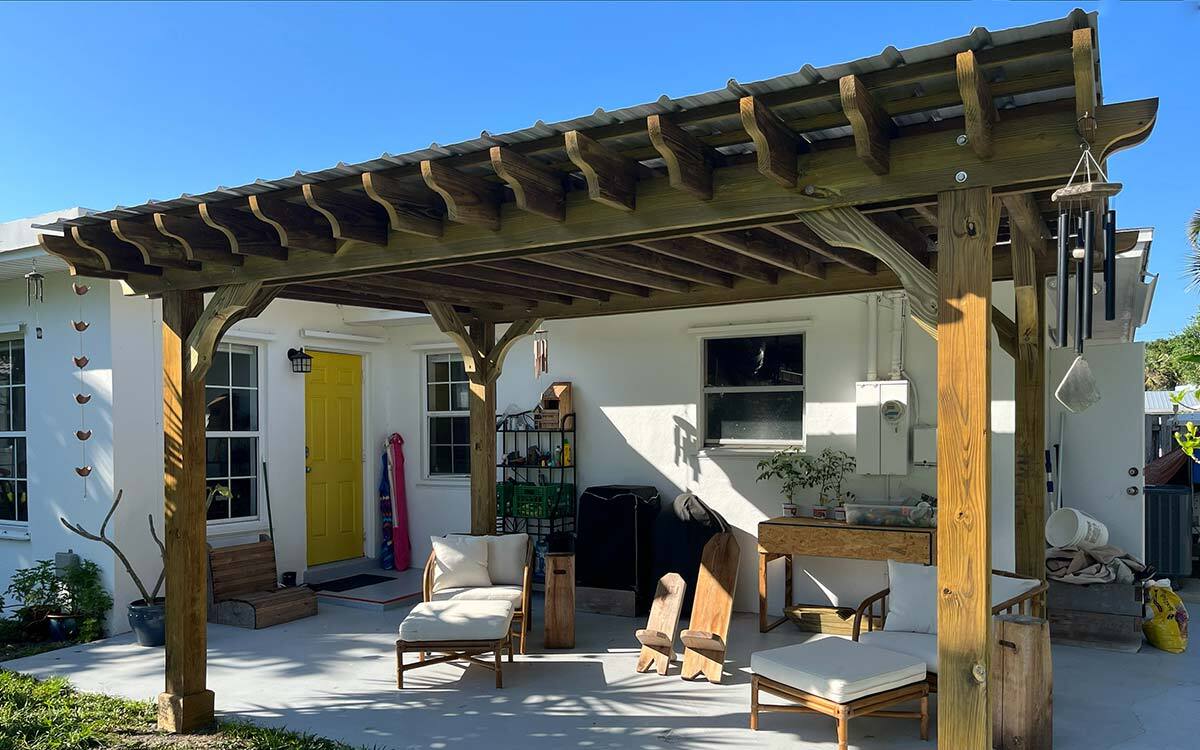
Learn how to build a sturdy pergola with a durable roof to enhance your outdoor space. Follow our step-by-step guide for a beautiful and functional addition to your home.
(Many of the links in this article redirect to a specific reviewed product. Your purchase of these products through affiliate links helps to generate commission for Twigandthistle.com, at no extra cost. Learn more)
Introduction
So, you've been dreaming of creating a cozy outdoor space where you can relax and entertain, and you've decided that a pergola with a roof is just what you need. But where do you start? Building a pergola with a roof may seem like a daunting task, but with the right guidance and a bit of elbow grease, it's definitely achievable. In this guide, we'll take you through the step-by-step process of building your very own pergola with a roof, so you can enjoy the great outdoors in style and comfort. Let's dive in!
Planning and Designing Your Pergola
When it comes to building a pergola with a roof, the first step is to carefully plan and design your outdoor structure. Here's how to get started:
-
Determine the Purpose: Before you begin, think about how you want to use your pergola. Will it be a cozy spot for outdoor dining, a peaceful retreat for reading, or a space for entertaining guests? Understanding its purpose will help you make design decisions.
-
Choose the Location: Consider the layout of your outdoor space and decide where the pergola will be situated. Take into account factors such as sunlight, views, and proximity to your home.
-
Measure and Sketch: Take precise measurements of the area where the pergola will be built. Then, sketch out your design ideas, including the dimensions, shape, and any additional features such as built-in seating or decorative elements.
-
Consider Roofing Options: Since you want a pergola with a roof, think about the type of roofing material you'd like to use. Options include polycarbonate panels, metal sheets, or even a traditional thatched roof for a rustic look.
-
Check Local Regulations: Before finalizing your design, check with your local authorities to ensure that your planned pergola complies with any building codes or zoning regulations.
By carefully planning and designing your pergola, you'll set the stage for a successful construction process.
Choosing the Right Materials
Selecting the right materials for your pergola with a roof is crucial for ensuring its durability and aesthetic appeal. Here's a breakdown of the materials you'll need:
-
Wood: Opt for durable, weather-resistant wood such as cedar, redwood, or pressure-treated pine for the main structure of the pergola. These woods are known for their ability to withstand outdoor elements and resist rot and decay.
-
Roofing Material: When it comes to the roof, consider using polycarbonate panels for a lightweight and durable option that provides protection from the sun and rain. Alternatively, metal sheets can offer a sleek and modern look, while traditional thatched roofing can add a charming, rustic feel to your outdoor space.
-
Fasteners and Hardware: Choose high-quality, corrosion-resistant fasteners and hardware to ensure the structural integrity of your pergola. Stainless steel or galvanized screws and brackets are ideal for outdoor applications, as they are less likely to rust or deteriorate over time.
-
Decorative Elements: If you plan to incorporate decorative elements such as lattice panels, decorative end cuts, or ornamental post caps, select materials that complement the overall design of your pergola. Consider using materials that are easy to maintain and can withstand exposure to the elements.
By carefully selecting the right materials, you can ensure that your pergola with a roof not only looks stunning but also stands the test of time in your outdoor space.
Preparing the Site
Before you can start building your pergola with a roof, it's essential to prepare the site properly. Here's a detailed breakdown of the steps involved in site preparation:
-
Clear the Area: Begin by clearing the area where the pergola will be constructed. Remove any existing vegetation, rocks, or debris to create a clean and level surface for the project.
-
Mark the Layout: Use stakes and string to mark the layout of the pergola on the ground. This will help you visualize the size and placement of the structure and ensure that it aligns with your initial design plans.
-
Excavate the Footings: If your pergola will have a solid foundation, you'll need to excavate footings for the support posts. The depth and diameter of the footings will depend on the size and design of your pergola, as well as local building codes.
-
Level the Ground: Once the footings are in place, ensure that the ground is level and compacted to provide a stable base for the pergola. Use a hand tamper or plate compactor to achieve the desired levelness.
-
Treat the Ground: Consider applying a layer of gravel or crushed stone to the excavated area to improve drainage and prevent moisture-related issues. This step is especially important if your pergola will be located in an area prone to water accumulation.
-
Check for Utility Lines: Before proceeding with any digging or construction, contact your local utility companies to mark the location of underground utility lines. This will help you avoid accidental damage during the construction process.
By thoroughly preparing the site for your pergola with a roof, you'll create a solid foundation for the rest of the construction process and ensure that your outdoor structure stands the test of time.
Building the Pergola Structure
With the site prepared, it's time to start building the framework of your pergola. Here's a step-by-step guide to constructing the pergola structure:
-
Set the Support Posts: Begin by positioning and securing the support posts in the excavated footings. Use a level to ensure that each post is perfectly plumb and brace them temporarily to keep them in position.
-
Attach the Beams: Once the posts are in place, it's time to attach the beams that will span the width of the pergola. These beams will rest on top of the posts and provide the main framework for the roof. Secure the beams to the posts using heavy-duty screws or bolts, ensuring that they are level and evenly spaced.
-
Install the Rafters: With the beams in place, it's time to install the rafters that will run perpendicular to the beams, creating the classic grid pattern of a pergola roof. Depending on your design, you may choose to space the rafters closer together for added shade or further apart for a more open feel. Secure the rafters to the beams using appropriate fasteners.
-
Add Cross Bracing (Optional): For added stability and visual appeal, consider adding cross braces between the support posts. These diagonal braces can help prevent lateral movement and add a decorative touch to the pergola structure.
-
Finish the Ends (Optional): If you want to add a decorative touch to the ends of the beams and rafters, consider using a decorative end cut or ornamental post caps. These finishing details can enhance the overall look of your pergola and add a touch of elegance to the structure.
By following these steps, you'll be well on your way to creating a sturdy and visually appealing pergola structure that forms the foundation for the roof installation.
Installing the Roof
Once the pergola structure is in place, it's time to focus on installing the roof to provide shade and protection from the elements. Here's a detailed guide to help you through the process:
-
Prepare the Roofing Material: Before installing the roof, ensure that your chosen roofing material is cut to the appropriate size and shape. If you're using polycarbonate panels, metal sheets, or thatched roofing, measure and cut the material to fit the dimensions of your pergola structure.
-
Lift and Position the Roofing Material: With the help of a friend or family member, carefully lift the prepared roofing material onto the top of the pergola structure. Take care to position it evenly and align it with the edges of the structure.
-
Secure the Roofing Material: Depending on the type of roofing material you're using, secure it in place using the appropriate fasteners. For polycarbonate panels, pre-drill holes and use specialized roofing screws with neoprene washers to prevent water infiltration. If you're using metal sheets, consider using roofing screws with rubber gaskets for a watertight seal. Thatched roofing may require specialized installation techniques, so be sure to follow manufacturer guidelines.
-
Seal the Joints (if applicable): If your roofing material consists of multiple panels or sheets, ensure that the joints are sealed to prevent water leakage. Use specialized sealants or tapes designed for outdoor roofing applications to create a watertight barrier between the individual roofing elements.
-
Add Decorative Elements (Optional): Depending on your design preferences, you may choose to add decorative elements to the roof, such as lattice panels, decorative trim, or climbing plants. These additions can enhance the visual appeal of your pergola and create a more inviting outdoor space.
-
Inspect for Stability and Functionality: Once the roof is installed, carefully inspect the entire structure to ensure that the roofing material is securely fastened and that there are no signs of instability or potential hazards. Test the functionality of the roof by observing its ability to provide shade and protection from the sun and rain.
By following these steps, you'll be able to successfully install the roof on your pergola, creating a comfortable and inviting outdoor space for relaxation and entertainment.
Adding Finishing Touches
Once the main structure and roof of your pergola are in place, it's time to add those final touches that will elevate the overall look and functionality of your outdoor oasis. Here are some key steps to consider when adding finishing touches to your pergola:
-
Stain or Paint: Consider applying a stain or paint to the wood components of your pergola to enhance its appearance and protect it from the elements. Choose a color that complements your outdoor decor and provides the desired level of visual impact.
-
Install Lighting: Incorporating lighting into your pergola can extend its functionality into the evening hours and create a warm, inviting ambiance. Options include string lights, lanterns, or even built-in fixtures for a more permanent lighting solution.
-
Add Curtains or Drapes: For added privacy, sun protection, or a touch of elegance, consider installing curtains or drapes around the perimeter of your pergola. This can create a cozy, intimate atmosphere and allow you to control the amount of sunlight filtering through.
-
Introduce Greenery: Enhance the natural beauty of your pergola by incorporating potted plants, hanging baskets, or climbing vines. Greenery can soften the structure's edges, provide shade, and contribute to a lush, inviting environment.
-
Incorporate Seating and Accessories: Complete the look of your pergola by adding comfortable seating, outdoor cushions, and decorative accessories such as throw pillows, rugs, and outdoor artwork. These elements can transform your pergola into a true outdoor living space.
-
Consider Functional Additions: Depending on your needs and preferences, you may want to include functional elements such as a ceiling fan, outdoor speakers, or a retractable canopy to further enhance the comfort and usability of your pergola.
By paying attention to these finishing touches, you can personalize your pergola with a roof and create a welcoming, stylish outdoor retreat that reflects your unique taste and lifestyle.
Conclusion
Building a pergola with a roof is a rewarding DIY project that can transform your outdoor space into a functional and visually appealing retreat. By carefully planning and designing your pergola, selecting the right materials, preparing the site, constructing the framework, installing the roof, and adding finishing touches, you can create a stunning outdoor structure that enhances your lifestyle and adds value to your home. Whether you envision a cozy spot for relaxation, a stylish entertainment area, or a combination of both, a well-built pergola with a roof can provide shade, shelter, and a touch of elegance to your outdoor living experience. With the right tools, materials, and a bit of creativity, you can bring your pergola vision to life and enjoy the great outdoors in comfort and style.