Home>Home & Furniture>Doors & Windows>DIY Vintage Old Doors Ideas for Dining Room Decor


Doors & Windows
DIY Vintage Old Doors Ideas for Dining Room Decor
Published: September 23, 2024
Discover creative DIY vintage old doors ideas to transform your dining room decor. From rustic charm to elegant statements, elevate your space with these unique projects.
(Many of the links in this article redirect to a specific reviewed product. Your purchase of these products through affiliate links helps to generate commission for Twigandthistle.com, at no extra cost. Learn more)
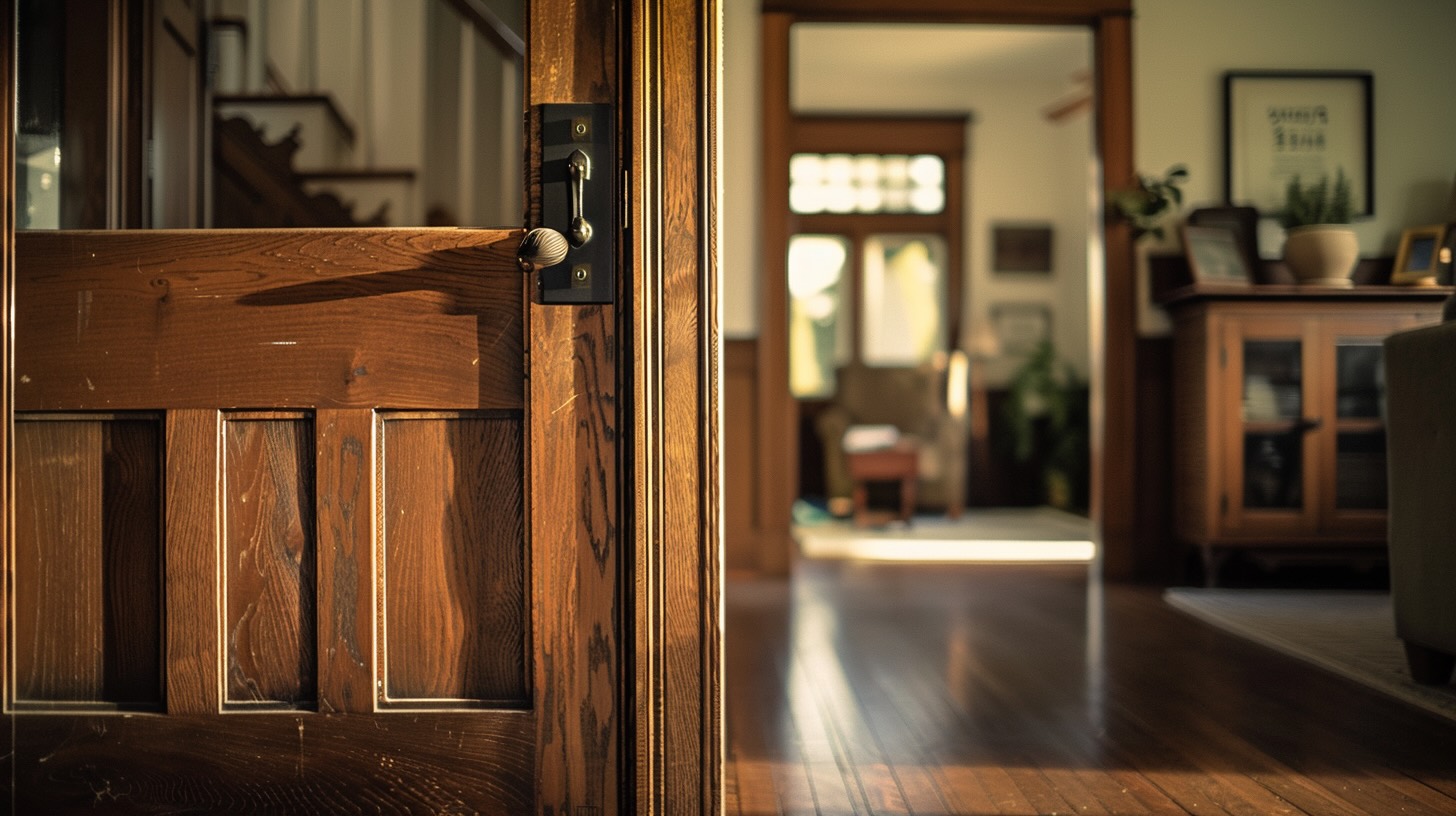
Decorating a dining room with vintage old doors adds unique charm and character. Repurposing old doors can transform your space into a cozy, inviting area for family and friends to gather. With a bit of creativity, these doors can become stunning focal points, whether they serve as wall art, room dividers, or even functional furniture. Not only does this approach bring a touch of history and nostalgia, but it also promotes sustainability by recycling and reusing materials. Get ready to explore imaginative ways to incorporate vintage doors into your dining room decor.
Preparation
Gather Materials: Collect old doors, sandpaper, paint, brushes, screws, and a drill. Ensure you have all necessary tools before starting.
Safety Gear: Wear gloves, goggles, and a mask to protect from dust and paint fumes.
Workspace Setup: Choose a well-ventilated area with enough space to move around. Lay down a drop cloth to catch debris and paint drips.
Inspect Doors: Check for damage like cracks or loose hinges. Repair any issues before proceeding.
Clean Doors: Wipe down doors with a damp cloth to remove dirt and grime. Let them dry completely.
Sand Surfaces: Use sandpaper to smooth out rough areas and remove old paint. This helps new paint adhere better.
Prime and Paint: Apply a primer to the doors if needed. Once dry, paint them in your chosen color. Allow sufficient drying time between coats.
Mounting Hardware: Attach any necessary hardware like hooks or brackets for hanging.
Positioning: Decide where the doors will go in the dining room. Measure and mark spots for mounting.
Mount Doors: Use a drill and screws to securely attach doors to the wall or frame. Ensure they are level and stable.
Materials and Tools Needed
Old Doors: Look for vintage or antique doors at flea markets, salvage yards, or online marketplaces. These will be the main feature of your decor.
Sandpaper: Use sandpaper to smooth out any rough edges or surfaces on the old doors. This helps prepare them for painting or staining.
Paint or Stain: Choose a color or finish that matches your dining room's decor. Paint can give a fresh look, while stain can enhance the wood's natural beauty.
Paintbrushes and Rollers: Needed for applying paint or stain to the doors. Brushes are good for detailed work, while rollers cover larger areas quickly.
Drop Cloths: Protect your floors and furniture from paint or stain spills. Lay these down before starting your project.
Screwdriver and Screws: Essential for attaching hardware or mounting the doors to walls or other structures.
Measuring Tape: Accurate measurements ensure the doors fit perfectly in your dining room space.
Level: Helps make sure the doors are hung straight and even.
Saw: If the doors need resizing, a saw will help cut them to the desired dimensions.
Hinges and Brackets: These are used to mount the doors securely. Hinges allow for movement, while brackets provide additional support.
Decorative Hardware: Handles, knobs, or other decorative elements can add a unique touch to your doors.
Wood Filler: Use this to fill any holes or imperfections in the doors before painting or staining.
Drill: Useful for making holes for screws or hardware.
Safety Gear: Gloves, goggles, and a mask protect you from dust, paint fumes, and other hazards.
Cleaning Supplies: Rags, brushes, and a vacuum help clean up dust and debris during and after the project.
Skill Level and Time Required
Skill Level: Intermediate
Time Required: Approximately 6-8 hours
Preparation: 1-2 hours
- Gathering materials
- Cleaning and sanding doors
Painting/Staining: 2-3 hours
- Applying paint or stain
- Allowing drying time
Installation: 2-3 hours
- Mounting doors on walls or as a divider
- Adding finishing touches like handles or hooks
Step-by-Step Instructions
Gather Materials:
- Old doors
- Sandpaper
- Paint or wood stain
- Paintbrushes
- Screws and brackets
- Measuring tape
- Level
- Drill
Prepare the Doors:
- Clean the doors thoroughly.
- Sand them to remove any rough spots or old paint.
- Wipe off dust with a damp cloth.
Paint or Stain:
- Choose a color or stain that matches your dining room decor.
- Apply paint or stain evenly with a brush.
- Allow to dry completely.
Measure and Plan:
- Measure the space where you want to place the doors.
- Mark the wall for brackets or screws.
Install Brackets:
- Use a level to ensure brackets are straight.
- Drill holes and attach brackets securely to the wall.
Mount the Doors:
- Lift the doors and place them on the brackets.
- Secure doors with screws through the brackets.
Add Finishing Touches:
- Decorate with vintage knobs or handles.
- Add hooks for hanging items if desired.
Arrange Furniture:
- Position dining table and chairs to complement the new decor.
- Add accessories like vintage frames or plants for a cohesive look.
Tips and Tricks
Choose the Right Door: Look for doors with interesting details like panels, glass inserts, or unique hardware. Thrift stores, salvage yards, or online marketplaces can be great places to find them.
Clean and Prep: Thoroughly clean the door to remove dirt and grime. Sand any rough spots to ensure a smooth surface for painting or staining.
Paint or Stain: Use chalk paint for a vintage look or stain to highlight the wood's natural beauty. Apply a clear coat to protect the finish.
Mounting: Securely mount the door to the wall using heavy-duty brackets or hinges. Ensure it's level and stable to avoid accidents.
Decorate: Add hooks, shelves, or a mirror to the door for added functionality. Consider hanging a wreath or other decorative items to enhance its charm.
Lighting: Install a sconce or string lights around the door to create a cozy ambiance.
Common Mistakes to Avoid:
- Skipping Prep: Not cleaning or sanding the door can lead to a poor finish.
- Wrong Hardware: Using weak brackets or hinges can make the door unstable.
- Overloading: Adding too many decorations can make the door look cluttered.
Material Alternatives:
- New Doors: If vintage doors are hard to find, use new doors and distress them for an aged look.
- Barn Doors: Sliding barn doors can add a rustic touch and save space.
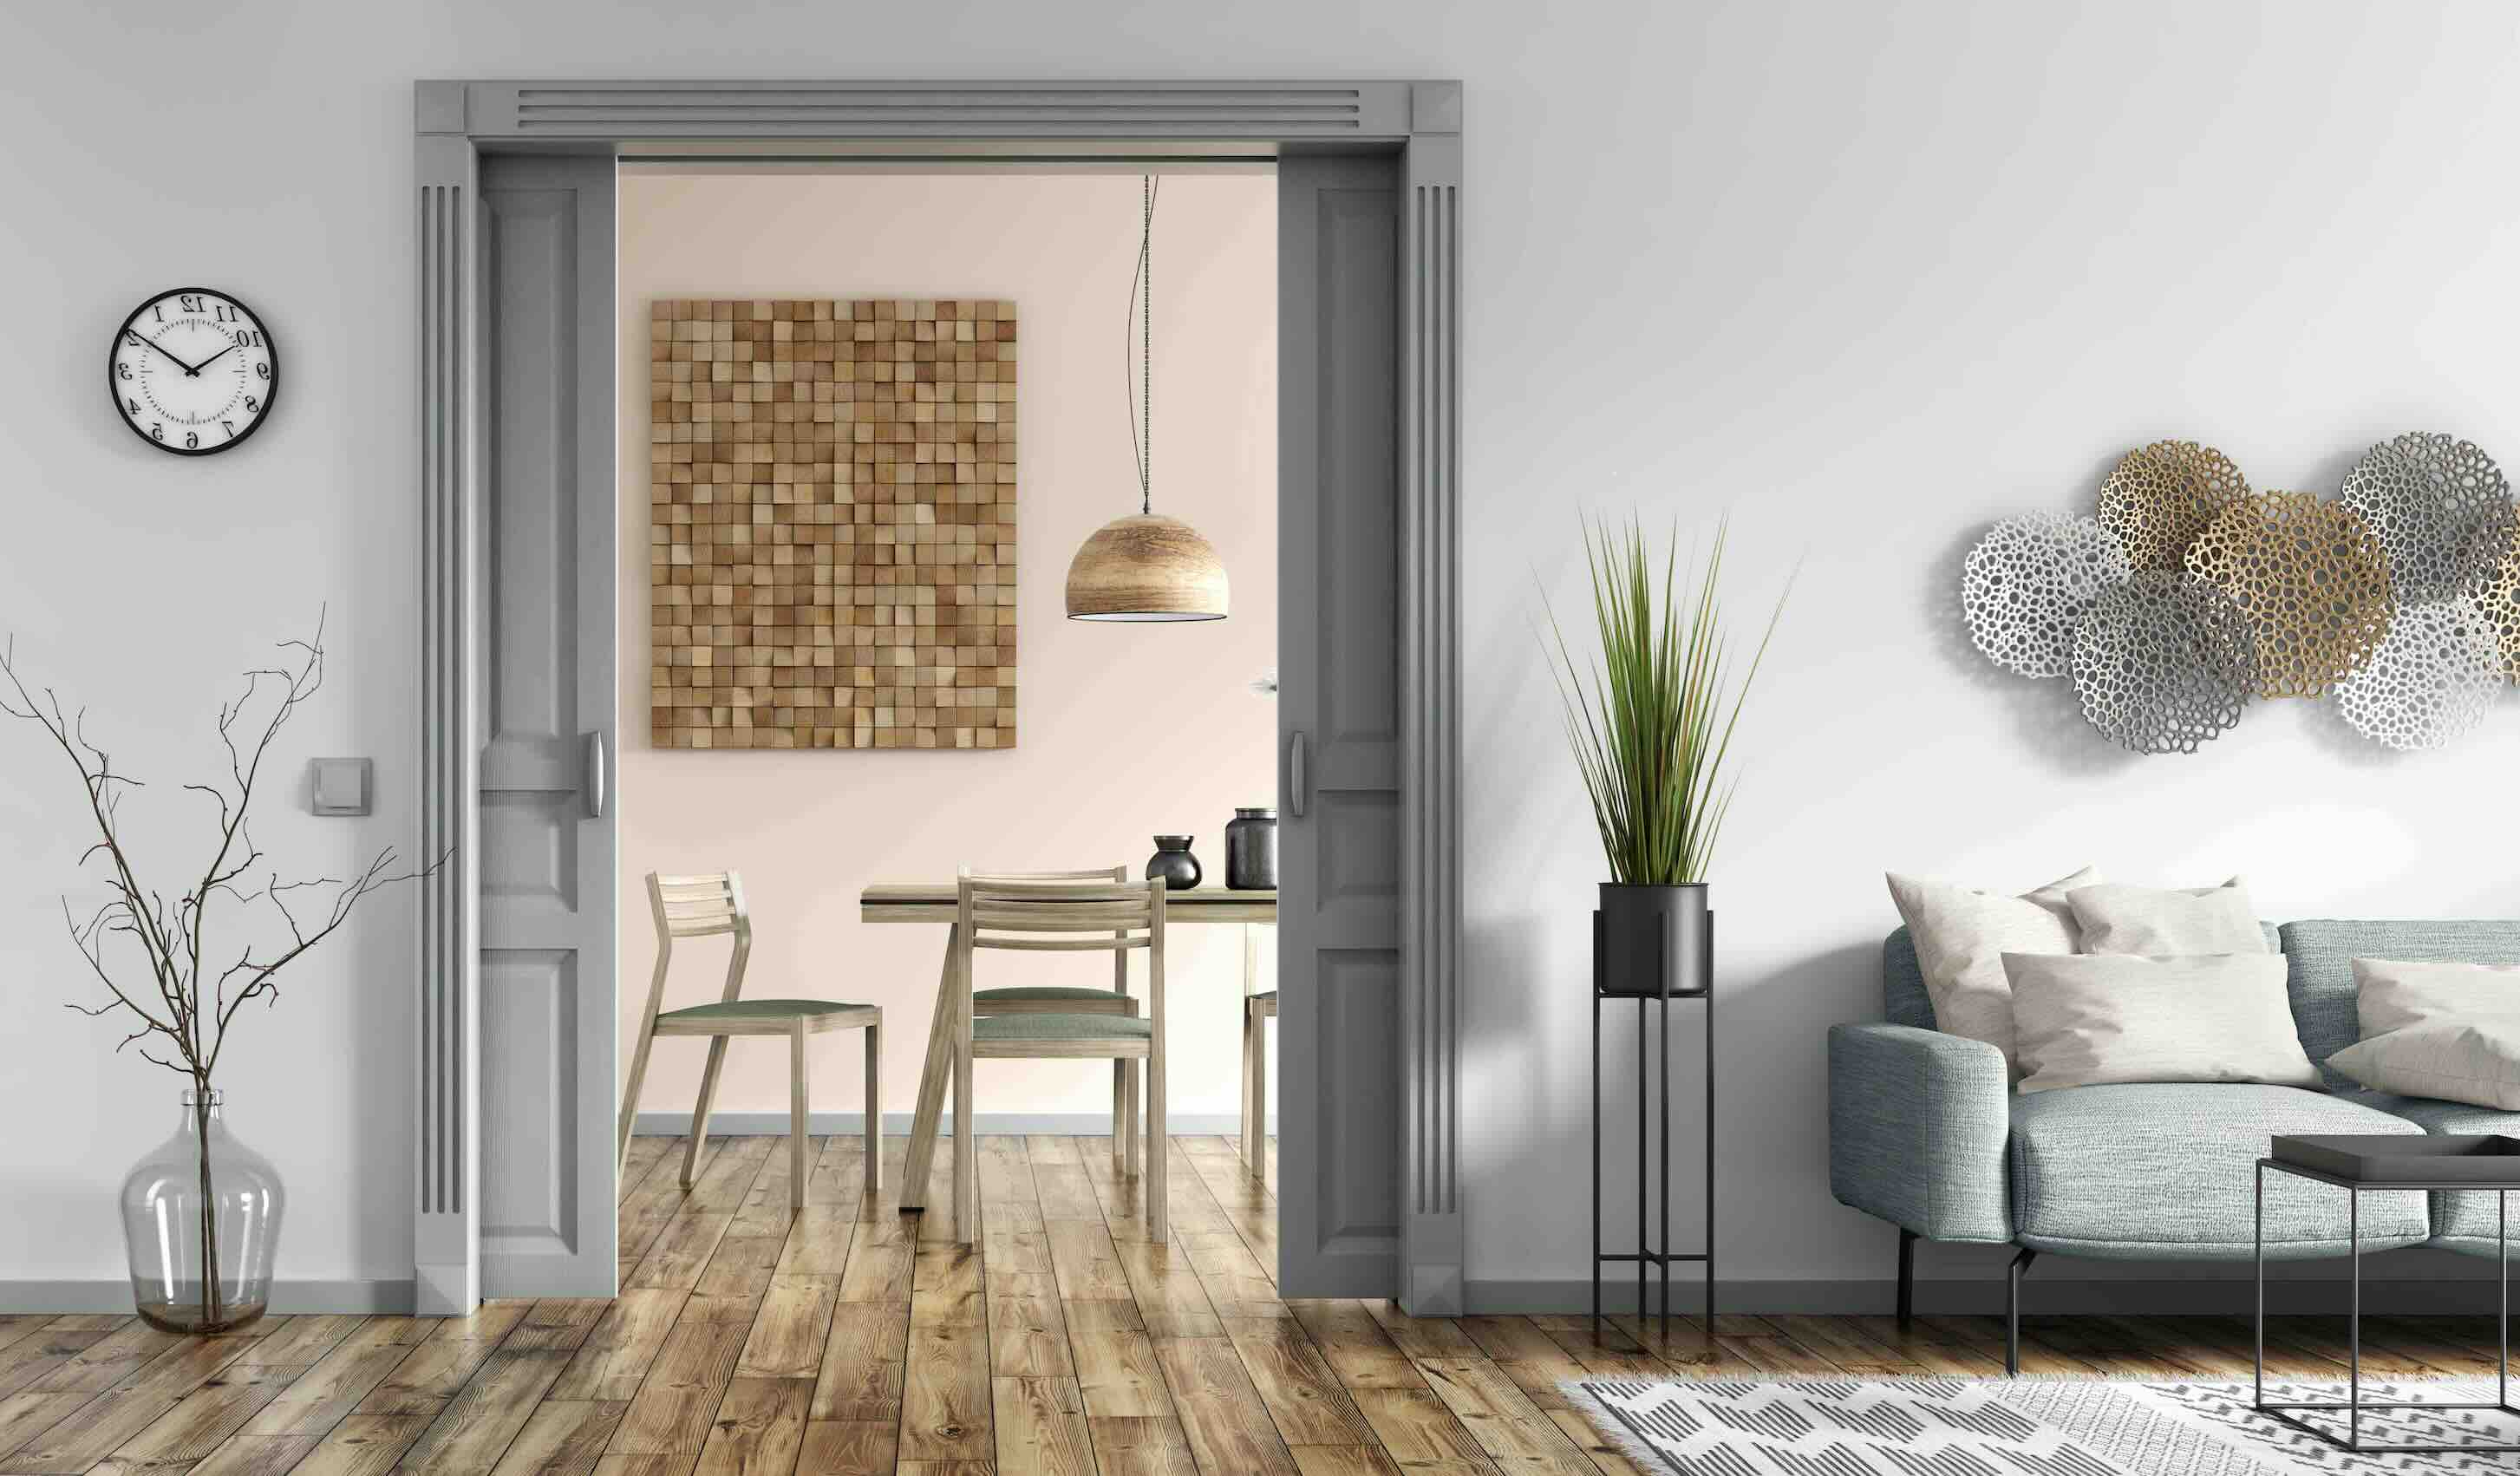
- Room Dividers: Repurpose old doors as room dividers for a unique dining area separation.
Cost Estimation
Old Doors: $50-$150 each, depending on condition and style.
Sandpaper: $5 for a pack.
Paint or Stain: $20-$30 per gallon.
Paint Brushes/Rollers: $10-$15.
Screws and Nails: $5-$10.
Hinges: $10-$20 for a set.
Saw: $30-$50 if you don't already have one.
Drill: $40-$60 if needed.
Measuring Tape: $5-$10.
Level: $10-$15.
Protective Gear (gloves, mask): $10-$20.
Total Cost: $195-$390.
Budget-friendly alternatives:
Old Doors: Check thrift stores or salvage yards for cheaper options.
Paint Brushes/Rollers: Use what you have or borrow from friends.
Saw and Drill: Rent from a local hardware store.
Protective Gear: Use old clothes and a scarf for a mask.
Variations and Customizations
Alternative materials can change the look and feel of your vintage door project. Instead of using old wooden doors, try metal doors for an industrial vibe or glass doors for a more modern touch. Barn doors can add a rustic charm, while French doors bring elegance.
Colors play a big role in customization. Paint doors in pastel shades for a soft, vintage look or use bold colors like navy blue or deep red for a statement piece. Distressed finishes can enhance the vintage feel, while a high-gloss finish gives a more contemporary look.
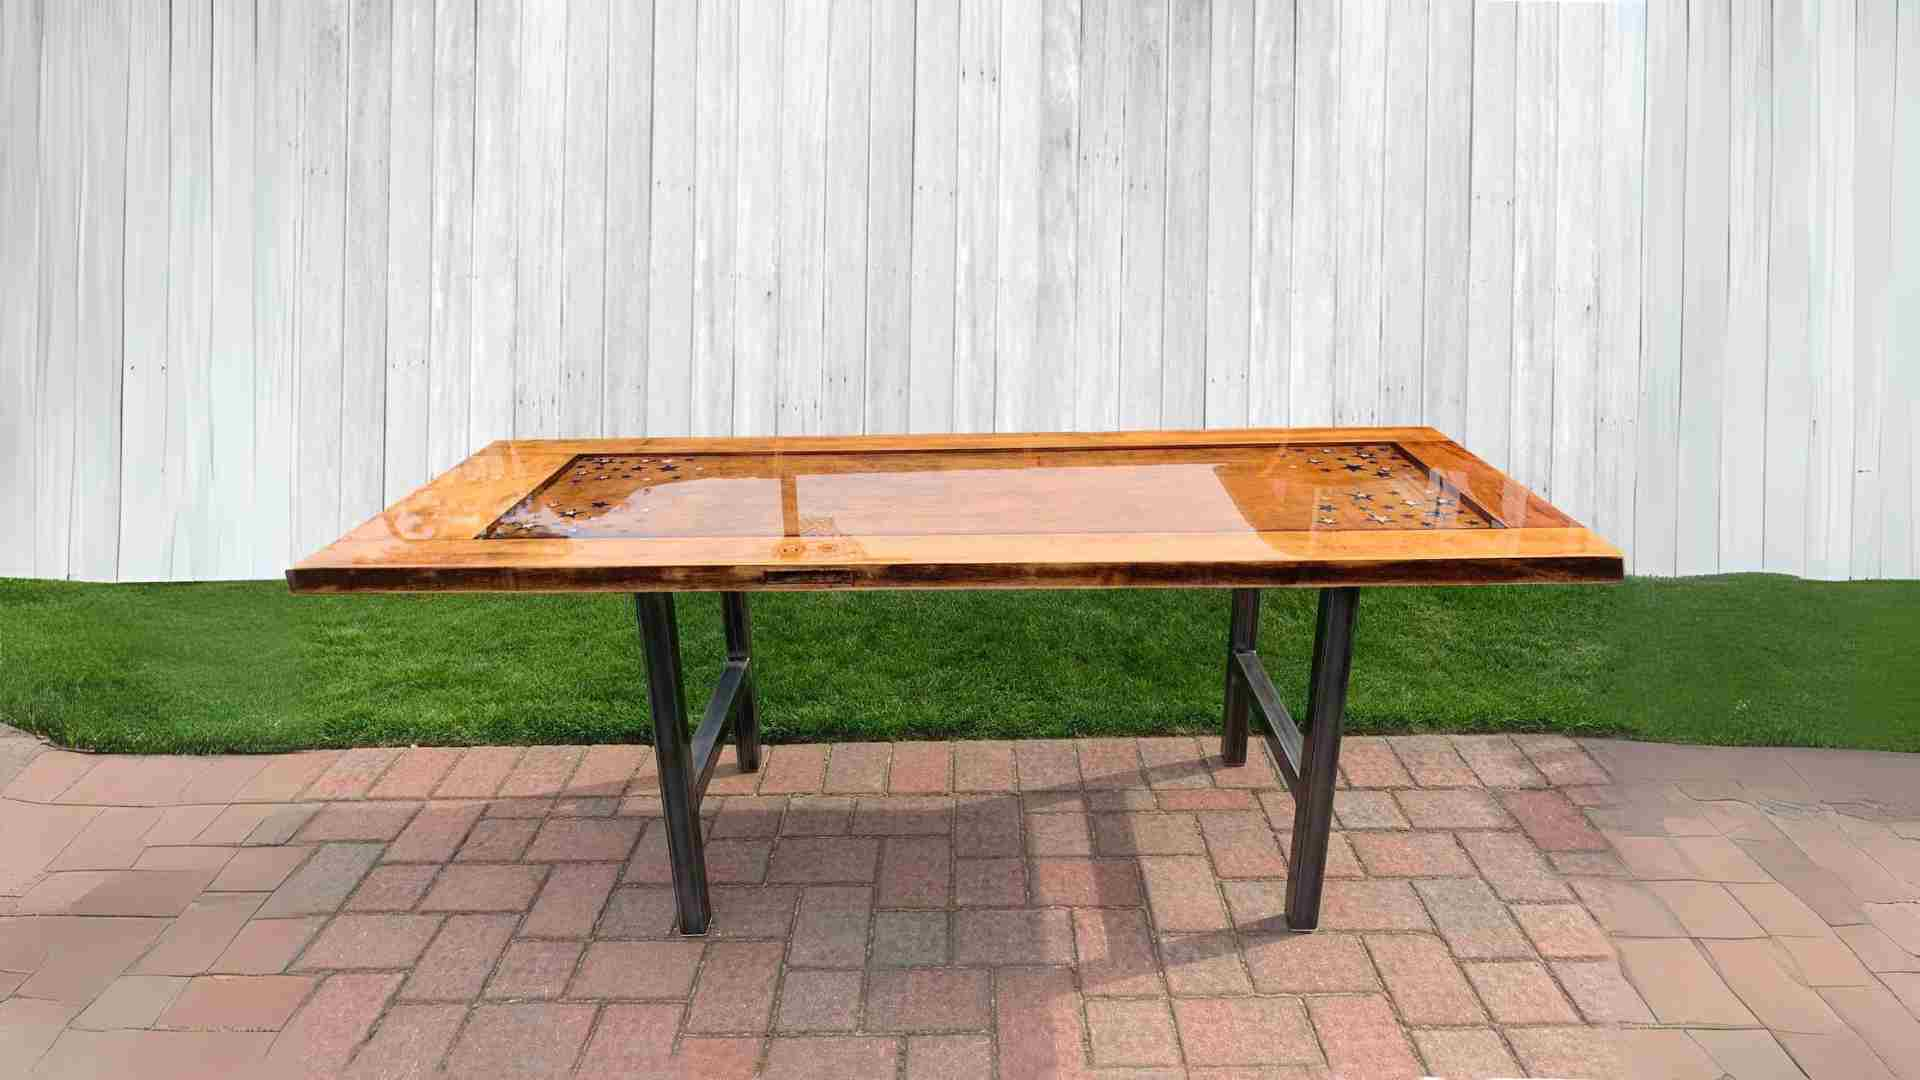
Styles can vary greatly. Use doors as a backdrop for a gallery wall, or turn them into a sliding door for a unique entrance. Repurpose doors into a dining table or a bench for functional decor. Add mirrors to door panels for a reflective, open feel or chalkboard paint for a writable surface.
Hardware can also be customized. Use antique handles and hinges for an authentic vintage look or modern hardware for a sleek contrast. Decorative knobs and hooks can add personality and function.
Lighting can be integrated by adding sconces or string lights around the door frame. This not only highlights the door but also adds ambiance to the dining room.
Textiles like curtains or drapes can be hung from the door to create a cozy, enclosed space. Fabric panels can also be added to door sections for a softer look.
Shelving can be added to doors for extra storage. Attach floating shelves or hanging baskets to the door surface for a practical yet stylish solution.
Stencils and decals can personalize the door with patterns, quotes, or designs. This adds a unique touch without much effort.
Mix and match different styles and materials to create a one-of-a-kind piece that reflects your personal taste.
Sustainability Tips
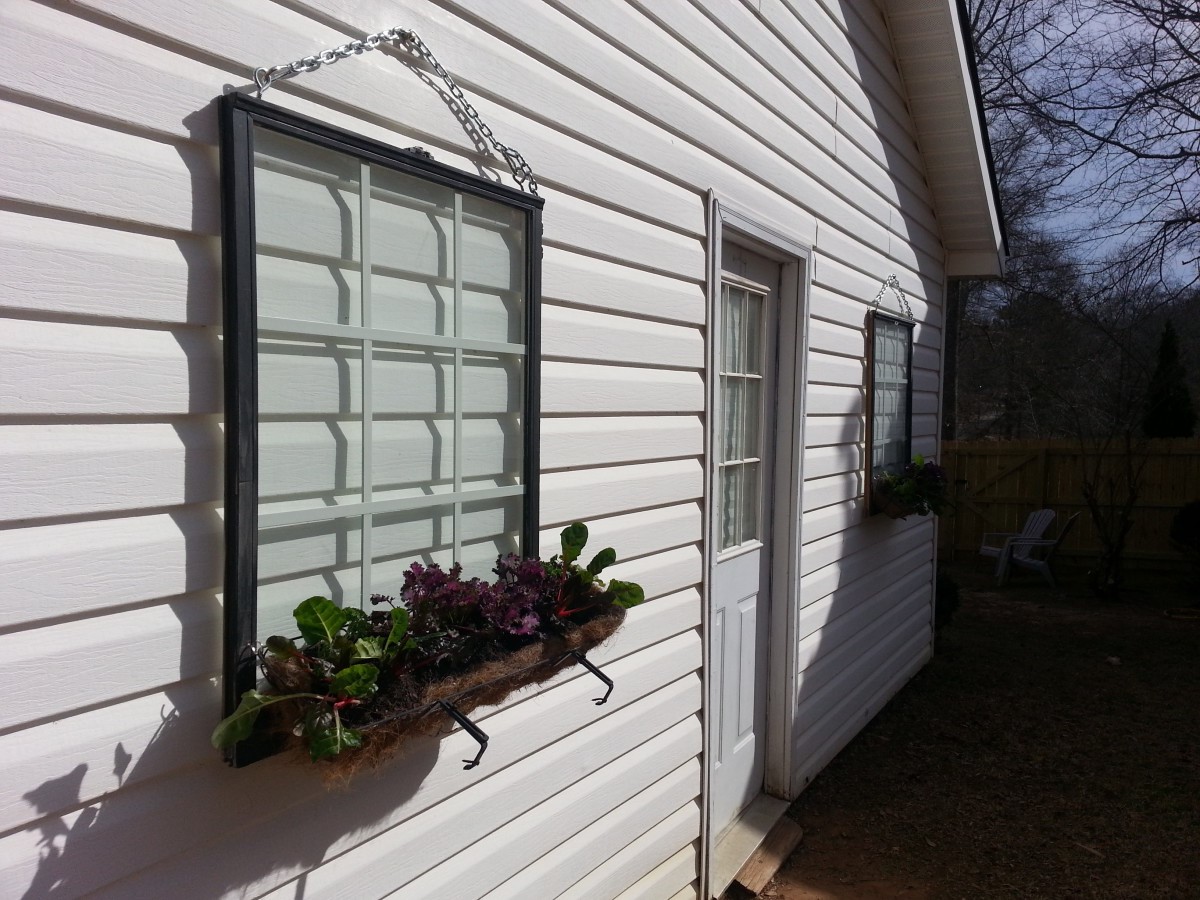
Reclaimed wood makes a great choice for vintage doors. Using old barn doors or salvaged wood reduces waste. Non-toxic paint or natural stains can give doors a fresh look without harmful chemicals. Upcycled glass panels from old windows can add a unique touch. Eco-friendly hardware like handles made from recycled metals can complete the look. Repurposing old doors as sliding doors or room dividers can save resources and add character. Vintage textiles for curtains or tablecloths can complement the doors, creating a cohesive, sustainable dining room decor.
Making Your Dining Room Unique
Using vintage old doors in your dining room decor adds character and charm. These doors can be repurposed as tables, wall art, or even room dividers. They bring a rustic feel that’s hard to match with modern pieces. Plus, they’re a great way to recycle and reuse materials, which is always a win for the environment.
DIY projects like this let you put a personal touch on your home. You get to choose the colors, finishes, and styles that fit your taste. It’s a fun way to spend a weekend and the results can be stunning. So, grab some tools, find an old door, and start creating. Your dining room will thank you for it.
How can I use old doors as a dining room table?
You can repurpose an old door by adding legs or a sturdy base. Sand it down, paint or stain it, and seal it with a clear coat for a unique dining table.
What are some creative ways to use old doors as wall decor?
Hang an old door horizontally or vertically on the wall. You can add hooks for coats or hats, or even attach shelves for extra storage.
Can I turn an old door into a room divider?
Yes! Hinges can connect multiple doors to create a folding screen. Paint or decorate them to match your dining room's style.
How do I make a vintage door into a functional piece of furniture?
Transform an old door into a bench by adding a seat and backrest. You can also create a headboard for a bed or a unique coffee table.
What's the best way to clean and prep an old door for indoor use?
Start by sanding the door to remove old paint or varnish. Clean it with a mild soap solution, then let it dry completely before painting or staining.
Can I use old doors to create storage solutions in my dining room?
Absolutely! Add shelves or hooks to an old door to make a stylish storage unit. You can also use it as a pantry door with added shelves on the inside.
How do I ensure the old door fits with my dining room's decor?
Choose a paint or stain color that complements your dining room. Add decorative elements like vintage knobs or stenciled designs to tie it all together.

