Home>Create & Decorate>DIY & Crafts>How To Build A Nightstand With Drawers


DIY & Crafts
How To Build A Nightstand With Drawers
Published: June 2, 2024

Content Creator specializing in woodworking and interior transformations. Caegan's guides motivate readers to undertake their own projects, while his custom furniture adds a personal touch.
Learn how to build a DIY nightstand with drawers for your bedroom with our step-by-step guide. Get creative with our DIY & Crafts project!
(Many of the links in this article redirect to a specific reviewed product. Your purchase of these products through affiliate links helps to generate commission for Twigandthistle.com, at no extra cost. Learn more)
Introduction
So, you want to add a personal touch to your bedroom by building your own nightstand with drawers? Well, you've come to the right place! Building your own furniture not only adds a unique flair to your home, but it also allows you to customize the piece to fit your specific needs and style. In this guide, we'll walk you through the step-by-step process of creating a beautiful and functional nightstand with drawers that will be the envy of all your friends. Let's roll up our sleeves and get started!
Read more: How To Build A Drawer With Slides
Materials and Tools Needed
Before you dive into the construction process, it's essential to gather all the necessary materials and tools. Here's what you'll need:
Materials:
- Wood: Choose a sturdy and visually appealing wood for the main structure and drawers. Oak, pine, or maple are popular choices.
- Drawer Slides: These will allow the drawers to open and close smoothly.
- Wood Glue: Essential for securing joints and ensuring the nightstand's durability.
- Screws: Different sizes will be required for various parts of the construction.
- Drawer Knobs or Pulls: These add a decorative touch and make it easier to open the drawers.
- Sandpaper: To smooth out any rough edges and surfaces.
- Wood Finish: Whether it's paint, stain, or varnish, this will protect the wood and enhance its appearance.
Tools:
- Circular Saw or Table Saw: For cutting the wood to the required dimensions.
- Drill: Needed for creating holes and driving screws.
- Screwdriver: Both manual and electric screwdrivers will be handy.
- Clamps: These will hold the wood in place during assembly.
- Measuring Tape and Ruler: Accurate measurements are crucial for a well-built nightstand.
- Pencil: For marking cut lines and hole placements.
- Safety Gear: Don't forget safety glasses and ear protection when using power tools.
Now that you have everything at your fingertips, it's time to move on to the construction process!
Step 1: Cutting the Wood
The first step in building your nightstand with drawers is to cut the wood to the required dimensions. Here's a detailed breakdown of the cutting process:
-
Measure and Mark: Using a measuring tape and ruler, carefully measure and mark the wood according to the dimensions of the nightstand components. This includes the top, sides, back, and drawer pieces. Accuracy is key here, so take your time to ensure precise measurements.
-
Use a Circular Saw or Table Saw: Once the wood is marked, it's time to bring out the big guns. A circular saw or table saw will be your best friend for making straight and clean cuts. Remember to follow the marked lines and use a guide if needed to maintain accuracy.
-
Safety First: Always prioritize safety when using power tools. Wear your safety glasses and ear protection, and make sure your work area is well-lit and free of any obstructions.
-
Smooth the Edges: After cutting the wood pieces, use sandpaper to smooth out any rough edges or surfaces. This will not only give your nightstand a polished look but also prevent any splinters.
By the end of this step, you should have all the necessary wood pieces cut to the correct dimensions and ready for the next phase of the construction process.
Read more: How To Build Drawers In A Closet
Step 2: Assembling the Frame
With the wood pieces cut to perfection, it's time to bring the nightstand to life by assembling the frame. Follow these steps for a sturdy and well-constructed frame:
-
Lay Out the Pieces: Begin by laying out all the cut wood pieces in the designated assembly area. This will give you a clear visual of how the frame will come together and ensure that all the components are accounted for.
-
Pre-Drill Screw Holes: To prevent the wood from splitting and to ensure a secure fit, use a drill to create pilot holes for the screws. This step is crucial for the structural integrity of the frame.
-
Apply Wood Glue: Before joining the pieces together, apply wood glue to the edges that will be connected. The wood glue will create a strong bond, adding to the overall stability of the frame.
-
Secure with Screws: With the wood glue applied, carefully align the pieces and use screws to secure them in place. A power drill will come in handy for this step, ensuring that the screws are driven in snugly.
-
Use Clamps: To keep the pieces from shifting during assembly, use clamps to hold them in place. This will maintain alignment and ensure that the frame dries in the correct position.
-
Check for Squareness: As you assemble the frame, periodically check for squareness using a carpenter's square. This will help you avoid any misalignments that could affect the overall stability of the nightstand.
By the end of this step, you should have a solid and well-constructed frame for your nightstand, ready to move on to the next phase of the building process.
Step 3: Building the Drawers
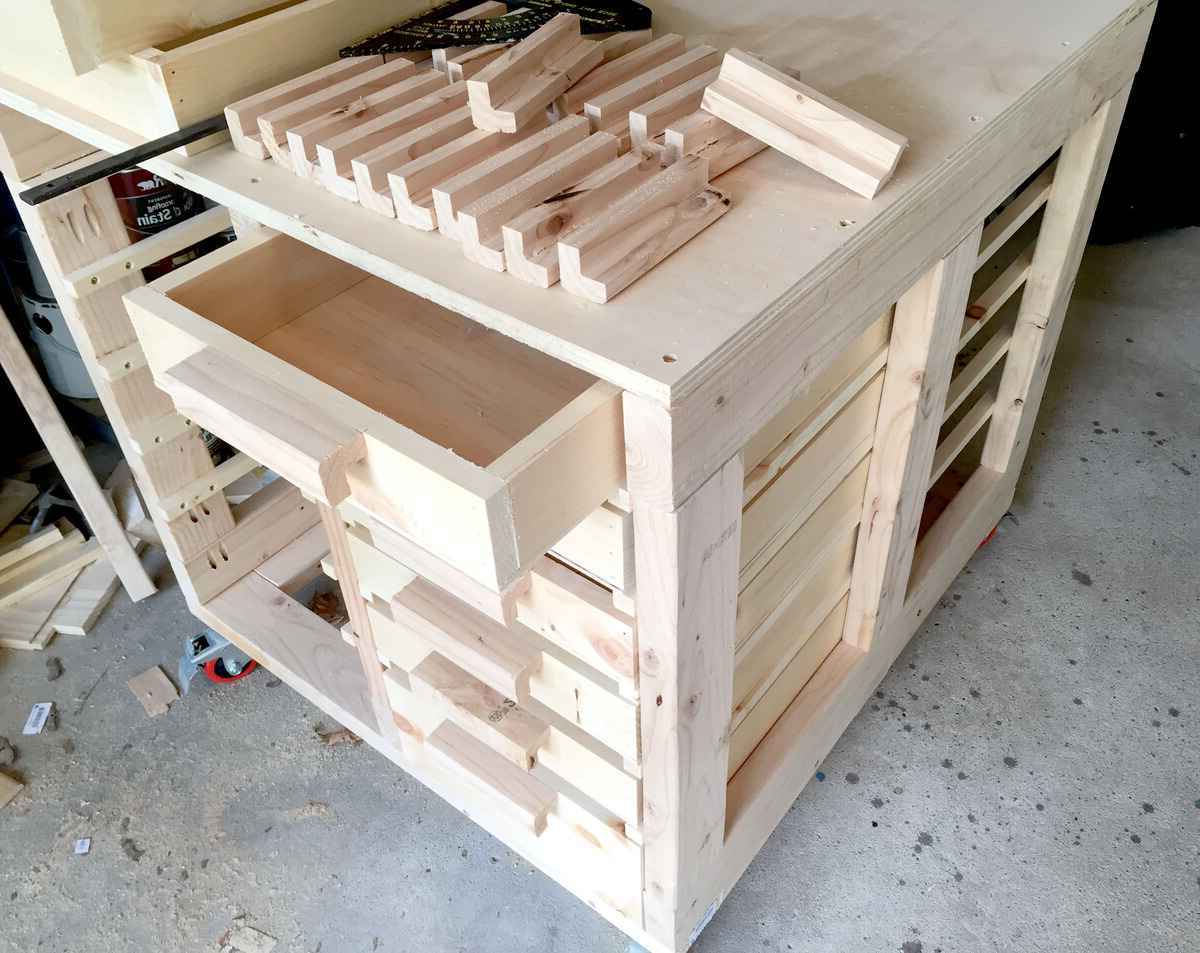
Building the drawers is a crucial step in creating a functional nightstand. Follow these detailed instructions to construct sturdy and smoothly operating drawers:
-
Measure and Cut Drawer Components: Using the measurements for the drawer dimensions, carefully mark and cut the pieces for the front, back, sides, and bottom of the drawers. Precision is key to ensure that the drawers fit seamlessly within the nightstand.
-
Create Rabbet Joints: To assemble the drawer pieces, create rabbet joints at the edges. This can be done using a table saw or router, and it will allow the pieces to interlock securely, forming a strong bond.
-
Assemble the Drawer Pieces: Apply wood glue to the rabbet joints and carefully assemble the drawer pieces. Use clamps to hold the pieces together while the glue sets, ensuring that the drawers are square and well-aligned.
-
Install Drawer Bottom: Once the drawer box is assembled, install the bottom piece. This can be inserted into a groove created in the drawer sides, adding structural support to the drawers.
-
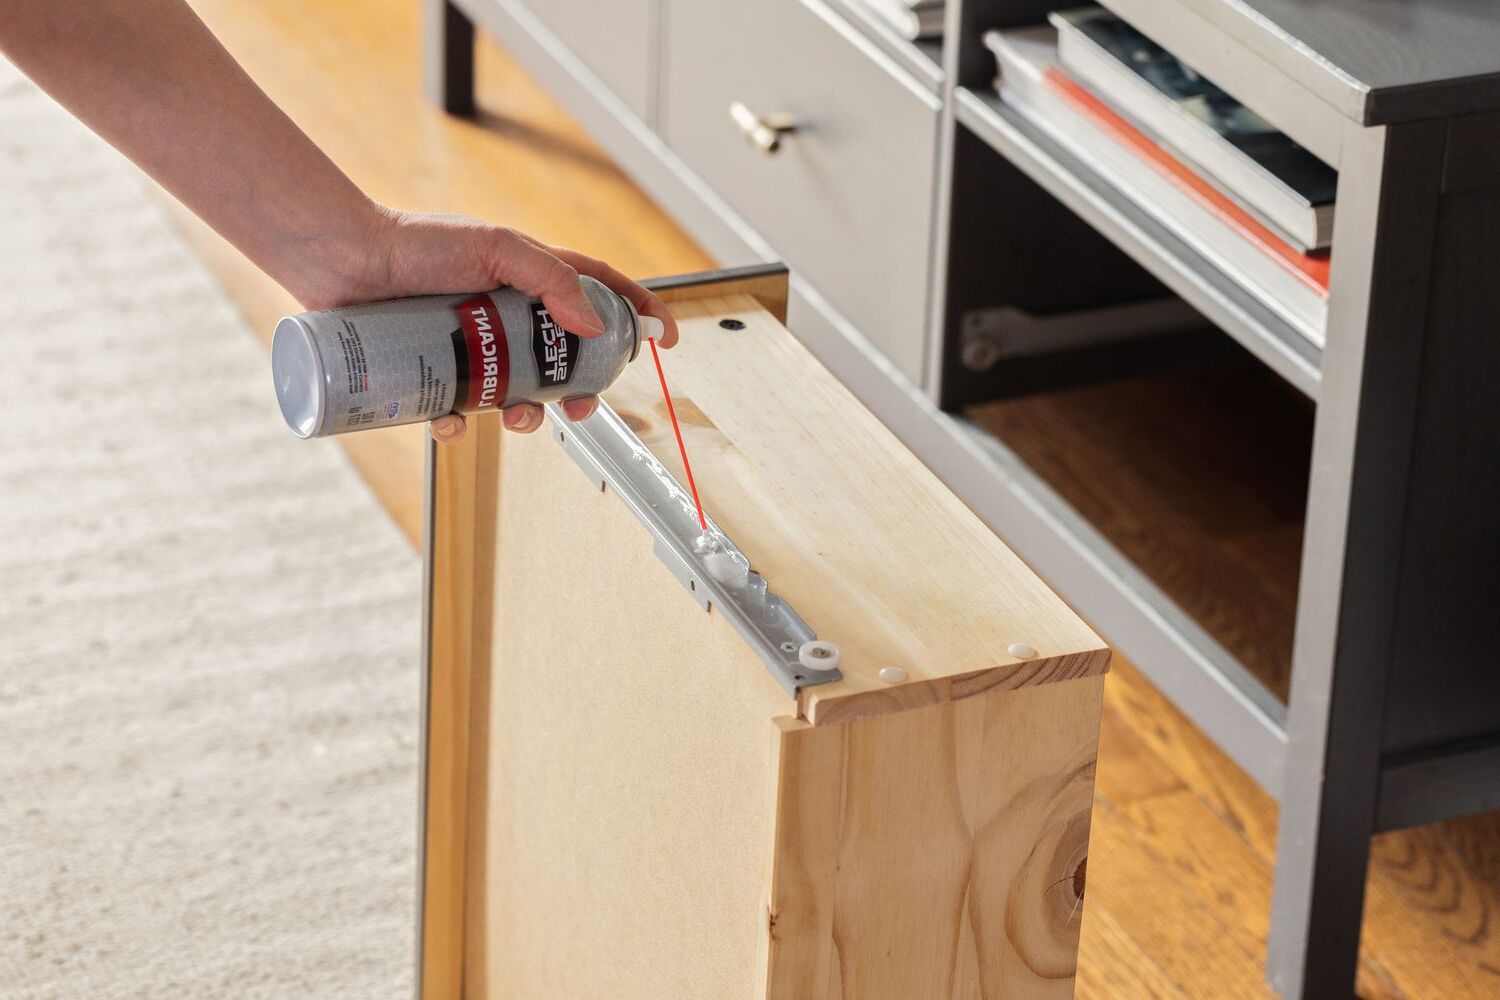
Attach Drawer Slides: Install the drawer slides inside the nightstand frame according to the manufacturer's instructions. These slides will allow the drawers to glide in and out smoothly.
-
Add Drawer Fronts: With the drawers installed in the nightstand, attach the drawer fronts using screws or wood glue. Take care to ensure that the spacing is uniform and that the drawer fronts are aligned with the nightstand frame.
By the end of this step, you should have sturdy and well-constructed drawers ready to be seamlessly integrated into your DIY nightstand.
Step 4: Attaching the Drawers
Attaching the drawers is a critical step in the construction of your DIY nightstand. Follow these detailed instructions to ensure that the drawers are seamlessly integrated into the nightstand:
-
Install Drawer Slides: Begin by installing the drawer slides inside the nightstand frame according to the manufacturer's instructions. The slides should be mounted in a way that allows the drawers to glide in and out smoothly. Make sure to double-check the alignment and levelness of the slides to guarantee the drawers' proper functionality.
-
Position the Drawers: Carefully position the assembled drawers onto the installed slides. Ensure that the drawers fit snugly and operate smoothly along the slides. Test the movement of the drawers to confirm that they open and close without any obstructions or misalignments.
-
Adjust for Alignment: If necessary, make any adjustments to the drawer slides to ensure that the drawers are perfectly aligned within the nightstand. Proper alignment is crucial for the overall aesthetics and functionality of the nightstand, so take the time to get it just right.
-
Secure the Drawers: Once the drawers are correctly positioned and aligned, secure them in place by fastening the slides to the drawer box. Use the appropriate screws or fasteners as recommended by the slide manufacturer to ensure a secure attachment.
-
Test the Operation: After attaching the drawers, test their operation by opening and closing them multiple times. This will allow you to identify any potential issues and make any necessary adjustments before moving on to the final step.
By the end of this step, your drawers should be seamlessly integrated into the nightstand, operating smoothly and adding both functionality and aesthetic appeal to your DIY furniture piece.
Step 5: Finishing Touches
The finishing touches are what will elevate your DIY nightstand with drawers from a simple construction project to a stunning piece of furniture. Here's how to add those final details that will make your creation truly shine:
-
Sand and Smooth: Before applying any finish, thoroughly sand the entire nightstand to ensure a smooth and even surface. Start with a coarse-grit sandpaper and gradually move to finer grits for a polished result.
-
Apply Wood Finish: Whether you prefer a natural wood look, a pop of color, or a glossy sheen, applying a wood finish will protect the wood and enhance its appearance. Choose a stain, paint, varnish, or wax based on your desired aesthetic and the type of wood used for the nightstand.
-
Install Drawer Knobs or Pulls: Adding decorative drawer knobs or pulls is not only functional but also adds a personal touch to your nightstand. Choose hardware that complements the style of the nightstand and aligns with your overall bedroom decor.
-
Check for Imperfections: Take a critical eye to your finished nightstand and address any imperfections or blemishes. Touch up any areas that may have been missed during the finishing process to ensure a flawless final product.
-
Add Felt Pads: To protect both the nightstand and the floor it sits on, consider adding felt pads to the bottom of the legs. This simple addition will prevent scratches and scuffs, prolonging the life of your DIY creation.
-
Final Inspection: Once all the finishing touches are in place, give your nightstand a final inspection. Open and close the drawers, run your hands over the surfaces, and ensure that everything is as it should be.
By completing these finishing touches, you'll transform your DIY nightstand with drawers into a beautiful and functional piece of furniture that will be a standout feature in your bedroom.
Read more: How To Build Cabinets With Drawers
Conclusion
Congratulations! You've successfully navigated the intricate process of building your very own nightstand with drawers. By following the detailed steps outlined in this guide, you've not only honed your woodworking skills but also created a stunning and functional piece of furniture that reflects your personal style and craftsmanship. As you admire your finished nightstand, take pride in the fact that you've brought a touch of your own creativity and ingenuity into your living space. Whether it's the smooth operation of the drawers, the flawless finish, or the seamless integration of the components, your DIY nightstand stands as a testament to your dedication and skill. Now, sit back, relax, and enjoy the fruits of your labor as your handmade nightstand adds both practicality and charm to your bedroom.

