
Home>Create & Decorate>DIY & Crafts>How To Build A Built In Cabinet
DIY & Crafts
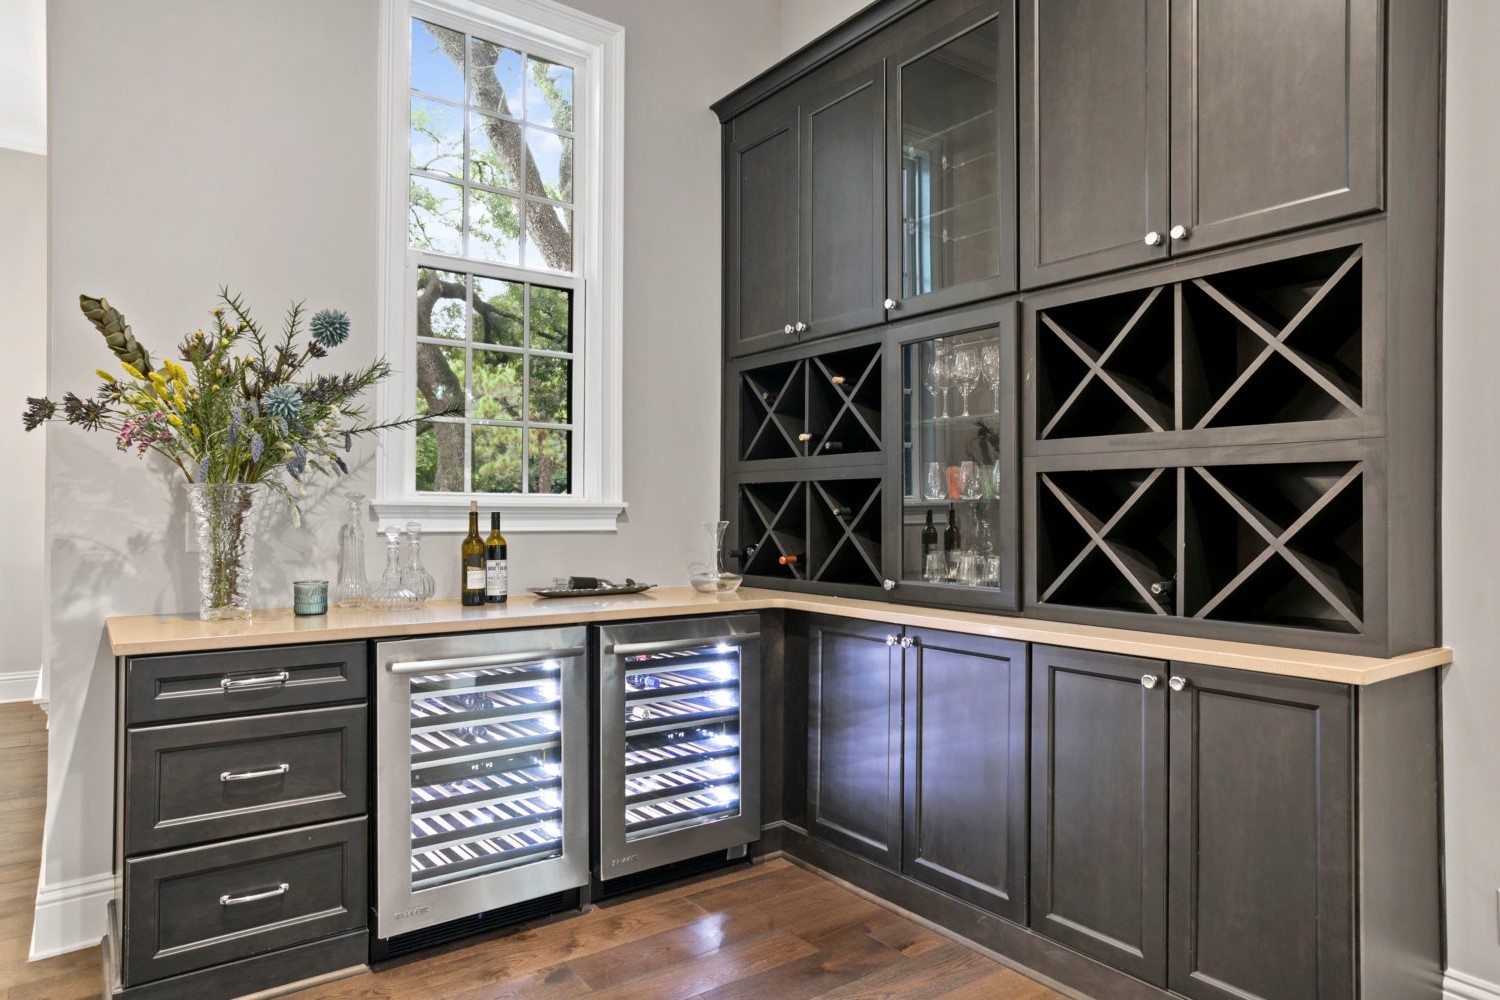
How To Build A Built In Cabinet
Published: May 29, 2024

Senior Editor in Create & Decorate, Kathryn combines traditional craftsmanship with contemporary trends. Her background in textile design and commitment to sustainable crafts inspire both content and community.
Learn how to build a custom built-in cabinet with this step-by-step DIY guide. Perfect for your next home improvement project.
(Many of the links in this article redirect to a specific reviewed product. Your purchase of these products through affiliate links helps to generate commission for Twigandthistle.com, at no extra cost. Learn more)
Introduction
So, you've been dreaming about adding some extra storage space to your home, and you've decided that a built-in cabinet is the perfect solution. But where do you start? Building a built-in cabinet may seem like a daunting task, but with the right guidance and a bit of elbow grease, you can create a beautiful and functional piece of furniture that will add value to your home. In this article, we'll walk you through the step-by-step process of building your own built-in cabinet, from planning and designing to adding the finishing touches. Whether you're a seasoned DIY enthusiast or a beginner looking for a new project, this guide will help you bring your vision to life. Let's roll up our sleeves and get started!
Planning and Designing Your Built In Cabinet
Before you start hammering and sawing, it's crucial to have a solid plan in place for your built-in cabinet. Here's how to get started:
-
Assess Your Space: Take precise measurements of the area where you plan to install the built-in cabinet. Consider the height, width, and depth of the space to ensure that your cabinet will fit perfectly.
-
Determine Functionality: Decide what you'll be storing in the cabinet. Will it be for books, dishes, or a combination of items? Understanding the intended use will help you design the interior layout accordingly.
-
Sketch Your Design: Grab a pencil and paper and start sketching out your vision. Consider the overall style, the number of shelves and drawers, and any special features you want to incorporate.
-
Consider Materials: Think about the materials you want to use for your cabinet. Will it be made of wood, MDF, or a combination of materials? Each option has its pros and cons, so weigh them carefully.
-
Seek Inspiration: Browse through home improvement magazines, websites, and social media platforms for inspiration. Collect images of built-in cabinets that catch your eye to help refine your design.
-
Create a Detailed Plan: Once you have a clear vision, create a detailed plan that includes precise measurements, a materials list, and a step-by-step construction outline. This plan will serve as your roadmap throughout the building process.
By taking the time to plan and design your built-in cabinet thoroughly, you'll set yourself up for a smoother construction process and a finished product that meets your needs and aesthetic preferences.
Gathering Materials and Tools
Now that you have a solid plan in place, it's time to gather the materials and tools you'll need to bring your built-in cabinet to life. Here's what you'll need:
Materials
- Wood: Depending on your design, you'll need sheets of plywood, MDF, or solid wood for the cabinet frame, shelves, and doors.
- Hardware: Purchase hinges, drawer slides, knobs, and any other hardware necessary for the functionality and aesthetics of your cabinet.
- Trim and Molding: If you want to add decorative trim or molding to your cabinet, make sure to include these materials in your list.
- Wood Glue and Screws: These will be essential for securing the cabinet frame and assembling the various components.
- Paint or Stain: If you plan to finish your cabinet with paint or stain, make sure to have these materials on hand.
Tools
- Measuring Tape: Accurate measurements are crucial, so a reliable measuring tape is a must.
- Circular Saw or Table Saw: You'll need a saw to cut the wood to the appropriate sizes.
- Drill and Bits: For drilling pilot holes and installing screws.
- Screwdriver: Both manual and electric screwdrivers will come in handy during assembly.
- Clamps: These will help hold pieces together while the glue dries.
- Level: To ensure that your cabinet is installed perfectly straight.
- Paintbrushes or Rollers: If you plan to paint or stain your cabinet, have the appropriate application tools ready.
By gathering all the necessary materials and tools before you begin construction, you'll avoid unnecessary delays and be able to work efficiently as you bring your built-in cabinet to fruition.
Building the Cabinet Frame
Building the cabinet frame is a critical step in the construction of your built-in cabinet. This frame will serve as the foundation for the entire structure, providing stability and support for the shelves and doors. Here's a detailed guide on how to build the cabinet frame:
-
Cutting the Wood: Begin by cutting the plywood or MDF to the precise dimensions needed for the cabinet frame. Use a circular saw or table saw to make accurate cuts, ensuring that the pieces fit together seamlessly.
-
Assembling the Sides and Shelves: Once the pieces are cut, it's time to assemble the sides and shelves of the cabinet frame. Apply wood glue to the edges of the shelves and attach them to the sides. Use clamps to hold the pieces together firmly while the glue sets. Additionally, you can reinforce the joints by driving screws through the sides into the edges of the shelves.
-
Adding a Back Panel: Consider adding a back panel to the cabinet frame for extra stability and to enclose the back of the cabinet. Cut a piece of plywood or MDF to the appropriate size and attach it to the back of the frame using wood glue and screws.
-
Installing Support Braces: Depending on the size of your cabinet, it may be necessary to install support braces within the frame to prevent sagging over time. Measure and cut pieces of wood to fit horizontally between the sides of the frame, securing them in place with wood glue and screws.
-
Checking for Squareness: Before moving on, it's crucial to check that the cabinet frame is perfectly square. Use a carpenter's square to ensure that all corners form right angles. Adjust the frame as needed to achieve perfect squareness.
By following these steps, you'll successfully build a sturdy and well-constructed cabinet frame that will serve as the backbone of your built-in cabinet. Once the frame is complete, you can move on to the next phase of the construction process.
Installing Shelves and Drawers
After constructing the cabinet frame, the next crucial step is to install the shelves and drawers. This phase will determine the functionality and organization of your built-in cabinet. Here's a detailed guide on how to proceed:
Installing Shelves
-
Measuring for Accuracy: Begin by measuring the interior of the cabinet frame to determine the precise dimensions for the shelves. Take into account the desired spacing between shelves and mark the positions where the shelves will be installed.
-
Cutting the Shelves: Using a circular saw or table saw, cut the shelves to the measured dimensions. Ensure that the cuts are precise to guarantee a snug fit within the cabinet frame.
-
Positioning and Securing: Place the shelves into the cabinet frame at their designated positions. Use a level to ensure that the shelves are perfectly horizontal. Once positioned correctly, secure the shelves in place by driving screws through the sides of the cabinet frame into the edges of the shelves.
Installing Drawers
-
Choosing Drawer Slides: Select the appropriate drawer slides based on the size and weight capacity needed for your drawers. There are various types of drawer slides, including side-mount, center-mount, and undermount slides.
-
Attaching Drawer Slides: Following the manufacturer's instructions, attach the drawer slides to the sides of the cabinet frame. Ensure that the slides are level and aligned to allow smooth operation of the drawers.
-
Building Drawer Boxes: Construct the drawer boxes using plywood or solid wood. Cut the pieces for the front, back, and sides of the drawers, and assemble them using wood glue and screws. Install the drawer bottoms, which can also be made of plywood.
-
Mounting the Drawers: Once the drawer boxes are assembled, mount them onto the drawer slides within the cabinet frame. Test the drawers to ensure that they slide in and out smoothly without any obstructions.
By following these steps, you'll successfully install the shelves and drawers, maximizing the storage capacity and functionality of your built-in cabinet. With the interior components in place, you're one step closer to completing your DIY project.
Adding Doors and Hardware
After completing the interior components of your built-in cabinet, the next step is to add doors and hardware to give it a polished and functional appearance. Here's a detailed guide on how to proceed:
Selecting Door Styles
- Begin by selecting the style of doors that best complements the overall design of your built-in cabinet. Common options include traditional hinged doors, sliding doors, or even cabinet doors with glass inserts for a decorative touch.
Measuring for Door Dimensions
- Take precise measurements of the openings where the doors will be installed. It's essential to account for any variations in the dimensions to ensure that the doors fit perfectly.
Building or Purchasing Doors
- Depending on your skill level and preference, you can either build the doors from scratch using wood or purchase pre-made doors from a home improvement store. If you choose to build the doors, ensure that they are constructed with precision to achieve a professional look.
Installing Hinges
- Once the doors are ready, it's time to install the hinges. Position the hinges on the doors and the cabinet frame, ensuring that they are aligned correctly for smooth operation. Use a drill to secure the hinges in place with screws.
Adding Door Hardware
- Enhance the functionality and aesthetics of your built-in cabinet by adding door hardware such as knobs or handles. Choose hardware that complements the style of the doors and matches the overall theme of your space.
Testing and Adjusting
- After installing the doors and hardware, test the functionality of the doors to ensure that they open and close smoothly. Make any necessary adjustments to the hinges or hardware to achieve the desired fit and operation.
By following these steps, you'll successfully add doors and hardware to your built-in cabinet, giving it a refined and cohesive look while ensuring ease of access to the contents within. With the doors in place, your DIY project is nearing completion, bringing you one step closer to enjoying your newly constructed built-in cabinet.
Finishing Touches and Customization
After completing the construction and installation of the main components of your built-in cabinet, it's time to add the finishing touches and customize the appearance to align with your personal style and the overall aesthetic of your space. Here's how to add those final details:
Applying a Finish
Whether you've chosen to build your cabinet from solid wood, plywood, or MDF, applying a finish will enhance its appearance and protect the surfaces from wear and tear. You can opt to paint the cabinet in a color that complements your decor, or apply a stain to showcase the natural beauty of the wood. Ensure that the finish is applied evenly and allowed to dry thoroughly before proceeding.
Adding Decorative Elements
Consider incorporating decorative elements to elevate the visual appeal of your built-in cabinet. This could include adding crown molding to the top of the cabinet, installing decorative trim along the edges, or even integrating LED lighting to illuminate the shelves and create a captivating display. These details can transform your cabinet from a functional piece of furniture to a stunning focal point in your room.
Customizing Storage Solutions
To maximize the functionality of your built-in cabinet, consider customizing the interior storage solutions to suit your specific needs. This could involve adding adjustable shelving to accommodate items of various heights, incorporating built-in dividers for organizing smaller items, or even integrating pull-out trays or baskets for easy access to stored belongings. Tailoring the storage to your requirements will ensure that your cabinet serves its purpose effectively.
Personalizing the Hardware
The hardware you choose for your cabinet, such as knobs, handles, and drawer pulls, presents an opportunity for personalization. Select hardware that resonates with your style, whether it's sleek and modern, vintage and ornate, or minimalist and understated. The hardware can serve as a subtle yet impactful detail that reflects your taste and ties the entire look of the cabinet together.
Maintaining Cohesiveness
As you add the finishing touches and customize your built-in cabinet, strive to maintain cohesiveness with the surrounding decor. Consider the colors, materials, and design elements present in the room and ensure that your cabinet harmonizes with the overall aesthetic. This will create a seamless integration of the cabinet into the space, enhancing its visual impact.
By attending to these finishing touches and customizing your built-in cabinet, you'll bring your vision to life and create a functional, stylish, and personalized piece of furniture that adds both practicality and charm to your home.
Conclusion
Congratulations! You've successfully navigated through the process of building your own built-in cabinet. From the initial planning and design stages to the final finishing touches, you've demonstrated creativity, precision, and a true do-it-yourself spirit. By following the step-by-step guidance provided in this article, you've not only expanded your home's storage capabilities but also added a custom piece of furniture that reflects your personal style and meets your specific needs.
As you stand back and admire your completed built-in cabinet, take pride in the craftsmanship and dedication you've invested in this project. Your hard work has resulted in a functional and aesthetically pleasing addition to your home, showcasing your DIY prowess and enhancing the overall appeal of your living space.
Whether you've chosen to build a built-in cabinet for a living room, kitchen, bedroom, or any other area, the skills and knowledge you've gained from this experience can be applied to future DIY endeavors. Embrace the satisfaction of a job well done and the sense of accomplishment that comes with transforming raw materials into a practical and beautiful piece of furniture.
As you enjoy the benefits of your newly constructed built-in cabinet, take a moment to reflect on the journey you've embarked upon. Your dedication to honing your DIY skills and creating a customized solution for your home sets the stage for future projects and opportunities to further enhance your living environment.
So, take a step back, admire your handiwork, and revel in the satisfaction of a job well done. Your built-in cabinet stands as a testament to your creativity, resourcefulness, and ability to turn a vision into reality. Now, go ahead and fill those shelves and drawers with the items that matter most to you, knowing that you've not only built a cabinet but also a sense of pride and accomplishment.