Home>Create & Decorate>DIY & Crafts>DIY Arcade Cabinet: Build Your Own Gaming Experience

DIY & Crafts
DIY Arcade Cabinet: Build Your Own Gaming Experience
Published: May 29, 2024

Content Creator specializing in woodworking and interior transformations. Caegan's guides motivate readers to undertake their own projects, while his custom furniture adds a personal touch.
Create your own arcade cabinet with our DIY & Crafts guide. Build the ultimate gaming experience at home with step-by-step instructions and tips.
(Many of the links in this article redirect to a specific reviewed product. Your purchase of these products through affiliate links helps to generate commission for Twigandthistle.com, at no extra cost. Learn more)
Introduction
Are you a gaming enthusiast looking to take your gaming experience to the next level? Building your own DIY arcade cabinet can be a rewarding and exciting project that allows you to customize your gaming setup exactly the way you want it. Whether you're a fan of classic arcade games or modern titles, creating your own arcade cabinet gives you the opportunity to bring the arcade experience right into your home. In this guide, we'll walk you through the step-by-step process of building your very own arcade cabinet, from planning and gathering materials to assembling the cabinet structure and installing the gaming components. Get ready to embark on an adventure that combines your love for gaming with the satisfaction of hands-on DIY craftsmanship.
Read more: How to Build a DIY Window Cabinet
Planning Your DIY Arcade Cabinet
When embarking on the journey of building your own DIY arcade cabinet, careful planning is essential to ensure a successful and enjoyable project. Here are the key steps to consider as you plan your arcade cabinet creation:
-
Choose the Design: Begin by deciding on the overall design and size of your arcade cabinet. Consider the space where you plan to place the cabinet and the aesthetic you want to achieve. You can opt for a classic upright cabinet design or a more compact bartop style, depending on your preferences and available space.
-
Select the Games: Determine the specific games you want to play on your arcade cabinet. Whether you're a fan of retro arcade classics or modern titles, choosing the games in advance will help you plan the necessary components and controls for your cabinet.
-
Research and Gather Resources: Take the time to research existing DIY arcade cabinet projects and gather resources such as online tutorials, forums, and instructional videos. Learning from the experiences of others can provide valuable insights and tips for your own project.
-
Create a Budget: Establish a budget for your DIY arcade cabinet project, considering the costs of materials, tools, and gaming components. Setting a budget will help you make informed decisions and avoid overspending as you move forward with the construction process.
-
Measure and Sketch: Measure the dimensions of the space where the arcade cabinet will be located and create detailed sketches or plans for the cabinet's structure and layout. This step will help you visualize the final product and ensure that it fits seamlessly into your chosen space.
By carefully planning each aspect of your DIY arcade cabinet project, you can set the stage for a smooth and enjoyable construction process. With a clear vision and thorough preparation, you'll be well-equipped to bring your gaming dreams to life through the creation of a personalized arcade cabinet.
Gathering Materials and Tools
Before diving into the construction of your DIY arcade cabinet, it's crucial to gather all the necessary materials and tools to ensure a seamless and efficient building process. Here's a comprehensive list of the items you'll need to bring your arcade cabinet to life:
Materials
-
MDF or Plywood: Choose high-quality medium-density fiberboard (MDF) or plywood to construct the cabinet's main body. These materials provide durability and stability for your arcade cabinet.
-
Monitor: Select a suitable monitor that fits the dimensions of your cabinet. Consider factors such as screen size, resolution, and compatibility with gaming systems.
-
Control Panel Components: Acquire joysticks, buttons, and a trackball or spinner, depending on the games you plan to play. Ensure that these components are designed for arcade use and compatible with your gaming preferences.
-
Speakers: Invest in quality speakers or audio components to enhance the sound experience of your arcade cabinet. Clear and powerful audio adds depth to the gaming immersion.
-
Gaming System: Depending on your gaming preferences, choose a suitable gaming system, such as a Raspberry Pi, PC, or gaming console, to power the arcade cabinet.
-
Wiring and Connectors: Gather wiring harnesses, connectors, and other electrical components required to connect the control panel, monitor, speakers, and gaming system.
-
Artwork and Decals: If you desire a customized look for your arcade cabinet, consider obtaining artwork, decals, or vinyl graphics to decorate the exterior and control panel.
Tools
-
Measuring Tools: Ensure you have a tape measure, ruler, and square for precise measurements and layout.
-
Saw: A table saw or circular saw will be essential for cutting the MDF or plywood to the required dimensions.
-
Drill and Bits: A power drill with a variety of drill bits is necessary for creating holes for buttons, joysticks, and other components.
-
Screwdriver Set: Have a set of screwdrivers, including Phillips and flathead, for assembling the cabinet and securing components.
-
Sander: A sander or sandpaper will help smooth the edges and surfaces of the cabinet for a professional finish.
-
Painting Supplies: If you plan to paint or finish the cabinet, gather paint, brushes, rollers, and other supplies for the desired aesthetic.
-
Wire Strippers and Crimpers: These tools are essential for properly connecting and securing electrical wiring.
By ensuring that you have all the required materials and tools at your disposal, you'll be well-prepared to tackle the construction of your DIY arcade cabinet with confidence and efficiency. Gathering these essentials sets the stage for a successful and enjoyable building experience.
Read more: How To Build A Arcade Machine
Building the Cabinet Structure
With the materials and tools in hand, it's time to dive into the construction of the cabinet structure for your DIY arcade cabinet. Follow these steps to bring the physical form of your gaming haven to life:
-
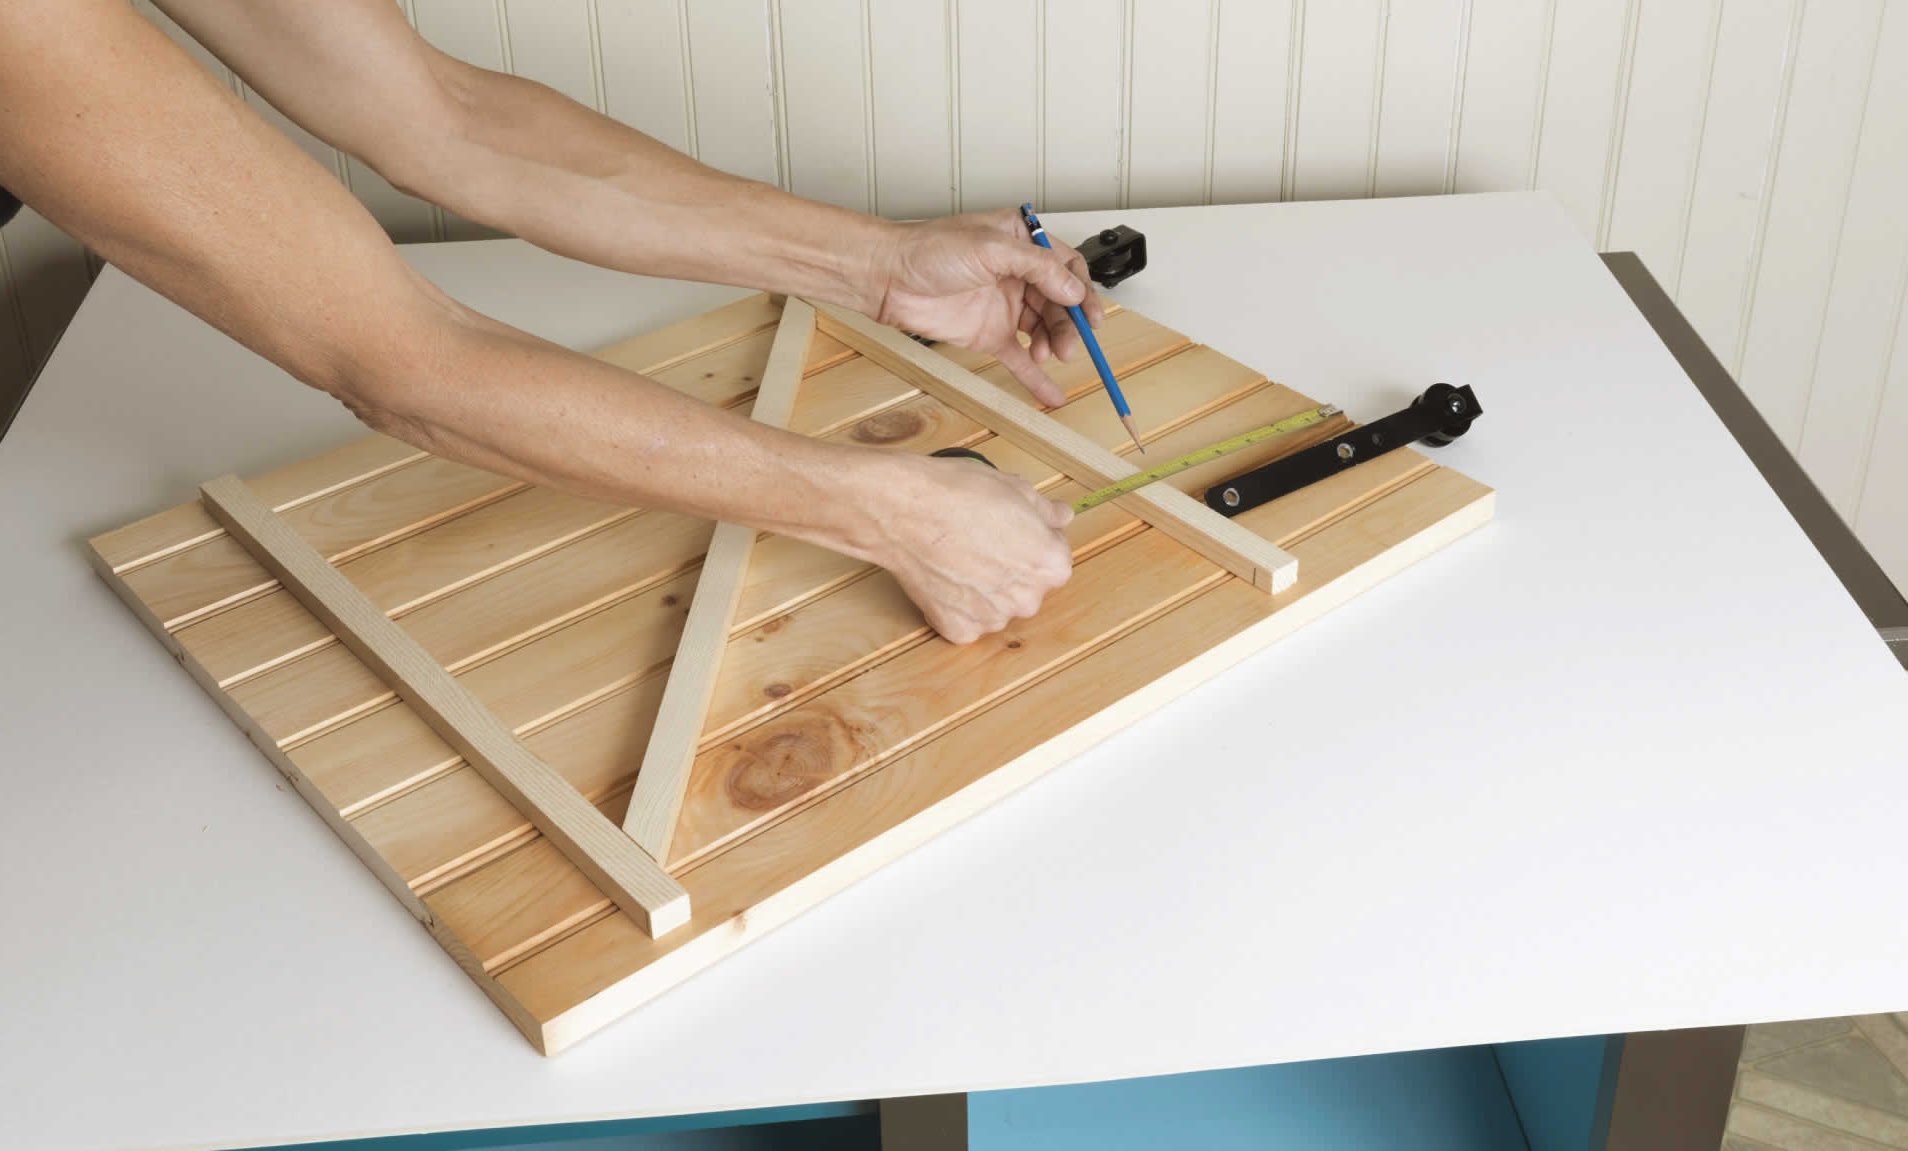
Cutting the Panels: Begin by using a saw to cut the MDF or plywood panels according to the dimensions outlined in your plans. Carefully measure and mark the panels before making precise cuts to ensure that each piece fits together seamlessly during assembly.
-
Assembling the Sides and Control Panel: Once the panels are cut, assemble the sides of the cabinet using wood glue and screws. Pay close attention to the alignment and ensure that the corners are square for a sturdy and symmetrical structure. Additionally, attach the control panel to the front of the cabinet, leaving space for the control components and buttons.
-
Constructing the Marquee and Monitor Area: Create a marquee area at the top of the cabinet to house the marquee light and artwork. Then, build the monitor area within the cabinet, ensuring a secure and level placement for the monitor.
-
Adding Internal Supports: Install internal supports and braces to reinforce the cabinet's structure and provide stability. These supports will help distribute the weight of the components and ensure that the cabinet can withstand the rigors of gaming sessions.
-
Cutting Openings for Components: Use a drill and appropriate hole saws to cut openings for the control panel components, speakers, ventilation, and any additional features you plan to incorporate into the cabinet.
-
Creating Access Panels: Consider incorporating access panels or doors into the design to allow for easy maintenance and access to the internal components. These panels can be secured with hinges or latches for convenient accessibility.
-
Sanding and Smoothing: Once the basic structure is assembled, use a sander or sandpaper to smooth the edges and surfaces of the cabinet. This step prepares the cabinet for painting, finishing, or the application of artwork and decals.
By following these steps, you'll be well on your way to constructing a sturdy and visually appealing cabinet structure for your DIY arcade cabinet. With careful attention to detail and precision in assembly, you'll soon have a solid foundation for the gaming experience of your dreams.
Installing the Gaming Components
With the cabinet structure in place, it's time to focus on installing the essential gaming components that will bring your DIY arcade cabinet to life. Follow these steps to integrate the gaming elements seamlessly into your custom-built cabinet:
-
Mounting the Monitor: Carefully place the monitor within the designated area of the cabinet, ensuring that it is securely mounted and positioned for optimal viewing. Use appropriate brackets or mounting hardware to affix the monitor in place, taking care to align it accurately for a professional and polished appearance.
-
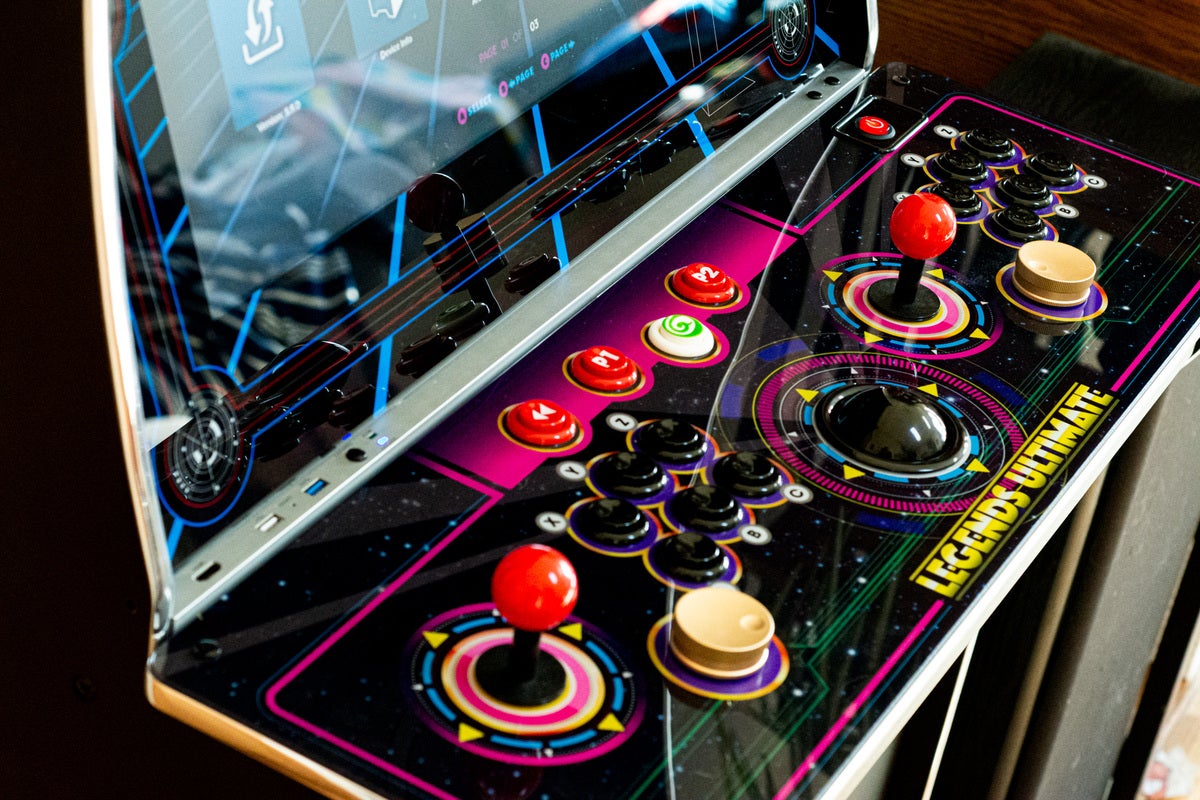
Connecting the Control Panel Components: Install the joysticks, buttons, trackball, or spinner onto the control panel, following the manufacturer's instructions for precise placement and wiring. Pay close attention to the layout and spacing of the components to ensure comfortable and intuitive gameplay for a variety of arcade titles.
-
Wiring and Electrical Connections: Connect the control panel components, monitor, speakers, and gaming system using the necessary wiring harnesses, connectors, and electrical components. Take care to organize and secure the wiring to prevent tangling and ensure a tidy interior layout within the cabinet.
-
Integrating the Gaming System: Depending on your chosen gaming platform, integrate the gaming system, whether it's a Raspberry Pi, PC, or gaming console, into the cabinet. Position the system securely within the cabinet and establish the necessary connections to the monitor, control panel, and power source.
-
Testing and Calibration: Once the gaming components are installed, conduct thorough testing and calibration to ensure that the controls are responsive, the monitor displays games accurately, and the audio output is clear and immersive. Make any necessary adjustments to optimize the gaming experience before finalizing the installation.
-
Optimizing Audio and Visual Settings: Fine-tune the audio and visual settings of the gaming system to achieve the desired sound quality and display characteristics. Adjust brightness, contrast, and audio levels to create an engaging and captivating gaming environment within your arcade cabinet.
By meticulously installing and integrating the gaming components into your DIY arcade cabinet, you'll create a fully functional and captivating gaming experience that reflects your personal preferences and gaming style. With careful attention to detail and precision in installation, your custom-built arcade cabinet will be ready to deliver countless hours of gaming enjoyment.
Adding Finishing Touches
As you near the completion of your DIY arcade cabinet project, adding the finishing touches will elevate the visual appeal and overall experience of your custom gaming setup. Here are the essential steps to enhance the aesthetic and functionality of your arcade cabinet:
-
Artwork and Graphics: Apply carefully selected artwork, decals, or vinyl graphics to the exterior of the cabinet and the control panel. Choose designs that resonate with your gaming preferences and personal style, whether it's classic arcade themes, modern graphics, or custom artwork that reflects your favorite games.
-
Marquee Lighting: Install vibrant and eye-catching lighting behind the marquee area to illuminate the artwork and create a captivating visual focal point. LED light strips or custom lighting solutions can enhance the overall ambiance of the arcade cabinet.
-
Control Panel Overlay: Consider adding a durable and visually appealing overlay to the control panel surface. This overlay can protect the control components and provide a polished and professional look, enhancing the tactile experience of gameplay.
-
T-Molding and Trim: Apply T-molding or decorative trim to the edges of the cabinet to provide a finished and protective border. T-molding comes in various colors and styles, allowing you to customize the appearance of the cabinet's edges.
-
Cabinet Finishing: If you opt for a painted finish, carefully apply multiple coats of paint to achieve a smooth and durable surface. Sand between coats for a professional finish. Alternatively, if you choose a natural wood finish, apply a protective sealant or varnish to enhance the cabinet's appearance and safeguard it from wear and tear.
-
Cable Management: Organize and secure the internal wiring and cables to maintain a tidy and clutter-free interior. Utilize cable ties, clips, and cable management solutions to ensure that the wiring is neatly arranged and does not interfere with the functionality of the gaming components.
-
Customization and Personalization: Consider additional customizations such as themed control panel buttons, personalized nameplates, or other embellishments that reflect your individuality and passion for gaming.
By focusing on these finishing touches, you'll transform your DIY arcade cabinet into a visually striking and fully immersive gaming centerpiece. These details not only enhance the aesthetic appeal of the cabinet but also contribute to a polished and professional gaming experience that you can proudly showcase in your home.
Conclusion
Congratulations on completing the construction of your very own DIY arcade cabinet! By embarking on this hands-on journey, you've not only created a personalized gaming experience but also honed your skills in craftsmanship and customization. Your arcade cabinet stands as a testament to your passion for gaming and your dedication to bringing the arcade atmosphere into your home. As you immerse yourself in the world of classic and modern games within the confines of your custom-built cabinet, take pride in the fact that you've transformed your love for gaming into a tangible and interactive creation. Whether you're enjoying solo gaming sessions or hosting friendly competitions with friends and family, your DIY arcade cabinet is sure to be a source of endless entertainment and nostalgia. Embrace the thrill of gaming and relish the satisfaction of having brought your vision to life through the art of DIY construction. Cheers to countless hours of gaming enjoyment within the immersive realm of your very own arcade cabinet!

