
Home>Create & Decorate>DIY & Crafts>How To Build A Arcade Machine
DIY & Crafts
How To Build A Arcade Machine
Published: June 11, 2024

Content Creator specializing in woodworking and interior transformations. Caegan's guides motivate readers to undertake their own projects, while his custom furniture adds a personal touch.
Learn how to build your own arcade machine with our DIY & Crafts guide. Create your own gaming haven at home with step-by-step instructions and tips. Start your arcade project today!
(Many of the links in this article redirect to a specific reviewed product. Your purchase of these products through affiliate links helps to generate commission for Twigandthistle.com, at no extra cost. Learn more)
Introduction
So, you've always dreamed of having your very own arcade machine at home, right? Well, you're in luck because in this article, we're going to show you exactly how to make that dream a reality. Building your own arcade machine can be a fun and rewarding DIY project that will not only provide hours of entertainment but also add a unique and nostalgic touch to your home. Whether you're a gaming enthusiast or just looking for a new project to tackle, building an arcade machine is a great way to flex your DIY skills and create something truly special. So, are you ready to dive into the world of arcade machine building? Let's get started!
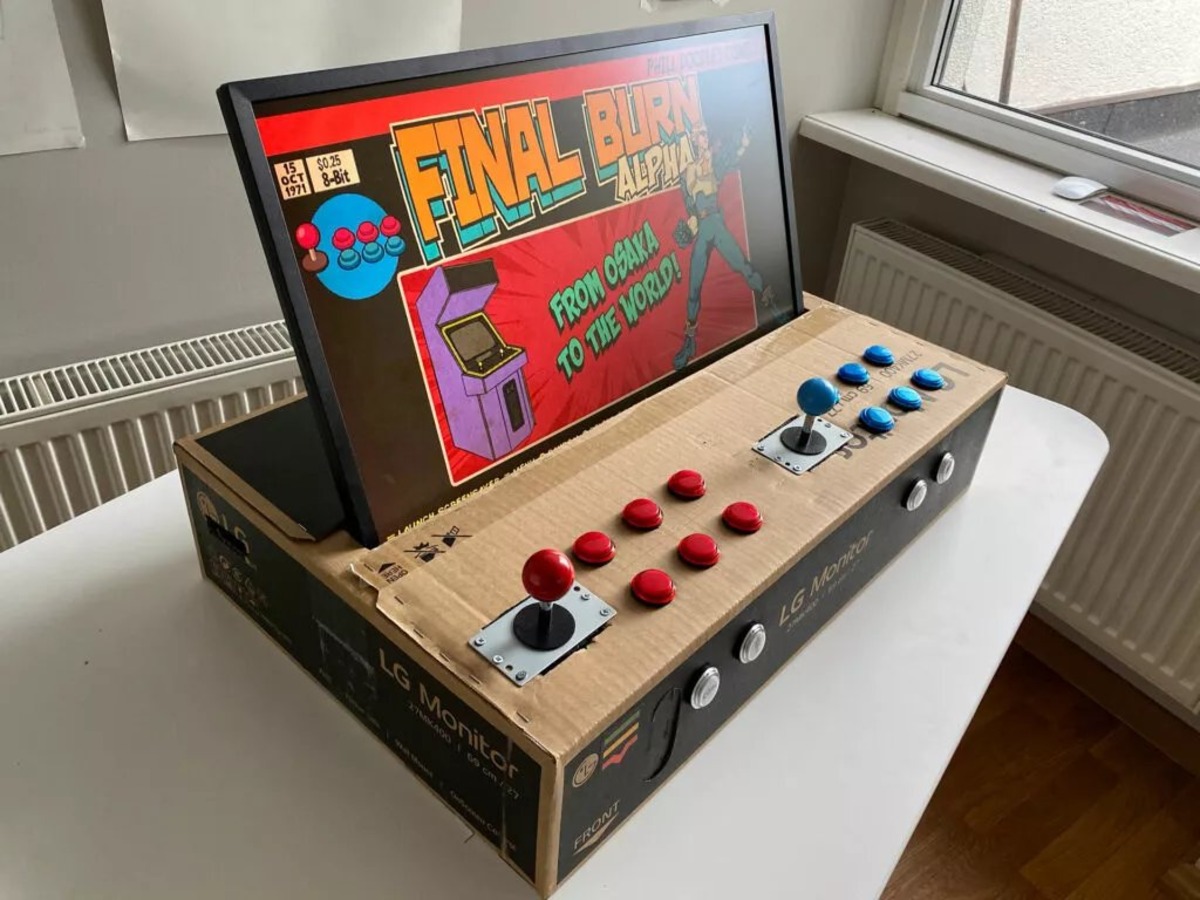
Choosing the Right Cabinet
When it comes to building an arcade machine, choosing the right cabinet is a crucial first step. The cabinet not only houses all the components of the arcade machine but also sets the tone for the overall look and feel of the finished product. Here are some key factors to consider when selecting the perfect cabinet for your arcade machine:
-
Size and Shape: Consider the space where you plan to place the arcade machine. Measure the area to ensure that the cabinet will fit comfortably. Additionally, think about the shape of the cabinet – traditional arcade machines often have a rectangular shape, but you can also opt for a more customized design to suit your preferences.
-
Material: The material of the cabinet will impact its durability and aesthetics. Common materials for arcade machine cabinets include wood, metal, and plastic. Wood is a popular choice due to its versatility and ease of customization, allowing you to paint or decorate the cabinet to match your personal style.
-
Accessibility: Think about how easily you want to access the internal components of the arcade machine. Some cabinets feature removable panels or doors, making it simpler to perform maintenance or upgrades.
-
Authenticity: If you're aiming for an authentic retro arcade experience, you may want to consider replicating the design of classic arcade cabinets. This could involve researching the dimensions and features of vintage arcade machines to recreate the nostalgic look and feel.
Once you've considered these factors, you can begin the exciting process of choosing the right cabinet for your arcade machine. Remember, the cabinet serves as the foundation for your project, so take your time to find the perfect fit that aligns with your vision for the ultimate arcade gaming experience at home.
Selecting the Best Controls
When it comes to creating an authentic arcade gaming experience, selecting the best controls is essential. The controls not only dictate how players interact with the games but also contribute to the overall nostalgia and enjoyment of the arcade machine. Here's a breakdown of the key considerations for choosing the perfect controls for your DIY arcade machine:
-
Joysticks and Buttons: The classic arcade setup typically includes a joystick for directional input and multiple buttons for actions within the games. When selecting joysticks, consider the type of games you want to play. For example, traditional 4-way or 8-way joysticks are ideal for retro games like Pac-Man and Donkey Kong, while games like Street Fighter may benefit from specialized fighting game joysticks. Additionally, choose buttons that are responsive and durable, as they will endure frequent use during gameplay.
-
Trackballs and Spinners: Some arcade games, such as Centipede and Tempest, utilize trackballs and spinners for unique gameplay mechanics. If you plan to include these types of games in your arcade machine library, consider incorporating these specialized controls for an authentic gaming experience.
-
Compatibility and Wiring: Ensure that the controls you select are compatible with the gaming software and hardware you plan to use. Additionally, pay attention to the wiring and connections required for the controls. Many DIY arcade enthusiasts opt for USB-based controls for easy integration with gaming software and systems.
-
Aesthetics and Ergonomics: Beyond functionality, consider the aesthetics and ergonomics of the controls. Choose controls that complement the overall design of your arcade machine and provide a comfortable gaming experience. This could involve selecting controls with a specific color scheme or ergonomic design to enhance the visual appeal and usability of the arcade machine.
By carefully considering these factors, you can ensure that you are selecting the best controls to create an immersive and enjoyable arcade gaming experience. Whether you're aiming for a faithful recreation of vintage arcade controls or a customized setup tailored to your favorite games, the right controls will play a pivotal role in bringing your DIY arcade machine to life.
Installing the Monitor and Speakers
When it comes to creating an arcade machine, the installation of the monitor and speakers is a critical step in bringing the gaming experience to life. Here's a detailed guide on how to install the monitor and speakers for your DIY arcade machine:
Monitor Installation
-
Selecting the Right Monitor: Choose a monitor that fits the dimensions of your arcade cabinet and provides the visual quality you desire. Many DIY arcade builders opt for LCD monitors due to their slim profile and high-resolution display capabilities.
-
Mounting the Monitor: Secure the monitor within the cabinet using mounting brackets or a custom mounting solution. Ensure that the monitor is positioned at an optimal viewing angle for players to enjoy the games comfortably.
-
Wiring and Connections: Connect the monitor to the gaming system using the appropriate video cables, such as HDMI or VGA, based on the compatibility of the monitor and gaming hardware. Conceal the cables within the cabinet to maintain a clean and organized interior.
-
Adjusting Display Settings: Once the monitor is installed, adjust the display settings to optimize the visual quality for arcade gaming. This may involve configuring the resolution, brightness, and color settings to achieve the best gaming experience.
Speaker Installation
-
Choosing Audio Components: Select speakers that fit within the available space in the arcade cabinet while delivering clear and immersive sound. Consider the placement of the speakers to ensure balanced audio distribution throughout the gaming area.
-
Wiring and Amplification: Connect the speakers to an audio amplifier or the gaming system's audio output. Conceal the speaker wires within the cabinet to maintain a tidy appearance and prevent interference with gameplay.
-
Sound Testing: Test the speakers to ensure that they produce the desired audio quality for gaming. Adjust the volume and equalization settings to achieve optimal sound performance based on the games being played.
-
Enhancements: For added immersion, consider incorporating additional audio components such as subwoofers or tactile transducers to enhance the gaming experience with deep bass and tactile feedback.
By following these steps, you can successfully install the monitor and speakers to create a captivating audiovisual environment within your DIY arcade machine. The combination of a high-quality display and immersive sound will elevate the gaming experience and bring your arcade machine to life.
Setting Up the Gaming Software
Setting up the gaming software is a crucial aspect of building an arcade machine, as it determines the library of games available for play and the overall user experience. Here's a comprehensive guide on how to set up the gaming software for your DIY arcade machine:
-
Emulation Software: Select and install emulation software that allows the arcade machine to run classic arcade games from various platforms. Popular emulation software options include RetroPie, EmulationStation, and MAME (Multiple Arcade Machine Emulator). These platforms provide a user-friendly interface for organizing and launching a wide range of retro games.
-
Game Selection: Curate a collection of games to be included in the arcade machine's library. Consider the genres and titles that resonate with your gaming preferences and nostalgia. Classic arcade games from the 80s and 90s, such as Pac-Man, Street Fighter, and Galaga, are popular choices for DIY arcade enthusiasts.
-
ROM Acquisition: Obtain the game ROMs (read-only memory files) for the selected titles. It's important to source ROMs from legitimate sources to ensure compliance with copyright laws. Many websites offer legal ROM downloads for classic arcade games, and some emulation software platforms provide guidance on acquiring ROMs responsibly.
-
Organizing Game Files: Once the ROMs are obtained, organize them within the emulation software's directory structure. Categorize the games by genre, release year, or personal preferences to create a cohesive and easily navigable game library.
-
Configuration and Customization: Configure the emulation software settings to optimize the gaming experience. This may involve adjusting display options, input controls, and audio settings to suit the specific requirements of each game. Additionally, explore customization options within the emulation software to personalize the user interface and enhance the overall arcade machine experience.
-
Testing and Troubleshooting: After setting up the gaming software, thoroughly test each game to ensure smooth performance and accurate emulation. Address any potential issues, such as control mapping discrepancies or audiovisual glitches, by troubleshooting the software settings and configurations.
-
Expansion and Updates: Consider expanding the gaming library over time by adding new ROMs and game titles to keep the arcade machine's content fresh and engaging. Stay informed about software updates and enhancements for the emulation platform to take advantage of new features and improvements.
By following these steps, you can effectively set up the gaming software for your DIY arcade machine, providing a diverse and immersive collection of classic arcade games for endless entertainment. The gaming software serves as the heart of the arcade machine, delivering a nostalgic and enjoyable gaming experience for players of all ages.
Adding the Finishing Touches
After completing the major components of your DIY arcade machine, it's time to add the finishing touches that will elevate the overall appearance and functionality of the project. Here are the essential steps to consider when adding the final details to your arcade machine:
-
Artwork and Decals: Apply custom artwork or decals to the exterior of the arcade cabinet to enhance its visual appeal. This could involve classic arcade-themed designs, personalized graphics, or homage to favorite games. Consider using vinyl decals or custom printing to achieve a professional and polished look.
-
Marquee and Lighting: Install a marquee at the top of the arcade cabinet, featuring the name or logo of your arcade machine. Incorporate LED lighting behind the marquee to illuminate the artwork and create an eye-catching display. The lighting can be customized to change colors or patterns for added visual impact.
-
Control Panel Customization: Personalize the control panel with custom button layouts, artwork, or player instructions. Consider adding player start buttons, coin door replicas, or other decorative elements to enhance the authenticity and interactivity of the arcade controls.
-
Cabinet Finish: Apply a durable and attractive finish to the cabinet, such as paint, laminate, or vinyl wrap, to protect the surface and achieve a professional appearance. Choose a finish that complements the overall design theme and withstands the rigors of gaming sessions.
-
Cabinet Accessories: Consider adding additional accessories to the arcade cabinet, such as cup holders, headphone jacks, or storage compartments for controllers and accessories. These practical additions can enhance the convenience and usability of the arcade machine.
-
Cable Management: Organize and secure the internal wiring and cables within the arcade cabinet to maintain a tidy and clutter-free interior. Use cable ties, cable clips, and cable management channels to route and conceal the cables effectively.
-
Theming and Display: Create a dedicated gaming area around the arcade machine by incorporating themed decor, such as retro posters, neon signs, or display shelves for gaming memorabilia. This will enhance the overall ambiance and make the arcade machine a focal point of the entertainment space.
-
Documentation and Maintenance: Compile a maintenance guide or documentation for the arcade machine, including information on system updates, troubleshooting tips, and care instructions. This ensures that the arcade machine remains in optimal condition for long-term enjoyment.
By focusing on these finishing touches, you can transform your DIY arcade machine into a visually stunning, fully functional, and personalized gaming centerpiece. The attention to detail in these final steps will showcase your craftsmanship and passion for arcade gaming, resulting in a truly impressive and enjoyable addition to your home.