
Home>Create & Decorate>DIY & Crafts>DIY: Build A Robotic Arm From Scratch
DIY & Crafts
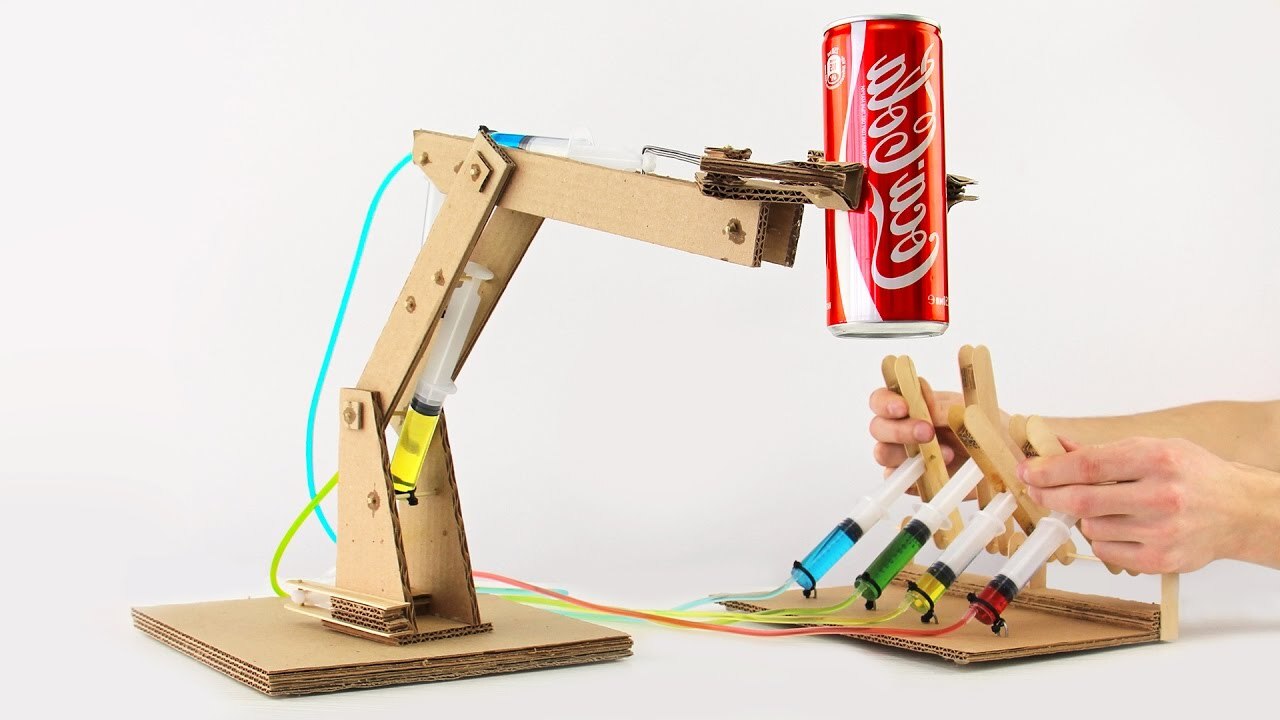
DIY: Build A Robotic Arm From Scratch
Published: June 10, 2024

Senior Editor in Create & Decorate, Kathryn combines traditional craftsmanship with contemporary trends. Her background in textile design and commitment to sustainable crafts inspire both content and community.
Discover how to create your own robotic arm from scratch with this DIY project. Get step-by-step instructions and unleash your creativity in the world of DIY & Crafts.
(Many of the links in this article redirect to a specific reviewed product. Your purchase of these products through affiliate links helps to generate commission for Twigandthistle.com, at no extra cost. Learn more)
Introduction
So, you want to take your DIY skills to the next level and build a robotic arm from scratch? Well, you've come to the right place! In this guide, we'll walk you through the process of creating your very own robotic arm, from gathering the necessary materials to programming and testing the final product. Whether you're a seasoned DIY enthusiast or a beginner looking for a challenging project, building a robotic arm can be a rewarding and educational experience. So, roll up your sleeves and get ready to dive into the exciting world of robotics!
Materials Needed
To embark on this exciting DIY project, you'll need to gather a variety of materials and tools. Here's a comprehensive list to get you started:
Materials:
- Arduino Board: This serves as the brain of your robotic arm, controlling its movements and functions.
- Servo Motors: You'll need several servo motors to act as the joints of the robotic arm, allowing it to move and articulate.
- Aluminum or Acrylic Sheets: These will form the structure of the arm, providing stability and support.
- Wires and Cables: Essential for connecting the various electronic components and ensuring seamless communication.
- Power Supply: A reliable power source to energize the robotic arm and bring it to life.
- USB Cable: For programming and interfacing with the Arduino board.
- Screws and Nuts: To securely fasten the components together and maintain structural integrity.
- Grippers/End Effectors: Optional, but if you want your robotic arm to pick up and manipulate objects, grippers or end effectors are essential.
Tools:
- Screwdriver Set: For assembling and securing the components.
- Wire Cutter and Stripper: To prepare and manage the electrical connections.
- Soldering Iron and Solder: If you need to solder any connections for a more robust build.
- Drill and Bits: For creating holes in the structural components if necessary.
- Cutting Tools: Depending on the material you choose for the arm, you may need a saw or cutting tool to shape it.
With these materials and tools at your disposal, you'll be well-equipped to commence the construction of your very own robotic arm.
Designing the Robotic Arm
Designing the robotic arm is a crucial step in the DIY process, as it lays the foundation for the arm's functionality and appearance. Here's a step-by-step guide to help you design your robotic arm:
-
Conceptualization: Begin by sketching out your ideas for the robotic arm's structure and movement capabilities. Consider the number of joints, the range of motion, and the overall size of the arm. This initial concept will serve as a roadmap for the rest of the design process.
-
Material Selection: Choose the material for the arm's structure, such as aluminum or acrylic sheets. Consider the strength, weight, and durability of the material, ensuring it can support the weight of the arm and any objects it may interact with.
-
Joint Configuration: Determine the number and placement of joints in the robotic arm. This will dictate the arm's flexibility and range of motion. Consider using servo motors at each joint for precise control and movement.
-
End Effector Design: If you plan for the robotic arm to perform specific tasks, such as gripping or lifting objects, design an end effector or gripper that can be attached to the arm. This component should align with the arm's capabilities and intended applications.
-
Integration of Electronics: Plan the internal layout of the arm to accommodate the Arduino board, servo motors, and wiring. Ensure there is sufficient space and access for maintenance and potential upgrades.
-
Ergonomics and Aesthetics: While functionality is paramount, consider the overall aesthetics and ergonomics of the arm. Smooth edges, balanced proportions, and a cohesive design will enhance the arm's visual appeal.
By carefully designing the robotic arm, you'll set the stage for a successful and functional DIY project. This phase requires attention to detail and a clear vision of the arm's purpose and capabilities. Once the design is finalized, you can move on to the exciting phase of assembling the components and bringing your robotic arm to life.
Assembling the Components
Now that you have meticulously designed your robotic arm, it's time to bring your creation to life by assembling the components. This phase is where the individual parts come together to form a functional and articulate arm. Follow these steps to ensure a smooth and successful assembly process:
-
Prepare the Structural Components: Begin by laying out the aluminum or acrylic sheets that form the arm's structure. If necessary, use a drill and appropriate bits to create holes for mounting the servo motors and other components. Ensure that the pieces are aligned according to your design specifications.
-
Mount the Servo Motors: Position the servo motors at each joint of the arm, securing them in place with screws and nuts. Take care to align the motors properly to allow for smooth movement and articulation. The number of servo motors will correspond to the number of joints in your design.
-
Connect the Wiring: With the servo motors in place, carefully route and connect the wires to the corresponding pins on the Arduino board. Ensure that the connections are secure and that there is no risk of wires becoming tangled or obstructing the arm's movement.
-
Attach the End Effector: If your robotic arm is designed to perform specific tasks, such as gripping or lifting objects, attach the end effector or gripper to the arm. Secure it firmly, ensuring that it aligns with the arm's range of motion and capabilities.
-
Secure the Power Supply: Once the electronic components are in place, connect the power supply to the Arduino board and the servo motors. Double-check the connections to prevent any potential electrical issues.
-
Test the Movement: Before finalizing the assembly, conduct a preliminary test of the arm's movement. Use basic commands to verify that each joint and the end effector function as intended. This step allows you to identify any potential issues before proceeding to the programming phase.
By following these steps, you will successfully assemble the components of your robotic arm, bringing it one step closer to completion. Attention to detail and precision during this phase will ensure that the arm operates smoothly and accurately, setting the stage for the next crucial step: programming the arm's movements and functions.
Programming the Robotic Arm
Programming the robotic arm is a pivotal stage in the DIY process, as it dictates the arm's movements, functions, and overall behavior. Here's a detailed guide to programming your robotic arm:
-
Install the Arduino Software: Begin by installing the Arduino Integrated Development Environment (IDE) on your computer. This software will be used to write, compile, and upload the code to the Arduino board that controls the robotic arm.
-
Understand the Servo Library: The servo motors used in the robotic arm can be controlled using the Servo library in Arduino. Familiarize yourself with the functions and syntax of this library, as it will be instrumental in commanding the movement of the arm's joints.
-
Write the Movement Sequences: Using the Arduino IDE, write the code that dictates the movement sequences of the robotic arm. This involves specifying the angles and positions of each servo motor to achieve the desired articulation and motion.
-
Incorporate Control Inputs: Consider integrating control inputs, such as potentiometers or buttons, to allow for manual manipulation of the robotic arm. This adds versatility to the arm's operation and enables direct user interaction.
-
Implement Logical Control: If the robotic arm is intended to perform specific tasks autonomously, incorporate logical control statements in the code. This may involve conditional statements and loops to execute predefined actions based on input or sensor data.
-
Test and Refine the Code: Once the initial code is written, upload it to the Arduino board and conduct thorough testing. Observe the arm's movements and behavior, making adjustments to the code as needed to ensure precise and accurate operation.
-
Fine-Tune Movement Parameters: Refine the code by adjusting movement parameters, such as speed, acceleration, and deceleration, to optimize the robotic arm's performance. This iterative process may involve tweaking the code and conducting multiple test runs to achieve the desired results.
-
Document the Code and Functionality: As you finalize the programming, document the code to provide clarity on its functionality and operation. This documentation will be valuable for future reference, troubleshooting, and potential enhancements to the robotic arm.
By following these steps and investing time in the programming phase, you will equip your robotic arm with the intelligence and precision necessary to carry out its designated tasks. The programming aspect is where the robotic arm truly comes to life, showcasing the culmination of your DIY skills and creativity.
Testing and Troubleshooting
After programming the robotic arm, thorough testing is essential to ensure its functionality and performance meet expectations. Here's a detailed approach to testing and troubleshooting the robotic arm:
-
Functional Testing: Begin by executing basic movement commands to assess the arm's articulation and range of motion. Verify that each joint operates smoothly and accurately, without any unexpected behavior or mechanical issues.
-
Load Testing: If the robotic arm is designed to lift or manipulate objects, conduct load testing to evaluate its capacity. Gradually increase the weight of the objects being lifted, ensuring that the arm can handle the specified loads without strain or malfunction.
-
End Effector Validation: If the arm is equipped with an end effector or gripper, test its gripping and releasing capabilities. Verify that the end effector securely grasps objects of varying shapes and sizes, and that it can release them on command without difficulty.
-
Control Inputs Testing: If the arm incorporates manual control inputs, such as potentiometers or buttons, test their functionality. Ensure that the control inputs effectively manipulate the arm's movements and that they are responsive and intuitive to use.
-
Autonomous Operation Testing: If the robotic arm is programmed to perform autonomous tasks based on logical control statements, conduct comprehensive testing of these functionalities. Verify that the arm executes predefined actions accurately and reliably based on input or sensor data.
-
Error Identification and Troubleshooting: During testing, carefully monitor the arm's behavior for any unexpected errors or malfunctions. If issues arise, systematically troubleshoot the potential causes, such as incorrect wiring, code errors, or mechanical constraints.
-
Iterative Refinement: As issues are identified, make iterative refinements to the arm's components, code, or mechanical structure. Test the arm after each refinement to verify that the adjustments have resolved the identified issues and improved its overall performance.
-
Documentation of Test Results: Document the outcomes of each testing phase, including any issues encountered and the corresponding resolutions. This documentation will serve as a valuable reference for future maintenance and enhancements to the robotic arm.
By rigorously testing and troubleshooting the robotic arm, you can ensure that it operates reliably and effectively, meeting the intended design and functional requirements. This phase is crucial for identifying and addressing any potential issues before the arm is put to practical use.
Conclusion
In conclusion, building a robotic arm from scratch is a challenging yet immensely rewarding DIY project. From gathering the necessary materials to designing, assembling, programming, and testing the arm, each phase contributes to a comprehensive learning experience in robotics and engineering. By embarking on this endeavor, DIY enthusiasts can expand their skill set, gain practical knowledge in electronics and programming, and witness the tangible results of their creativity and perseverance. The completed robotic arm stands as a testament to the potential of DIY projects to inspire innovation and hands-on learning. Whether the arm is used for educational purposes, practical applications, or simply as a showcase of technical prowess, the journey of creating it fosters a deep sense of accomplishment and paves the way for future DIY endeavors in the realm of robotics and beyond.