Home>Create & Decorate>DIY & Crafts>DIY: Building Shelves From Scratch

DIY & Crafts
DIY: Building Shelves From Scratch
Published: June 19, 2024

Senior Editor in Create & Decorate, Kathryn combines traditional craftsmanship with contemporary trends. Her background in textile design and commitment to sustainable crafts inspire both content and community.
Discover how to create custom shelves from scratch with our step-by-step DIY guide. Get inspired to unleash your creativity with our DIY & Crafts tips. Start building today!
(Many of the links in this article redirect to a specific reviewed product. Your purchase of these products through affiliate links helps to generate commission for Twigandthistle.com, at no extra cost. Learn more)
Introduction
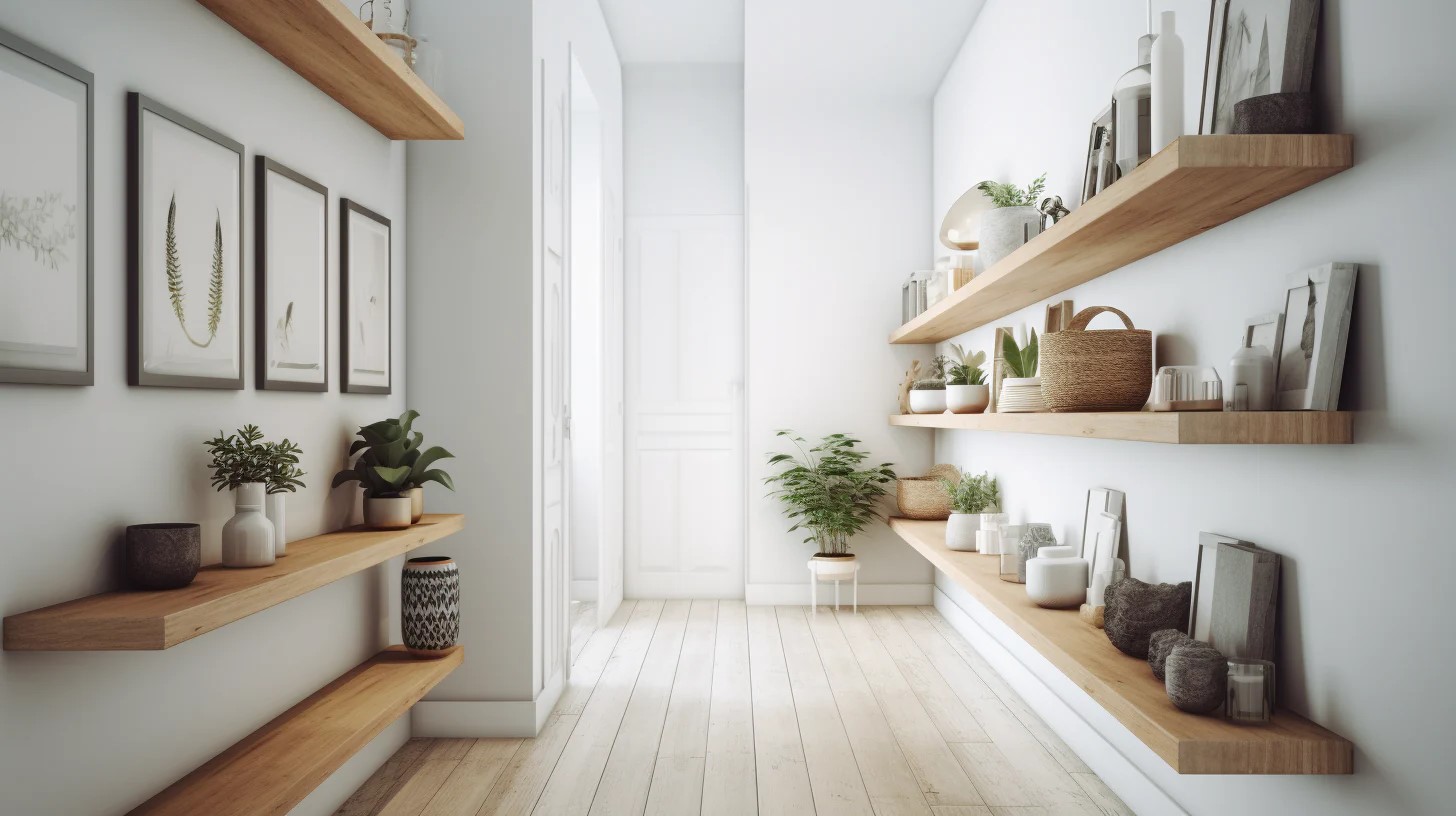
So, you're looking to add some extra storage space to your home, huh? Well, building your own shelves from scratch can be a rewarding and cost-effective way to do just that. Whether you're a seasoned DIY enthusiast or a newbie to the world of home improvement, creating your own shelves can be a fun and fulfilling project. In this article, we'll guide you through the process of building shelves from scratch, from choosing the right materials to installing the finished product. So, roll up your sleeves and get ready to unleash your inner carpenter!
Read more: How to Build a DIY Camper Roof
Choosing the Right Materials
When it comes to building shelves from scratch, selecting the right materials is crucial for the success and longevity of your project. Here are some key materials you'll need to consider:
1. Wood
The type of wood you choose will greatly impact the overall look and durability of your shelves. Pine and plywood are popular choices for DIY shelves due to their affordability and ease of customization. If you're aiming for a more rustic or natural look, reclaimed wood can add character and charm to your shelves.
2. Hardware
Selecting the appropriate hardware is essential for ensuring the stability and functionality of your shelves. Brackets, screws, and wall anchors are some of the basic hardware components you'll need. Make sure to choose hardware that can support the weight of the items you plan to place on the shelves.
3. Finishing Materials
To protect your shelves from wear and tear, as well as to enhance their appearance, you'll need finishing materials such as wood stain, paint, or varnish. Consider the existing decor of the room where the shelves will be installed when choosing the finishing materials to achieve a cohesive look.
By carefully selecting the right materials for your DIY shelves, you can ensure that they not only serve their practical purpose but also add aesthetic value to your living space.
Read more: How to Build a DIY Garage Door
Measuring and Planning
Before you start cutting and assembling, it's crucial to get your measurements and planning right. Here's how to do it:
-
Assess the Space: Take a good look at the area where you intend to install the shelves. Consider the height, width, and depth available for the shelves. Also, take into account any obstacles such as light switches, outlets, or vents that may affect the placement of the shelves.
-
Determine Shelf Dimensions: Based on the space available, decide on the dimensions of your shelves. Consider what items you plan to store on the shelves and ensure they will fit comfortably. Standard shelf depth is around 12-16 inches, but you can adjust this based on your specific needs.
-
Create a Detailed Plan: Sketch out a rough design of your shelves, including the dimensions and placement. This will serve as a visual guide and help you stay organized throughout the project.
-
Gather Necessary Tools: Make sure you have all the tools required for the job, such as a tape measure, level, pencil, and a saw for cutting the wood to size.
By taking the time to measure and plan meticulously, you'll set yourself up for a smoother and more successful shelf-building process.
Cutting and Assembling the Shelves
Once you have your materials and measurements in place, it's time to roll up your sleeves and get into the cutting and assembling phase. Here's a step-by-step guide to help you through this crucial stage:
-
Cutting the Wood: Using a saw, carefully cut the wood according to the dimensions you measured and planned. If you don't have a saw at home, most hardware stores offer wood cutting services, so you can get the wood cut to your exact specifications.
-
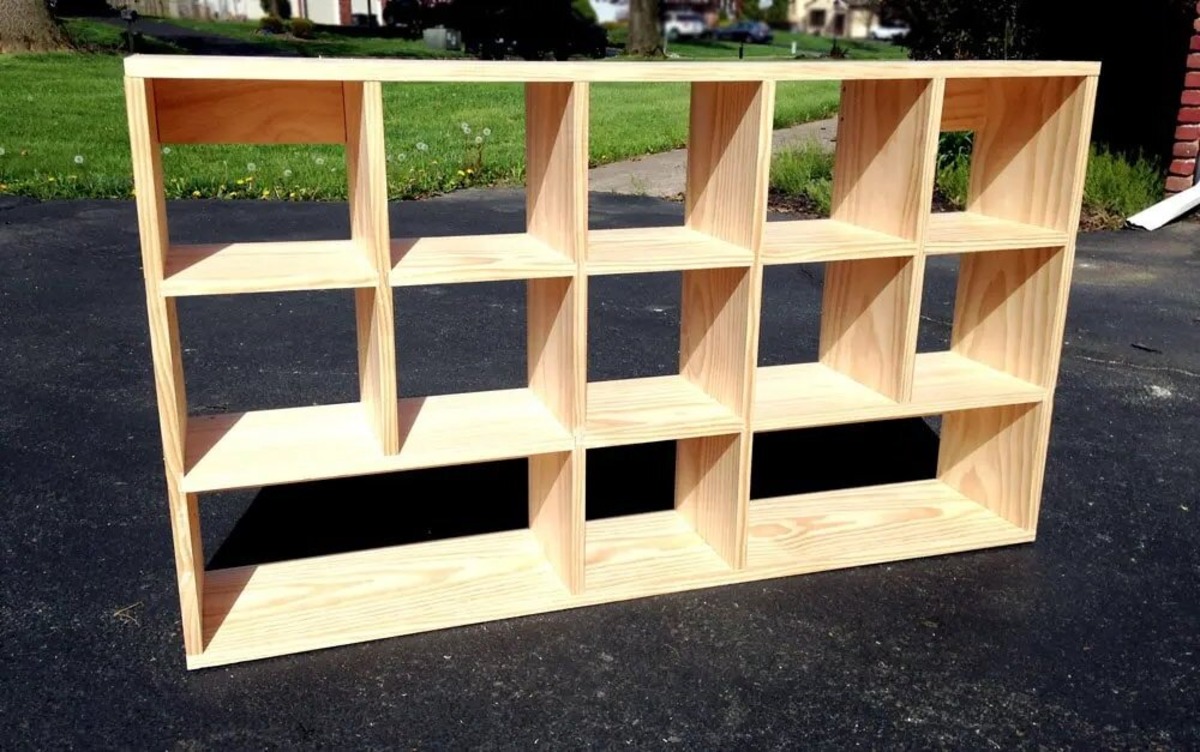
Assembling the Frame: Start by assembling the frame of the shelves. This typically involves creating a basic box shape using the cut wood pieces. Use screws and wood glue to secure the joints and ensure the frame is sturdy and stable.
-
Adding the Shelves: Once the frame is assembled, it's time to add the shelves. Measure and mark the positions where the shelves will be placed within the frame. Then, carefully attach the shelves using screws or dowels, ensuring they are level and evenly spaced.
-
Securing the Brackets: If you're using brackets to support the shelves, now is the time to attach them to the wall. Use a level to ensure the brackets are straight and mark the positions for the screws. Once the brackets are secured, place the assembled frame with shelves onto the brackets.
-
Finishing Touches: After the shelves are assembled, it's a good idea to add any finishing touches, such as sanding down rough edges and applying a coat of paint or varnish to enhance the appearance and protect the wood.
By following these steps, you can ensure that your DIY shelves are not only functional but also visually appealing and built to last.
Sanding and Finishing
After the shelves are assembled, it's time to focus on sanding and finishing to achieve a polished and professional look. Here's how to go about it:
-
Sanding the Wood: Use a medium-grit sandpaper to smooth out any rough edges, uneven surfaces, or imperfections on the wood. Work in the direction of the wood grain to avoid causing any scratches. Once the major imperfections are smoothed out, switch to a fine-grit sandpaper for a finer finish.
-
Removing Dust: After sanding, it's crucial to remove all the dust and debris from the wood. Use a tack cloth or a damp cloth to wipe down the shelves thoroughly. This step is essential to ensure that the finishing materials adhere properly to the wood surface.
-
Applying Wood Finish: Depending on the look you want to achieve, you can choose to apply a wood stain, paint, or varnish. Wood stain enhances the natural grain of the wood, while paint allows you to add a pop of color to the shelves. Varnish provides a protective layer that enhances the durability of the shelves. Apply the chosen finish using a brush or a cloth, following the manufacturer's instructions for the best results.
-
Drying Time: Allow the finish to dry completely before handling the shelves. This may take several hours, so be patient and avoid placing any items on the shelves until the finish is fully cured.
-
Optional: Adding a Second Coat: Depending on the type of finish you've chosen, you may opt to apply a second coat for added protection and a more vibrant color. Follow the recommended drying times between coats to achieve the best results.
By paying attention to the sanding and finishing process, you can elevate the overall look of your DIY shelves and ensure that they are well-protected against everyday wear and tear.
Installing the Shelves
Now that your shelves are fully assembled and finished, it's time to install them in their designated space. Here's a step-by-step guide to help you through the installation process:
-
Locate Wall Studs: Use a stud finder to locate the wall studs where you plan to mount the shelves. Securing the shelves to the studs will provide maximum support and stability.
-
Mark the Mounting Points: Once you've located the studs, use a pencil to mark the precise points where the brackets or mounting hardware will be attached to the wall. Use a level to ensure that the markings are straight and aligned.
-
Attach the Brackets: If you're using brackets to support the shelves, it's time to attach them to the wall. Use a drill and screws to secure the brackets to the marked mounting points. Make sure the brackets are firmly anchored to the wall.
-
Lift and Position the Shelves: With the help of a friend or family member, carefully lift the assembled shelves and position them onto the installed brackets. Ensure that the shelves are level and securely seated on the brackets.
-
Secure the Shelves: Once the shelves are in place, use a drill to secure them to the brackets. Depending on the design of your shelves, you may need to screw them in from the top or the bottom to ensure they are firmly attached.
-
Final Checks: After the shelves are installed, give them a final check to ensure they are level and secure. Test the shelves by placing some weight on them to ensure they can support the intended load.
By following these steps, you can ensure that your DIY shelves are safely and securely installed, ready to serve their purpose in providing functional and stylish storage space in your home.
Read more: How to Build a DIY Greenhouse Roof
Conclusion
Congratulations! You've successfully navigated the process of building shelves from scratch. By choosing the right materials, measuring and planning meticulously, cutting and assembling with precision, sanding and finishing with care, and installing the shelves securely, you've not only added functional storage space to your home but also showcased your DIY skills. The satisfaction of creating something with your own hands and the joy of seeing the finished product in your living space are truly priceless. So, take a step back, admire your handiwork, and bask in the glory of your newly built shelves. Whether you're displaying your favorite books, organizing your kitchen essentials, or showcasing your cherished collectibles, your DIY shelves are sure to be a standout feature in your home. Now, go ahead and revel in the sense of accomplishment that comes with a job well done!


