
Home>Create & Decorate>DIY & Crafts>DIY Pantry Cabinet: How To Build Your Own Storage Solution
DIY & Crafts
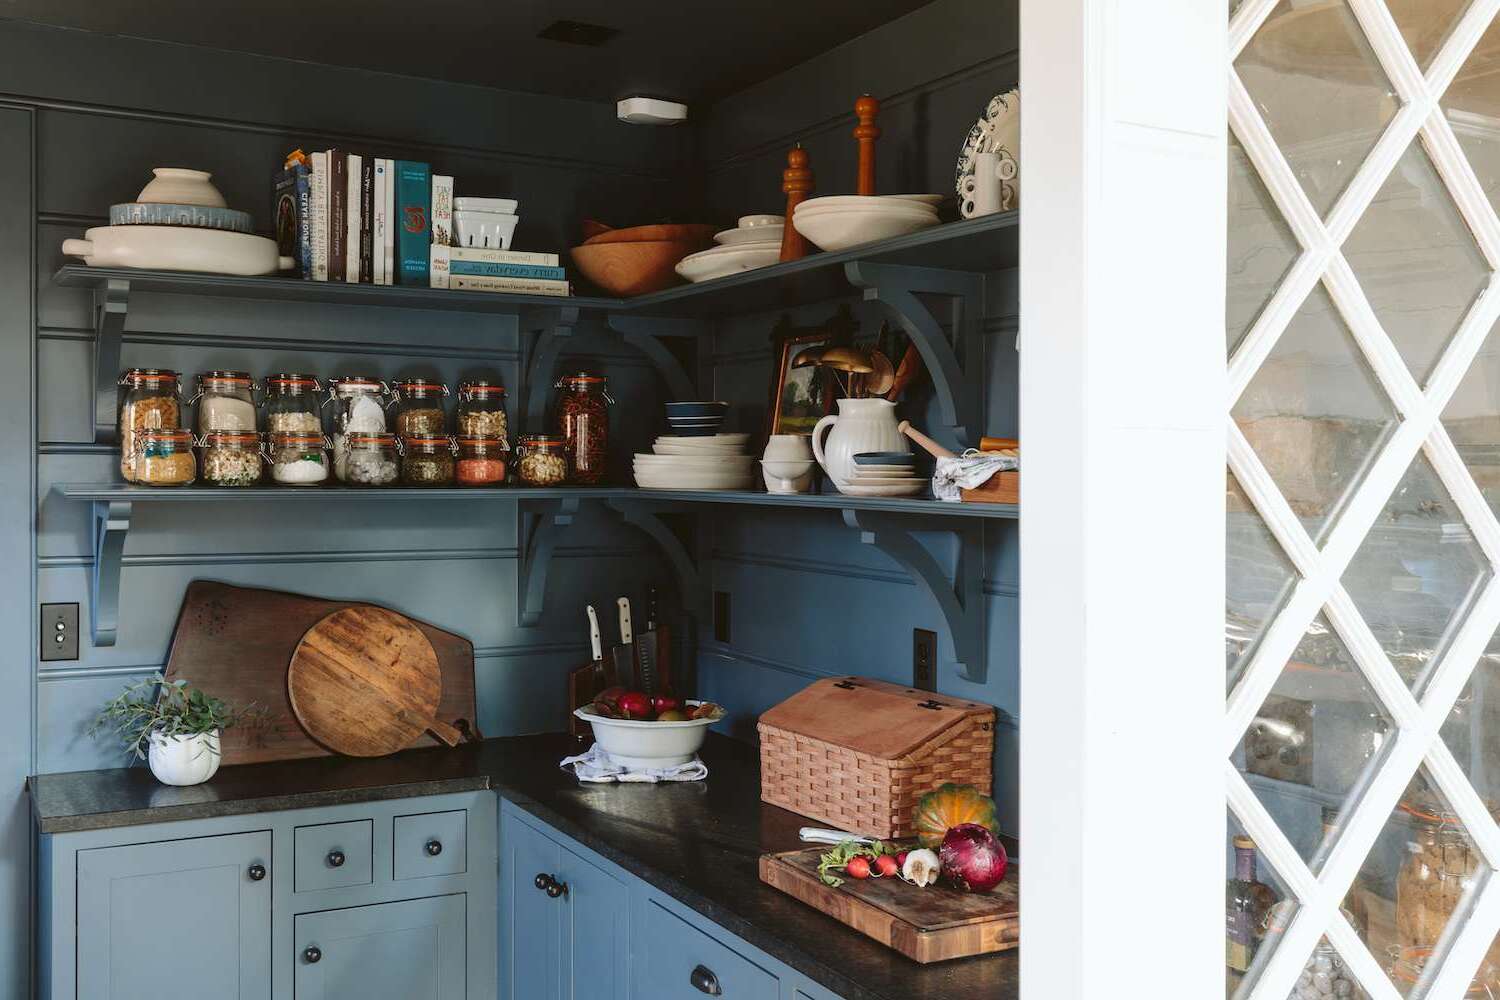
DIY Pantry Cabinet: How To Build Your Own Storage Solution
Published: May 29, 2024

Senior Editor in Create & Decorate, Kathryn combines traditional craftsmanship with contemporary trends. Her background in textile design and commitment to sustainable crafts inspire both content and community.
Discover how to create your own DIY pantry cabinet for a custom storage solution with our step-by-step guide. Perfect for DIY & Crafts enthusiasts!
(Many of the links in this article redirect to a specific reviewed product. Your purchase of these products through affiliate links helps to generate commission for Twigandthistle.com, at no extra cost. Learn more)
Introduction
So, you've been eyeing that empty space in your kitchen and thinking, "I could really use a pantry cabinet there." Well, you're in luck because building your own DIY pantry cabinet is not only doable, but it can also be a fun and rewarding project. Whether you're a seasoned DIY enthusiast or just starting out, creating your own storage solution can add both functionality and style to your kitchen. In this article, we'll guide you through the process of planning, gathering materials, building, and organizing your very own pantry cabinet. Let's roll up our sleeves and get started!
Planning Your DIY Pantry Cabinet
Before you dive into the sawdust and power tools, it's crucial to have a solid plan in place for your DIY pantry cabinet. Here are the steps to get you started:
-
Assess Your Space: Take a good look at the area where you plan to install the pantry cabinet. Measure the dimensions of the space to determine the size of the cabinet you can accommodate.
-
Determine Your Needs: Consider what you'll be storing in the pantry cabinet. Do you need space for tall items like cereal boxes and small appliances, or will it primarily hold canned goods and spices?
-
Sketch Your Design: Grab a pencil and paper and sketch out a rough design of how you want your pantry cabinet to look. Consider the number of shelves, the height of the cabinet, and whether you want it to have doors or be open-shelved.
-
Consider Accessibility: Think about how you want to access the items in your pantry. Will pull-out drawers or sliding shelves work best for you, or are simple fixed shelves sufficient?
-
Budget Your Project: Determine how much you're willing to spend on materials for your pantry cabinet. This will help you make decisions about the type of wood, hardware, and other components you'll use.
By taking the time to plan out your DIY pantry cabinet, you'll set yourself up for a smoother building process and a finished product that meets your specific storage needs.
Gathering Materials and Tools
Now that you have a clear plan for your DIY pantry cabinet, it's time to gather the necessary materials and tools to bring your vision to life. Here's what you'll need:
Materials:
- Wood: Select high-quality plywood or MDF for the cabinet frame and shelves. Consider the thickness and durability of the wood based on the weight of the items you'll be storing.
- Hardware: Purchase hinges, handles, and any other hardware needed for the cabinet doors. Additionally, you'll need screws, nails, and wood glue for assembly.
- Finishing Materials: Choose paint or stain to finish the cabinet, as well as a sealant to protect the wood from moisture and wear.
Tools:
- Measuring Tape: Accurate measurements are crucial for a well-fitted pantry cabinet, so a reliable measuring tape is essential.
- Saw: Depending on your design, you may need a circular saw, jigsaw, or table saw for cutting the wood to size.
- Drill: A power drill will be necessary for creating holes for screws and installing hardware.
- Sander: Smooth out rough edges and surfaces with a sander to ensure a professional finish.
- Clamps: These will come in handy for holding pieces together during assembly.
- Paintbrushes or Rollers: If you plan to paint or stain the cabinet, have the appropriate brushes or rollers on hand.
By ensuring you have all the required materials and tools before starting the construction, you'll be able to work efficiently and avoid unnecessary delays.
Building the Frame
Building the frame is a critical step in constructing your DIY pantry cabinet. The frame provides the structure and support for the shelves and doors, so it's essential to get this part right. Here's a step-by-step guide to building the frame for your pantry cabinet:
-
Cutting the Wood: Begin by cutting the plywood or MDF to the dimensions needed for the sides, top, bottom, and back of the cabinet. Use a saw that is appropriate for the thickness of the wood and ensure that the cuts are precise.
-
Assembling the Sides: Once the pieces are cut, assemble the sides of the frame by attaching the top and bottom pieces to the side panels. Use wood glue and screws to secure the joints, ensuring that the corners are square and the frame is sturdy.
-
Adding the Back Panel: After the sides are assembled, attach the back panel to provide stability and rigidity to the frame. This panel also serves as a surface for mounting the cabinet to the wall.
-
Installing Support Beams: Depending on the size of your pantry cabinet, it may be necessary to install support beams or braces within the frame to prevent sagging of the shelves over time. Measure and cut these supports to fit snugly within the frame and secure them in place.
-
Checking for Squareness: Before proceeding, double-check that the frame is square by measuring the diagonals. If the measurements are equal, the frame is square, and the shelves and doors will fit properly.
By following these steps, you'll be well on your way to creating a sturdy and reliable frame for your DIY pantry cabinet. Once the frame is complete, you can move on to the next phase of the construction process.
Installing Shelves and Doors
With the frame of your DIY pantry cabinet in place, it's time to focus on installing the shelves and doors to make it fully functional. Here's a detailed guide to help you through this crucial phase of the construction process:
-
Measuring for Shelves: Begin by measuring the internal dimensions of the cabinet to determine the size of the shelves needed. Take into account the height between each shelf to accommodate items of varying sizes.
-
Cutting the Shelves: Using the measurements obtained, cut the plywood or MDF to create the individual shelves. Ensure that the cuts are precise to guarantee a snug fit within the cabinet.
-
Installing Shelf Supports: Depending on your design, you may need to install shelf supports or brackets within the cabinet to hold the shelves in place. Position the supports at the desired heights and secure them firmly to the sides of the cabinet.
-
Attaching the Shelves: Place the cut shelves onto the installed supports, ensuring that they are level and secure. Use screws or pins to fix the shelves onto the supports, providing stability for storing various pantry items.
-
Hanging the Doors: If your pantry cabinet includes doors, it's time to hang them. Attach hinges to the doors and then to the cabinet frame, ensuring that they open and close smoothly. Check for proper alignment and make any necessary adjustments.
-
Adding Door Handles: Once the doors are in place, install the handles or knobs. Choose hardware that complements the overall design of your pantry cabinet and provides easy access to the contents inside.
By following these steps, you'll successfully complete the installation of shelves and doors, transforming your cabinet into a fully functional storage space for your kitchen essentials. With this phase completed, your DIY pantry cabinet is nearing its final stages of construction.
Adding Finishing Touches
As you near the completion of your DIY pantry cabinet, it's time to add the finishing touches that will enhance its appearance and durability. Here's a detailed guide to help you through this crucial phase of the construction process:
-
Sanding and Smoothing: Before applying any finish, thoroughly sand the surfaces of the cabinet to remove any rough spots, imperfections, or splinters. Use a fine-grit sandpaper to achieve a smooth and professional finish.
-
Applying Finish: Depending on your preference, you can choose to paint or stain the cabinet. If you opt for paint, select a color that complements your kitchen decor and apply multiple coats for a smooth and durable finish. If staining, choose a stain that enhances the natural beauty of the wood and follow up with a sealant to protect the surface.
-
Sealing the Edges: To prevent moisture from seeping into the wood, it's essential to seal the edges of the cabinet with a wood sealant. This will also protect the edges from wear and tear, ensuring the longevity of your pantry cabinet.
-
Installing Lighting: For added functionality and style, consider installing lighting inside the pantry cabinet. LED strip lights or battery-operated tap lights can illuminate the shelves, making it easier to locate items, especially in low-light conditions.
-
Adding Decorative Elements: To personalize your pantry cabinet, consider adding decorative elements such as trim, molding, or decorative hardware. These details can elevate the overall look of the cabinet and tie it in with the design of your kitchen.
-
Final Inspection: Once the finishing touches are in place, conduct a thorough inspection of the cabinet. Check for any remaining imperfections, ensure that the finish is even, and make any necessary touch-ups.
By following these steps, you'll elevate the appearance and functionality of your DIY pantry cabinet, creating a storage solution that not only serves its purpose but also adds aesthetic value to your kitchen space. With the finishing touches complete, your pantry cabinet is ready to be stocked and organized with all your favorite pantry essentials.
Organizing and Stocking Your Pantry Cabinet
Now that your DIY pantry cabinet is complete, it's time to organize and stock it with all your favorite pantry essentials. Proper organization and thoughtful stocking will not only maximize the functionality of your cabinet but also make it a joy to use on a daily basis. Here's a detailed guide to help you through this important phase:
Categorize Your Items
Begin by categorizing your pantry items into groups such as canned goods, dry goods, spices, baking supplies, snacks, and small appliances. This will help you determine the best placement for each category within the cabinet and make it easier to locate items when needed.
Utilize Storage Containers
Consider using clear storage containers for items like flour, sugar, rice, and pasta. Transferring these items into uniform containers not only keeps them fresh longer but also creates a neat and organized look inside the cabinet. Label the containers for quick identification.
Optimize Shelf Space
Adjust the shelf heights to accommodate the various heights of your pantry items. Taller items such as cereal boxes and small appliances can be placed on the lower shelves, while shorter items like spices and canned goods can be stored on higher shelves.
Consider Accessibility
Place frequently used items at eye level or within easy reach. This ensures that everyday essentials are readily accessible, saving you time and effort when preparing meals or grabbing a quick snack.
Create Zones
Designate specific areas for different categories of items. For example, reserve one section for baking supplies, another for canned goods, and a separate area for snacks. This zoning approach makes it easy to maintain an organized pantry cabinet over time.
Stocking Tips
When stocking your pantry cabinet, consider the FIFO (First In, First Out) method. Place newer items behind older ones to ensure that older items are used first, reducing the likelihood of items expiring or going to waste.
Maintenance and Rotation
Regularly check the expiration dates of items and rotate stock as needed. This practice helps prevent food waste and ensures that your pantry cabinet remains stocked with fresh and usable items.
By following these organizing and stocking tips, you'll transform your DIY pantry cabinet into a well-organized and efficiently stocked storage space that meets your daily kitchen needs. With everything in its place and easily accessible, you'll enjoy the convenience and functionality of your newly built pantry cabinet.
Conclusion
Congratulations on successfully building your own DIY pantry cabinet! By following the steps outlined in this guide, you've created a customized storage solution that not only adds functionality to your kitchen but also reflects your personal style and preferences. From the initial planning and gathering of materials to the construction, finishing touches, and organization, you've invested time and effort into a project that will benefit you for years to come.
As you step back and admire your handiwork, take pride in the fact that you've not only saved money by building your own pantry cabinet but also tailored it to perfectly suit your storage needs. Whether it's neatly organizing your favorite ingredients, showcasing your culinary essentials, or simply decluttering your kitchen space, your DIY pantry cabinet stands as a testament to your creativity and resourcefulness.
As you enjoy the convenience and efficiency of your newly built pantry cabinet, remember that the skills and knowledge you've gained from this project can be applied to future DIY endeavors. Whether it's tackling additional home improvement projects or exploring new creative pursuits, the experience of building your own pantry cabinet has equipped you with valuable insights and confidence in your abilities.
Now, with your pantry cabinet fully stocked and organized, take a moment to appreciate the transformation it has brought to your kitchen. Your DIY pantry cabinet not only serves as a practical storage solution but also adds a touch of craftsmanship and individuality to your home. Embrace the satisfaction of a job well done and the joy of having a functional and stylish pantry cabinet that you can proudly call your own.