Home>Create & Decorate>DIY & Crafts>How To Build Cabinets With Drawers

DIY & Crafts
How To Build Cabinets With Drawers
Published: May 23, 2024

Content Creator specializing in woodworking and interior transformations. Caegan's guides motivate readers to undertake their own projects, while his custom furniture adds a personal touch.
Learn how to build cabinets with drawers in this comprehensive DIY & Crafts guide. Create custom storage solutions for your home with our step-by-step instructions.
(Many of the links in this article redirect to a specific reviewed product. Your purchase of these products through affiliate links helps to generate commission for Twigandthistle.com, at no extra cost. Learn more)
Introduction
Are you looking to add some extra storage space to your kitchen, bathroom, or workshop? Building your own cabinets with drawers can be a rewarding and cost-effective DIY project. Whether you're a seasoned woodworker or a beginner looking to expand your skills, constructing cabinets with drawers can be a fulfilling endeavor. In this article, we'll guide you through the step-by-step process of building your own cabinets with drawers, from planning and measuring to adding the finishing touches. So, roll up your sleeves, grab your tools, and let's get started on this exciting journey of creating custom storage solutions for your home!
Read more: How To Build Drawers In A Closet
Planning and Measuring
Before you dive into the sawdust and power tools, it's crucial to start with a solid plan. Begin by assessing the space where your cabinets will be installed. Take precise measurements of the height, width, and depth of the area to ensure that your custom cabinets will fit perfectly. Consider the items you intend to store in the cabinets and drawers, as this will help determine the size and layout of the storage spaces. Sketch out a rough design or use a software program to visualize the cabinet and drawer layout. This planning phase is essential for ensuring that your DIY cabinets will meet your storage needs and fit seamlessly into the designated space.
Next, make a detailed list of materials and tools you'll need for the project. This may include plywood or MDF for the cabinet boxes, solid wood for the face frames and drawer fronts, drawer slides, screws, wood glue, and finishing materials. Don't forget to account for hardware such as knobs or handles. Having a comprehensive list will help you stay organized and ensure that you have everything on hand when it's time to start building.
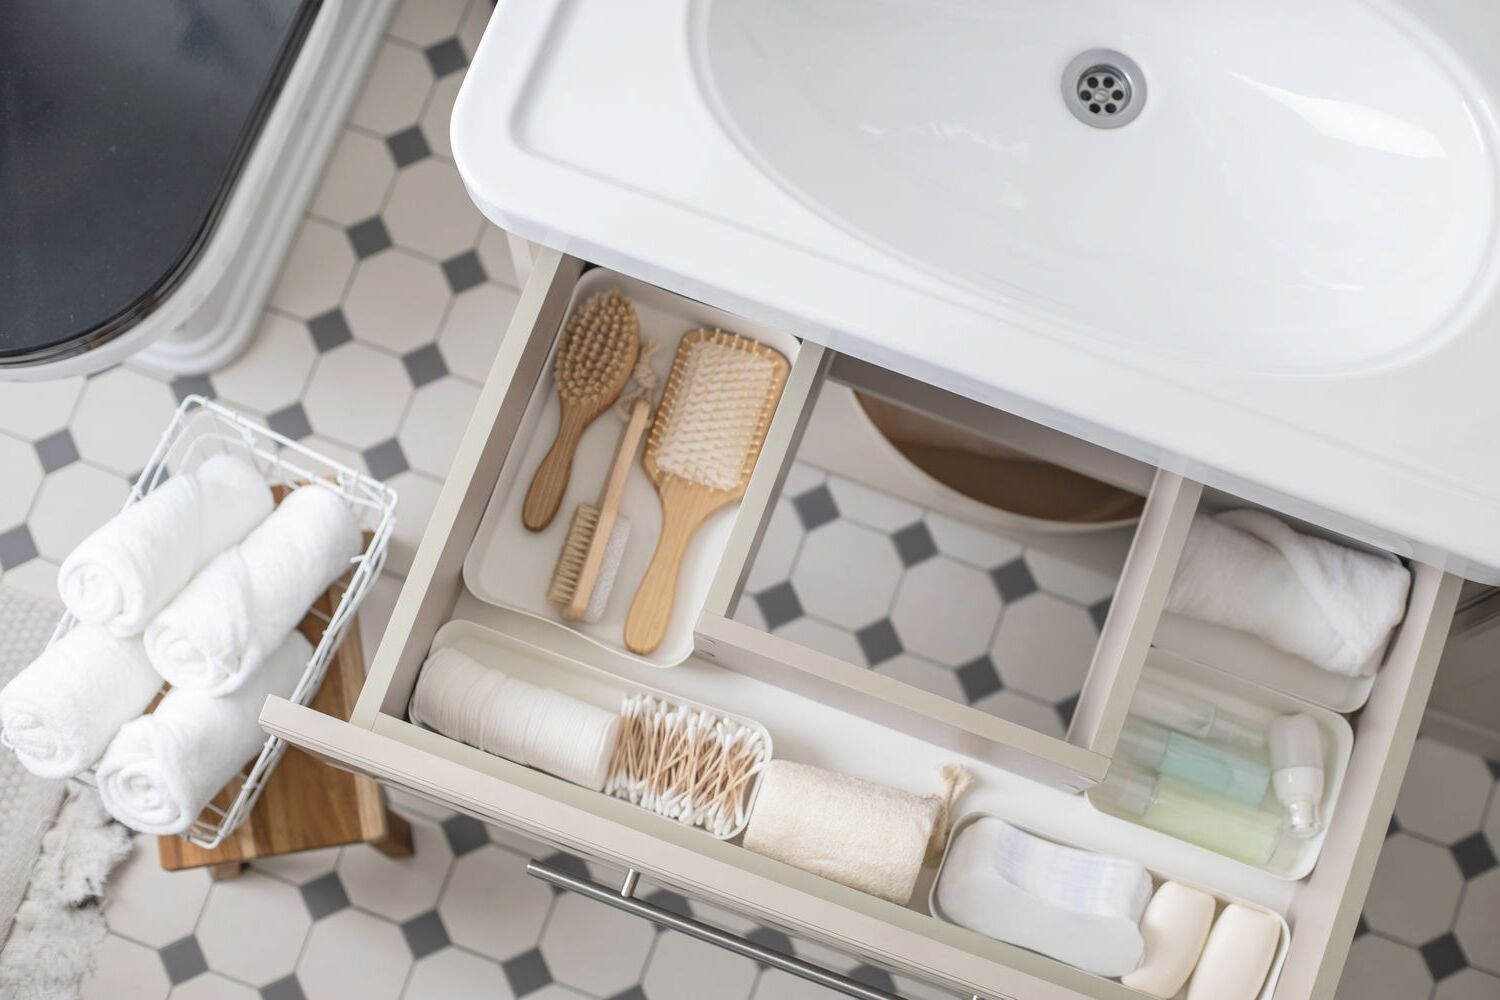
Consider the overall style and design of your cabinets. Are you aiming for a modern, sleek look, or do you prefer a more traditional, rustic feel? The design choices you make will influence the materials you select and the construction methods you employ. Additionally, think about the functionality of the drawers. Will you need deep drawers for pots and pans, or shallow drawers for utensils and small items? Taking these factors into account during the planning phase will set the stage for a successful cabinet-building project.
Selecting Materials and Tools
When it comes to selecting materials for building cabinets with drawers, quality and durability are key. Opt for sturdy plywood or MDF (medium-density fiberboard) for constructing the cabinet boxes. These materials are readily available at most home improvement stores and offer excellent stability for your cabinets. For the face frames and drawer fronts, consider using solid wood such as oak, maple, or cherry for a timeless and robust finish. Keep in mind that the type of wood you choose will impact the overall aesthetic of your cabinets, so select a species that aligns with your design preferences.
In addition to the primary materials, you'll need a variety of tools to bring your cabinet-building project to life. Essential tools may include a table saw or circular saw for cutting the plywood and solid wood, a power drill/driver for assembling the cabinet components, clamps for securing pieces during assembly, a tape measure for precise dimensions, and a level to ensure your cabinets are installed straight and true. Don't forget about sandpaper and finishing supplies to add that final touch of polish to your completed cabinets.
When it comes to hardware, you'll need to choose drawer slides that are durable and smooth-operating. Full-extension ball-bearing drawer slides are a popular choice for their functionality and accessibility, allowing the entire drawer to extend fully for easy access to the contents. Additionally, select knobs or handles that complement the style of your cabinets and provide a comfortable grip for opening and closing the drawers. Taking the time to carefully choose your materials and tools will set the stage for a successful cabinet-building endeavor.
Building the Cabinet Frame
-
Cutting the Panels: Begin by cutting the plywood or MDF panels to the appropriate dimensions for the cabinet box. Use a table saw or circular saw to make precise cuts, ensuring that the pieces are square and accurately sized according to your initial measurements.
-
Assembling the Box: Once the panels are cut, it's time to assemble the cabinet box. Apply wood glue to the edges of the panels and use screws to secure them together. A corner clamp can be incredibly helpful in ensuring that the box remains square during assembly. Check for squareness using a carpenter's square to guarantee that the cabinet box is perfectly aligned.
-
Adding the Face Frame: If you opt for a traditional cabinet design with a face frame, carefully attach the solid wood frame to the front of the cabinet box. This not only adds structural support but also enhances the aesthetic appeal of the cabinets. Use wood glue and finish nails to secure the face frame in place, ensuring that it aligns perfectly with the edges of the cabinet box.
-
Creating Support and Back Panels: To reinforce the cabinet structure, consider adding support panels at the back of the cabinet box. These panels can be cut from the same material as the cabinet box and provide additional stability. Additionally, a back panel can be installed to enclose the back of the cabinet, offering a clean and finished look while further strengthening the structure.
-
Adjusting for Drawers: Depending on the design of your cabinets, you may need to make accommodations for the drawers within the cabinet box. This may involve adding support rails or a drawer support system to ensure that the drawers will operate smoothly within the cabinet frame.
By following these steps, you can construct a sturdy and well-built cabinet frame that serves as the foundation for the drawers and doors that will be added in the subsequent stages of the project.
Constructing the Drawers
-
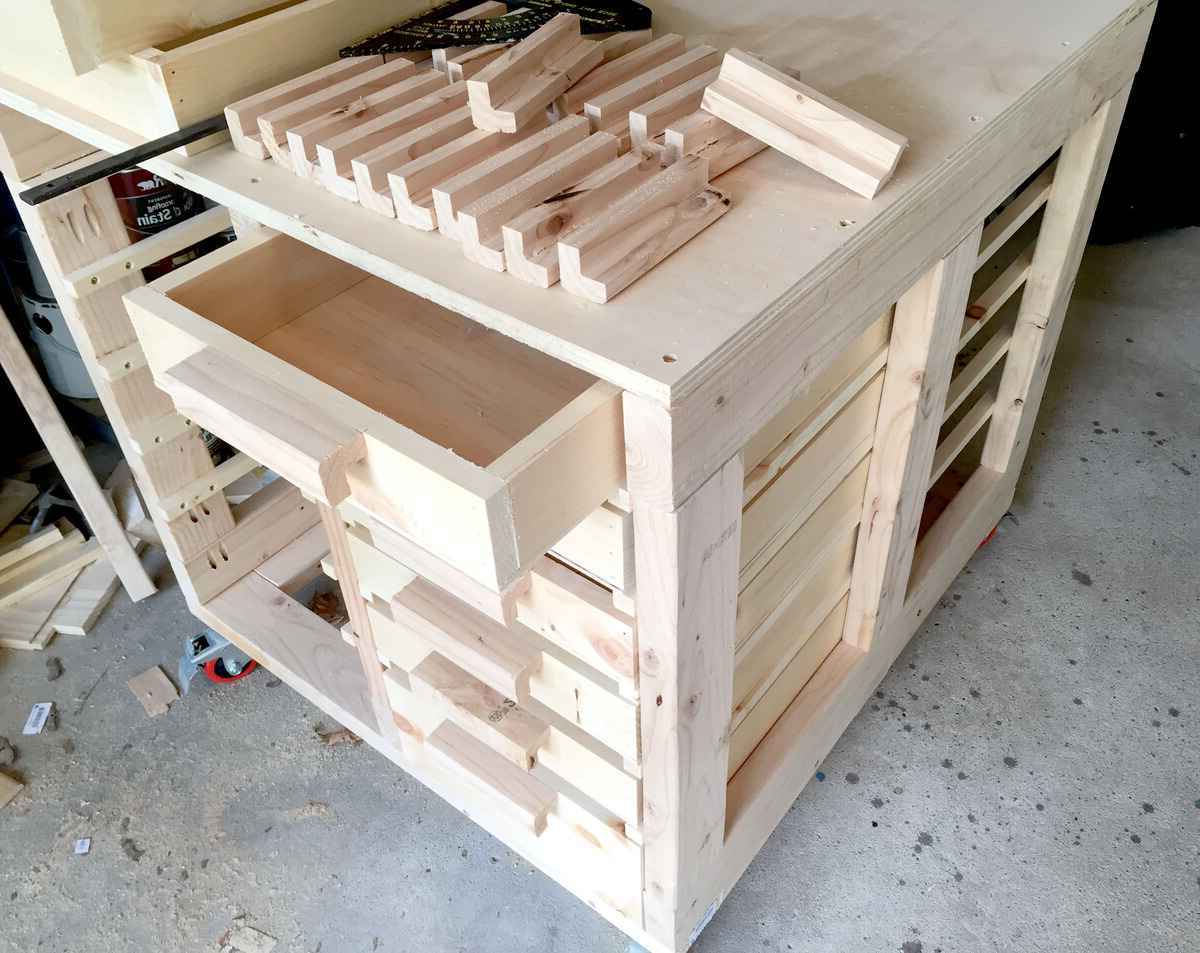
Measuring and Cutting: Begin by measuring the dimensions for the drawers, taking into account the space available within the cabinet and the intended use of the drawers. Once you have the measurements, cut the pieces for the drawer box, including the front, back, sides, and bottom, from the chosen material, typically plywood or solid wood.
-
Assembling the Drawer Box: Use wood glue and screws to assemble the pieces, forming the rectangular shape of the drawer box. Ensure that the corners are square and the box is sturdy. A clamp can be helpful in holding the pieces together during assembly.
-
Adding the Drawer Front: Once the drawer box is assembled, it's time to attach the drawer front. This is the visible, outer face of the drawer that will be seen when the cabinet is closed. Carefully align the front with the edges of the drawer box and secure it in place using wood glue and screws from the inside of the drawer box.
-
Installing the Drawer Bottom: Slide the drawer bottom into place, ensuring that it fits snugly within the grooves or rabbets in the drawer box. The bottom adds structural support to the drawer and provides a surface for items to rest on.
-
Testing and Adjusting: Before proceeding, test the fit of the drawer within the cabinet. It should slide in and out smoothly without sticking or wobbling. If adjustments are needed, such as planing or sanding the edges for a better fit, make them at this stage.
-
Applying Finish: If desired, this is the time to apply a finish to the drawer, whether it's paint, stain, or a protective sealant. This not only enhances the appearance of the drawer but also provides added durability and protection.
By following these steps, you can construct sturdy, well-fitting drawers that will seamlessly integrate into your custom cabinets, providing functional and aesthetically pleasing storage solutions for your home.
Read more: How To Build A Drawer With Slides
Installing Drawer Slides
-
Selecting the Right Drawer Slides: Before installing drawer slides, it's crucial to choose the appropriate type for your cabinets. Common options include side-mount, center-mount, and undermount slides. Side-mount slides are attached to the sides of the drawer and cabinet, while center-mount slides are installed beneath the drawer. Undermount slides offer a sleek, concealed look and are mounted beneath the drawer, providing smooth and quiet operation.
-
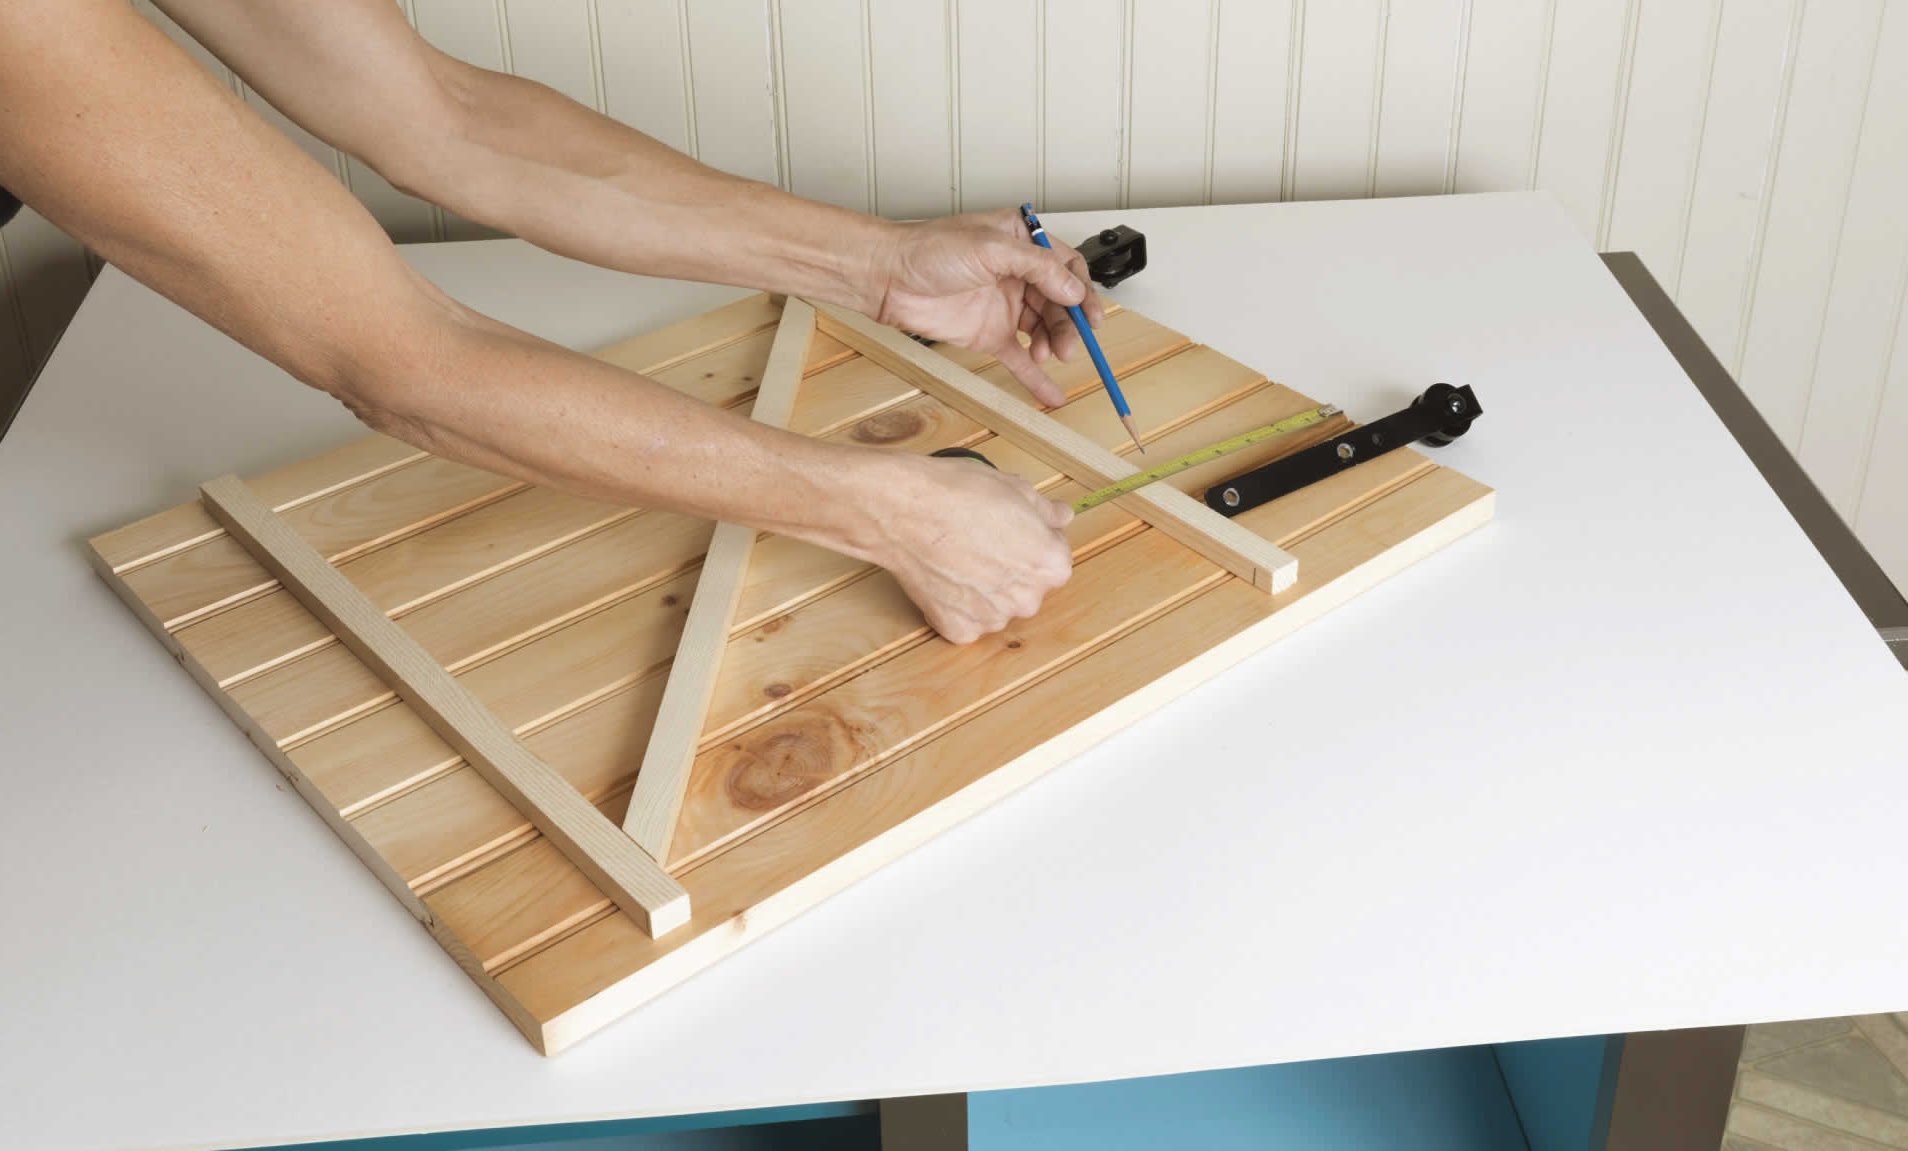
Measuring and Marking: Start by measuring the height and depth of the cabinet interior to determine the placement of the drawer slides. Mark the positions where the slides will be installed, ensuring that they are level and aligned for both sides of the cabinet.
-
Attaching the Drawer Slides to the Cabinet: Begin by attaching the drawer slides to the sides of the cabinet. Use screws to secure the slides in place, following the manufacturer's guidelines for placement and spacing. It's essential to ensure that the slides are parallel and level to guarantee smooth drawer operation.
-
Mounting the Drawer Slides on the Drawer: With the cabinet slides in place, it's time to mount the complementary slides on the drawer itself. Carefully align the slides with the corresponding ones in the cabinet, ensuring that they are level and positioned correctly. Secure the slides to the drawer using screws, taking care to maintain alignment and parallel positioning.
-
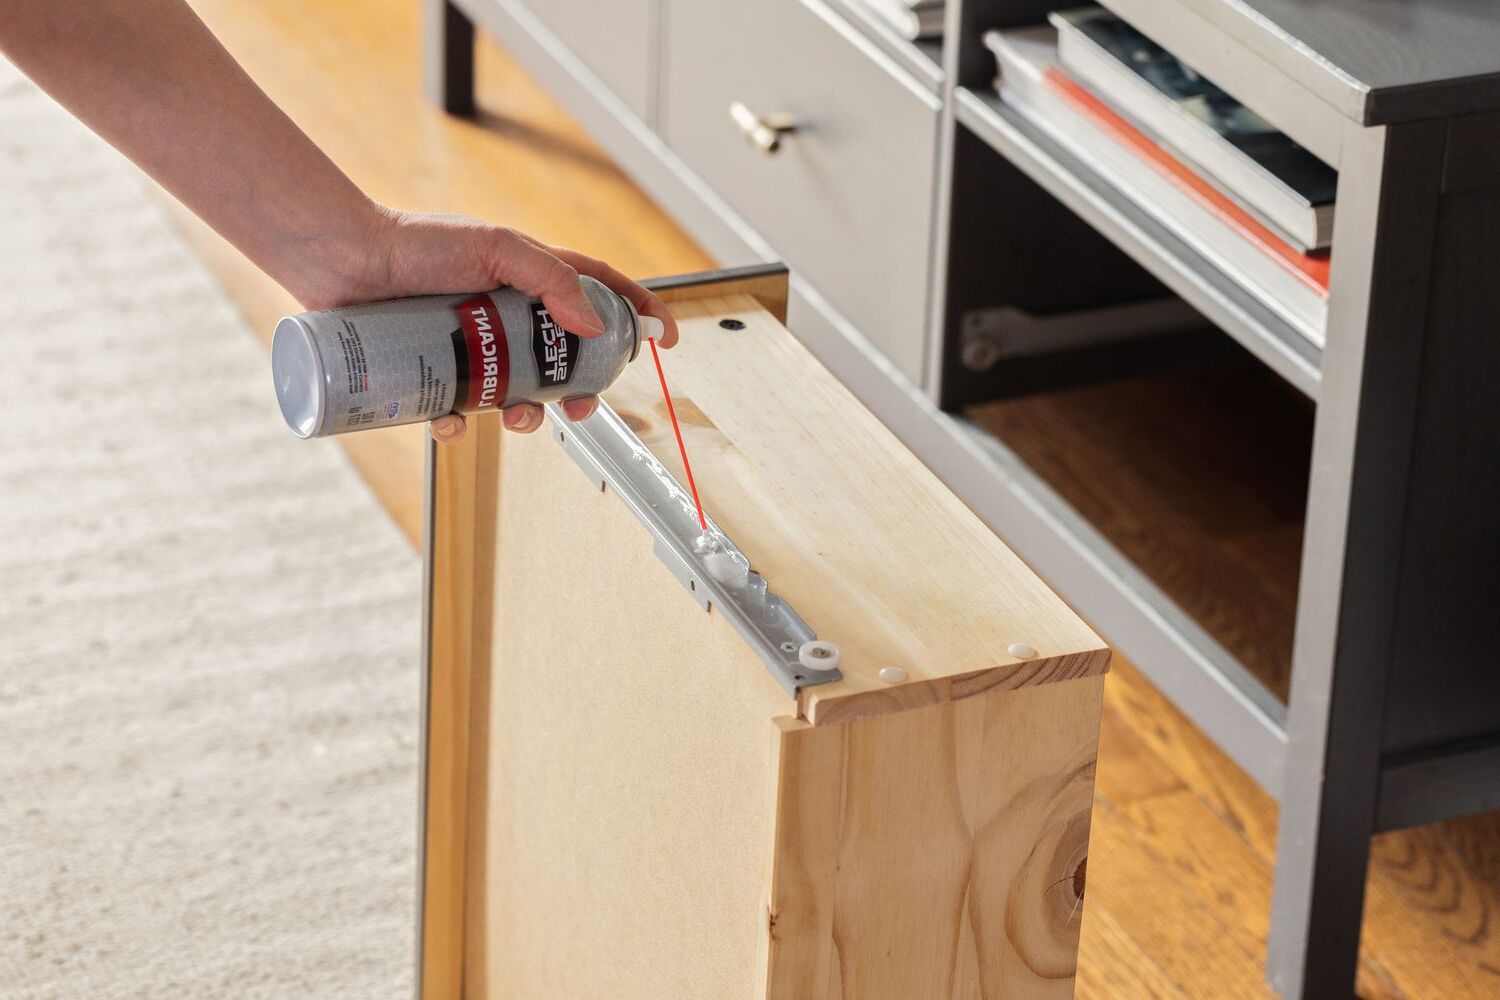
Testing the Drawer Operation: Once the slides are installed on both the cabinet and the drawer, test the operation of the drawer. It should glide in and out smoothly, without sticking or binding. Make any necessary adjustments to the slides to ensure that the drawer operates seamlessly within the cabinet.
-
Fine-Tuning and Alignment: After testing the drawer, check for proper alignment and make any final adjustments to the slides. This may involve minor tweaks to ensure that the drawer sits squarely within the cabinet and operates smoothly.
By following these steps, you can successfully install drawer slides that provide reliable and effortless functionality, enhancing the overall usability of your custom cabinets with drawers.
Attaching Drawer Fronts
Attaching the drawer fronts is a crucial step in the cabinet-building process, as it not only adds to the aesthetic appeal of the cabinets but also ensures that the drawers operate smoothly and align perfectly within the cabinet openings.
-
Positioning the Fronts: Begin by positioning the drawer fronts on the drawer boxes, ensuring that they are evenly spaced and aligned with one another. Use spacers or shims to maintain consistent gaps between the drawer fronts, creating a uniform and visually appealing look.
-
Securing the Fronts: Once the drawer fronts are positioned to your satisfaction, use clamps to hold them in place. This will prevent any shifting or misalignment during the attachment process. With the fronts securely clamped, open the drawer and drive screws through the inside of the drawer box into the back of the drawer front. This method of attachment ensures a strong and secure bond between the drawer front and the box.
-
Checking for Alignment: After attaching the drawer fronts, carefully inspect the alignment and spacing to ensure that they are uniform and level. Make any necessary adjustments to the positioning of the fronts to achieve a consistent and professional appearance.
-
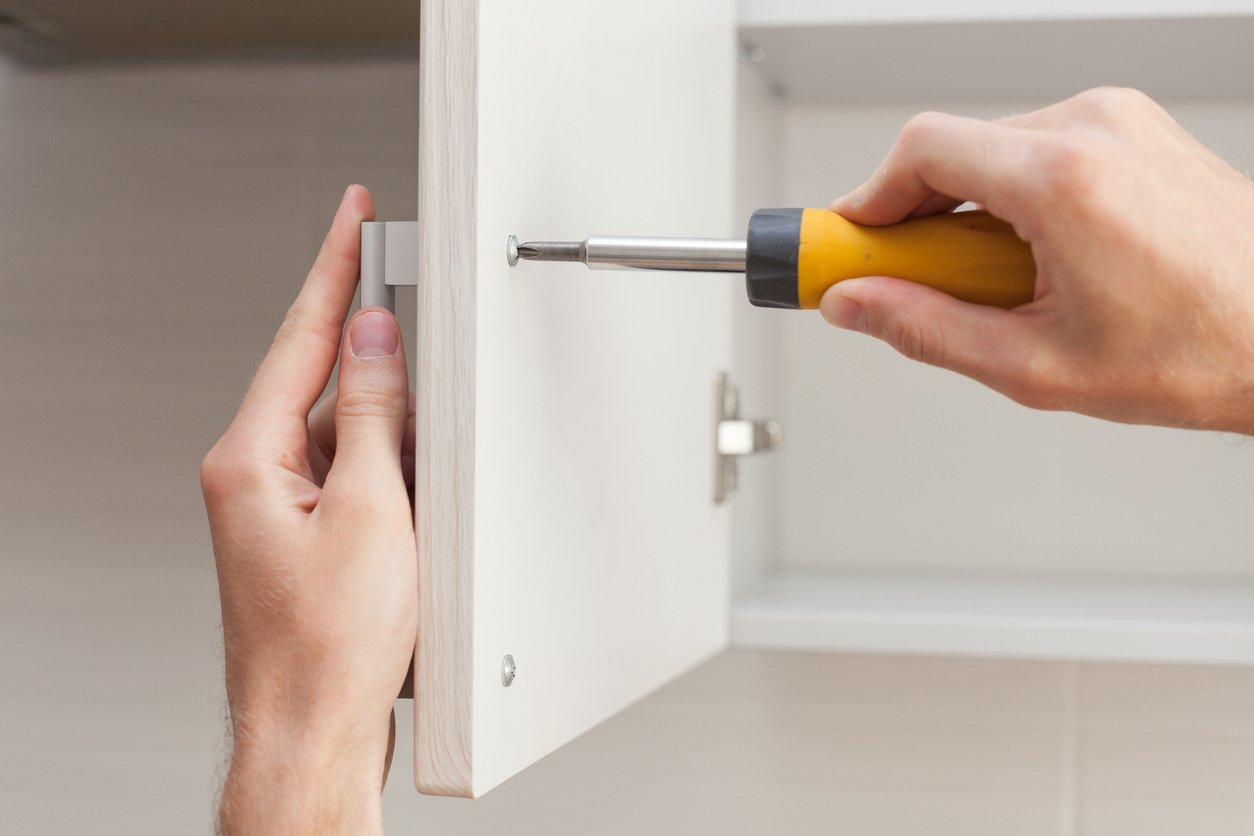
Adding Hardware: With the drawer fronts securely attached, it's time to add the finishing hardware. Install knobs or handles that complement the style of your cabinets and provide a comfortable grip for opening and closing the drawers. Ensure that the hardware is positioned uniformly on each drawer front for a cohesive and polished look.
-
Testing the Operation: Once the drawer fronts and hardware are in place, test the operation of the drawers. They should open and close smoothly, with the fronts aligning seamlessly with the surrounding cabinet doors. Make any final adjustments to the positioning or hardware as needed to achieve optimal functionality and visual appeal.
By following these steps, you can effectively attach drawer fronts that not only enhance the overall appearance of your cabinets but also contribute to the smooth and reliable operation of the drawers.
Finishing Touches and Hardware
Once the construction of the cabinets and drawers is complete, it's time to add the finishing touches that will elevate the overall appearance and functionality of your custom storage solution. Here are the essential steps to consider when adding the final details and hardware to your DIY cabinets with drawers:
-
Sanding and Smoothing: Before applying any finish, thoroughly sand the surfaces of the cabinets and drawers to ensure a smooth and even texture. Start with a coarse-grit sandpaper to remove any rough spots or imperfections, then progress to finer-grit sandpaper for a polished finish. Pay special attention to the edges and corners to achieve a professional look.
-
Applying Finish: Choose a finish that complements the style of your cabinets and provides the desired level of protection. Options include paint, stain, or clear sealants. Apply the finish evenly using a brush, roller, or sprayer, following the manufacturer's recommendations for application and drying times. Multiple coats may be necessary to achieve the desired look and durability.
-
Adding Trim and Molding: Consider adding decorative trim or molding to the cabinet doors and drawer fronts to enhance their visual appeal. Trim can create a more polished and refined appearance, adding character and depth to the overall design. Whether you opt for simple, clean lines or intricate detailing, trim and molding can elevate the look of your cabinets.
-
Installing Hardware: The choice of knobs, handles, and pulls can significantly impact the style and functionality of your cabinets. Select hardware that complements the overall design aesthetic and provides a comfortable grip for opening and closing the drawers. Ensure that the hardware is installed uniformly across all drawers for a cohesive and balanced look.
-
Adjusting and Aligning: Once the finishing touches and hardware are in place, take the time to check for proper alignment and functionality. Ensure that the drawers open and close smoothly, and that the cabinet doors align evenly. Make any necessary adjustments to the hardware or alignment to achieve a professional and polished result.
By paying attention to these finishing touches and hardware details, you can transform your DIY cabinets with drawers into a visually stunning and functional addition to your home. The careful application of finishes, the addition of decorative elements, and the selection of quality hardware will contribute to the overall success of your cabinet-building project.
Conclusion
Congratulations on completing the construction of your custom cabinets with drawers! By following the step-by-step process outlined in this guide, you've not only expanded your DIY skills but also created practical and stylish storage solutions for your home. From the initial planning and measuring to the finishing touches and hardware installation, each stage has contributed to the creation of functional and visually appealing cabinets that meet your specific storage needs.
As you admire your handiwork, take pride in the craftsmanship and attention to detail that have gone into building your cabinets with drawers. Whether they're enhancing your kitchen, bathroom, or workshop, these custom storage units are a testament to your creativity and dedication to improving your living space.
With your newfound knowledge and experience, you may even consider tackling more advanced woodworking projects in the future. Whether it's building additional furniture pieces or taking on larger renovation endeavors, the skills you've honed in this project will serve as a solid foundation for future DIY endeavors.
As you enjoy the convenience and organization that your new cabinets with drawers provide, remember that the possibilities for customization and personalization are endless. Whether it's the choice of materials, the design of the drawers, or the selection of hardware, your cabinets are a reflection of your unique style and preferences.
Thank you for joining us on this journey of cabinet construction, and we hope that your newly built cabinets with drawers bring both practical functionality and aesthetic charm to your living space. Happy building!

