Home>Create & Decorate>DIY & Crafts>DIY Nightstand: Creative Ideas And Step-by-Step Instructions

DIY & Crafts
DIY Nightstand: Creative Ideas And Step-by-Step Instructions
Published: June 2, 2024

Senior Editor in Create & Decorate, Kathryn combines traditional craftsmanship with contemporary trends. Her background in textile design and commitment to sustainable crafts inspire both content and community.
Discover creative DIY nightstand ideas and step-by-step instructions to enhance your bedroom decor. Get inspired with our DIY & Crafts projects!
(Many of the links in this article redirect to a specific reviewed product. Your purchase of these products through affiliate links helps to generate commission for Twigandthistle.com, at no extra cost. Learn more)
Introduction
Are you looking to add a personal touch to your bedroom decor? A DIY nightstand might just be the perfect project for you. Not only does it allow you to showcase your creativity, but it also provides a practical solution for bedside storage. Whether you're a seasoned DIY enthusiast or a novice looking for a fun project, creating your own nightstand can be a rewarding and fulfilling experience. In this article, we'll explore some creative ideas and provide step-by-step instructions to help you bring your vision to life. So, roll up your sleeves and get ready to embark on a DIY adventure!
Choosing the Right Materials
When embarking on a DIY nightstand project, selecting the right materials is crucial to ensure both the aesthetic appeal and durability of the final product. Here are some essential materials to consider:
1. Wood
Opt for sturdy and visually appealing wood such as oak, pine, or walnut. These options provide durability and can be easily customized to match your bedroom decor.
2. Hardware
Choose high-quality drawer slides, knobs, and screws to ensure the functionality and longevity of your nightstand. Consider the style and finish of the hardware to complement the overall design.
3. Decorative Elements
Incorporate decorative elements such as trim, molding, or metal accents to add character to your nightstand. These details can elevate the visual appeal of the piece and tie it in with the rest of your bedroom furniture.
4. Paint or Stain
Decide whether you want to paint or stain the nightstand. If you opt for paint, choose a color that harmonizes with your bedroom palette. For staining, select a shade that enhances the natural beauty of the wood.
5. Tools
Ensure you have the necessary tools on hand, including a saw, drill, sander, and measuring tape. Having the right tools will make the construction process smoother and more efficient.
By carefully selecting the materials for your DIY nightstand, you can lay a solid foundation for a beautiful and functional piece of furniture that reflects your personal style and craftsmanship.
Creative Design Ideas
-
Floating Nightstand: Create a sleek and modern look by crafting a floating nightstand that attaches directly to the wall. This design not only saves space but also gives the illusion of a more expansive bedroom.
-
Repurposed Materials: Embrace sustainability by using repurposed materials such as reclaimed wood or vintage crates to construct your nightstand. Not only does this add character to your piece, but it also reduces environmental impact.
-
Multi-Tiered Nightstand: Maximize storage and display space by incorporating multiple tiers or shelves into your design. This allows you to keep bedside essentials within reach while showcasing decorative items.
-
Geometric Patterns: Add visual interest to your nightstand by incorporating geometric patterns into the design. Whether through the use of contrasting wood grains or intricate cutout details, geometric elements can make your nightstand a standout feature in your bedroom.
-
Hidden Compartment: Integrate a hidden compartment into your nightstand for discreet storage. This can be achieved through a cleverly designed drawer or a hinged top, providing a secure spot for valuables or personal items.
-
Industrial Chic: Embrace an industrial aesthetic by using metal accents and raw, unfinished wood. This design approach lends a contemporary and edgy vibe to your nightstand, perfect for those with a penchant for urban-inspired decor.
-
Personalized Touches: Consider adding personalization such as engraved initials, a meaningful quote, or a custom stencil design. These personalized touches can make your nightstand truly one-of-a-kind and reflective of your individual style.
-
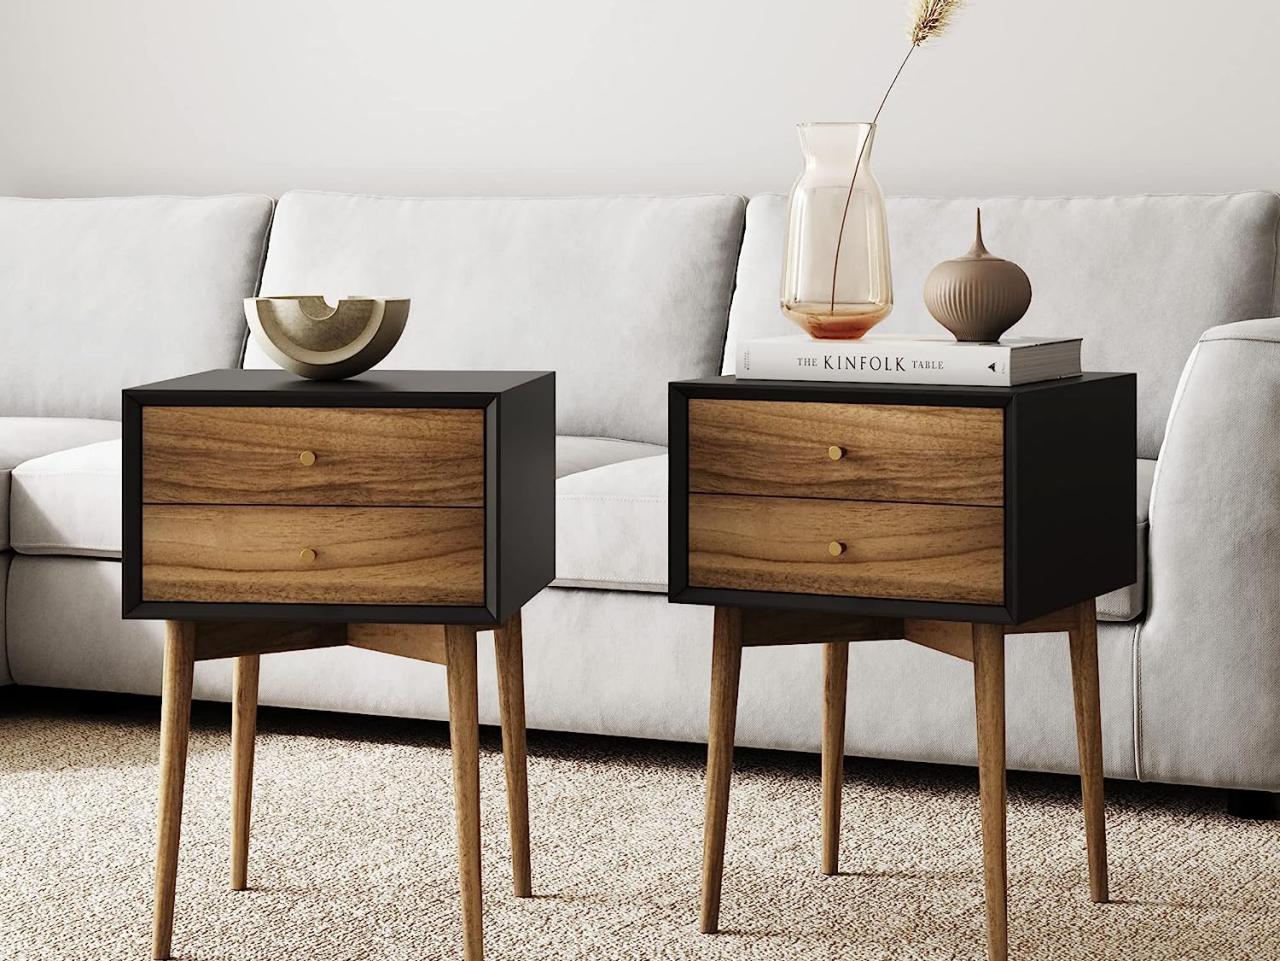
Color Blocking: Experiment with color blocking techniques to infuse your nightstand with a pop of color. Whether through painted drawer fronts or contrasting wood stains, color blocking adds a playful and dynamic element to your design.
By incorporating these creative design ideas into your DIY nightstand project, you can tailor the piece to suit your personal style and elevate the overall aesthetic of your bedroom.
Step-by-Step Instructions
-
Measure and Plan: Begin by measuring the space where your nightstand will be placed. Consider the height, width, and depth that would best suit your needs. Once you have the measurements, sketch a rough plan of the nightstand, including the placement of drawers, shelves, or any other features you desire.
-
Select and Prepare the Wood: Choose the wood for your nightstand and cut it to the appropriate dimensions based on your plan. Sand the edges and surfaces to ensure a smooth finish. If you're staining the wood, apply the stain and allow it to dry completely before proceeding.
-
Assemble the Frame: Assemble the basic frame of the nightstand using wood glue and screws. Ensure that the corners are square and the structure is sturdy. This forms the foundation of your nightstand.
-
Add Drawers or Shelves: If your design includes drawers or shelves, construct and install them within the frame. Use accurate measurements to ensure they fit snugly and operate smoothly. Consider adding drawer slides for ease of use.
-
Attach Hardware: Install the drawer knobs, pulls, or any other hardware according to your design. This is the finishing touch that adds both functionality and aesthetic appeal to your nightstand.
-
Apply Finishing Touches: Sand the entire nightstand to smooth out any rough edges or surfaces. If you're painting the nightstand, apply the paint in even coats, allowing each coat to dry before applying the next. For a professional finish, consider using a paint sprayer. If you're staining the wood, apply a clear coat to protect the surface and enhance its natural beauty.
-
Secure the Nightstand: Once the finish has dried, carefully move the nightstand to its intended location. Use a level to ensure it sits evenly on the floor. Secure it to the wall if you've opted for a floating design.
-
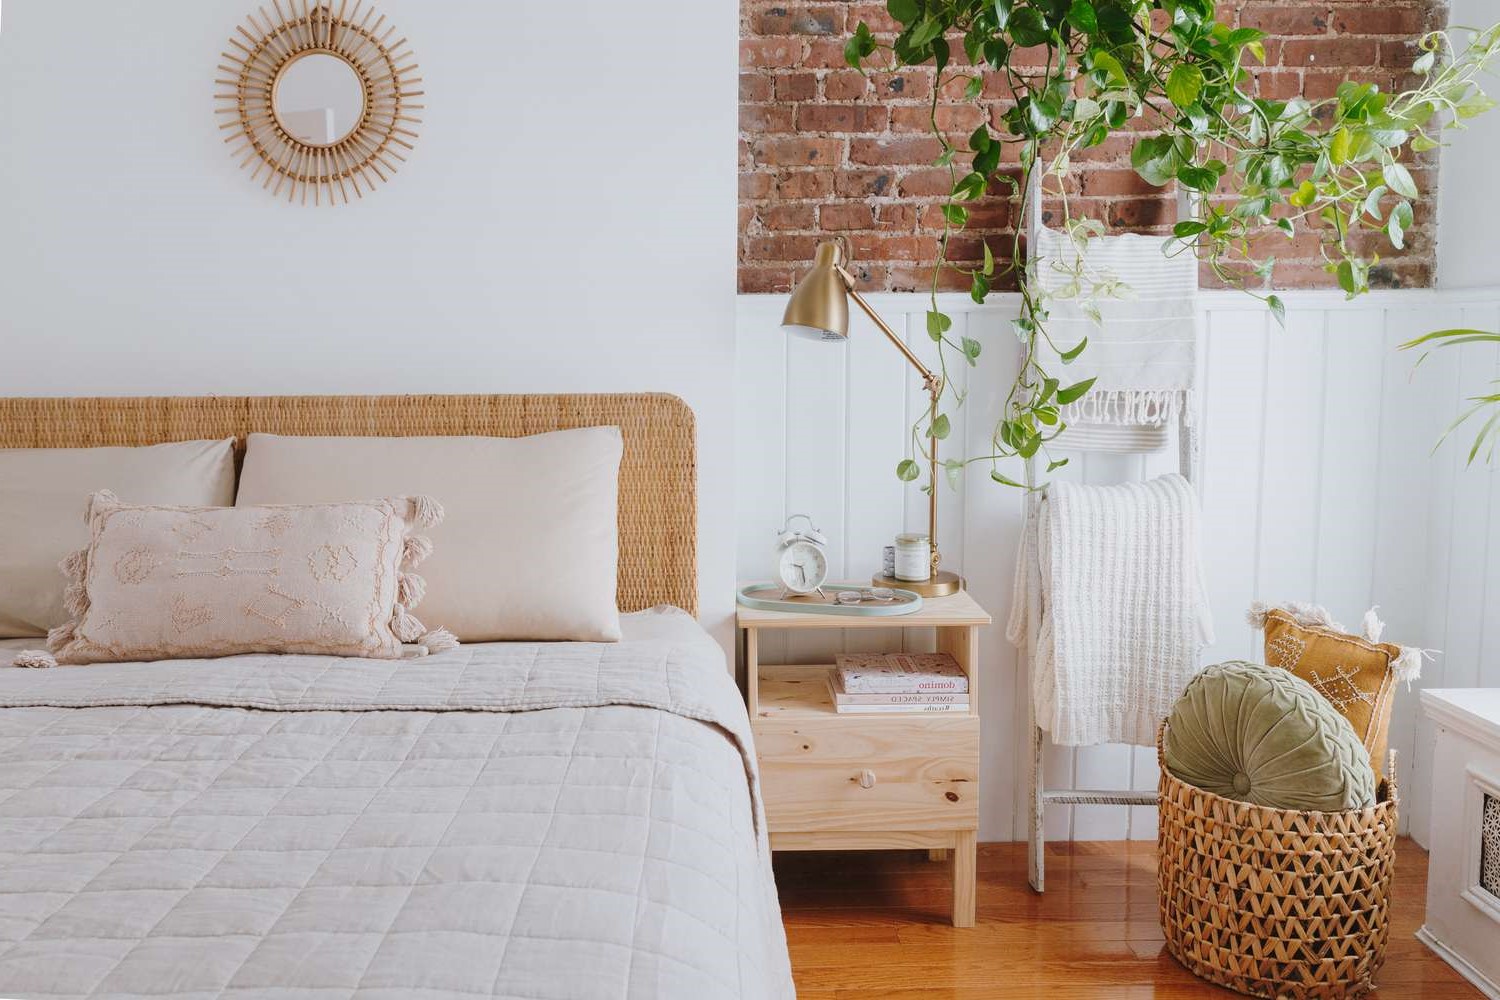
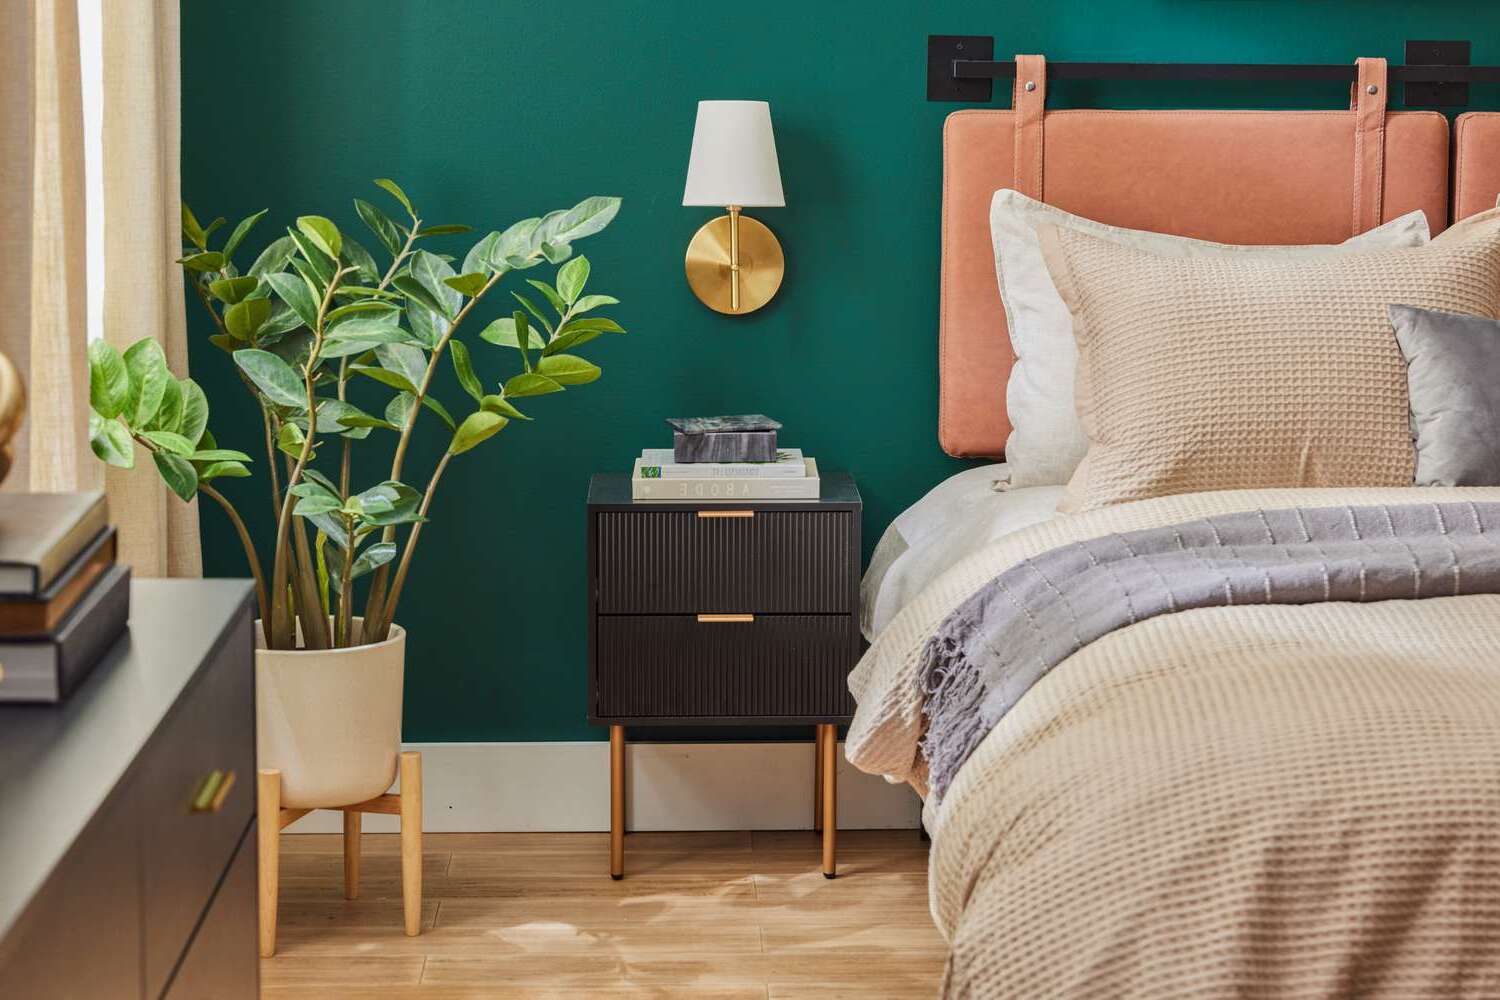
Personalize and Decorate: Add personal touches such as decorative accents, a potted plant, or a stylish lamp to complete the look of your DIY nightstand. This is where you can infuse your personality and style into the finished piece.
By following these step-by-step instructions, you can create a custom nightstand that not only serves a practical purpose but also adds a unique and personalized touch to your bedroom decor.
Finishing Touches
After the construction and assembly of your DIY nightstand, the finishing touches play a crucial role in enhancing its overall appearance and durability. Here's a detailed guide on how to add the final touches to your custom nightstand:
-
Sanding and Smoothing: Once the basic structure of the nightstand is complete, thoroughly sand the entire piece to ensure that all surfaces are smooth and free from any rough edges. This step is essential for achieving a professional and polished look.
-
Painting or Staining: If you've opted for a painted finish, carefully apply the paint in even coats, ensuring full coverage and a smooth texture. Allow each coat to dry completely before applying the next. For staining, choose a high-quality wood stain that complements the natural grain of the wood. Apply the stain evenly and wipe off any excess to achieve the desired color and finish.
-
Protective Finish: Once the paint or stain has dried, apply a clear protective finish such as polyurethane or varnish to seal the surface and protect it from wear and tear. This step not only enhances the appearance of the nightstand but also ensures its longevity.
-
Hardware Installation: Install the drawer knobs, pulls, or any other hardware according to your design. Ensure that the hardware is securely attached and aligns with the overall aesthetic of the nightstand.
-
Final Inspection: Conduct a thorough inspection of the nightstand to check for any imperfections or areas that may require touch-ups. Address any issues before proceeding to the final step.
-
Assembly and Placement: If your nightstand consists of multiple components, such as drawers or shelves, ensure that they are properly assembled and aligned within the frame. Once everything is in place, carefully move the nightstand to its intended location.
-
Leveling and Securing: Use a level to ensure that the nightstand sits evenly on the floor. If you've opted for a floating design, ensure that it is securely attached to the wall to prevent any instability.
-
Personalization and Decor: Add personal touches such as decorative accents, a potted plant, or a stylish lamp to complete the look of your DIY nightstand. This is where you can infuse your personality and style into the finished piece, making it truly unique to your taste and preferences.
By paying attention to these finishing touches, you can elevate your DIY nightstand from a simple construction project to a personalized and functional piece of furniture that adds character to your bedroom space.
Conclusion
Creating your own DIY nightstand is not only a fulfilling and creative endeavor but also a practical way to customize your bedroom decor. By carefully selecting materials, incorporating creative design ideas, following step-by-step instructions, and adding the finishing touches, you can craft a unique piece of furniture that reflects your personal style and craftsmanship. Whether you opt for a sleek floating nightstand, embrace sustainability with repurposed materials, or infuse personalized touches, the possibilities are endless. With the satisfaction of completing a handmade project and the joy of seeing your creation enhance your bedroom space, DIY nightstands are a fantastic way to add a personal touch to your home. So, roll up your sleeves, unleash your creativity, and embark on the journey of crafting your very own DIY nightstand.


