
Home>Create & Decorate>DIY & Crafts>DIY Shuffleboard Table: Step-by-Step Guide To Building Your Own
DIY & Crafts
DIY Shuffleboard Table: Step-by-Step Guide To Building Your Own
Published: April 29, 2024

Senior Editor in Create & Decorate, Kathryn combines traditional craftsmanship with contemporary trends. Her background in textile design and commitment to sustainable crafts inspire both content and community.
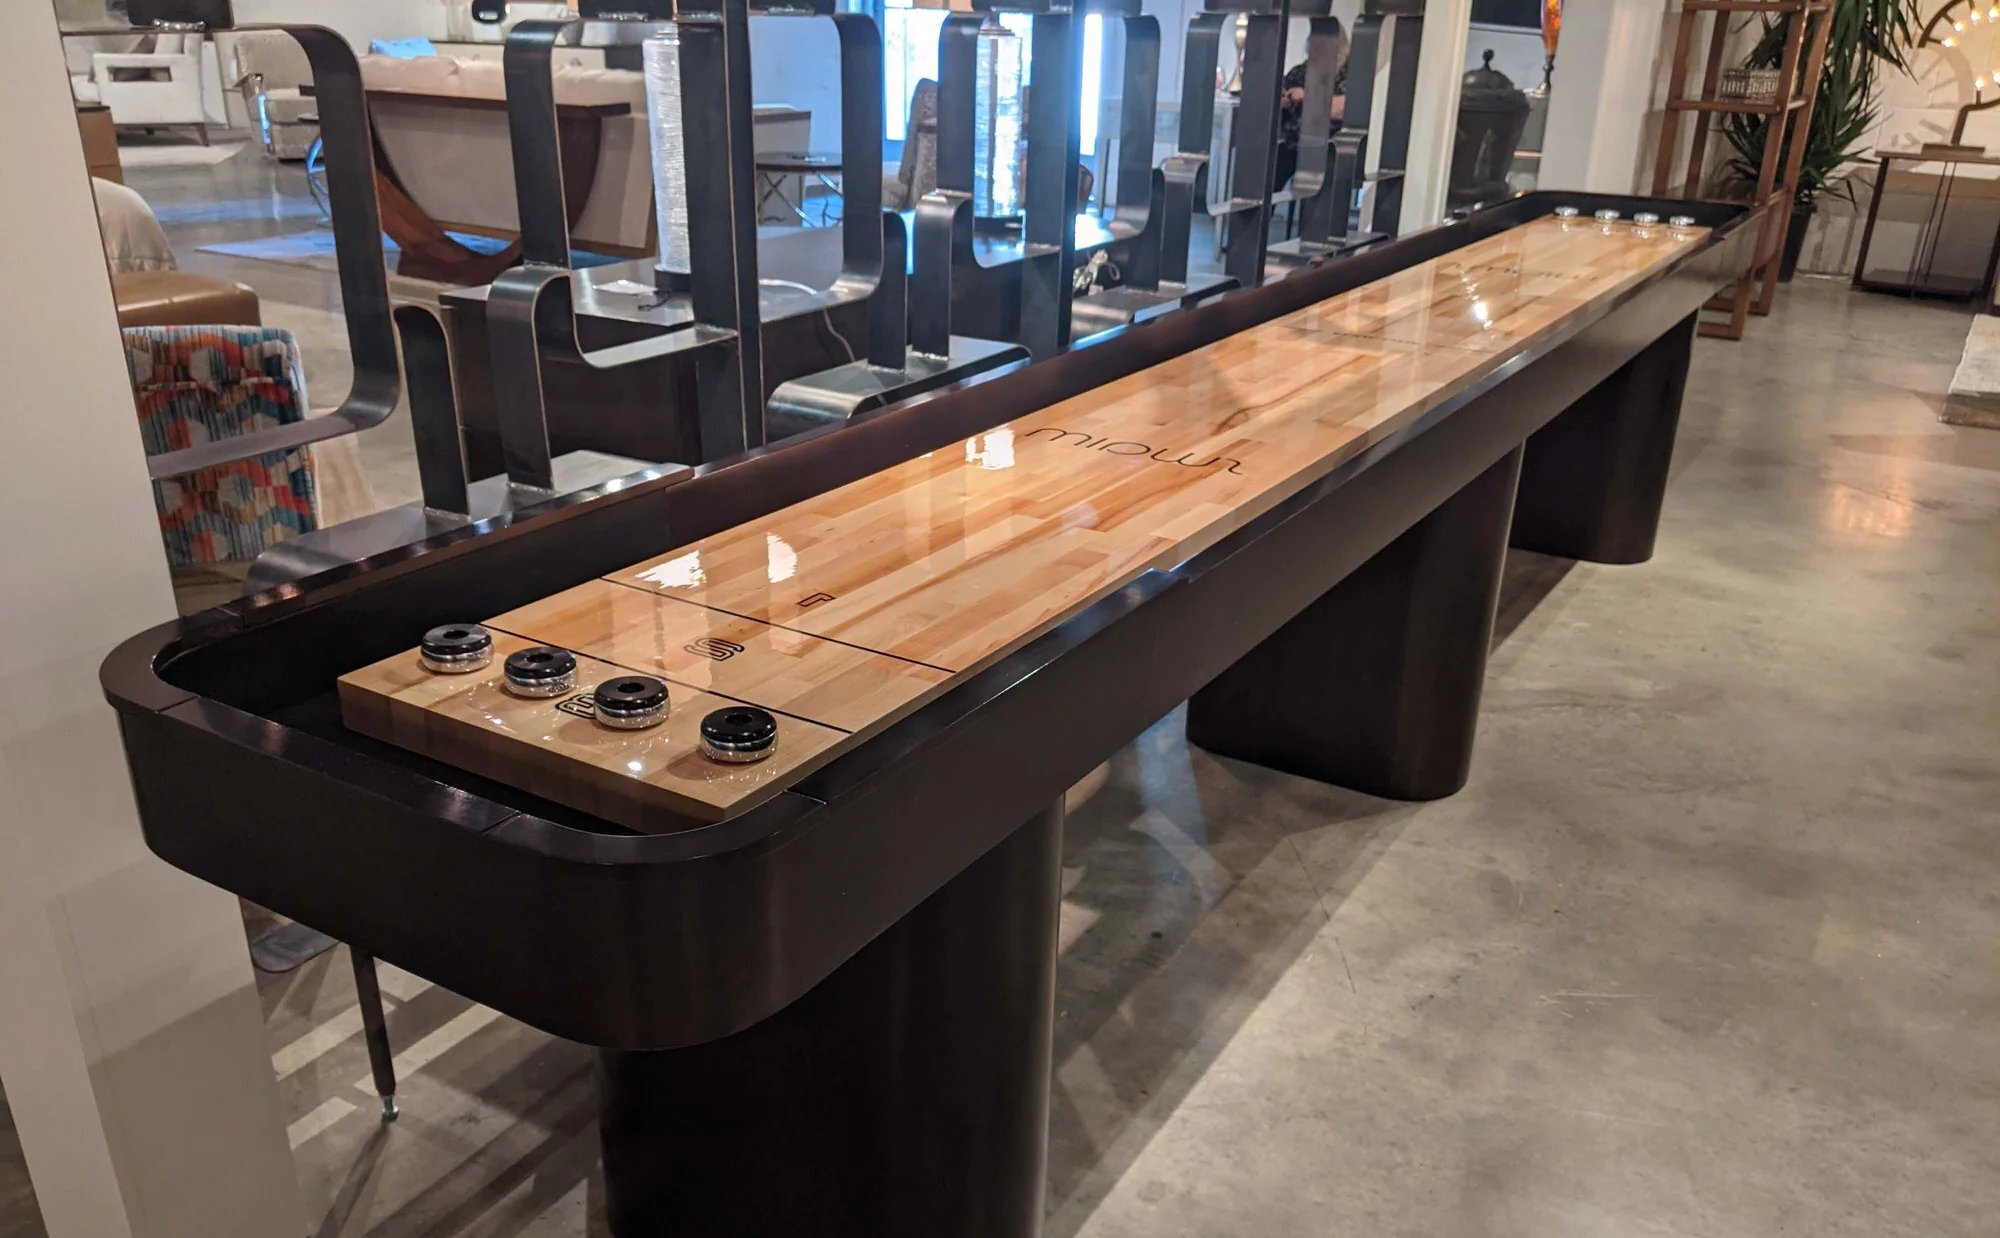
Discover how to create your own DIY shuffleboard table with our step-by-step guide. Perfect for DIY & Crafts enthusiasts looking for a fun and challenging project. Start building today!
(Many of the links in this article redirect to a specific reviewed product. Your purchase of these products through affiliate links helps to generate commission for Twigandthistle.com, at no extra cost. Learn more)
Introduction
Are you a fan of shuffleboard but don't want to break the bank purchasing a table? Building your own DIY shuffleboard table can be a rewarding and cost-effective project. Not only will you save money, but you'll also have the satisfaction of creating a custom piece for your home. In this step-by-step guide, we'll walk you through the process of building your very own shuffleboard table, from gathering the necessary materials and tools to adding the finishing touches. So, roll up your sleeves and get ready to embark on this exciting DIY adventure!
Materials and Tools Needed
Materials:
- Hardwood: You'll need hardwood for the playing surface, such as maple or birch. The dimensions will depend on the size of the table you want to build.
- Lumber: Purchase lumber for the frame and legs of the table. Opt for sturdy, high-quality wood to ensure the table's durability.
- Wood Glue: Choose a strong wood glue to securely bond the pieces of the frame together.
- Wood Screws: Invest in a variety of wood screws in different lengths to assemble the frame and legs.
- Wood Finish: Select a wood finish to protect the playing surface and enhance its appearance.
- Polymer Finish: For a smooth and fast playing surface, you'll need a polymer finish to coat the top of the table.
Tools:
- Circular Saw: A circular saw will be essential for cutting the hardwood to the desired dimensions.
- Drill: You'll need a drill to create holes for the screws and for various other tasks during the construction process.
- Clamps: Clamps are necessary for holding the wood pieces together while the glue dries.
- Sander: A sander will be crucial for smoothing the playing surface and ensuring a consistent finish.
- Measuring Tape: Accurate measurements are key, so a measuring tape is a must-have tool.
- Level: To ensure that the playing surface and the table frame are perfectly even, a level will come in handy.
- Paintbrushes: You'll need paintbrushes for applying the wood finish and polymer finish.
Gathering these materials and tools will set you up for a successful DIY shuffleboard table project.
Planning and Design
Before diving into the construction of your DIY shuffleboard table, it's crucial to spend ample time on the planning and design phase. This stage sets the foundation for the entire project and ensures that you end up with a table that meets your expectations.
-
Choose the Size: Determine the size of the shuffleboard table you want to build. Standard shuffleboard tables are typically 22 feet long, but you can adjust the dimensions to fit your space and preferences. Consider the available room in your home and how the table will fit into the designated area.
-
Select the Wood: Decide on the type of hardwood you want to use for the playing surface. Maple and birch are popular choices due to their durability and smooth grain, which is essential for a consistent playing experience. Consider the aesthetic appeal and durability of the wood when making your selection.
-
Design the Frame: Sketch out the design for the table's frame and legs. The frame should provide sturdy support for the playing surface and be constructed to withstand the rigors of gameplay. Take into account the overall aesthetic you want to achieve and ensure that the frame complements the rest of your home decor.
-
Create a Budget: Establish a budget for the project, factoring in the cost of materials and tools. Research the prices of hardwood, lumber, finishes, and other necessary items to create a realistic budget. Setting a budget will help you make informed decisions throughout the construction process and prevent overspending.
-
Consider the Playing Surface: Think about the playing surface's thickness and ensure that it meets regulation standards if you plan to use the table for competitive play. The surface should be smooth, level, and resistant to warping to provide an optimal playing experience.
-
Account for Scoring Area: Plan the installation of the scoring area, which is typically located at the opposite end of the table from the players. Determine the size and design of the scoring area, ensuring that it is easily visible and functional during gameplay.
By carefully planning and designing your DIY shuffleboard table, you'll lay the groundwork for a successful and satisfying construction process. Taking the time to consider these crucial elements will result in a custom shuffleboard table that meets your specific needs and enhances your home entertainment space.
Building the Frame
Building the frame is a critical step in constructing your DIY shuffleboard table. The frame provides the structural support for the playing surface and ensures the stability and durability of the table. Follow these steps to build a sturdy and reliable frame for your shuffleboard table:
-
Cutting the Lumber: Begin by cutting the lumber to the required dimensions for the frame. Use a circular saw to make precise cuts, ensuring that the pieces fit together seamlessly. The frame typically consists of long side pieces and shorter end pieces, forming a rectangular shape.
-
Assembling the Frame: Once the lumber is cut to size, use wood glue and wood screws to assemble the frame. Apply a generous amount of wood glue to the joints before securing the pieces together with screws. Use clamps to hold the pieces in place while the glue sets, ensuring a strong and secure bond.
-
Adding Support Braces: To reinforce the frame and prevent warping, add support braces along the length of the frame. These braces provide additional stability and ensure that the playing surface remains level and even. Use wood screws to attach the support braces to the frame, creating a solid foundation for the playing surface.
-
Installing the Legs: Depending on the design of your shuffleboard table, you may need to attach legs to the frame to support the weight of the table. Position the legs at each corner of the frame and secure them with wood screws. Ensure that the legs are level and securely attached to the frame to prevent wobbling during gameplay.
-
Sanding and Finishing: Once the frame is assembled, sand the surfaces to remove any rough edges or imperfections. This step is crucial for achieving a professional and polished look. After sanding, apply a wood finish to protect the frame from moisture and wear, enhancing its appearance and longevity.
By following these steps, you'll create a robust and well-constructed frame for your DIY shuffleboard table. The frame serves as the foundation for the entire table, so it's essential to pay attention to detail and ensure that it is built to last. With the frame in place, you're one step closer to enjoying countless hours of shuffleboard fun in the comfort of your own home.
Adding the Playing Surface
The playing surface is the heart of a shuffleboard table, and its construction requires precision and attention to detail. Follow these steps to add the playing surface to your DIY shuffleboard table:
-
Preparing the Hardwood: Begin by cutting the hardwood to the dimensions required for the playing surface. Use a circular saw to achieve precise cuts, ensuring that the surface is smooth and free of imperfections. The playing surface should be a solid piece of hardwood to provide a consistent and reliable playing experience.
-
Applying the Polymer Finish: Once the hardwood is cut to size, apply a polymer finish to the playing surface. The polymer finish creates a smooth and fast surface that allows the shuffleboard pucks to glide effortlessly. Use a paintbrush to apply the finish evenly, ensuring complete coverage of the playing surface.
-
Sanding and Smoothing: After the polymer finish has dried, sand the playing surface to achieve a uniform and level finish. Use a sander to remove any rough spots or uneven areas, creating a seamless playing surface. This step is crucial for ensuring that the shuffleboard pucks move consistently across the table.
-
Adding the Climatic Adjusters: To account for changes in humidity and temperature, install climatic adjusters on the underside of the playing surface. These adjusters allow you to fine-tune the curvature of the playing surface, ensuring that it remains level and true over time. Follow the manufacturer's instructions for installing and adjusting the climatic adjusters.
-
Securing the Playing Surface: Carefully place the playing surface onto the frame, ensuring that it fits snugly and securely. Use screws to fasten the playing surface to the frame, creating a stable and reliable attachment. Take care to align the playing surface properly and ensure that it is level and even across the entire length of the table.
By following these steps, you'll successfully add the playing surface to your DIY shuffleboard table, creating a professional-quality playing area for endless hours of entertainment. The playing surface is a crucial component of the shuffleboard table, and attention to detail during this stage will result in a table that provides a consistent and enjoyable playing experience for years to come.
Installing the Scoring Area
The scoring area is an essential component of a shuffleboard table, providing a designated space for keeping track of points during gameplay. Follow these steps to install the scoring area on your DIY shuffleboard table:
-
Designing the Scoring Area: Begin by designing the scoring area, considering its placement and size at the opposite end of the table from where the players stand. The scoring area typically consists of numbered zones or lines that indicate point values. Sketch out the design on the table's surface, ensuring that it is easily visible and clearly demarcated.
-
Cutting and Marking: Use a circular saw to cut the wood or material for the scoring area to the desired dimensions. Once cut, mark the scoring zones or lines according to the design you've planned. Precision is crucial to ensure accurate scoring during gameplay.
-
Applying Finish: Apply a wood finish to the scoring area to protect it from wear and tear. The finish not only enhances the appearance of the scoring area but also provides a smooth surface for the shuffleboard pucks to glide across during scoring.
-
Adding Scoring Markers: Install scoring markers, such as metal discs or pegs, to indicate the point values within the scoring area. These markers should be securely attached and clearly visible to players. Consider using contrasting colors to differentiate between different point values.
-
Ensuring Visibility: Ensure that the scoring area is well-lit and easily visible to players. Adequate lighting in the playing area is essential for accurate scoring and an enjoyable gameplay experience.
By following these steps, you'll successfully install the scoring area on your DIY shuffleboard table, creating a designated space for keeping track of points and adding to the overall functionality and aesthetic appeal of the table. The scoring area is a fundamental aspect of the shuffleboard table, and careful attention to its installation will contribute to a rewarding and enjoyable gaming experience for players.
Finishing Touches
After completing the construction of the frame, playing surface, and scoring area, it's time to add the finishing touches to your DIY shuffleboard table. These final details will not only enhance the table's appearance but also contribute to its overall functionality and longevity.
-
Applying a Protective Finish: Once the table is fully assembled, apply a protective finish to the entire surface. This finish serves as a barrier against moisture, spills, and general wear and tear. It also adds a subtle sheen to the wood, enhancing its natural beauty.
-
Adding Line Markings: Use a steady hand and precision to add line markings to the playing surface. These lines are crucial for players to gauge the distance and accuracy of their shots. Clear and well-defined line markings contribute to the professional look and feel of the shuffleboard table.
-
Installing Gutters and End Caps: Gutters and end caps are essential components that prevent the shuffleboard pucks from sliding off the table. Install these components carefully, ensuring that they are securely attached and seamlessly integrated into the overall design of the table.
-
Incorporating Decorative Elements: Consider adding decorative elements such as inlays, carvings, or custom engravings to personalize your shuffleboard table. These details can reflect your unique style and add a touch of sophistication to the table, making it a standout piece in your home.
-
Ensuring Leveling and Stability: Use a level to ensure that the table is perfectly level and stable. Adjust the legs or support points as needed to eliminate any wobbling or unevenness. A level and stable table is essential for fair gameplay and player satisfaction.
-
Adding Accessories: Complete the table with accessories such as shuffleboard pucks, silicone spray for maintenance, and a brush for cleaning the playing surface. These accessories ensure that the table is fully equipped for gameplay and easy maintenance.
By attending to these finishing touches, you'll elevate your DIY shuffleboard table from a construction project to a polished and professional gaming surface. These details not only contribute to the table's visual appeal but also ensure that it provides a top-quality playing experience for years to come.
Tips for Maintenance and Care
Maintaining your DIY shuffleboard table is essential for preserving its beauty and ensuring optimal gameplay. Here are some valuable tips for keeping your shuffleboard table in top condition:
-
Regular Cleaning: Regularly clean the playing surface with a shuffleboard brush to remove any dust, dirt, or debris. This prevents particles from affecting the puck's movement and maintains a smooth playing experience.
-
Use Silicone Spray: Apply a silicone spray to the playing surface to reduce friction and enhance the puck's glide. This helps maintain the table's speed and ensures consistent gameplay.
-
Inspect and Tighten Fasteners: Periodically inspect the table's frame and playing surface for loose screws or fasteners. Tighten any loose components to maintain the table's structural integrity.
-
Monitor Climate Conditions: Keep an eye on the humidity and temperature in the room where the shuffleboard table is located. Fluctuations in climate can affect the playing surface, so it's important to maintain a stable environment.
-
Protective Cover: Consider using a protective cover when the table is not in use to shield it from dust, sunlight, and potential damage. This helps prolong the table's lifespan and keeps it looking pristine.
-
Avoid Spills and Stains: Promptly clean up any spills or stains on the playing surface to prevent them from causing permanent damage. Use a damp cloth to gently remove spills and maintain the wood's finish.
-
Rotate the Pucks: Rotate the shuffleboard pucks regularly to ensure even wear. This prevents specific pucks from causing uneven wear patterns on the playing surface.
-
Professional Maintenance: If needed, consider professional maintenance services to refinish the playing surface or address any structural issues. Professional care can help extend the table's longevity.
By following these maintenance tips, you can ensure that your DIY shuffleboard table remains in excellent condition, providing endless entertainment for years to come. Regular care and attention will preserve the table's beauty and functionality, allowing you to enjoy countless memorable moments with family and friends.
Conclusion
In conclusion, building your own DIY shuffleboard table can be a fulfilling and rewarding endeavor. By following the step-by-step guide provided in this article, you can create a custom shuffleboard table that not only fits your space and budget but also reflects your personal style. From gathering the necessary materials and tools to adding the finishing touches, each stage of the construction process contributes to the creation of a high-quality shuffleboard table.
With careful planning and attention to detail, you can design and build a shuffleboard table that provides countless hours of entertainment for family and friends. The satisfaction of crafting a functional and visually appealing piece for your home is unmatched. Additionally, by implementing the maintenance tips outlined in this guide, you can ensure that your DIY shuffleboard table remains in top condition for years to come.
So, roll up your sleeves, gather your materials and tools, and embark on the exciting journey of building your very own DIY shuffleboard table. Whether it's for friendly gatherings, game nights, or competitive play, your custom shuffleboard table will undoubtedly become a centerpiece of fun and enjoyment in your home.