
Home>Create & Decorate>DIY & Crafts>How To Build A 6 Foot Privacy Fence
DIY & Crafts
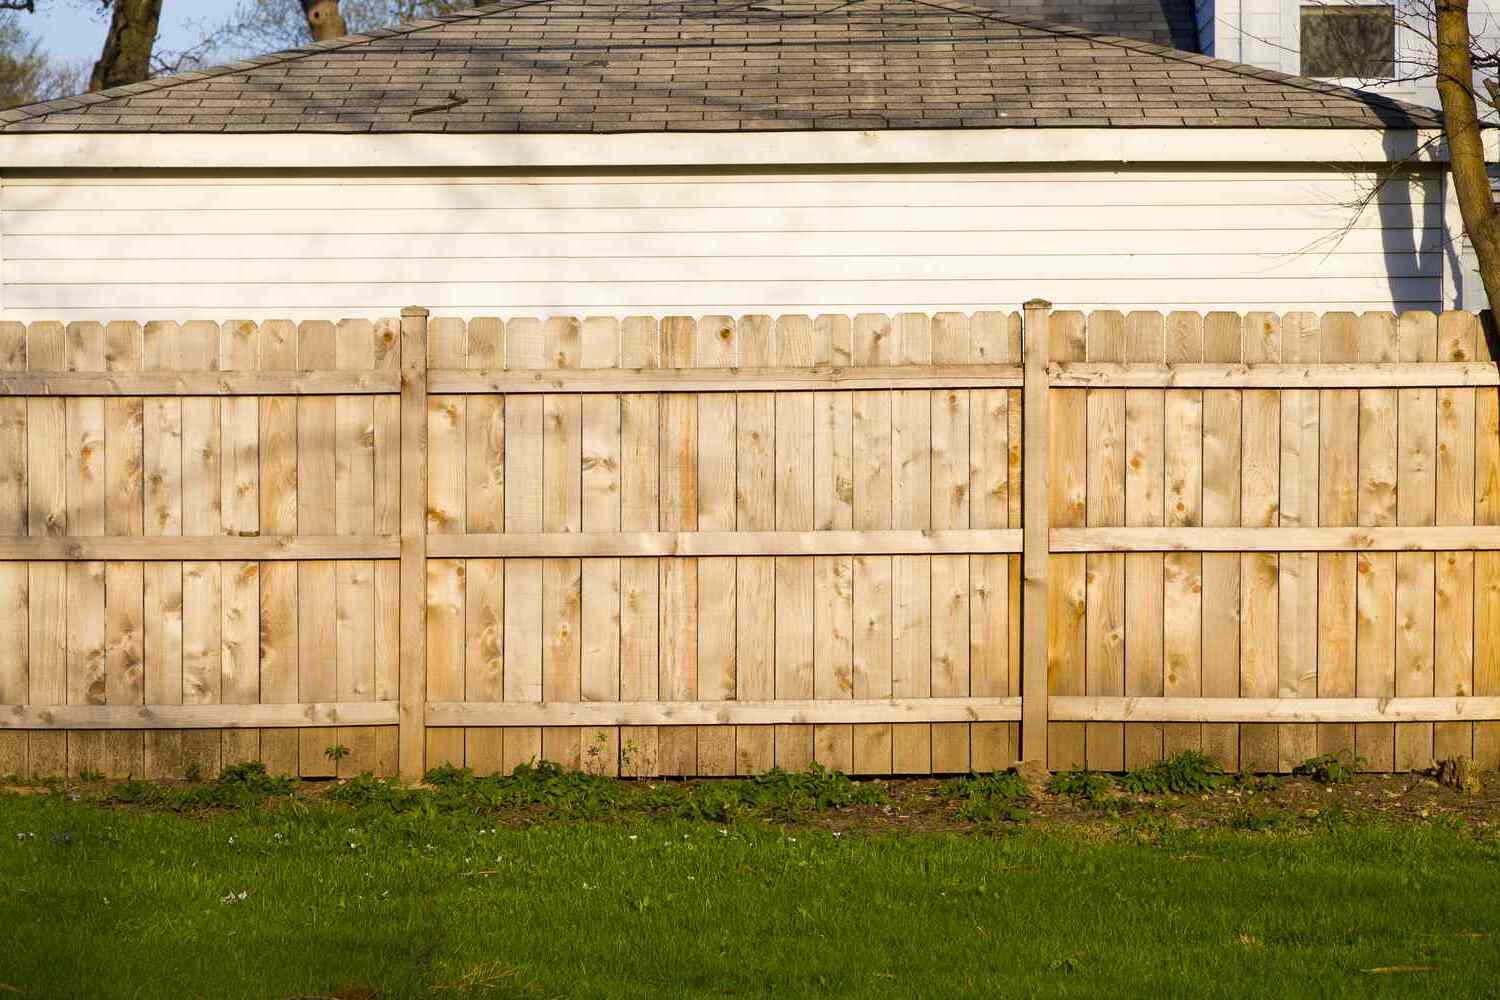
How To Build A 6 Foot Privacy Fence
Published: May 3, 2024

Senior Editor in Create & Decorate, Kathryn combines traditional craftsmanship with contemporary trends. Her background in textile design and commitment to sustainable crafts inspire both content and community.
Learn how to build a 6-foot privacy fence with our DIY & Crafts guide. Get step-by-step instructions and expert tips for a successful project.
(Many of the links in this article redirect to a specific reviewed product. Your purchase of these products through affiliate links helps to generate commission for Twigandthistle.com, at no extra cost. Learn more)
Introduction
So, you've decided to take on the challenge of building a 6-foot privacy fence. Congratulations! A privacy fence not only adds security and seclusion to your property but also enhances its aesthetic appeal. Whether you're looking to keep nosy neighbors at bay or create a safe space for your family and pets, a well-constructed privacy fence can be a game-changer for your outdoor living experience. But where do you start? How do you ensure that your fence is sturdy, durable, and visually appealing? In this guide, we'll walk you through the step-by-step process of building a 6-foot privacy fence, from planning and preparation to adding the finishing touches. Let's roll up our sleeves and get started!
Step 1: Planning and Preparation
Before you start digging holes and hammering nails, it's crucial to plan and prepare for your privacy fence project. Here's what you need to do:
-
Check Local Regulations: First and foremost, check with your local authorities or homeowner's association to understand any regulations or permits required for building a fence. This step will save you from potential legal issues down the road.
-
Determine Property Lines: It's essential to know your property lines to avoid encroaching on your neighbor's land. Consider hiring a professional surveyor to accurately mark the boundaries.
-
Choose the Right Materials: Decide on the type of material you want for your fence. Whether it's wood, vinyl, metal, or composite, each material has its own set of pros and cons. Consider factors such as durability, maintenance, and aesthetics.
-
Create a Detailed Plan: Sketch out a detailed plan for your fence, including measurements, gate placement, and any special features you want to incorporate. This plan will serve as a roadmap during the construction phase.
-
Gather Necessary Tools: Make a list of all the tools you'll need for the project, such as a post hole digger, level, hammer, saw, and drill. Ensuring you have the right tools on hand will save you time and frustration as you progress through the project.
-
Estimate Costs: Calculate the estimated costs for materials, tools, and any professional services you may need. Having a clear budget in mind will help you make informed decisions and avoid overspending.
By taking the time to plan and prepare thoroughly, you'll set yourself up for a smoother and more successful fence-building experience. Now that you've laid the groundwork, it's time to move on to the next step: gathering materials and tools.
Step 2: Gathering Materials and Tools
Now that you have a solid plan in place, it's time to gather all the materials and tools you'll need to bring your 6-foot privacy fence to life. Here's a comprehensive list to ensure you have everything at your fingertips:
Materials:
- Fence Panels or Pickets: Depending on your chosen material, purchase enough fence panels or pickets to cover the length of your planned fence. Ensure they are designed for privacy to provide the desired seclusion.
- Posts: Select durable, pressure-treated posts that are suitable for underground use. The number of posts needed will depend on the length of your fence and the spacing between each post.
- Rails: These horizontal supports will hold the fence panels or pickets in place. Make sure to choose rails that are compatible with your selected fence panels.
- Concrete: For securing the fence posts in the ground, you'll need concrete mix. Opt for a high-quality, fast-setting concrete for stability.
- Gate Hardware: If your fence plan includes a gate, gather the necessary hardware such as hinges, latches, and handles.
Tools:
- Post Hole Digger: A manual or powered post hole digger will make the task of digging holes for the fence posts much easier and more efficient.
- Level: Ensure your fence is straight and even by using a reliable level throughout the installation process.
- Saw: Depending on your material, you may need a saw for cutting the fence panels, rails, or posts to the required lengths.
- Hammer and Nails: These basic tools will be essential for securing the fence panels or pickets to the rails.
- Drill and Screws: If your fence material requires screws for assembly, have a drill and the appropriate screws on hand.
- Measuring Tape: Accurate measurements are crucial for a precise and professional-looking fence. A measuring tape will be your best friend during the construction process.
By ensuring you have all the necessary materials and tools ready to go, you'll be well-prepared to tackle the next phase of your privacy fence project: setting the posts.
Step 3: Setting the Posts
Setting the posts is a critical phase in building a sturdy and long-lasting privacy fence. Follow these steps to ensure your fence posts are securely anchored in the ground:
-
Mark Post Locations: Using your detailed plan as a guide, mark the locations where each fence post will be placed. Use stakes and string to create a straight and accurate guideline for positioning the posts.
-
Dig Post Holes: Utilize a post hole digger to excavate holes for the fence posts. The depth and diameter of the holes should align with local building codes and the specific requirements of your chosen fence material. As a general rule, aim for a depth that allows for one-third of the post's length to be buried.
-
Add Gravel: Place a layer of gravel at the bottom of each post hole. This will facilitate drainage and prevent the posts from sitting directly in water, which could lead to premature rotting.
-
Insert Posts: Carefully lower each post into its designated hole, ensuring it is level and plumb. For added stability, consider bracing the posts in position using stakes and temporary supports.
-
Pour Concrete: Once the posts are correctly positioned, pour fast-setting concrete mix into the holes around the posts. Use a spirit level to ensure the posts remain perfectly upright as the concrete sets.
-
Allow Setting Time: Allow sufficient time for the concrete to cure and set the posts firmly in place. Follow the manufacturer's guidelines for the recommended setting time before proceeding to the next phase of the fence installation.
By meticulously setting the posts, you'll establish a solid foundation for your privacy fence, laying the groundwork for a structurally sound and reliable enclosure. With the posts securely in place, you're ready to move on to the next step: attaching the rails and panels.
Step 4: Attaching the Rails and Panels
With the posts firmly set in place, it's time to move on to the next phase of building your 6-foot privacy fence: attaching the rails and panels. This step requires precision and attention to detail to ensure a professional and secure installation. Here's how to proceed:
-
Measure and Cut Rails: Begin by measuring the distance between each pair of posts to determine the required length for the rails. Use a saw to cut the rails to the appropriate size, ensuring they fit snugly between the posts.
-
Attach Rails to Posts: Position the rails horizontally between the posts, ensuring they are level and evenly spaced. Secure the rails to the posts using screws or nails, depending on your chosen method of attachment. A level will be your best friend during this process to guarantee a straight and uniform installation.
-
Install Fence Panels or Pickets: Once the rails are in place, it's time to attach the fence panels or pickets. Depending on your chosen material, you may need to use screws or nails to affix the panels to the rails. Ensure the panels are aligned properly and securely fastened to create a seamless and cohesive look.
-
Add Finishing Touches: As you progress with attaching the panels, periodically step back to assess the overall appearance of the fence. Make any necessary adjustments to ensure the panels are level, evenly spaced, and visually appealing. Attention to detail during this phase will contribute to the overall quality of your privacy fence.
-
Consider Gate Installation: If your fence design includes a gate, this is the ideal time to install it. Follow the manufacturer's instructions for attaching the gate to the fence posts, ensuring smooth operation and secure closure.
By carefully following these steps, you'll successfully attach the rails and panels, bringing your 6-foot privacy fence one step closer to completion. With the main structure in place, it's time to add the finishing touches to enhance the functionality and visual appeal of your new fence.
Step 5: Adding Finishing Touches
As you near the completion of your 6-foot privacy fence, it's time to focus on adding the finishing touches that will elevate its functionality and visual appeal. Paying attention to the details in this phase will ensure that your fence not only serves its primary purpose but also enhances the overall aesthetics of your property. Here's how to add those final touches:
-
Apply a Protective Finish: Depending on the material of your fence, consider applying a protective finish to enhance its durability and resistance to the elements. For wooden fences, a coat of weather-resistant sealant or paint can prolong the lifespan of the wood and add a touch of color to complement your outdoor space.
-
Add Decorative Elements: To infuse personality into your privacy fence, consider adding decorative elements such as post caps, finials, or lattice accents. These embellishments can transform a standard fence into a visually appealing feature that complements your landscaping and architectural style.
-
Install Lighting: If you want to extend the functionality of your fence into the evening hours, consider installing low-voltage lighting along the top or at strategic intervals. Not only does this enhance safety and security, but it also creates a warm and inviting ambiance in your outdoor space.
-
Incorporate Greenery: To soften the appearance of your fence and create a seamless blend with your landscape, consider incorporating climbing plants or installing planter boxes along the inside or outside of the fence. This natural touch adds a pop of greenery and can provide additional privacy over time.
-
Inspect for Stability and Security: Once all the finishing touches are in place, take a thorough walk around your fence to inspect for any loose components or areas that may compromise its stability. Ensure that gates are functioning smoothly and that all fastenings are secure.
-
Maintain Regularly: Finally, commit to a regular maintenance schedule to keep your privacy fence in top condition. This may include periodic cleaning, reapplying protective finishes, and addressing any signs of wear or damage promptly to prevent larger issues down the line.
By adding these finishing touches, you'll not only enhance the functionality and visual appeal of your 6-foot privacy fence but also create a welcoming and secure outdoor environment for you and your family to enjoy for years to come. With the completion of these final steps, you can step back and admire the impressive result of your hard work and dedication to building a quality privacy fence.
Conclusion
Congratulations on successfully completing the construction of your 6-foot privacy fence! By following the step-by-step process outlined in this guide, you've not only added a valuable layer of security and seclusion to your property but also enhanced its visual appeal. From meticulous planning and preparation to the final finishing touches, every phase of the fence-building journey has contributed to the creation of a durable and aesthetically pleasing enclosure.
As you stand back and admire the fruits of your labor, take pride in the fact that your new privacy fence is a testament to your dedication and craftsmanship. Whether it's the sturdy posts firmly anchored in the ground, the precisely attached rails and panels, or the thoughtful finishing touches that elevate its functionality and charm, every element reflects your commitment to creating a quality outdoor space.
As you enjoy the benefits of your newly constructed privacy fence, remember to prioritize its regular maintenance to ensure its longevity and continued appeal. By staying proactive in caring for your fence, you'll preserve its structural integrity and visual allure for years to come, providing a safe and private haven for your family and pets.
Now that you've mastered the art of building a 6-foot privacy fence, you can take pride in your newfound expertise and the transformative impact it has had on your property. Whether you tackled this project solo or enlisted the help of friends and family, the result is a testament to your determination and skill. So, take a moment to bask in the satisfaction of a job well done, and revel in the enhanced privacy and beauty that your new fence brings to your outdoor living space.