Home>Create & Decorate>DIY & Crafts>DIY Framing Shed: Step-by-Step Guide To Building Your Own Outdoor Storage Space

DIY & Crafts
DIY Framing Shed: Step-by-Step Guide To Building Your Own Outdoor Storage Space
Published: February 27, 2024

Content Creator specializing in woodworking and interior transformations. Caegan's guides motivate readers to undertake their own projects, while his custom furniture adds a personal touch.
Learn how to build your own outdoor storage space with our step-by-step guide to DIY framing shed. Perfect for DIY & Crafts enthusiasts. Start your project today!
(Many of the links in this article redirect to a specific reviewed product. Your purchase of these products through affiliate links helps to generate commission for Twigandthistle.com, at no extra cost. Learn more)
Introduction
Embarking on a DIY framing shed project is an exciting endeavor that allows you to create a functional and personalized outdoor storage space. Whether you need a home for your gardening tools, outdoor equipment, or a workshop for your hobbies, building your own shed can be a rewarding and cost-effective solution. This comprehensive guide will walk you through the step-by-step process of constructing a sturdy and reliable framing shed, providing you with the knowledge and confidence to tackle this project with ease.
By taking on this DIY venture, you have the opportunity to unleash your creativity and craftsmanship while adding value to your property. Building a framing shed from scratch allows you to tailor the design to your specific needs and preferences, ensuring that the end result perfectly complements your outdoor space. Additionally, constructing your own shed provides a sense of accomplishment and pride, as you witness your vision transform into a tangible structure that serves a practical purpose.
Throughout this guide, you will learn the essential techniques and considerations for each stage of the construction process, from planning and preparation to adding the finishing touches. By following these detailed instructions and leveraging the right tools and materials, you can create a durable and visually appealing shed that withstands the elements and meets your storage requirements.
Whether you are a seasoned DIY enthusiast or a novice looking to expand your skills, this guide is designed to be accessible and informative, empowering you to take control of your outdoor storage needs. With a clear understanding of the steps involved and a willingness to invest time and effort, you can bring your DIY framing shed to life, enhancing the functionality and aesthetics of your outdoor space. So, roll up your sleeves, gather your tools, and let's embark on this fulfilling journey of building your very own outdoor storage haven.
Planning and Preparation
Before diving into the physical construction of your framing shed, meticulous planning and thorough preparation are crucial to ensure a smooth and successful building process. This phase sets the foundation for the entire project, allowing you to make informed decisions and anticipate potential challenges. Here's a detailed breakdown of the essential steps involved in the planning and preparation stage:
-
Determine Shed Purpose: Begin by defining the intended purpose of your shed. Will it primarily serve as a storage space for garden tools, outdoor equipment, or as a workshop for DIY projects? Understanding its primary function will influence the shed's size, layout, and interior features.
-
Check Local Regulations: Research and familiarize yourself with local building codes, zoning regulations, and permit requirements. Compliance with these regulations is vital to avoid potential legal issues and ensure the structural integrity of your shed.
-
Select an Ideal Location: Choose a suitable location for your shed, considering factors such as accessibility, sunlight exposure, and proximity to utilities. Ensure that the chosen spot complies with any setback requirements and does not obstruct sightlines or encroach on neighboring properties.
-
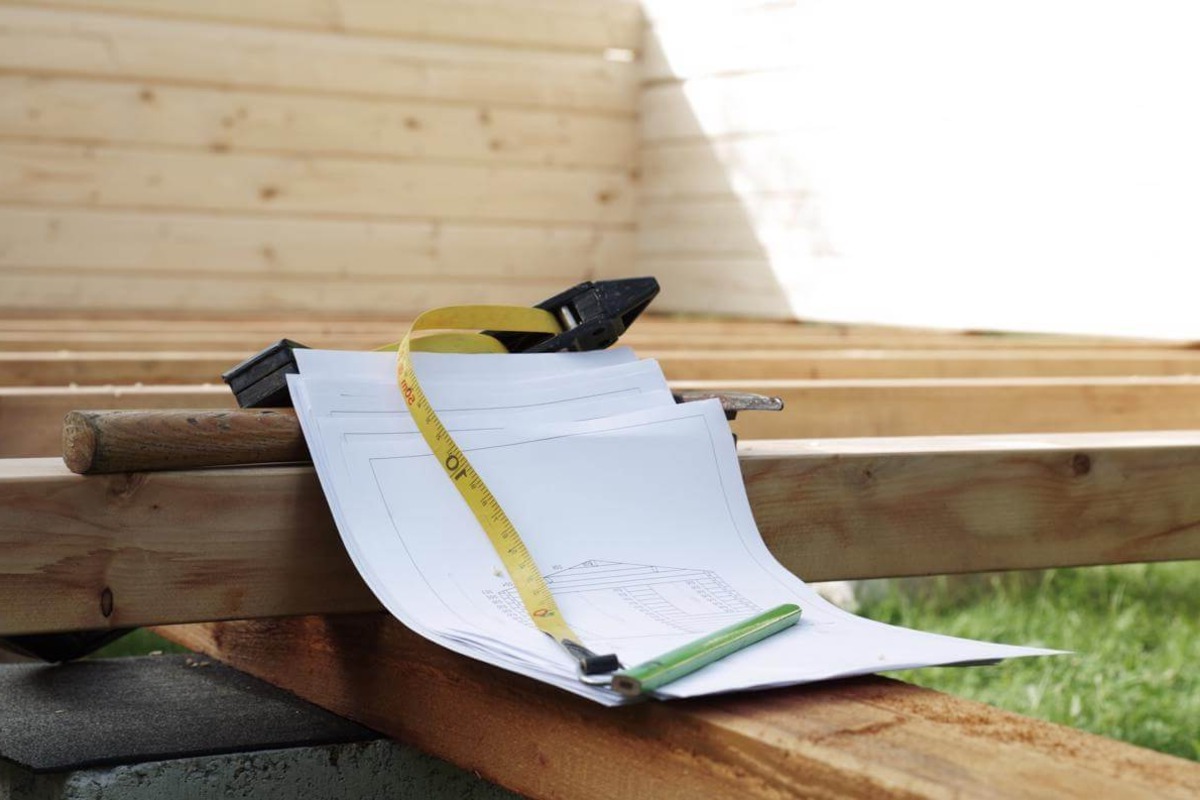
Design and Layout: Sketch a rough design and layout of your shed, taking into account the dimensions, door and window placements, and interior organization. This initial design will serve as a blueprint for the construction phase.
-
Gather Necessary Tools and Materials: Create a comprehensive list of tools and materials required for the project. This may include lumber, fasteners, roofing materials, siding, and essential construction tools such as a saw, hammer, level, and drill.
-
Budgeting: Establish a realistic budget for the entire project, factoring in the cost of materials, tools, and any professional assistance required. Having a clear budget will guide your purchasing decisions and prevent overspending.
-
Time Management: Assess the time commitment needed for the project and allocate sufficient time for each phase of construction. Consider any external factors such as weather conditions that may impact the construction timeline.
-
Safety Precautions: Prioritize safety by familiarizing yourself with best practices for using construction tools and handling materials. Ensure that you have appropriate personal protective equipment, such as gloves, safety goggles, and sturdy footwear.
By meticulously addressing these planning and preparation steps, you can lay a solid groundwork for the construction of your framing shed. This thoughtful approach will streamline the building process and minimize potential setbacks, setting the stage for a successful and fulfilling DIY project.
Gathering Materials and Tools
Gathering the necessary materials and tools is a pivotal step in preparing for the construction of your framing shed. Having the right supplies at hand ensures a smooth and efficient building process, allowing you to progress through each phase with confidence and precision. Here's a comprehensive breakdown of the essential materials and tools required for your DIY framing shed project:
Materials
-
Lumber: The primary building material for the shed's frame and structure. Select high-quality, pressure-treated lumber for durability and resistance to decay.
-
Fasteners: Choose appropriate nails, screws, and bolts to secure the structural components and ensure stability. Galvanized or stainless steel fasteners are recommended for outdoor use to prevent corrosion.
-
Roofing Materials: Depending on your preference and local climate, options include asphalt shingles, metal roofing panels, or corrugated fiberglass panels. Ensure proper underlayment and flashing for weatherproofing.
-
Siding: Opt for durable and weather-resistant siding materials such as plywood, oriented strand board (OSB), vinyl, or composite panels. Consider the aesthetic appeal and maintenance requirements of each option.
-
Foundation Materials: If your shed requires a concrete foundation, gather concrete mix, gravel, and formwork materials. For a simpler foundation, consider using concrete blocks or pressure-treated skids.
-
Insulation and Vapor Barrier: If you plan to insulate the shed for temperature control, gather insulation batts and a vapor barrier to maintain a comfortable interior environment.
-
Windows and Doors: Select suitable windows and doors based on the shed's design and your functional requirements. Ensure proper sizing and compatibility with the shed's frame.
-
Paint and Finishes: If you intend to paint or stain the shed, acquire exterior-grade paint, primer, and finishes that provide protection against weathering and UV exposure.
Tools
-
Circular Saw: Essential for cutting lumber and plywood to size with precision.
-
Hammer and Nail Gun: Both hand tools and power tools are useful for fastening components securely.
-
Level and Square: Ensure accurate alignment and squareness during the construction process.
-
Drill and Bits: For creating pilot holes, driving screws, and installing hardware.
-
Measuring Tape and Marking Tools: Accurate measurements and layout markings are crucial for precise construction.
-
Safety Gear: Personal protective equipment including gloves, safety goggles, and a dust mask for a safe working environment.
-
Ladder or Scaffolding: Depending on the shed's height, a stable platform for working at elevated heights is essential.
-
Utility Knife and Pry Bar: Useful for trimming materials and dismantling components if needed.
By gathering these materials and tools in advance, you can streamline the construction process and minimize interruptions. Careful consideration of the quality and suitability of each item will contribute to the overall durability and functionality of your DIY framing shed.
Read more: How to Build DIY Door Casing
Building the Foundation
The foundation serves as the anchor of your framing shed, providing stability and structural support. Before commencing the construction of the foundation, it's crucial to assess the soil conditions and determine the most suitable type of foundation for your shed. Here's a detailed guide to building a solid foundation for your DIY framing shed:
Assessing Soil and Site Preparation
Begin by evaluating the soil composition and drainage characteristics of the chosen site. Ensure that the ground is level and free from any obstructions. If the soil is prone to moisture retention, consider implementing proper drainage solutions to prevent water accumulation around the foundation.
Choosing the Foundation Type
Depending on your shed's size, local building codes, and personal preferences, you can opt for various foundation types such as concrete slab, concrete piers, or pressure-treated skids. Each type offers distinct advantages in terms of cost, durability, and ease of construction.
Excavation and Formwork
For a concrete foundation, excavation of the site is necessary to accommodate the depth and dimensions of the slab. Formwork, typically constructed using wooden boards, is then assembled to contain the concrete and create a level surface. Careful attention to the formwork's alignment and dimensions is essential to ensure a uniform foundation.
Read more: DIY Garage Shed Plans Guide
Pouring and Curing Concrete
Once the formwork is in place, the concrete can be poured into the designated area. It's imperative to use high-quality concrete mix and follow proper pouring techniques to achieve a smooth and level surface. After pouring, the concrete must be allowed to cure for the recommended duration to attain maximum strength and stability.
Installing Skids or Piers
Alternatively, if utilizing pressure-treated skids or piers, ensure they are positioned at the designated locations and securely anchored to the ground. Proper spacing and alignment of the skids or piers are essential to support the shed's frame and distribute the weight evenly.
Verifying Levelness and Alignment
After the foundation is in place, verify that it is level and square using a spirit level and measuring tape. Accurate alignment is crucial to ensure the structural integrity of the shed and facilitate the subsequent construction phases.
By meticulously executing the foundation construction process, you establish a solid base for your framing shed, laying the groundwork for the subsequent stages of the project. A well-built foundation ensures the longevity and stability of your shed, providing a reliable storage space for years to come.
Constructing the Frame
Constructing the frame is a pivotal phase in the creation of your DIY framing shed, as it forms the structural skeleton that supports the entire shed. This process involves assembling the walls, roof trusses, and floor joists to create a sturdy framework that defines the shed's shape and strength. Here's a detailed guide to the essential steps involved in constructing the frame of your framing shed:
Read more: DIY: Framing a Garage Wall Guide
Wall Assembly
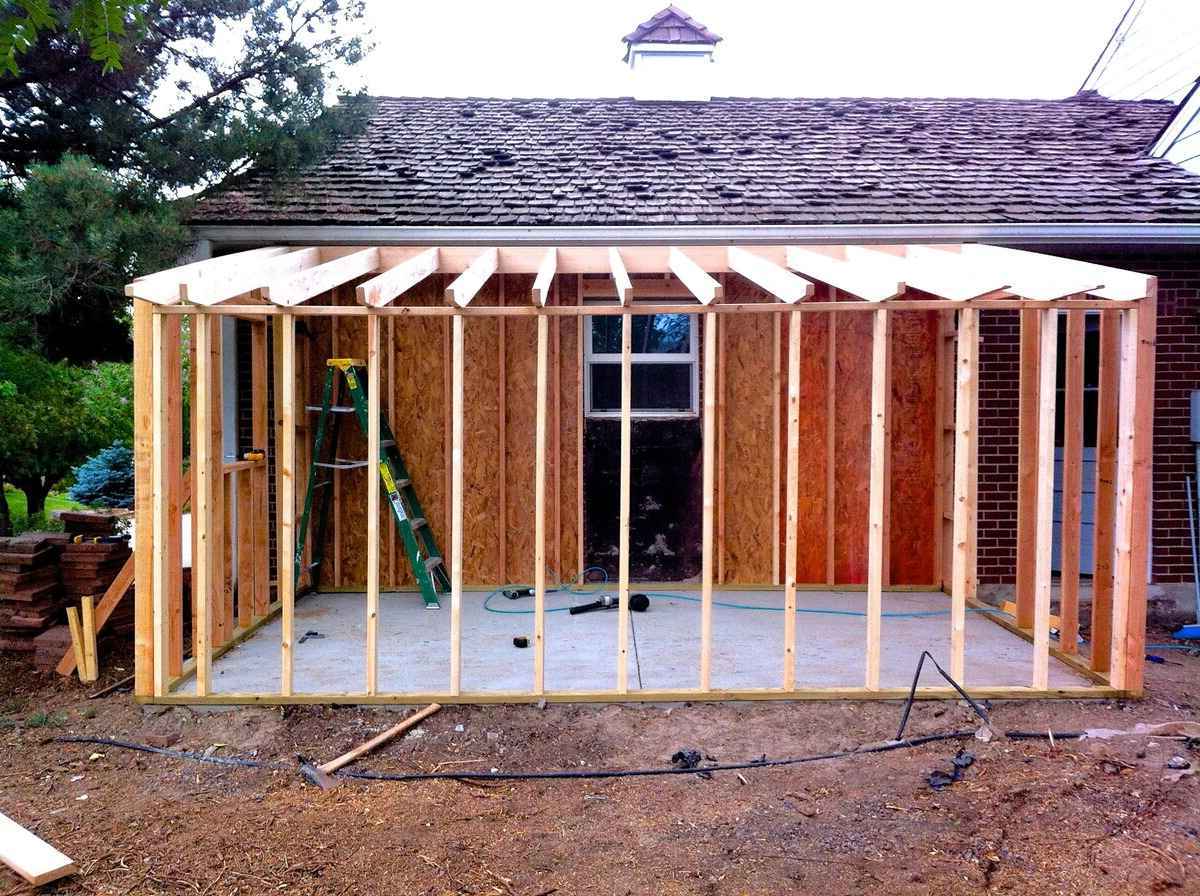
Begin by laying out the bottom plates of the walls on the foundation, ensuring they are aligned according to the shed's design and dimensions. Secure the bottom plates to the foundation using anchor bolts or concrete nails, providing a stable base for the wall framing. Next, erect the wall studs at the designated intervals, typically 16 inches on center, and secure them to the bottom plates and top plates using nails or screws. Incorporate door and window openings as per the shed's design, ensuring precise measurements and framing to accommodate the fixtures.
Roof Truss Installation
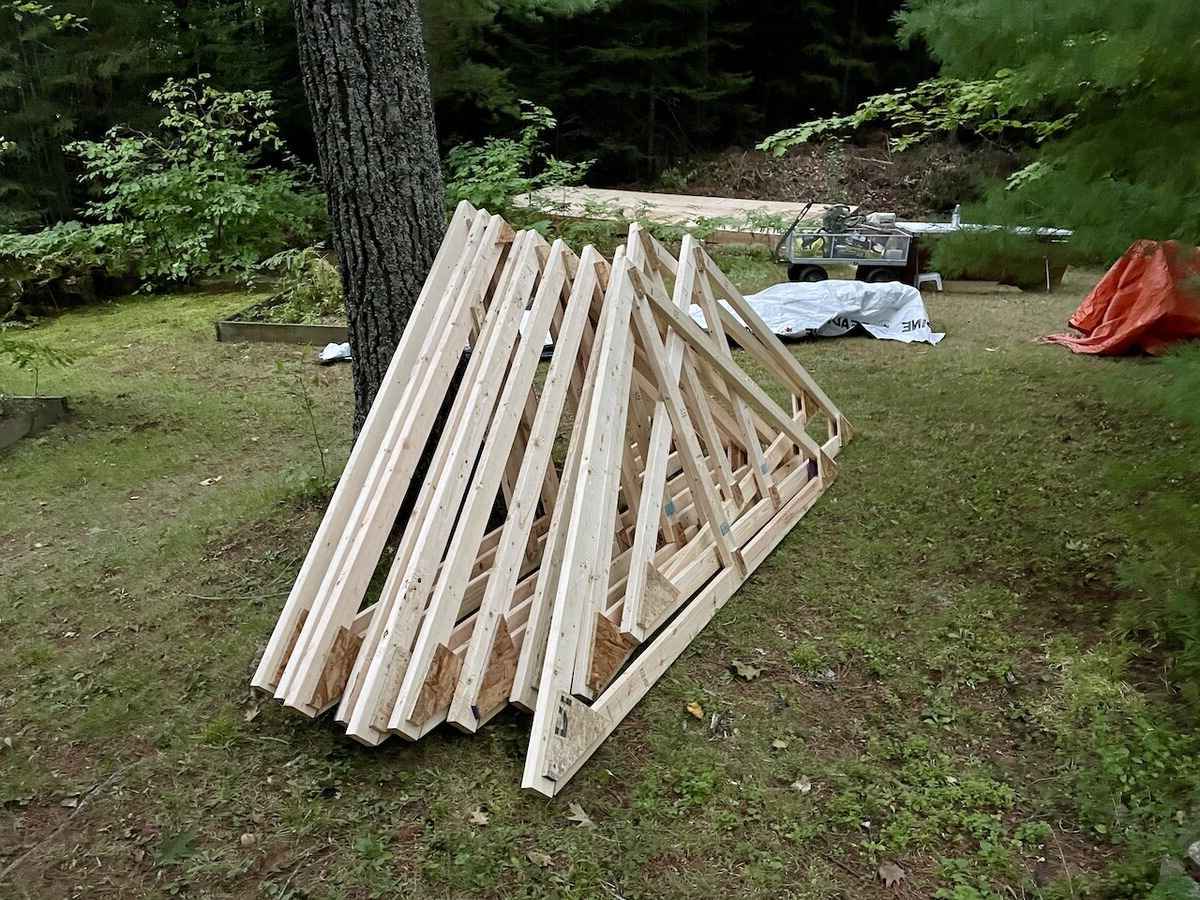
Once the walls are in place, it's time to install the roof trusses, which form the framework for the shed's roof structure. Carefully lift each pre-assembled truss into position, ensuring they are aligned and securely anchored to the top plates of the walls. Proper bracing and temporary supports may be necessary to hold the trusses in place as they are installed. Ensure that the trusses are spaced evenly and aligned to facilitate the installation of roofing materials and provide adequate support for the shed's roof.
Floor Joist Placement
If your shed design includes a raised floor, the next step involves placing and securing the floor joists within the framed walls. The floor joists provide the support for the shed's flooring and contribute to the overall stability of the structure. Ensure that the floor joists are positioned at the specified intervals and securely attached to the walls, creating a solid foundation for the shed's interior space.
Bracing and Reinforcement
Throughout the frame construction process, it's essential to incorporate bracing and reinforcement to enhance the structural integrity of the shed. Diagonal bracing can be added to the walls and trusses to prevent lateral movement and ensure stability, especially in regions prone to high winds or seismic activity. Additionally, reinforcing connections with metal brackets and fasteners strengthens the frame and minimizes the risk of structural failure.
By meticulously executing the frame construction process, you establish a robust and reliable framework for your framing shed, setting the stage for the subsequent phases of the construction. A well-built frame ensures the structural resilience and longevity of your shed, providing a secure and functional outdoor storage space tailored to your specific needs.
Read more: How to Build Aluminum Storm Window Frames
Adding Siding and Roofing
Once the frame of your DIY framing shed is in place, the next crucial step is adding siding and roofing to provide weather protection and enhance the shed's visual appeal. This phase involves carefully selecting and installing materials that shield the shed from the elements while contributing to its overall durability and aesthetics.
Siding Installation
Selecting the appropriate siding material is essential to ensure the shed's resilience against weather conditions and external wear. Common siding options include plywood, oriented strand board (OSB), vinyl, and composite panels, each offering distinct advantages in terms of durability, maintenance, and visual appeal. Prior to installation, it's crucial to apply a weather-resistant barrier to the exterior walls to prevent moisture infiltration and protect the shed's interior.
Begin by measuring and cutting the siding panels to fit the dimensions of the shed's walls accurately. Secure the panels to the frame using appropriate fasteners, ensuring they are aligned and leveled to create a seamless and uniform exterior surface. Pay close attention to corner and edge treatments to maintain a professional and polished appearance. Additionally, consider incorporating ventilation features to promote air circulation within the shed and prevent moisture buildup.
Roofing Application
Selecting the right roofing material is vital to safeguard the shed's interior from rain, snow, and UV exposure. Common roofing options include asphalt shingles, metal panels, and corrugated fiberglass, each offering varying degrees of durability, insulation, and aesthetic appeal. Before installing the roofing material, it's essential to apply an underlayment to provide an additional layer of protection against water infiltration and ensure proper drainage.
Carefully install the roofing material according to the manufacturer's guidelines, ensuring secure fastening and weatherproofing. Properly aligning and overlapping the roofing panels or shingles is crucial to create a watertight barrier and prevent leaks. Additionally, consider incorporating roof vents or skylights to enhance ventilation and natural light within the shed, further optimizing its functionality.
By meticulously executing the siding and roofing installation, you fortify your framing shed against the elements while enhancing its visual appeal. A well-protected and aesthetically pleasing exterior sets the stage for the final phases of the construction, bringing you closer to the realization of your personalized outdoor storage space.
Installing Doors and Windows
The installation of doors and windows is a pivotal phase in the construction of your DIY framing shed, as it introduces functionality, natural light, and ventilation to the interior space. Properly installing doors and windows not only enhances the shed's aesthetic appeal but also contributes to its usability and comfort. Here's a detailed guide to the essential steps involved in installing doors and windows for your framing shed:
Door Installation
Begin by selecting a door that suits the shed's design and functional requirements. Common options include pre-hung exterior doors or custom-built doors tailored to the shed's dimensions. Prior to installation, ensure that the door frame is square and level, providing a stable and secure foundation for the door.
Carefully position the door within the designated opening, ensuring even spacing and alignment. Secure the door frame to the surrounding wall studs using shims and screws, ensuring a snug fit and smooth operation. Properly insulate the gaps between the door frame and the wall to prevent air leakage and enhance thermal efficiency.
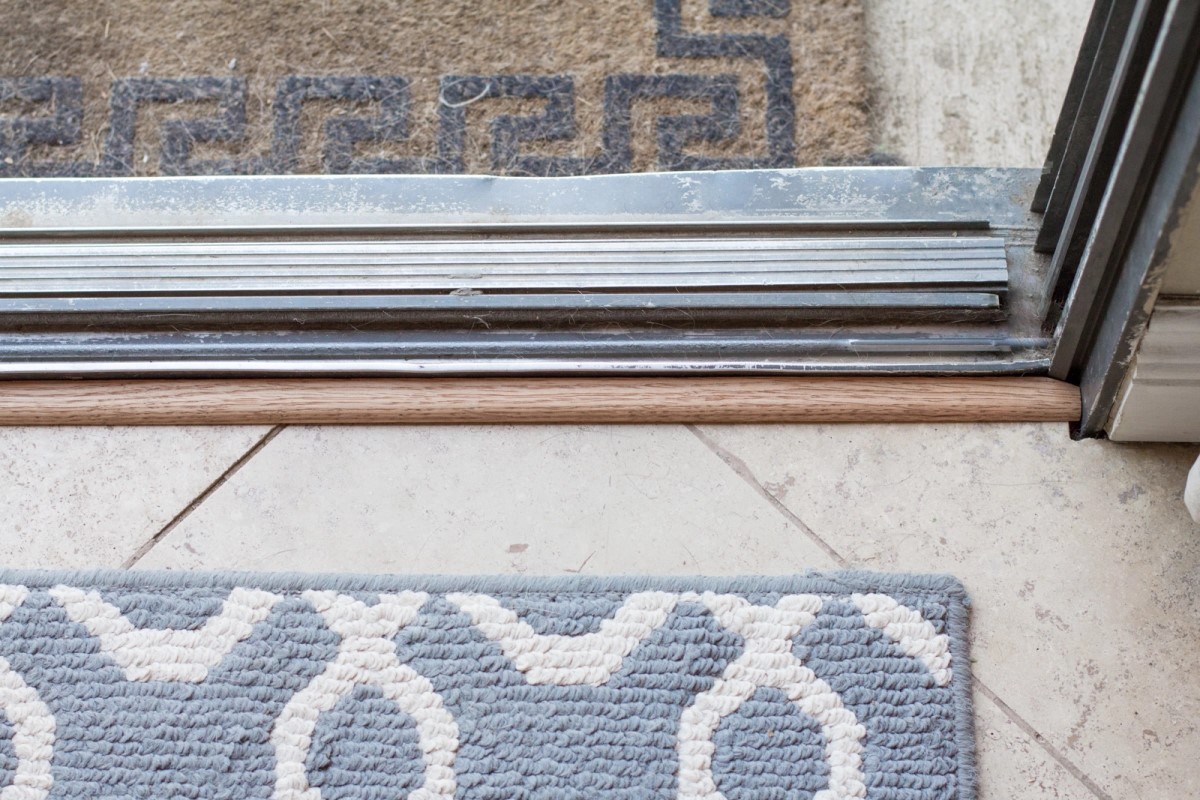
Install appropriate weather-stripping and a durable threshold to seal the bottom of the door, preventing moisture infiltration and maintaining a weather-resistant barrier. Test the door's operation to ensure smooth opening and closing, making any necessary adjustments for proper functionality.
Window Placement
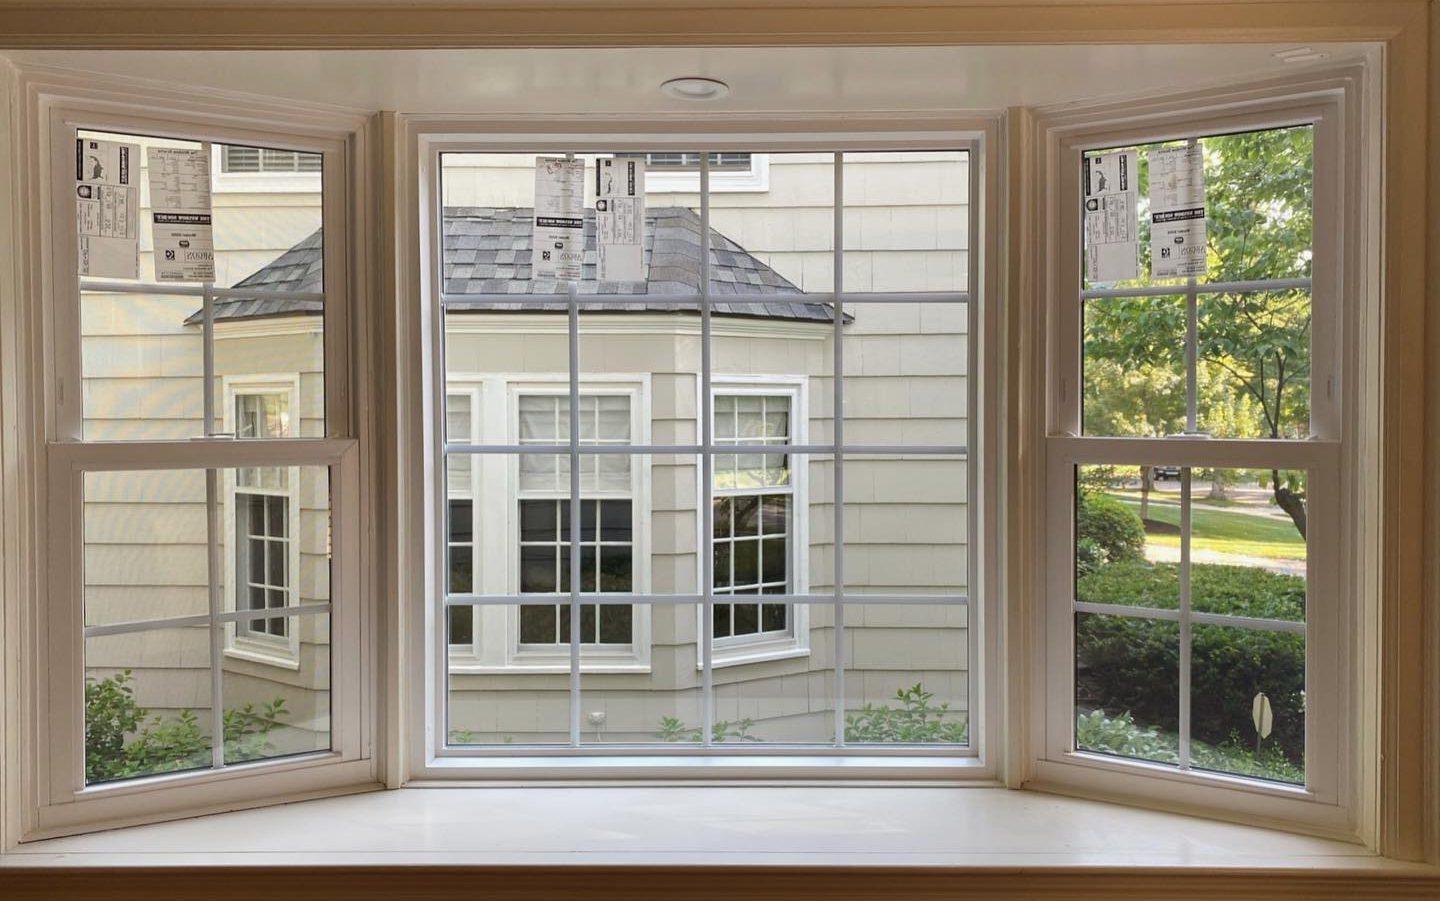
Select windows that complement the shed's design and provide adequate natural light and ventilation. Consider the size, style, and placement of the windows to optimize interior illumination and airflow. Common window options include single-hung, double-hung, or casement windows, each offering distinct benefits in terms of functionality and aesthetics.
Carefully measure and cut the window openings in the shed's walls, ensuring precise dimensions for a proper fit. Install the windows using appropriate fasteners and sealants, ensuring a secure and weatherproof attachment. Apply exterior trim around the windows to enhance their visual appeal and provide additional weather protection.
Incorporate window screens to prevent insects and debris from entering the shed while allowing fresh air to circulate. Properly insulate around the window frames to minimize air leakage and enhance energy efficiency. Test the windows for smooth operation and ensure they are securely sealed to prevent drafts and moisture intrusion.
By meticulously executing the installation of doors and windows, you enhance the functionality and visual appeal of your framing shed, creating a welcoming and well-lit interior space. Properly installed doors and windows contribute to the overall comfort and usability of the shed, bringing you closer to the realization of your personalized outdoor storage haven.
Finishing Touches
With the structural elements of your DIY framing shed in place, attention turns to the finishing touches that elevate the functionality, aesthetics, and longevity of the structure. This phase encompasses a range of essential tasks and enhancements that contribute to the overall appeal and usability of the shed.
Exterior and Interior Finishes
Applying exterior paint or stain not only enhances the shed's visual appeal but also provides crucial protection against weathering, UV exposure, and moisture. Choose high-quality exterior-grade finishes that are specifically formulated for outdoor use, ensuring long-lasting durability and color retention. Similarly, interior finishes such as paint or sealant contribute to a clean and polished look while safeguarding the shed's interior surfaces from wear and tear.
Read more: How to Build a DIY Window Frame
Trim and Molding
Incorporating trim and molding details around doors, windows, and corners adds a refined and professional touch to the shed's exterior. These finishing elements not only enhance the aesthetic appeal but also provide additional weather protection and structural reinforcement. Select trim materials that complement the shed's design and ensure proper installation for a seamless and cohesive appearance.
Shelving and Storage Solutions
Customizing the interior space with shelving, storage racks, and organizational systems maximizes the shed's functionality and storage capacity. Tailor the layout and design of the storage solutions to accommodate specific tools, equipment, and supplies, optimizing accessibility and organization within the shed. Utilize durable and adjustable shelving units to adapt to evolving storage needs over time.
Lighting and Electrical Considerations
Incorporating adequate lighting fixtures and electrical outlets enhances the shed's usability, particularly if it doubles as a workshop or hobby space. Install energy-efficient LED lighting to illuminate the interior effectively, creating a well-lit and comfortable working environment. Ensure that electrical wiring and outlets are installed safely and in compliance with local building codes and regulations.
Landscaping and Exterior Features
Integrating landscaping elements such as pathways, flower beds, or exterior seating areas around the shed enhances its integration with the surrounding outdoor space. Consider incorporating exterior features that complement the shed's design and purpose, creating a cohesive and visually appealing outdoor environment.
Security and Access Control
Implementing security measures such as sturdy locks, motion-activated lighting, and surveillance systems enhances the shed's security and provides peace of mind. Additionally, consider access control solutions such as keyless entry or keypad locks to ensure convenient and secure entry to the shed.
By meticulously attending to these finishing touches, you elevate the functionality, durability, and visual appeal of your DIY framing shed, transforming it into a versatile and personalized outdoor storage space. Each detail contributes to the overall cohesiveness and usability of the shed, ensuring that it meets your specific needs and reflects your craftsmanship and attention to detail.
Conclusion
As you reach the culmination of your DIY framing shed project, it's essential to reflect on the journey and the remarkable achievement of creating a functional and personalized outdoor storage space. Throughout the meticulous planning, precise construction, and thoughtful finishing touches, you have not only built a shed but also cultivated a tangible representation of your creativity, craftsmanship, and dedication to enhancing your living environment.
The completion of your framing shed marks the fulfillment of a vision, the realization of a practical solution, and the embodiment of your commitment to self-sufficiency and hands-on creativity. This endeavor has not only added value to your property but has also provided a canvas for self-expression and a testament to your ability to transform raw materials into a purposeful structure.
Beyond the physical aspects, the journey of building a framing shed has likely enriched your skills, expanded your knowledge of construction techniques, and instilled a sense of accomplishment that transcends the tangible results. The challenges you encountered and overcame, the decisions you made, and the attention to detail you exhibited have contributed to your growth as a DIY enthusiast and a capable builder.
Moreover, the framing shed stands as a testament to your commitment to sustainability and resourcefulness. By creating a space to store and organize your belongings, you have embraced the principles of efficiency and practicality, minimizing waste and maximizing the utility of your outdoor environment.
As you step back and admire the finished shed, take pride in the fact that you have not only constructed a physical structure but have also woven a narrative of determination, creativity, and resilience. The shed embodies the spirit of self-reliance and the fulfillment that comes from bringing a vision to life through hard work and dedication.
Moving forward, the framing shed will serve as a versatile and indispensable asset, accommodating your storage needs, facilitating your hobbies, and standing as a testament to your ability to transform ideas into reality. It will continue to evolve alongside your needs and aspirations, adapting to new purposes and remaining a steadfast companion in your journey of self-sufficiency and creativity.
In conclusion, the completion of your DIY framing shed is not just the end of a construction project; it's a celebration of ingenuity, perseverance, and the enduring satisfaction of creating something meaningful with your own hands. As you embark on future endeavors, may the lessons learned and the pride gained from this experience continue to inspire and empower you in all your DIY pursuits.


