Home>Home & Furniture>Bathroom>How to Make Your Own DIY Bath Mat

Bathroom
How to Make Your Own DIY Bath Mat
Published: July 10, 2024
Learn how to create your own DIY bath mat with our step-by-step guide. Discover materials, techniques, and tips to craft a unique, functional, and stylish bath mat.
(Many of the links in this article redirect to a specific reviewed product. Your purchase of these products through affiliate links helps to generate commission for Twigandthistle.com, at no extra cost. Learn more)
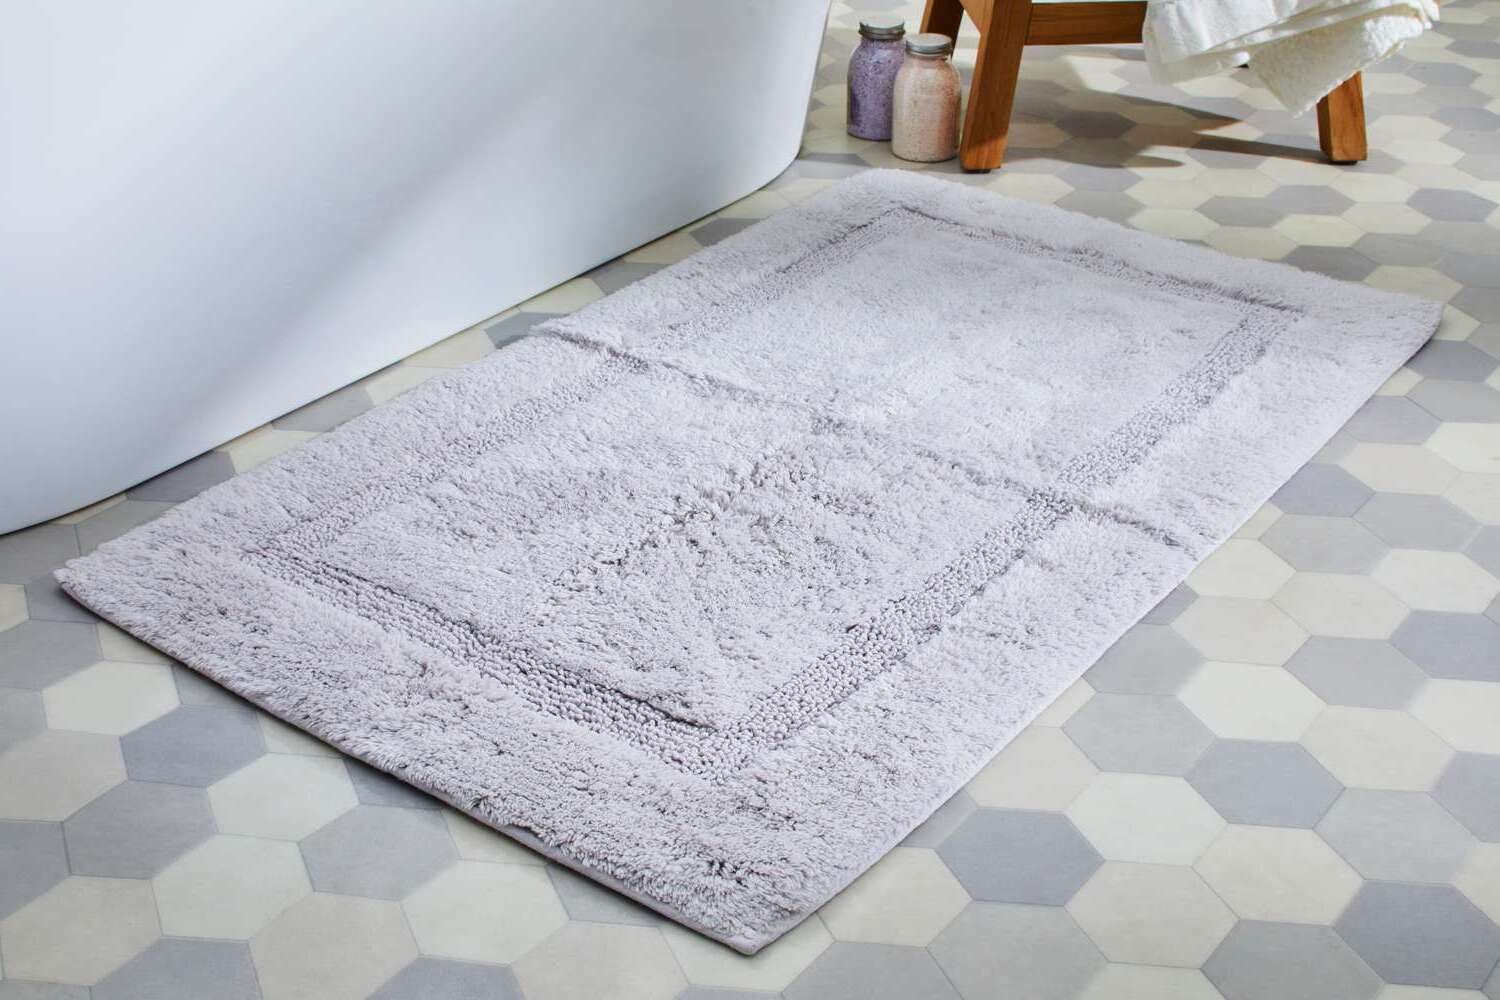
Creating a bath mat at home is a fun and practical project. Whether you want to save money or add a personal touch to your bathroom, a DIY bath mat is the way to go. You can use materials you already have or buy something special for this craft. Making your own bath mat not only allows you to get creative but also ensures you have a unique piece tailored to your style. Let's dive into the simple steps and materials needed to make a bath mat that’s both functional and stylish.
Getting Ready for Your DIY Bath Mat
Gather Materials: Collect all necessary items like fabric, scissors, measuring tape, non-slip backing, and sewing supplies.
Choose a Workspace: Find a clean, flat area with enough space to spread out your materials. A large table or the floor works well.
Measure and Cut Fabric: Use the measuring tape to determine the size of your bath mat. Cut the fabric to your desired dimensions.
Prepare Non-Slip Backing: Cut the non-slip backing to match the size of your fabric. This will prevent the mat from sliding.
Safety First: Wear protective gloves when cutting fabric and backing. Keep scissors and other sharp tools away from children.
Set Up Sewing Machine: If using a sewing machine, ensure it’s threaded correctly and ready to go. Test on a scrap piece of fabric.
Pin Fabric and Backing: Align the fabric and non-slip backing. Use pins to hold them together securely before sewing.
Check Lighting: Ensure your workspace is well-lit to avoid mistakes and ensure precision.
Organize Tools: Keep all tools within reach. This includes scissors, pins, thread, and the sewing machine.
Clear Distractions: Turn off any distractions like TV or phone notifications to focus on your project.
Ventilation: Ensure good airflow in your workspace, especially if using adhesives or other chemicals.
Materials and Tools Needed
- Old Towels: These will be cut into strips to create the mat. Use any color or pattern you like.
- Non-Slip Rug Pad: This will serve as the base of the mat, ensuring it stays in place.
- Scissors: Needed for cutting the towels into strips.
- Measuring Tape: Helps measure the size of the rug pad and towel strips.
- Fabric Glue: Used to attach the towel strips to the rug pad.
- Marker: Useful for marking measurements on the towels and rug pad.
- Ruler: Ensures straight lines when cutting the towels.
- Pins: Hold the towel strips in place before gluing them down.
- Needle and Thread: Optional, for extra security in attaching the towel strips to the rug pad.
Skill Level and Time Required
Skill Level: Beginner
Time Required: 2-3 hours
- Gather Materials: 15 minutes
- Cut Fabric: 30 minutes
- Sew Pieces Together: 1 hour
- Add Non-Slip Backing: 15 minutes
- Final Touches: 15 minutes
Step-by-Step Instructions
Gather Materials:
- Old towels or fabric scraps
- Scissors
- Non-slip rug pad
- Fabric glue or sewing kit
Cut Fabric:
- Cut towels or fabric into strips about 1 inch wide and 6 inches long.
Prepare Rug Pad:
- Cut the non-slip rug pad to your desired bath mat size.
Attach Fabric Strips:
- Fold each fabric strip in half.
- Push the folded end through a hole in the rug pad.
- Pull the loose ends through the loop created by the fold.
- Tighten to secure the strip.
Repeat:
- Continue attaching fabric strips until the entire rug pad is covered.
Secure Edges:
- Use fabric glue or sew around the edges to ensure strips stay in place.
Trim Excess:
- Trim any uneven fabric strips to create a uniform look.
Let Dry:
- If using fabric glue, let the mat dry completely before use.
Helpful Tips and Tricks
Choose the right fabric: Use absorbent materials like old towels or cotton fabric. Avoid slippery fabrics like silk or polyester.
Cut evenly: Measure and cut your fabric pieces evenly. Uneven pieces can make the mat look messy.
Use a non-slip backing: Attach a non-slip rug pad or hot glue dots to the bottom of the mat. This prevents slipping.
Sew securely: Use strong thread and tight stitches to ensure the mat holds together well. Loose stitches can cause it to fall apart.
Wash before use: Wash the fabric before starting. This removes any chemicals and pre-shrinks the material.
Common mistakes to avoid:
- Skipping the non-slip backing. This can make the mat dangerous.
- Using fabrics that don’t absorb water. This defeats the purpose of a bath mat.
- Not securing the edges properly. Frayed edges can make the mat look worn out quickly.
Alternatives:
- Instead of sewing, use fabric glue for a no-sew option.
- Recycle old t-shirts or jeans for a unique look.
- Use a rubber mat as a base and attach fabric strips for a different texture.
Estimating the Cost
Materials:
- Cotton Rope: $10-$15
- Hot Glue Sticks: $5
- Non-Slip Mat: $10
Tools:
- Hot Glue Gun: $10
- Scissors: $5
Total Cost: $40-$45
Budget-Friendly Alternatives:
- Old T-Shirts: Free (instead of cotton rope)
- Fabric Glue: $3 (instead of hot glue)
- Shelf Liner: $5 (instead of non-slip mat)
New Total Cost: $23
Creative Variations and Customizations
Materials: Instead of traditional cotton fabric, try using bamboo for a more eco-friendly option. Cork is another great choice, offering a natural, non-slip surface. For a plush feel, consider microfiber or memory foam.
Colors: Choose bright, bold colors like turquoise or coral for a vibrant look. For a more calming vibe, go with pastel shades such as mint green or lavender. Neutral tones like beige or gray can create a minimalist, modern feel.
Styles: Create a woven mat using strips of old towels or fabric scraps. For a rustic look, use jute rope or twine. If you prefer a luxurious style, add embroidery or beaded accents.
Shapes: Instead of a standard rectangle, try making a circular or oval mat. For a fun twist, cut the mat into a star or heart shape.
Patterns: Use stencils to paint geometric patterns or floral designs. Tie-dye the fabric for a unique, colorful effect. Patchwork designs can add a cozy, homemade touch.
Textures: Add pom-poms or fringe around the edges for extra flair. Use different fabric textures like velvet or terry cloth to create a multi-dimensional feel.
Functional Additions: Sew in pockets to hold small items like soap or bath toys. Add suction cups to the bottom for extra grip. Incorporate essential oils into the fabric for a soothing scent.
Eco-Friendly Tips
Use old towels or terry cloth to create a soft, absorbent bath mat. Cut them into strips and braid or weave them together.
Repurpose wine corks by slicing them into discs and gluing them onto a non-slip backing. This creates a natural, water-resistant mat.
Recycle old t-shirts by cutting them into strips and braiding them into a circular or rectangular shape. Sew the braids together for a colorful, soft mat.
Utilize bamboo slats or sticks. Arrange them side by side and secure them with eco-friendly glue or twine. Bamboo is durable and water-resistant.
Collect pebbles from your garden or a nearby river. Glue them onto a rubber mat for a spa-like, natural look.
Use recycled rubber from old tires. Cut the rubber into the desired shape and size. This provides a non-slip, durable surface.
Combine recycled fabric scraps to create a patchwork mat. Sew the pieces together for a unique, colorful design.
Choose organic cotton or hemp fabric for a more sustainable option. These materials are biodegradable and eco-friendly.
Repurpose old jeans by cutting them into strips and weaving them together. Denim is durable and adds a rustic touch.
Use jute rope to create a natural, rustic bath mat. Coil the rope into a circular or rectangular shape and secure it with eco-friendly glue.
Your DIY Bath Mat Awaits
Creating your own DIY bath mat is a fun, rewarding project. You save money, get a custom piece, and learn new skills. Plus, it’s a great way to repurpose old materials. Whether you choose to use old towels, wine corks, or pebbles, the end result will be uniquely yours. Remember to measure your space, gather all materials, and take your time. Don’t rush the process. Enjoy each step, from cutting and arranging to gluing and finishing. Once completed, your new bath mat will add a personal touch to your bathroom. It’s not just about the finished product; it’s about the journey of making something with your own hands. So, roll up your sleeves, get creative, and start crafting. Your bathroom will thank you!
What materials do I need to make a DIY bath mat?
You'll need fabric, scissors, non-slip backing, sewing machine (or needle and thread), and measuring tape.
How long does it take to make a bath mat?
It usually takes about 2-3 hours depending on your sewing skills and the complexity of your design.
Can I use old towels or clothes for this project?
Absolutely! Old towels or clothes work great. They’re absorbent and give your mat a unique look.
Do I need a sewing machine?
While a sewing machine makes it faster, you can hand-sew if you don’t have one. Just be patient and use strong thread.
How do I make sure the bath mat doesn't slip?
Attach a non-slip backing to the bottom. You can find this material at most craft stores.
Can I wash my DIY bath mat in the washing machine?
Yes, most DIY bath mats are machine washable. Just use a gentle cycle and air dry to keep it in good shape.
What size should my bath mat be?
Measure the space where you’ll place it. Common sizes are 20x30 inches or 24x36 inches, but customize it to fit your bathroom.

