
Home>Create & Decorate>DIY & Crafts>How To Build A Shadowbox Fence
DIY & Crafts
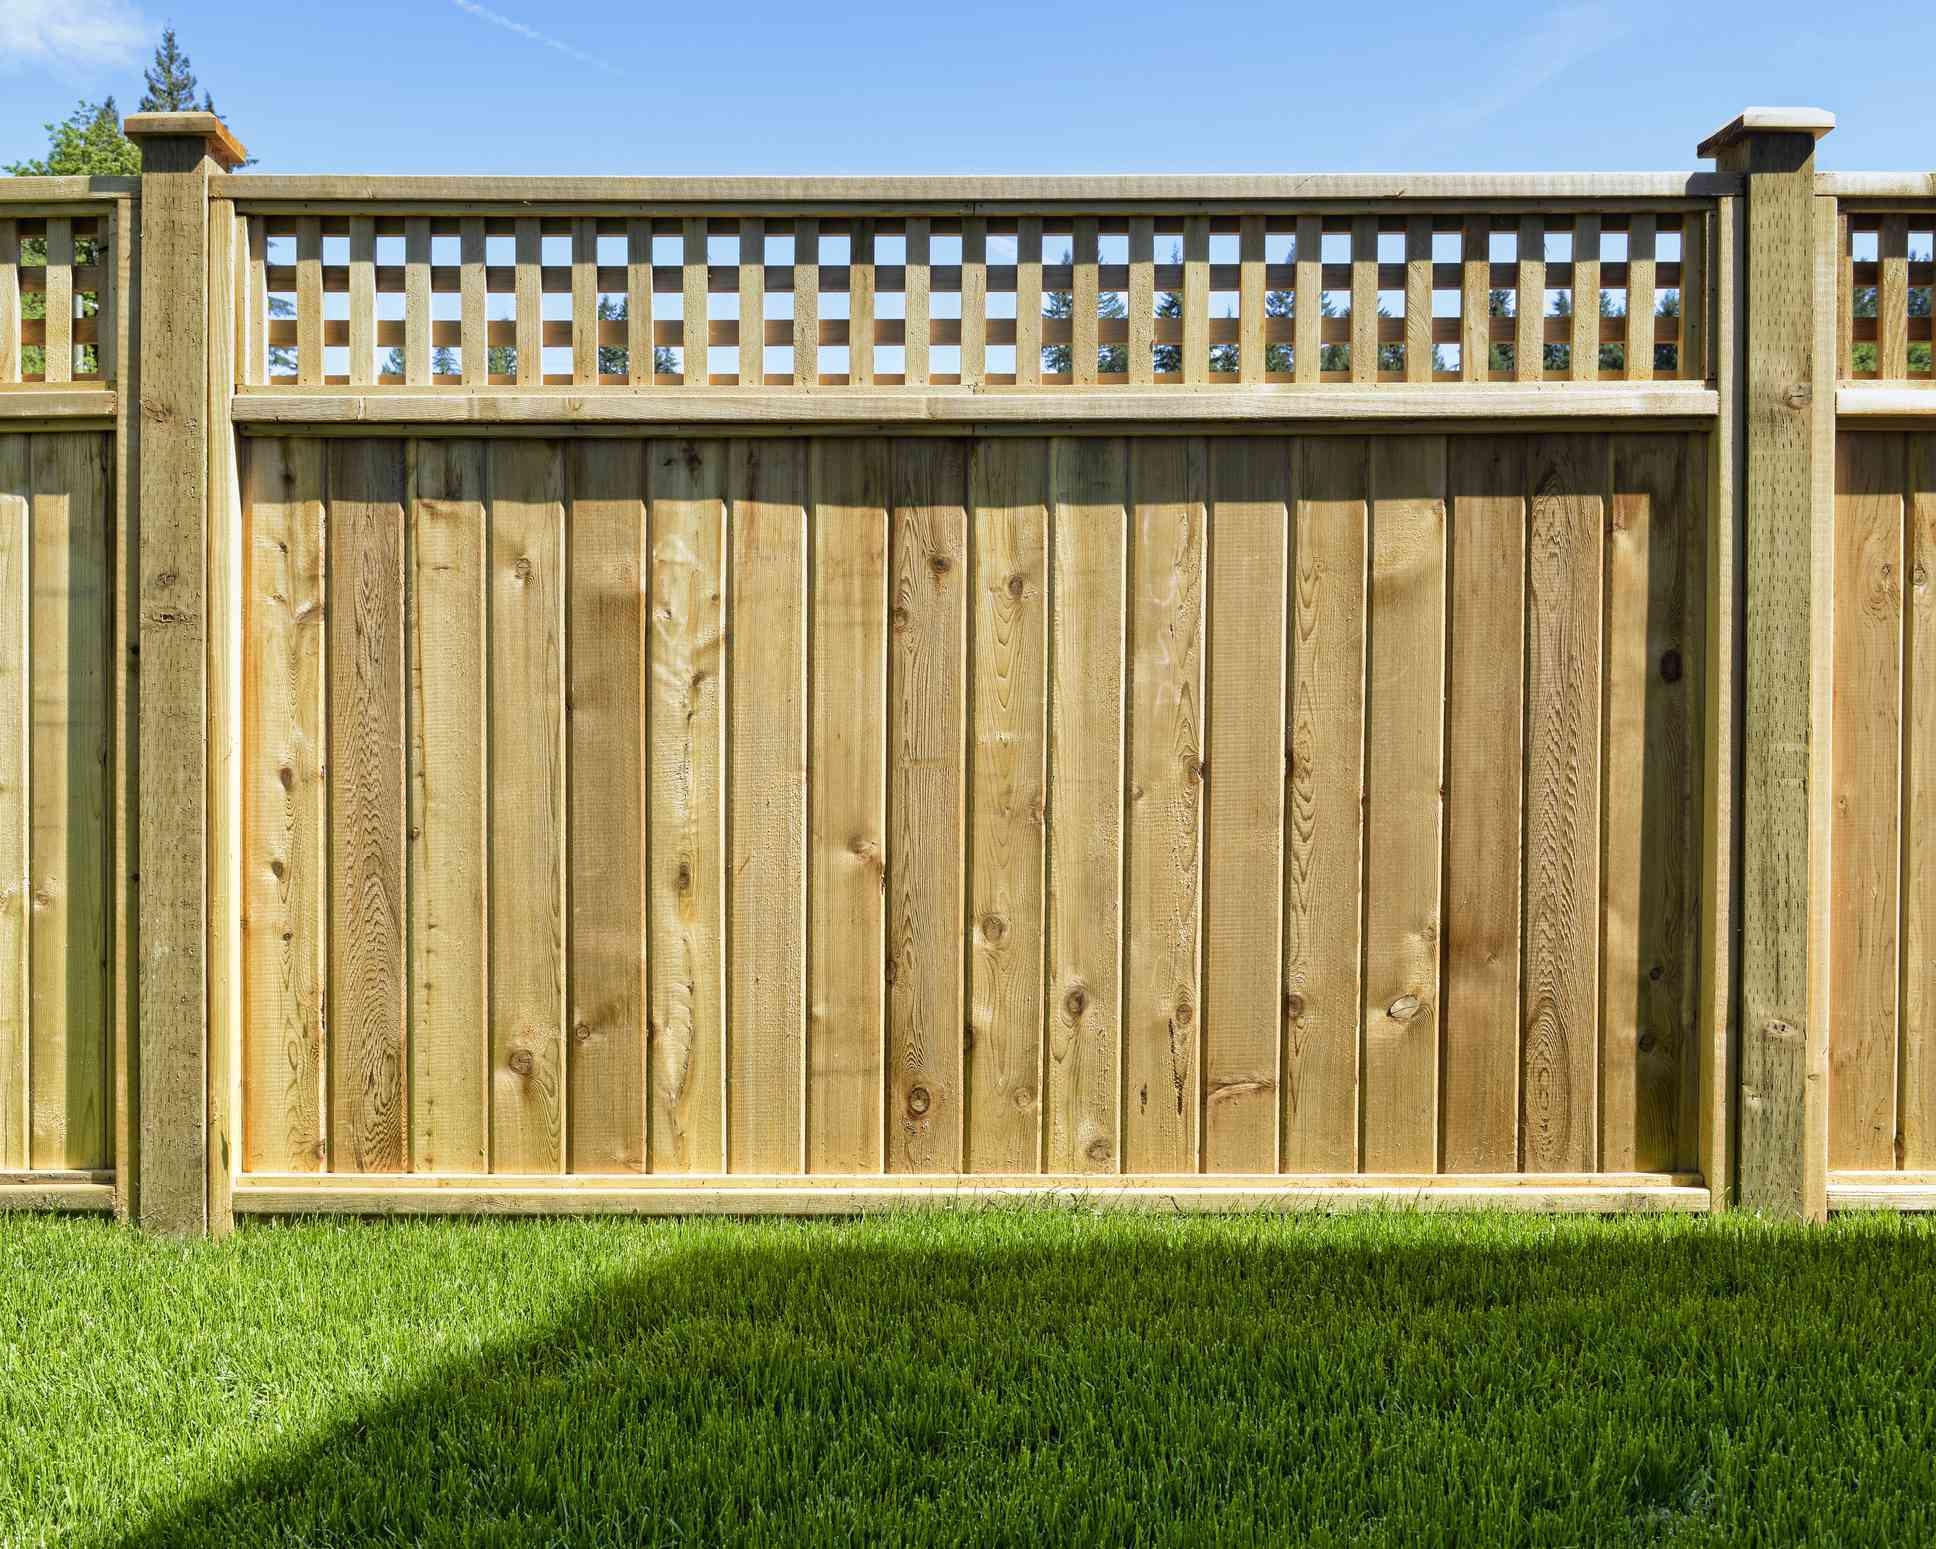
How To Build A Shadowbox Fence
Published: May 31, 2024

Content Creator specializing in woodworking and interior transformations. Caegan's guides motivate readers to undertake their own projects, while his custom furniture adds a personal touch.
Learn how to build a shadowbox fence with our step-by-step DIY guide. Perfect for DIY & Crafts enthusiasts looking to enhance their outdoor space.
(Many of the links in this article redirect to a specific reviewed product. Your purchase of these products through affiliate links helps to generate commission for Twigandthistle.com, at no extra cost. Learn more)
Introduction
So, you're thinking about building a shadowbox fence? That's a fantastic idea! A shadowbox fence is not only functional but also adds a touch of elegance to your property. It's a great way to enhance privacy while still allowing some airflow and light to pass through. In this article, we'll guide you through the process of building your very own shadowbox fence. From planning and preparation to adding the finishing touches, we've got you covered. Let's roll up our sleeves and get started!
Planning and Preparation
Before diving into the construction of your shadowbox fence, it's crucial to start with a well-thought-out plan and thorough preparation. Here's how to get started:
-
Check Local Regulations: Begin by checking with your local authorities or homeowner's association to ensure compliance with any regulations or restrictions regarding fence height, materials, and property lines.
-
Sketch Out Your Design: Grab a pen and paper and sketch out the design of your shadowbox fence. Consider the height, spacing between pickets, and the overall layout. This will serve as a visual guide as you move through the construction process.
-
Gather Necessary Permits: Depending on your location, you may need to obtain a permit before building your fence. Check with your local building department to determine the necessary permits and regulations.
-
Mark Property Lines: It's essential to accurately mark your property lines before installing the fence. This will prevent any disputes with neighbors and ensure that the fence is erected within your property boundaries.
-
Determine Material Quantities: Calculate the amount of lumber, concrete, nails, and other materials needed for the project. Having a clear idea of the quantities required will help you budget and plan accordingly.
-
Prepare the Work Area: Clear the area where the fence will be constructed. Remove any obstacles, rocks, or debris that may hinder the installation process.
By taking the time to plan and prepare adequately, you'll set the stage for a smooth and successful construction process. Now that you've laid the groundwork, it's time to gather the materials and tools needed for building your shadowbox fence.
Gathering Materials and Tools
Now that you have a solid plan in place, it's time to gather the necessary materials and tools for building your shadowbox fence. Here's what you'll need:
Materials
- Pressure-Treated Lumber: This will serve as the primary material for the posts, rails, and pickets. Opt for high-quality, pressure-treated lumber to ensure durability and longevity.
- Concrete: You'll need concrete to secure the fence posts in the ground. Consider using fast-setting concrete for efficient installation.
- Galvanized Nails or Screws: Choose corrosion-resistant nails or screws to secure the various components of the fence.
- Gravel: Gravel will be used as a base for the fence posts to promote drainage and stability.
- Wood Stain or Sealant: To protect the wood from the elements, consider applying a high-quality wood stain or sealant.
Tools
- Post-Hole Digger: This tool will be essential for digging the holes for the fence posts.
- Level: A level will ensure that your fence is straight and properly aligned during installation.
- Circular Saw: You'll need a circular saw to cut the lumber to the desired lengths.
- Measuring Tape: Accurate measurements are crucial for a precise and professional-looking fence.
- Hammer or Drill: Depending on your preference, a hammer or drill will be used to secure the nails or screws.
- Safety Gear: Don't forget to prioritize safety by wearing gloves, safety glasses, and appropriate footwear during the construction process.
By gathering these materials and tools, you'll be well-equipped to tackle the construction of your shadowbox fence. With everything in hand, it's time to roll up your sleeves and move on to the next phase: setting the posts.
Setting the Posts
Setting the posts is a crucial step in building a sturdy and reliable shadowbox fence. Here's a detailed guide on how to set the posts for your fence:
-
Mark the Post Locations: Using the measurements from your initial plan, mark the locations where the fence posts will be placed. Use a string line to ensure that the posts are aligned in a straight line.
-
Dig the Post Holes: Utilize a post-hole digger to dig the holes for the fence posts. The depth of the holes should be approximately one-third of the total post length, with an additional 6 inches for gravel at the bottom.
-
Add Gravel: Pour a layer of gravel into the bottom of each post hole. The gravel will promote drainage and prevent the accumulation of water at the base of the posts, ultimately extending the life of your fence.
-
Insert the Posts: Carefully place the posts into the prepared holes, ensuring that they are level and plumb. Use a level to check for vertical alignment and make adjustments as needed.
-
Secure with Concrete: Once the posts are properly positioned, it's time to secure them with concrete. Pour the concrete mix into the holes around the posts, ensuring that it is evenly distributed. Follow the manufacturer's instructions for the appropriate water-to-concrete ratio and curing time.
-
Double-Check Alignment: Before the concrete sets, double-check the alignment and plumbness of the posts. Any necessary adjustments should be made at this stage to avoid issues during the later stages of construction.
-
Allow for Curing: Allow an adequate amount of time for the concrete to cure and set firmly. This typically takes 24-48 hours, depending on the specific concrete mix used and the prevailing weather conditions.
By following these steps, you'll ensure that the posts for your shadowbox fence are securely anchored and ready to support the remaining components of the fence. With the posts in place, you're ready to move on to the next phase of the construction process: installing the rails and pickets.
Installing the Rails and Pickets
With the posts securely set, it's time to proceed with installing the rails and pickets for your shadowbox fence. This phase of the construction process will bring your fence to life, providing both functionality and aesthetic appeal. Here's a detailed guide on how to install the rails and pickets:
-
Measure and Cut the Rails: Begin by measuring the distance between the posts to determine the required length for the rails. Use a circular saw to cut the rails to the appropriate size, ensuring precision and accuracy in the measurements.
-
Attach the Bottom Rail: Position the bottom rail between the first set of posts, ensuring that it is level and aligned with the ground. Secure the rail to the posts using galvanized nails or screws, maintaining equal spacing between the pickets.
-
Install the Pickets: With the bottom rail in place, it's time to install the pickets. Position the first picket against the rail, ensuring that it is plumb and evenly spaced from the adjacent picket. Use a level to confirm vertical alignment before securing the picket to the rail.
-
Add the Top Rail: Once the pickets are in position, add the top rail to the fence, aligning it with the tops of the pickets. Secure the top rail to the posts using the appropriate fasteners, ensuring that it is level and parallel to the bottom rail.
-
Continue the Process: Repeat the process of installing pickets and rails along the length of the fence, ensuring consistent spacing and alignment. Use a level periodically to confirm that the fence components are straight and plumb.
-
Trim Excess Length: If necessary, trim any excess length from the pickets to ensure a uniform and polished appearance for your shadowbox fence.
-
Secure the Pickets: Once all the pickets are in place, secure them to the rails using nails or screws, ensuring a strong and durable connection.
By following these steps, you'll successfully install the rails and pickets for your shadowbox fence, creating a visually appealing and functional barrier for your property. With the rails and pickets securely in place, it's time to add the finishing touches to complete your shadowbox fence.
Adding Finishing Touches
With the main structure of your shadowbox fence in place, it's time to add the finishing touches that will enhance its appearance and longevity. Here's how to complete your shadowbox fence with finesse:
-
Apply Stain or Sealant: To protect the wood from the elements and enhance its natural beauty, consider applying a high-quality wood stain or sealant. Choose a product that is specifically designed for outdoor use and provides protection against UV rays, moisture, and rot.
-
Trim Excess Material: Take a final look at your fence and trim any excess material or uneven edges to ensure a clean and polished appearance. A uniform and well-trimmed fence will elevate the overall aesthetic of your property.
-
Add Decorative Elements: If desired, consider adding decorative elements such as post caps, finials, or lattice accents to customize the look of your shadowbox fence. These embellishments can add a touch of elegance and individuality to your fence design.
-
Inspect for Loose Fasteners: Walk along the length of the fence and inspect for any loose nails or screws. Secure any protruding fasteners to prevent potential hazards and maintain the structural integrity of the fence.
-
Clear Debris and Clean: Before admiring your newly completed shadowbox fence, take the time to clear any construction debris and give the fence a thorough cleaning. This will ensure that your fence is presented in its best light and ready to serve its purpose.
-
Landscaping and Lighting: Consider landscaping around the perimeter of the fence to complement its presence. Additionally, outdoor lighting can be strategically placed to highlight the beauty of your shadowbox fence during the evening hours.
By adding these finishing touches, you'll elevate the visual appeal and functionality of your shadowbox fence, creating a welcoming and secure environment for your property. With the completion of these steps, you can now step back and admire the impressive work you've accomplished in building your very own shadowbox fence.
Conclusion
Congratulations! You've successfully navigated the process of building a shadowbox fence from start to finish. By meticulously planning and preparing, gathering the necessary materials and tools, setting the posts, installing the rails and pickets, and adding the finishing touches, you've created a functional and visually appealing addition to your property. Your shadowbox fence not only provides privacy and security but also enhances the overall aesthetic of your outdoor space. As you stand back and admire your handiwork, take pride in the fact that you've tackled a significant DIY project and emerged victorious. Now, it's time to enjoy the benefits of your newly constructed shadowbox fence and revel in the sense of accomplishment that comes with mastering the art of home improvement. Well done!