Home>Create & Decorate>DIY & Crafts>How To Install Chicken Wire Fence

DIY & Crafts
How To Install Chicken Wire Fence
Published: April 10, 2024

Senior Editor in Create & Decorate, Kathryn combines traditional craftsmanship with contemporary trends. Her background in textile design and commitment to sustainable crafts inspire both content and community.
Learn how to install a chicken wire fence with our step-by-step DIY guide. Perfect for your next crafts project. Easy and affordable!
(Many of the links in this article redirect to a specific reviewed product. Your purchase of these products through affiliate links helps to generate commission for Twigandthistle.com, at no extra cost. Learn more)
Introduction
So, you've decided to install a chicken wire fence. Whether you're looking to keep your chickens safe or protect your garden from pesky critters, a chicken wire fence is a practical and cost-effective solution. In this guide, we'll walk you through the step-by-step process of installing a chicken wire fence, from gathering the necessary materials to adding the finishing touches. By the end of this article, you'll be equipped with the knowledge and confidence to tackle this DIY project like a pro. Let's get started!
Read more: How To Build A Hog Wire Fence
Step 1: Gather Necessary Materials
Before you begin installing your chicken wire fence, it's essential to gather all the necessary materials to ensure a smooth and efficient process. Here's a list of items you'll need:
-
Chicken Wire: Measure the area where you plan to install the fence to determine the amount of chicken wire required. Ensure that the wire mesh is of good quality and appropriate height for your specific needs.
-
Fence Posts: Opt for sturdy fence posts that are suitable for the type of soil in your area. You'll need enough posts to support the entire length of the fence.
-
Post Hole Digger or Auger: This tool will be essential for digging the holes to set the fence posts securely in the ground.
-
Fasteners: Choose appropriate fasteners such as staples or clips to attach the chicken wire to the fence posts.
-
Wire Cutters: A reliable pair of wire cutters will be necessary for trimming the chicken wire to the desired size and shape.
-
Work Gloves: Protect your hands with a sturdy pair of work gloves to prevent injuries while handling the chicken wire and fence posts.
-
Safety Glasses: It's crucial to prioritize safety, so don't forget to wear safety glasses to shield your eyes from any debris or sharp edges during the installation process.
-
Measuring Tape and Marking Tools: Accurate measurements and markings are crucial for a precise and professional-looking installation.
-
Hammer or Mallet: You'll need a hammer or mallet to drive the fence posts into the ground securely.
-
Level: To ensure that your fence is straight and even, a level will be indispensable for the installation process.
By gathering these essential materials beforehand, you'll be well-prepared to embark on the next steps of installing your chicken wire fence.
Step 2: Measure and Mark the Area
Before diving into the physical installation of your chicken wire fence, it's crucial to accurately measure and mark the designated area. This step sets the foundation for a precise and visually appealing fence layout. Here's how to tackle this essential phase:
-
Measure the Perimeter: Use a measuring tape to determine the length and height of the area where you plan to install the chicken wire fence. Take accurate measurements to ensure you purchase the correct amount of chicken wire and plan for the appropriate number of fence posts.
-
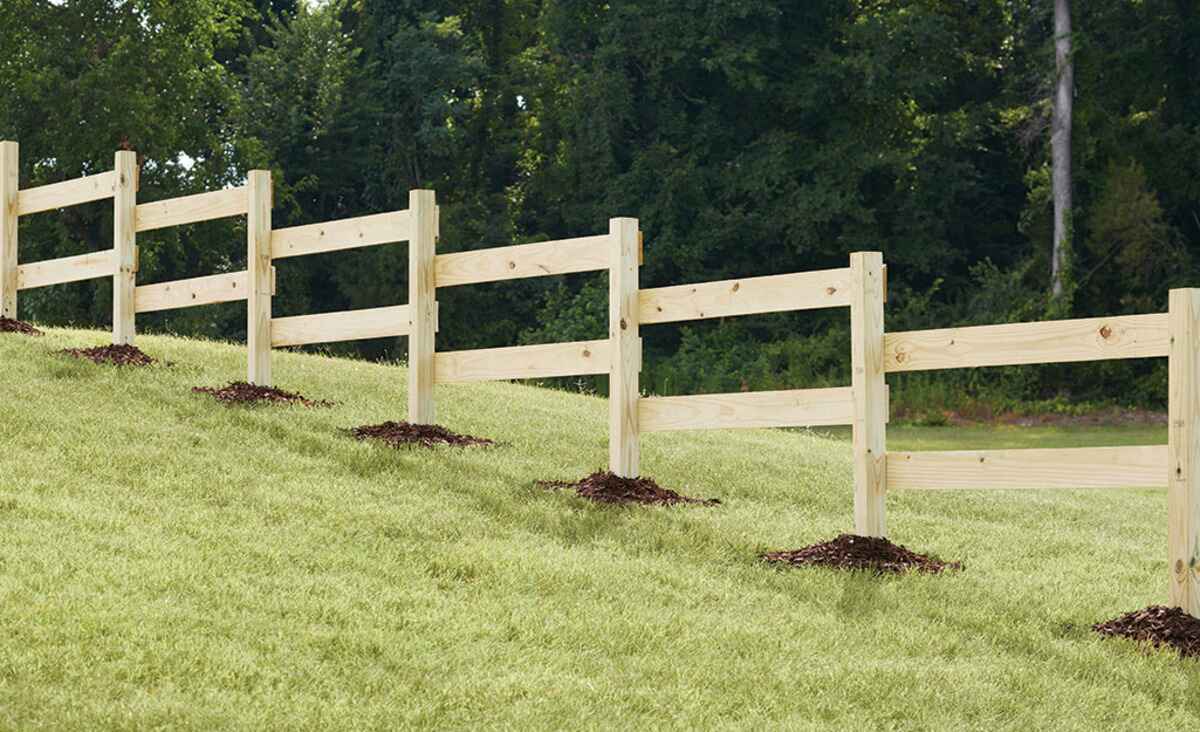
Mark the Post Locations: Once you have the measurements, mark the locations where the fence posts will be placed. For longer stretches of the fence, it's advisable to space the posts approximately 6 to 8 feet apart to provide ample support for the chicken wire.
-
Consider the Terrain: Take into account any uneven terrain or obstacles within the area. Adjust the placement of the fence posts and the shape of the chicken wire to accommodate any irregularities in the landscape.
-
Double-Check Measurements: Before proceeding to the next step, double-check all measurements and markings to ensure accuracy. This extra attention to detail will contribute to a seamless installation process and a professional-looking end result.
By meticulously measuring and marking the area, you'll lay the groundwork for a successful installation and minimize the likelihood of errors or adjustments later in the process.
Step 3: Set the Posts
Setting the posts is a crucial step in the installation of your chicken wire fence, as it provides the structural foundation for the entire enclosure. Follow these detailed steps to ensure the posts are securely positioned:
-
Dig the Post Holes: Utilize a post hole digger or auger to dig holes at the marked locations for the fence posts. The depth of the holes should be approximately one-third of the total above-ground height of the posts. For example, if your posts are 6 feet tall, aim for a hole depth of around 2 feet.
-
Place the Posts: Once the holes are prepared, carefully place the fence posts into the holes. Ensure that each post is standing upright and aligned with the markings. Use a level to confirm that the posts are perfectly vertical and adjust them as needed.
-
Secure the Posts: With the posts in position, begin backfilling the holes with soil, tamping it down firmly as you go. This will provide stability and support for the posts. Consider using concrete to further secure the posts in place, especially if you anticipate heavy winds or other environmental factors that could affect the stability of the fence.
-
Allow for Setting Time: If you've used concrete to secure the posts, allow ample time for it to set and cure according to the manufacturer's instructions. This setting period is essential for the posts to achieve maximum stability and ensure the longevity of your chicken wire fence.
By meticulously setting the posts, you establish a sturdy framework for the chicken wire fence, laying the groundwork for the subsequent steps in the installation process.
Step 4: Attach the Chicken Wire to the Posts
With the posts securely in place, it's time to attach the chicken wire to create the actual fencing. Follow these steps to ensure a secure and professional attachment:
-
Unroll the Chicken Wire: Begin by unrolling the chicken wire along the length of the fence line. Ensure that the bottom of the wire is touching the ground to prevent any small animals from burrowing underneath.
-
Secure the Wire to the First Post: Starting at one end of the fence, use fasteners such as staples or clips to attach the chicken wire to the first fence post. Make sure the wire is taut and properly aligned before securing it in place.
-
Maintain Tension as You Progress: As you continue along the fence line, maintain tension in the chicken wire to prevent sagging. This can be achieved by pulling the wire taut and securing it to each post as you move along.
-
Overlap at Corners and Ends: When you reach a corner or the end of the fence line, allow for some overlap of the chicken wire. This overlap will provide additional strength and prevent any gaps in the fencing.
-
Trim Excess Wire: Once the chicken wire is attached to all the posts, use wire cutters to trim any excess material. Be sure to leave enough wire to secure the bottom of the fence in the next step.
-
Double-Check the Attachment: After securing the chicken wire to all the posts, double-check the entire length of the fence to ensure that the wire is firmly attached and free of any loose sections.
By following these steps, you'll effectively attach the chicken wire to the posts, creating a sturdy and reliable fence for your intended purpose.
Read more: DIY Chicken Wire Door for Dining Room
Step 5: Secure the Bottom of the Fence
Securing the bottom of the chicken wire fence is essential to prevent small animals from digging underneath and gaining access to the enclosed area. Follow these steps to effectively secure the bottom of the fence:
-
Bury the Bottom Edge: Begin by burying the bottom edge of the chicken wire into the ground. Use a shovel or garden trowel to create a shallow trench along the perimeter of the fence. The depth of the trench should be sufficient to accommodate the bottom edge of the wire, typically around 6 inches.
-
Anchor the Wire: Once the trench is prepared, carefully press the bottom edge of the chicken wire into the trench. This anchoring method helps to deter burrowing animals and reinforces the barrier created by the fence.
-
Secure with Ground Staples: To further secure the bottom of the fence, utilize ground staples or U-shaped stakes to fasten the wire to the ground at regular intervals. Place the staples approximately every 2 to 3 feet along the bottom edge of the fence, ensuring that the wire remains firmly in place.
-
Cover with Soil: After securing the wire with ground staples, backfill the trench with soil to cover the bottom edge of the chicken wire. Tamp down the soil firmly to ensure that the wire is held securely in place and that there are no gaps or openings along the bottom of the fence.
-
Inspect for Security: Once the bottom of the fence is secured, take a moment to inspect the entire perimeter. Ensure that the wire is firmly anchored to the ground and that there are no areas where small animals could potentially gain access. Make any necessary adjustments to reinforce the bottom edge of the fence.
By effectively securing the bottom of the chicken wire fence, you create a robust barrier that effectively prevents unauthorized entry and ensures the safety and containment of the enclosed area.
Step 6: Finishing Touches and Maintenance Tips
As you near the completion of your chicken wire fence installation, it's essential to add the finishing touches that enhance both the functionality and visual appeal of the enclosure. Additionally, incorporating maintenance tips will help ensure the longevity and effectiveness of your newly installed fence. Here's how to add those final touches and maintain your chicken wire fence:
Adding Gate Access
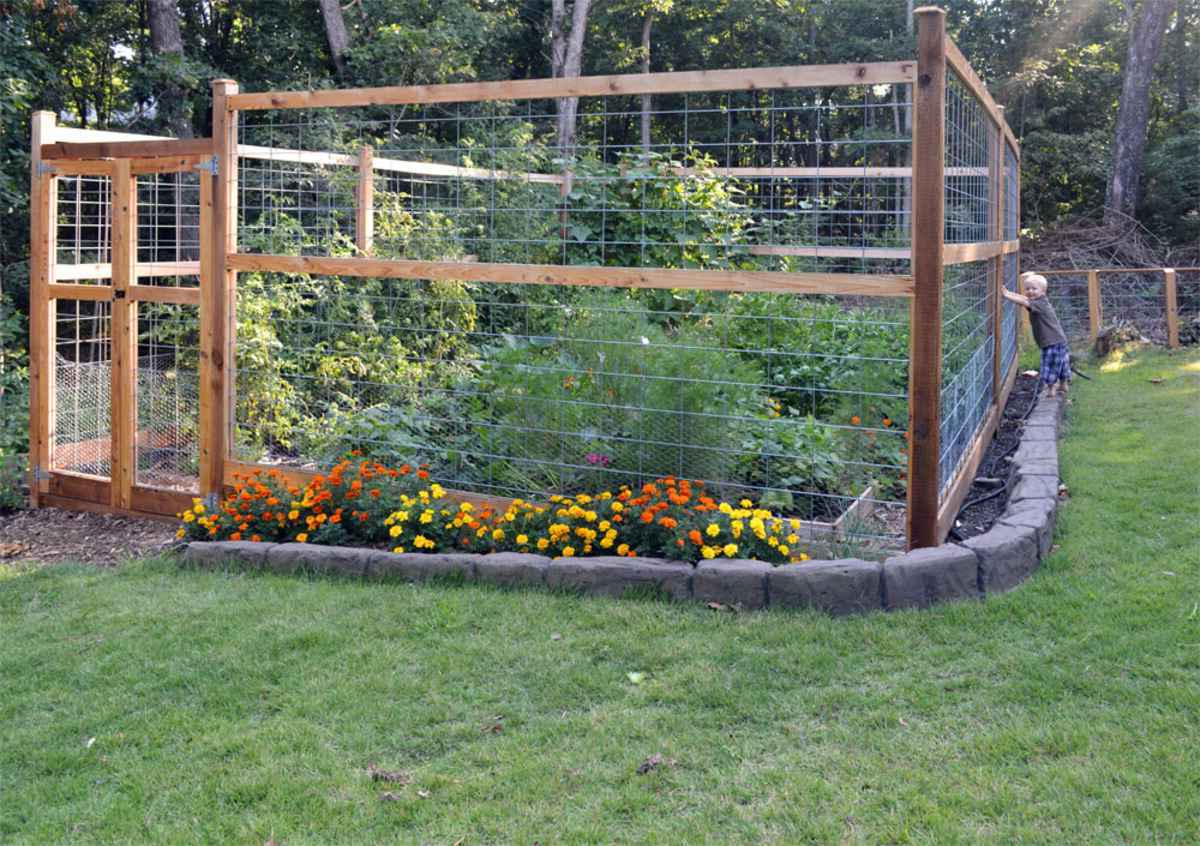
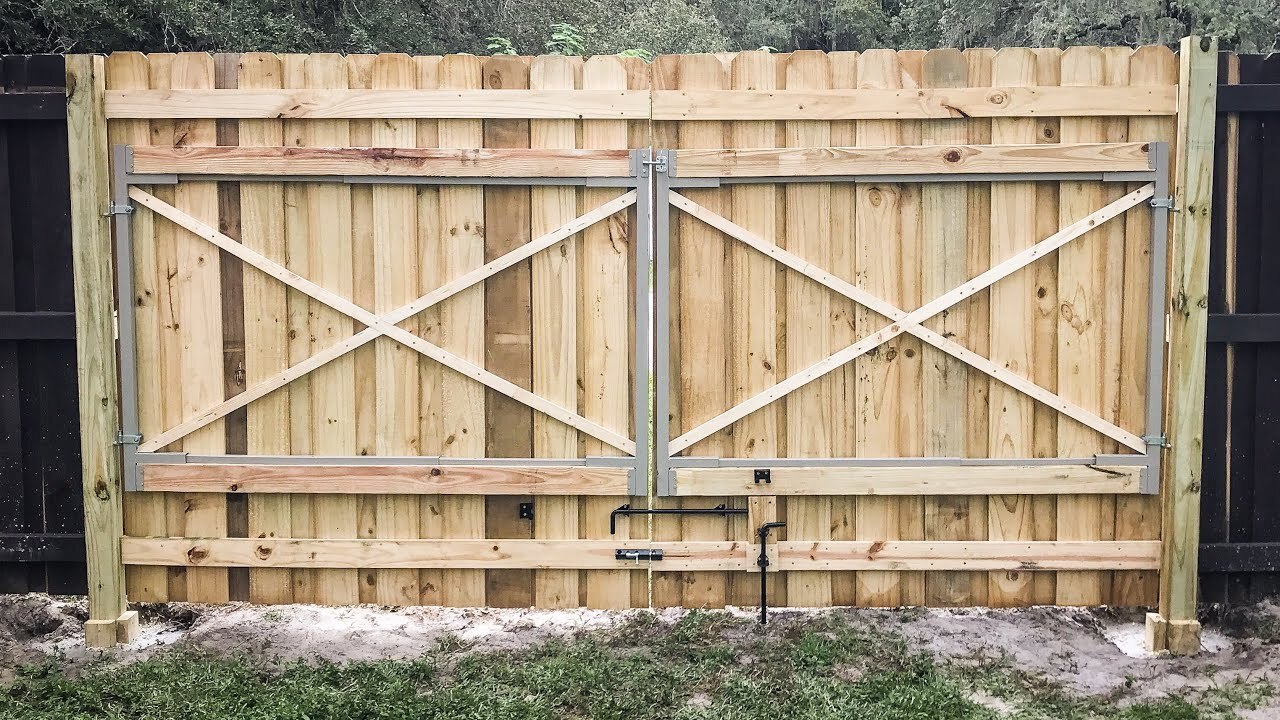
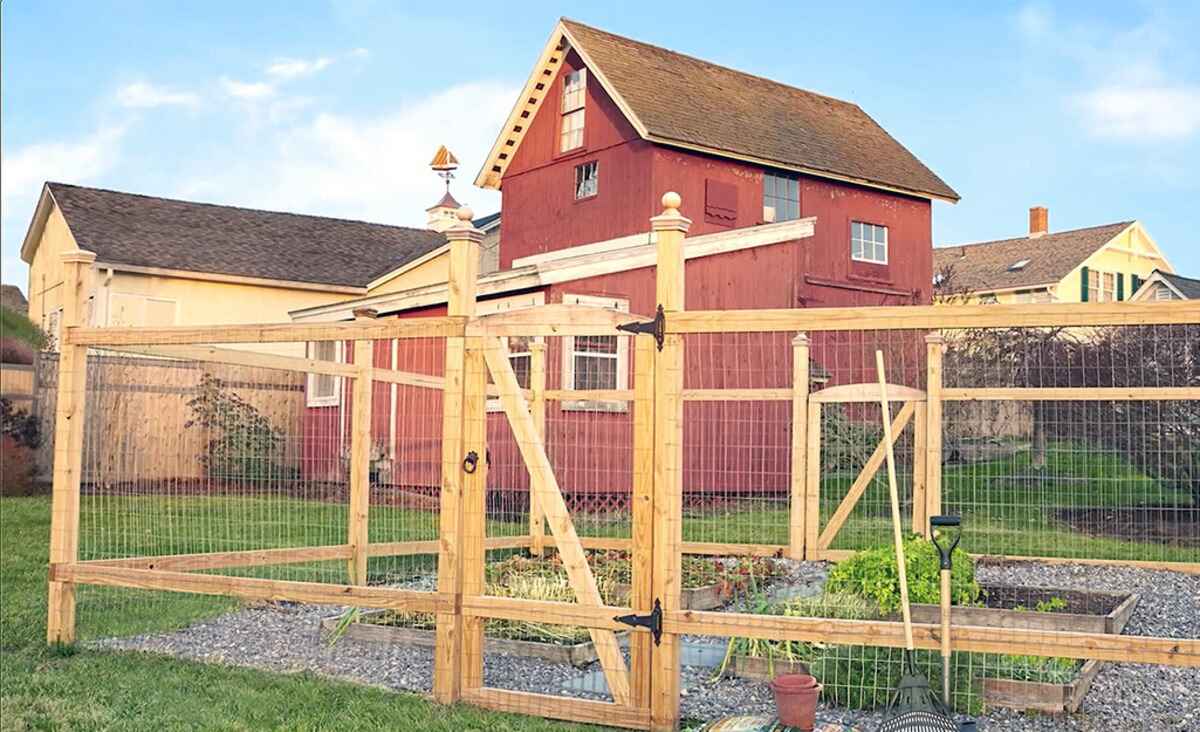
If you require access to the enclosed area, consider installing a gate within the chicken wire fence. This gate can be constructed using the same materials as the fence itself, ensuring a cohesive and secure entry point. Whether for tending to a garden or accessing a chicken coop, a well-constructed gate provides convenience while maintaining the integrity of the fence.
Applying Protective Coating
To enhance the durability of your chicken wire fence, consider applying a protective coating to the wire mesh. This coating can help prevent corrosion and extend the lifespan of the fence, especially in outdoor environments where exposure to the elements is inevitable. Choose a coating that is suitable for use with the type of wire you've installed and follow the manufacturer's instructions for application.
Read more: How To Build A Picket Fence
Regular Inspections and Repairs
Maintaining the integrity of your chicken wire fence involves conducting regular inspections to identify any signs of wear, damage, or potential weak points. Look for areas where the wire may have loosened, posts that have shifted, or signs of corrosion. Promptly address any issues by making necessary repairs to ensure that the fence continues to serve its purpose effectively.
Vegetation Management
Keep the area surrounding the fence clear of overgrown vegetation and debris. Overhanging branches, vines, or accumulated leaves can exert pressure on the fence, potentially causing damage or creating entry points for unwanted animals. Regularly trim vegetation and clear debris to maintain a clear perimeter around the fence.
Seasonal Maintenance
Consider seasonal maintenance tasks to address specific challenges that may arise. For example, in colder climates, ensure that the fence is adequately supported to withstand the weight of snow or ice. In warmer climates, be mindful of potential rust or corrosion due to increased moisture. Tailoring maintenance to seasonal conditions can help preserve the fence's functionality throughout the year.
By incorporating these finishing touches and implementing proactive maintenance practices, you'll not only complete the installation of your chicken wire fence with attention to detail but also ensure its long-term effectiveness and reliability.

