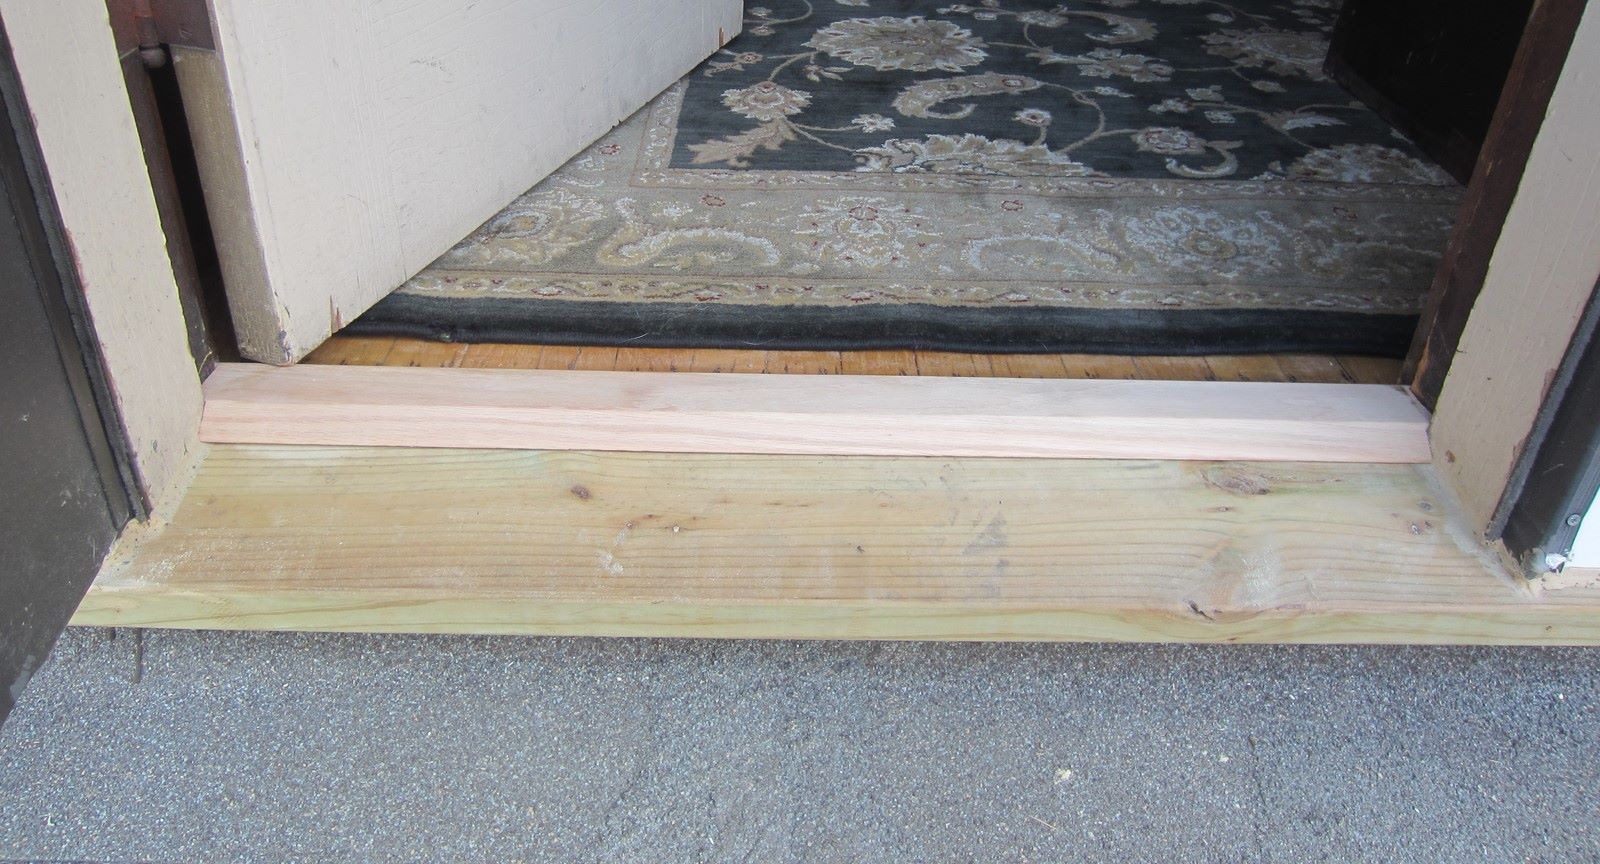
Home>Create & Decorate>DIY & Crafts>How To Build A Door Jamb

DIY & Crafts
How To Build A Door Jamb
Published: February 23, 2024

Content Creator specializing in woodworking and interior transformations. Caegan's guides motivate readers to undertake their own projects, while his custom furniture adds a personal touch.
Learn how to build a door jamb with our step-by-step DIY guide. Perfect for your next DIY & Crafts project.
(Many of the links in this article redirect to a specific reviewed product. Your purchase of these products through affiliate links helps to generate commission for Twigandthistle.com, at no extra cost. Learn more)
Introduction
Building a door jamb is an essential skill for anyone looking to enhance their home's functionality and aesthetics. Whether you're a seasoned DIY enthusiast or a novice looking to embark on a new project, constructing a door jamb can be a rewarding and practical endeavor. A well-crafted door jamb not only provides structural support for the door but also adds a touch of elegance to the overall interior design.
In this comprehensive guide, we will delve into the step-by-step process of building a door jamb, from understanding its purpose to the final installation. By the end of this tutorial, you will have the knowledge and confidence to tackle this project with ease. So, roll up your sleeves, gather your tools, and let's embark on this fulfilling journey of creating a custom door jamb that perfectly complements your living space.
Read more: How To Build A Door
Understanding the Door Jamb
The door jamb is a crucial component of any door frame, providing structural support and stability for the door. It consists of vertical members, known as the door jambs, which are attached to the wall framing and support the door on either side. Additionally, the door jamb includes the head jamb, located horizontally above the door, completing the frame and ensuring proper alignment and functionality.
Beyond its structural significance, the door jamb also serves as a vital element in the overall aesthetic appeal of a room. A well-crafted door jamb can seamlessly integrate with the interior design, adding a touch of sophistication and completeness to the space. Furthermore, a properly installed door jamb contributes to energy efficiency by preventing air leaks and enhancing insulation, thereby optimizing the indoor climate and reducing energy costs.
Understanding the door jamb involves recognizing its role in facilitating smooth door operation and providing a secure closure. When constructed and installed correctly, the door jamb ensures that the door swings open and closes effortlessly, maintaining a snug fit within the frame. This not only enhances convenience but also promotes safety and privacy within the living environment.
In essence, the door jamb is more than just a structural element; it is a fundamental feature that harmonizes functionality, aesthetics, and security within a home. As we proceed with the door jamb construction process, it is essential to grasp its significance and the impact it has on the overall functionality and visual appeal of the door and the surrounding space.
Tools and Materials Needed
Before embarking on the construction of a door jamb, it is crucial to gather the necessary tools and materials to ensure a smooth and efficient process. Here's a comprehensive list of the items you will need:
Tools:
- Measuring Tape: Essential for accurately measuring the dimensions of the door jamb components and ensuring precise cuts.
- Miter Saw: Used for cutting the door jamb components at precise angles, facilitating seamless assembly.
- Hammer: Required for securing the door jamb components in place and making adjustments as needed.
- Chisel: Utilized for fine-tuning the fit of the door jamb within the wall framing and creating space for hinges and strike plates.
- Screwdriver: Necessary for attaching the door jamb to the wall framing and installing hinges and other hardware.
- Level: Ensures that the door jamb is installed perfectly vertical and plumb, promoting smooth door operation.
- Pencil: Used for marking measurements and guidelines on the door jamb components and the wall framing.
Materials:
- Wood: Select high-quality lumber for the door jamb components, such as the jambs and head jamb, ensuring durability and structural integrity.
- Wood Glue: Essential for reinforcing joints and enhancing the stability of the assembled door jamb.
- Finish Nails or Screws: Used for securing the door jamb components to the wall framing, providing a sturdy attachment.
- Hinges and Strike Plate: Depending on the door type, ensure that the appropriate hinges and strike plate are available for installation.
- Wood Putty: Used for filling any gaps or imperfections in the assembled door jamb, creating a seamless and polished finish.
- Paint or Stain: Choose a finish that complements the interior design, enhancing the visual appeal of the door jamb.
By having these tools and materials at your disposal, you will be well-equipped to commence the construction of a door jamb with confidence and precision. Each item plays a crucial role in the construction process, ensuring that the door jamb is not only structurally sound but also visually appealing and seamlessly integrated within the living space.
Read more: How To Build An Exterior Door
Measuring and Cutting the Door Jamb
Accurate measurements and precise cuts are fundamental to the successful construction of a door jamb. This phase of the process sets the foundation for a well-fitted and seamlessly integrated door frame, ensuring smooth door operation and a visually appealing finish.
Measuring the Door Jamb Components
Begin by measuring the height and width of the door opening to determine the dimensions of the door jamb components. Use a reliable measuring tape to record the exact measurements, accounting for any variations in the floor or ceiling. It is crucial to measure each side of the door opening independently, as irregularities in the wall may result in asymmetrical dimensions.
Next, measure the thickness of the door to determine the depth of the door jamb. This measurement is essential for creating a frame that accommodates the door without obstructing its movement. Additionally, consider the space required for hinges and the strike plate, ensuring that the door jamb provides ample clearance for these components.
Cutting the Door Jamb Components
Once the measurements are accurately recorded, proceed to cut the door jamb components to the specified dimensions. Utilize a miter saw to make precise angled cuts, ensuring that the corners of the door jamb align seamlessly when assembled. Pay close attention to the orientation of the cuts, particularly for the head jamb and the side jambs, to facilitate a snug and secure fit within the door opening.
When cutting the components, it is advisable to start with slightly longer pieces to allow for fine adjustments during the assembly process. This approach provides flexibility in achieving a precise fit and mitigates the risk of cutting the components too short. Additionally, label each cut piece to indicate its intended position within the door jamb assembly, minimizing confusion during the subsequent stages of construction.
Throughout the cutting process, prioritize accuracy and attention to detail, as even minor discrepancies in the dimensions of the door jamb components can impact the overall functionality and visual appeal of the door frame.
By meticulously measuring and cutting the door jamb components, you establish a solid framework for the subsequent stages of assembly and installation. This meticulous approach sets the stage for a seamless and professional-quality door jamb, elevating the aesthetic and functional value of the door and the surrounding space.
Assembling the Door Jamb
With the door jamb components accurately measured and cut, the assembly phase marks a pivotal step in the construction process. This stage involves joining the individual components to form a cohesive and sturdy door frame, ensuring precise alignment and structural integrity.
Begin by laying out the door jamb components in the designated assembly area, arranging them in the intended configuration. Apply wood glue to the mitered edges of the side jambs and the head jamb, enhancing the bond between the joints and reinforcing the overall stability of the door frame. As you join the components, ensure that the corners align seamlessly, creating a uniform and visually appealing junction.
Once the components are aligned, use finish nails or screws to secure the joints, further fortifying the structural integrity of the assembled door jamb. Position the nails or screws strategically to penetrate the adjoining pieces without compromising the exterior surface, maintaining a polished and professional finish.
As the assembly progresses, periodically assess the squareness and alignment of the door jamb using a level and measuring tape. This meticulous approach ensures that the door frame maintains perfect vertical and horizontal orientation, promoting smooth door operation and a seamless fit within the wall opening.
After the primary assembly is complete, reinforce the joints by driving additional finish nails or screws through the side jambs into the wall framing. This step bolsters the attachment of the door jamb to the surrounding structure, enhancing stability and longevity.
Throughout the assembly process, prioritize precision and attention to detail, meticulously verifying the alignment and structural integrity of the door jamb. By adhering to these principles, you lay the groundwork for a flawlessly constructed door frame that harmonizes functionality and visual appeal.
As the assembled door jamb nears completion, fill any gaps or imperfections with wood putty, creating a smooth and polished surface. This meticulous finishing touch enhances the overall aesthetic of the door frame, culminating in a professional-quality result that seamlessly integrates with the interior design.
By methodically assembling the door jamb with precision and care, you establish a foundation for a door frame that embodies structural resilience, visual elegance, and seamless functionality. This phase sets the stage for the final installation, bringing you one step closer to realizing a custom door jamb that enhances the allure and practicality of your living space.
Read more: How To Build A Door Frame
Installing the Door Jamb
Installing the door jamb is the culminating phase of the construction process, marking the transition from meticulous preparation to tangible realization. This pivotal stage involves integrating the assembled door jamb into the designated door opening, ensuring a seamless fit and secure attachment to the surrounding structure.
Begin by positioning the assembled door jamb within the door opening, ensuring that it aligns perfectly with the surrounding wall framing. Utilize shims to adjust the positioning as needed, guaranteeing that the door jamb maintains a uniform gap between its edges and the wall. This meticulous adjustment is essential for accommodating the door and facilitating smooth operation without any obstructions or misalignments.
Once the door jamb is impeccably positioned, secure it to the wall framing using finish nails or screws. Drive the fasteners through the door jamb and into the wall studs, ensuring a robust and stable attachment. Pay close attention to the placement of the fasteners, distributing them evenly along the door jamb to promote uniform support and structural integrity.
As the door jamb becomes firmly anchored to the wall framing, verify its vertical and horizontal alignment using a level. This critical step ensures that the door frame maintains perfect plumb and remains parallel to the floor, optimizing the functionality and visual appeal of the installed door jamb.
Subsequently, install the hinges onto the door jamb, aligning them precisely with the corresponding locations on the door. Secure the hinges in place using screws, ensuring a secure and reliable attachment that facilitates smooth door movement. Additionally, affix the strike plate onto the opposite door jamb, ensuring that it aligns seamlessly with the door latch for a secure closure.
Upon completing the installation of the hinges and strike plate, verify the smooth operation of the door within the newly installed jamb. Open and close the door multiple times, assessing its movement and ensuring that it aligns perfectly within the frame. Make any necessary adjustments to the hinges or shims to optimize the door's fit and functionality.
Finally, apply a finish of paint or stain to the installed door jamb, harmonizing its appearance with the surrounding interior design. This finishing touch not only enhances the visual appeal of the door frame but also provides protection against wear and tear, ensuring its longevity and enduring elegance.
By meticulously executing the installation process, you bring the construction of the door jamb to fruition, realizing a seamlessly integrated and professionally installed door frame. This transformative phase culminates in a custom door jamb that elevates the functionality, aesthetics, and structural integrity of the living space, embodying the craftsmanship and attention to detail invested in its creation.
Conclusion
In conclusion, the construction of a door jamb represents a multifaceted endeavor that intertwines craftsmanship, precision, and practicality. By embarking on this journey, you have ventured into the realm of home improvement, where the fusion of structural integrity and aesthetic finesse converges to elevate the functionality and allure of your living space.
Throughout this comprehensive guide, we have navigated the intricate process of building a door jamb, from understanding its pivotal role in door functionality to meticulously measuring, cutting, assembling, and installing the components. Each phase of this undertaking has been imbued with a commitment to precision and attention to detail, culminating in the realization of a custom door jamb that seamlessly integrates with the interior design and enhances the operational efficiency of the door.
The construction of a door jamb transcends the mere assembly of wooden components; it embodies the fusion of artistry and functionality, where every angle, joint, and alignment harmonize to create a cohesive and resilient door frame. The door jamb, when meticulously crafted and installed, becomes an emblem of craftsmanship, enriching the living environment with its seamless operation and visual elegance.
As you stand at the threshold of this transformative project, poised to admire the newly constructed door jamb, take pride in the craftsmanship and dedication invested in this endeavor. The door jamb stands as a testament to your ingenuity and commitment to enhancing your living space, embodying the fusion of practicality and aesthetic refinement.
With the door jamb in place, you have not only fortified the structural integrity of the door but also imparted a touch of sophistication and completeness to the surrounding space. Every time the door swings open and closes seamlessly within the meticulously installed jamb, it serves as a reminder of the meticulous craftsmanship and attention to detail that have enriched your home.
In essence, the construction of a door jamb transcends the realm of DIY projects; it embodies the art of transformation, where raw materials are sculpted into a functional and visually captivating element that enriches the living environment. As you reflect on this journey, may the door jamb stand as a testament to your creativity, perseverance, and unwavering commitment to crafting a living space that seamlessly integrates practicality and elegance.


