
Home>Create & Decorate>DIY & Crafts>How To Build A Shed Door
DIY & Crafts
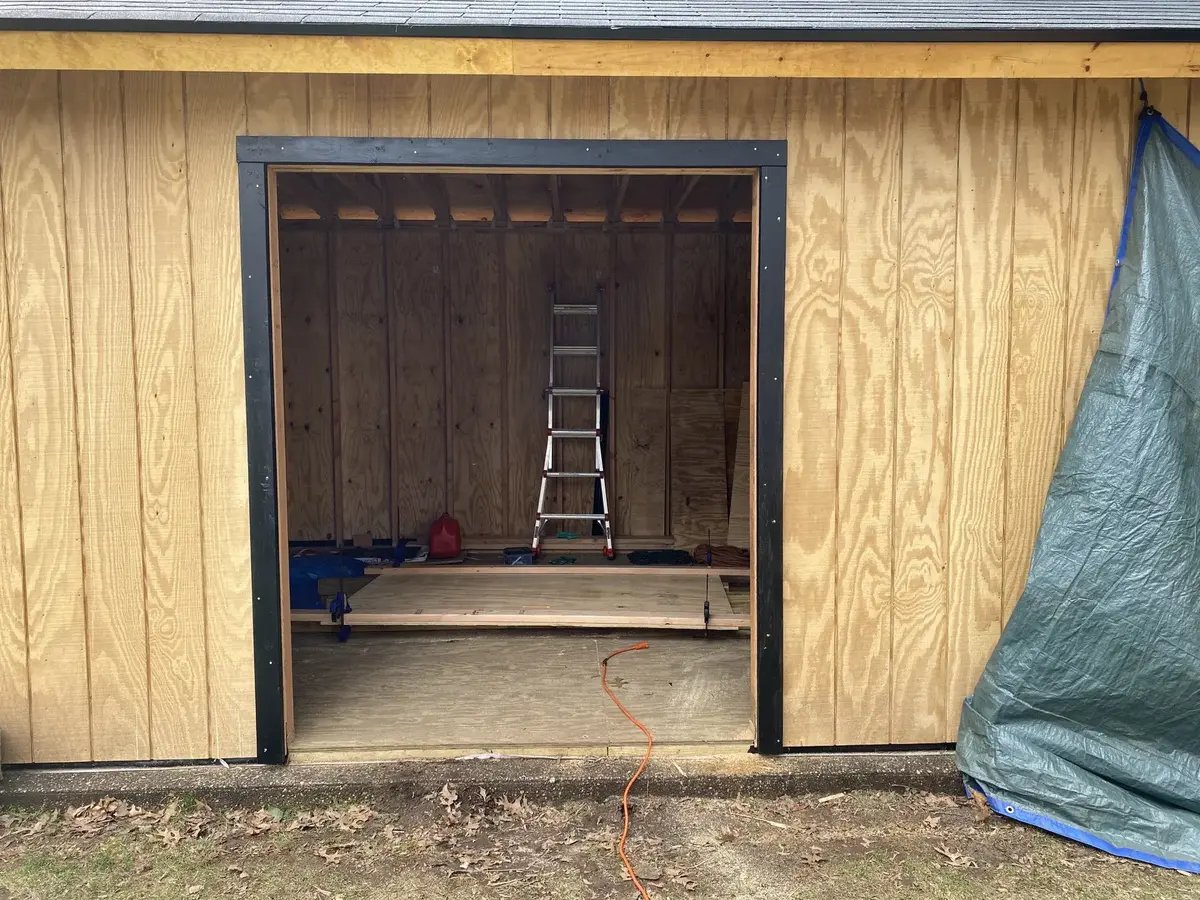
How To Build A Shed Door
Published: February 28, 2024

Content Creator specializing in woodworking and interior transformations. Caegan's guides motivate readers to undertake their own projects, while his custom furniture adds a personal touch.
Learn how to build a shed door with our easy DIY & Crafts guide. Get step-by-step instructions and expert tips for a sturdy and functional door.
(Many of the links in this article redirect to a specific reviewed product. Your purchase of these products through affiliate links helps to generate commission for Twigandthistle.com, at no extra cost. Learn more)
Introduction
Building a shed door is a practical and rewarding DIY project that can enhance the functionality and aesthetics of your outdoor storage space. Whether you're a seasoned woodworking enthusiast or a novice DIYer, constructing a sturdy and well-fitted shed door is a valuable skill that can elevate the overall appeal of your property while providing secure access to your shed's contents.
A well-built shed door not only adds a touch of charm to your outdoor space but also serves as a crucial element in safeguarding your tools, equipment, and other stored items from the elements. By taking the time to craft a durable and properly installed door, you can ensure that your shed remains a reliable and protected storage solution for years to come.
In this comprehensive guide, we will walk you through the step-by-step process of building and installing a shed door, covering everything from gathering the necessary materials and tools to measuring, cutting, and assembling the door frame. Additionally, we will delve into the crucial steps of attaching hinges and hardware, as well as the final installation of the door onto the shed.
Whether you're aiming to replace an existing worn-out door or embarking on a new shed construction project, this guide will equip you with the knowledge and confidence to tackle this endeavor with precision and skill. So, roll up your sleeves, gather your tools, and let's dive into the gratifying journey of constructing a sturdy and functional shed door that will stand the test of time.
Step 1: Gather Materials and Tools
Before diving into the construction of a shed door, it's essential to gather all the necessary materials and tools to ensure a smooth and efficient building process. Here's a comprehensive list of items you'll need to get started:
Materials:
- Wood: Select high-quality, weather-resistant wood for the door frame and panels. Common choices include cedar, redwood, or pressure-treated lumber to withstand outdoor conditions.
- Wood Screws: Choose corrosion-resistant screws to secure the door components firmly.
- Wood Glue: Opt for a durable, weatherproof wood glue to reinforce the joints and enhance the door's structural integrity.
- Hinges: Select heavy-duty, rust-resistant hinges that are suitable for outdoor use.
- Latch or Lock: Depending on your security needs, choose a reliable latch or lock mechanism to safeguard the contents of your shed.
- Paint or Stain: If desired, pick a high-quality outdoor paint or wood stain to protect the door from moisture and UV exposure.
Tools:
- Measuring Tape: Accurate measurements are crucial for a well-fitted door, so ensure you have a reliable measuring tape on hand.
- Circular Saw or Miter Saw: A saw will be essential for cutting the wood to the required dimensions with precision.
- Drill and Bits: A power drill equipped with suitable drill bits will be necessary for creating pilot holes and driving screws.
- Screwdriver: Have both a manual and/or electric screwdriver available for assembling the door components.
- Clamps: Sturdy clamps will aid in holding the door frame together during assembly.
- Level: To ensure the door is installed plumb and level, a spirit level is indispensable.
- Safety Gear: Don't forget safety goggles, gloves, and any other personal protective equipment to safeguard yourself during the construction process.
By gathering these materials and tools, you'll be well-prepared to embark on the next steps of measuring, cutting, and assembling the door frame with confidence and efficiency. With everything in place, you're ready to bring your vision of a sturdy and functional shed door to life.
Step 2: Measure and Cut the Door Frame
Accurate measurements and precise cuts are fundamental to crafting a well-fitted and functional shed door. Before diving into the cutting process, it's crucial to measure the door opening carefully to determine the exact dimensions for the door frame. Here's a detailed guide to help you navigate this essential step with confidence:
1. Measure the Door Opening:
Using a reliable measuring tape, record the height and width of the door opening. It's essential to measure both the height and width at multiple points to account for any irregularities in the opening. Take note of the smallest measurements to ensure a proper fit for the door.
2. Determine the Door Frame Dimensions:
Once the measurements are obtained, calculate the dimensions for the door frame components. Typically, the door frame consists of horizontal and vertical members, known as rails and stiles, respectively. The rails run horizontally across the top and bottom of the door frame, while the stiles run vertically on the sides.
3. Mark and Cut the Wood:
Using the calculated dimensions, mark the wood panels for the rails and stiles accordingly. A circular saw or miter saw can be employed to make precise cuts based on the marked measurements. It's crucial to exercise caution and use appropriate safety measures when operating power tools.
4. Consider Joinery Techniques:
Depending on your skill level and preference, you can choose from various joinery techniques to assemble the door frame. Common options include traditional mortise and tenon joints, pocket hole joinery, or using wood screws and wood glue for a simpler approach. Ensure that the chosen method aligns with the structural integrity and aesthetic appeal you envision for the door.
5. Test Fit the Components:
After cutting the door frame components, perform a test fit within the door opening to verify the accuracy of the measurements and cuts. This step allows for any necessary adjustments to be made before proceeding to the assembly phase.
By meticulously measuring and cutting the door frame components, you lay the foundation for a well-crafted shed door that seamlessly fits the designated opening. With precision and attention to detail, you're one step closer to bringing your vision of a sturdy and aesthetically pleasing shed door to fruition.
Step 3: Assemble the Door Frame
With the door frame components accurately measured and cut, the next pivotal step in constructing a shed door is the assembly of the door frame. This phase demands precision and attention to detail to ensure the structural integrity and functionality of the door. Here's a comprehensive guide to help you navigate the assembly process with confidence and skill:
-
Arrange the Components: Lay out the cut rail and stile components on a flat, stable surface, ensuring that they are positioned according to the intended orientation of the door frame. This preparatory step allows for a clear visual of how the components will come together and facilitates a seamless assembly process.
-
Apply Wood Glue: Prior to joining the components, apply a suitable outdoor wood glue along the mating surfaces of the rails and stiles. The wood glue enhances the bond between the components, contributing to the overall strength and durability of the door frame.
-
Secure with Screws: Once the wood glue is applied, use corrosion-resistant wood screws to secure the rail and stile components together. Pre-drilling pilot holes is recommended to prevent the wood from splitting and to ensure precise alignment during assembly. The strategic placement of screws at regular intervals along the joints reinforces the structural integrity of the door frame.
-
Utilize Clamps: To maintain alignment and exert pressure during the assembly process, employ sturdy clamps to hold the components firmly together. This step is crucial in ensuring that the door frame is assembled with minimal gaps and a uniform, secure bond between the rail and stile components.
-
Check for Squareness: Verify that the assembled door frame is square by measuring the diagonals. If the measurements are equal, the frame is square, indicating that the corners are at right angles. Adjust the frame as needed to achieve squareness, as this is essential for the proper installation and operation of the door.
-
Allow for Drying Time: After the door frame is assembled, allow sufficient time for the wood glue to cure and create a strong, lasting bond between the components. Adhering to the recommended drying time ensures that the door frame achieves optimal strength and stability before proceeding to the next steps of door installation.
By meticulously following these steps, you'll successfully assemble a robust and precisely crafted door frame that forms the backbone of a functional and visually appealing shed door. With the door frame in place, you're poised to progress to the subsequent stages of attaching hinges and hardware, ultimately culminating in the installation of the door onto the shed.
Step 4: Attach Hinges and Hardware
Attaching hinges and hardware is a crucial phase in the construction of a shed door, as it directly influences the functionality, security, and longevity of the door. This step involves the strategic installation of hinges, as well as the addition of essential hardware such as a latch or lock. Here's a detailed guide to help you navigate this pivotal stage with precision and expertise:
-
Select Appropriate Hinges: Begin by selecting heavy-duty hinges that are specifically designed for outdoor use. Opt for corrosion-resistant hinges to ensure durability in various weather conditions. Depending on the door's dimensions and weight, choose the appropriate size and quantity of hinges to adequately support the door.
-
Position the Hinges: With the door frame securely positioned, mark the locations for attaching the hinges. Typically, three hinges are recommended for optimal support, with one hinge placed near the top, one near the bottom, and the third in the middle of the door. Ensure that the hinges are aligned evenly on the door frame and the shed's opening to facilitate smooth operation.
-
Pre-Drill Holes: Using a suitable drill bit, pre-drill pilot holes for the hinge screws. Pre-drilling helps prevent the wood from splitting and allows for precise alignment of the hinges. It's essential to position the pilot holes accurately to ensure that the hinges are securely fastened to the door frame without any misalignment.
-
Attach the Hinges: Secure the hinges to the door frame using corrosion-resistant screws, ensuring a firm and stable attachment. Exercise caution to align the hinges accurately and fasten the screws securely to prevent any wobbling or misalignment. The proper installation of hinges is pivotal in ensuring the smooth swinging motion of the door.
-
Install the Latch or Lock: Depending on your security needs, select a reliable latch or lock mechanism to safeguard the contents of your shed. Position the latch or lock on the door frame and the corresponding location on the shed, ensuring that it aligns seamlessly for secure closure and easy access.
By meticulously following these steps, you'll successfully attach hinges and hardware, culminating in the completion of a robust and fully functional shed door. With the hinges securely in place and the hardware installed, the door is poised for the final step of installation onto the shed, bringing you one step closer to a well-constructed and secure outdoor storage solution.
Step 5: Install the Door on the Shed
With the door frame meticulously crafted and the hinges and hardware securely in place, the final step in the construction process is to install the door onto the shed. This pivotal phase brings together the culmination of precise measurements, skilled craftsmanship, and meticulous attention to detail, ultimately resulting in the realization of a fully functional and visually appealing shed door. Here's a comprehensive guide to help you navigate the installation process with confidence and expertise:
-
Prepare the Door Opening:
Before installing the door, ensure that the door opening is clean, free of debris, and structurally sound. Any protrusions or irregularities should be addressed to facilitate a smooth and seamless installation process. -
Position the Door:
With the assistance of a helper, carefully position the door within the opening, ensuring that it aligns evenly on all sides. Employ shims as needed to achieve a uniform gap between the door and the door frame, allowing for smooth operation and proper clearance. -
Secure the Door:
Once the door is positioned correctly, secure it in place by attaching the hinges to the shed's door frame. Utilize corrosion-resistant screws to fasten the hinges securely, ensuring that the door is firmly anchored and capable of smooth swinging motion. -
Check for Smooth Operation:
Test the door to ensure that it swings open and closes smoothly without any obstructions or binding. Verify that the gaps around the door are uniform and that the door aligns seamlessly with the door frame for a snug fit. -
Adjust and Fine-Tune:
If necessary, make any adjustments to the hinges or shims to optimize the door's operation and alignment. Attention to detail during this phase is crucial in ensuring that the door functions seamlessly and provides a secure closure. -
Apply Finishing Touches:
Once the door is securely installed and operates smoothly, consider applying a protective finish such as outdoor paint or wood stain to safeguard the door from moisture, UV exposure, and other environmental factors. A well-applied finish not only enhances the door's aesthetics but also contributes to its longevity and durability.
By meticulously following these steps, you'll successfully install the door onto the shed, culminating in the completion of a well-crafted and fully functional shed door. With the door securely in place, you've transformed your outdoor storage space into a secure and visually appealing asset that enhances the overall functionality and charm of your property.
Conclusion
In conclusion, the process of building and installing a shed door encompasses a gratifying journey of craftsmanship, precision, and practicality. From the initial stages of gathering materials and tools to the final installation onto the shed, every step contributes to the creation of a sturdy, secure, and visually appealing door that enhances the functionality and aesthetics of your outdoor storage space.
Throughout this comprehensive guide, we've delved into the essential steps of measuring, cutting, and assembling the door frame with meticulous attention to detail. By carefully selecting high-quality materials, employing precise measurements, and utilizing skilled craftsmanship, you've laid the foundation for a well-fitted and robust door that stands the test of time.
The strategic attachment of hinges and hardware further reinforces the functionality and security of the shed door. By selecting corrosion-resistant hinges, positioning them meticulously, and installing a reliable latch or lock, you've ensured that the door not only operates smoothly but also safeguards the contents of your shed with confidence.
The culmination of this process is the installation of the door onto the shed, where precision, alignment, and fine-tuning play pivotal roles. By positioning the door with care, securing it firmly, and verifying its smooth operation, you've transformed the door frame into a fully functional and visually appealing entryway to your outdoor storage space.
As the final touch, the application of a protective finish ensures that the door is equipped to withstand the elements and maintain its charm for years to come. Whether you opt for a vibrant outdoor paint or a rich wood stain, the finishing touches not only enhance the door's aesthetics but also contribute to its longevity and resilience in outdoor environments.
In essence, the construction and installation of a shed door is a testament to your craftsmanship and dedication to creating a secure and visually appealing outdoor space. By following the steps outlined in this guide with precision and care, you've not only acquired valuable DIY skills but also transformed your shed into a reliable and charming asset that complements the overall appeal of your property.
With the completion of this project, you can take pride in the knowledge that your shed door is a testament to your skill, creativity, and commitment to enhancing your outdoor living space. Whether you're storing tools, equipment, or engaging in hobbies, the well-crafted shed door stands as a symbol of your dedication to practicality, aesthetics, and the art of DIY craftsmanship.