Home>Create & Decorate>DIY & Crafts>10×20 Shed Plans: DIY Guide To Building A Spacious Outdoor Storage Solution

DIY & Crafts
10×20 Shed Plans: DIY Guide To Building A Spacious Outdoor Storage Solution
Published: February 28, 2024

Content Creator specializing in woodworking and interior transformations. Caegan's guides motivate readers to undertake their own projects, while his custom furniture adds a personal touch.
Discover how to build a 10x20 shed with our comprehensive DIY guide. Create a spacious outdoor storage solution with our easy-to-follow plans and expert tips. Ideal for DIY & Crafts enthusiasts.
(Many of the links in this article redirect to a specific reviewed product. Your purchase of these products through affiliate links helps to generate commission for Twigandthistle.com, at no extra cost. Learn more)
Introduction
Building a 10×20 shed can be a rewarding and practical DIY project for anyone looking to create additional storage space or a functional outdoor workspace. Whether you're a seasoned DIY enthusiast or a novice looking to embark on your first major construction endeavor, this comprehensive guide will walk you through the process of constructing a spacious outdoor storage solution from start to finish.
A 10×20 shed offers ample room to store gardening tools, outdoor equipment, bicycles, and other items that tend to clutter up your garage or yard. Additionally, it can serve as a workshop, hobby space, or even a cozy retreat where you can indulge in your favorite hobbies or simply unwind amidst the tranquility of your outdoor surroundings.
In this guide, we'll delve into the essential steps and considerations involved in building a 10×20 shed, from selecting the ideal location and preparing the foundation to constructing the frame, adding the roof and siding, and putting the finishing touches. You'll gain valuable insights into the tools and materials required, as well as practical tips for ensuring that your shed is not only functional but also aesthetically pleasing.
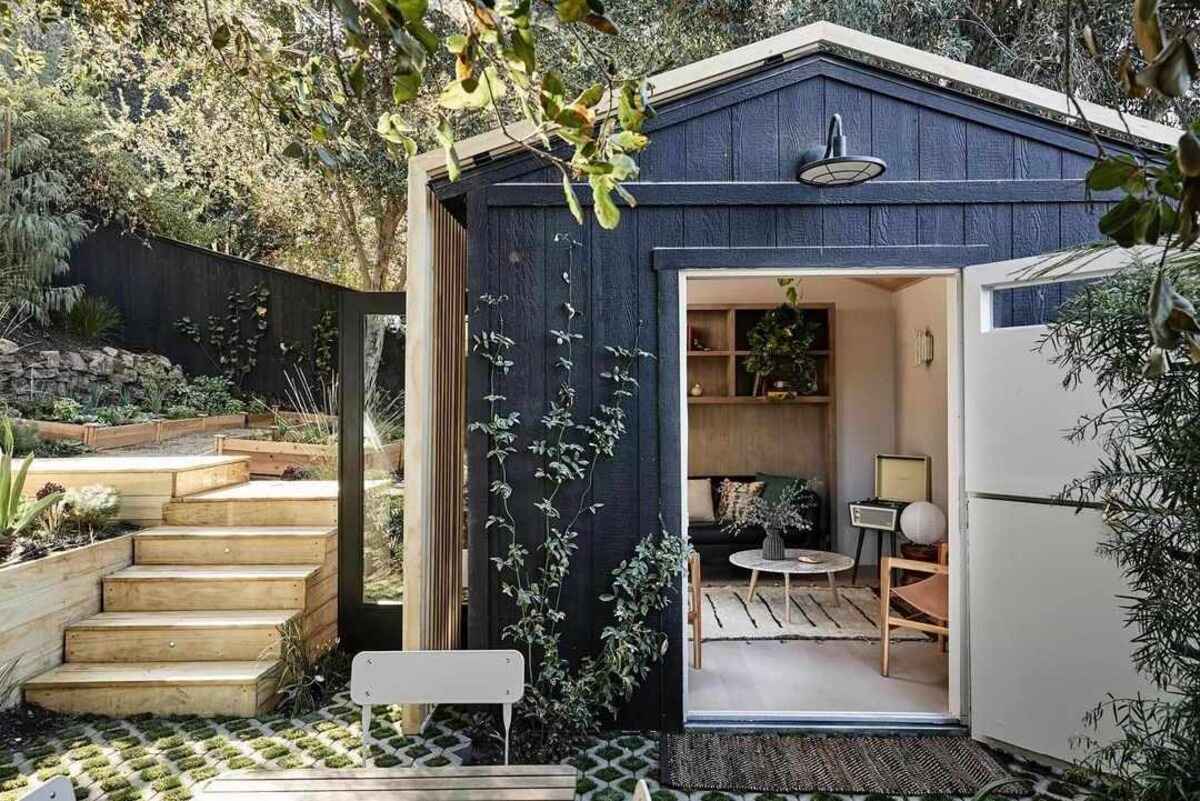
Whether you envision a rustic, barn-style shed nestled in your backyard or a sleek, modern structure that complements your home's architecture, this guide will empower you to bring your vision to life. By following the step-by-step instructions and expert tips provided, you'll be well-equipped to embark on this DIY journey with confidence and enthusiasm.
So, roll up your sleeves, gather your tools, and let's embark on this exciting adventure of creating a 10×20 shed that will not only enhance the functionality of your outdoor space but also add a touch of charm and practicality to your property.
Read more: DIY Clothing Organization Ideas
Benefits of Building a 10×20 Shed
-
Ample Storage Space: A 10×20 shed provides generous storage capacity for a wide range of items, including gardening tools, lawnmowers, bicycles, outdoor furniture, and seasonal decorations. By creating a designated space for these belongings, you can declutter your garage and yard, promoting a more organized and visually appealing outdoor environment.
-
Versatile Functionality: Beyond storage, a 10×20 shed offers versatile functionality. It can serve as a workshop for DIY projects, a hobby space for crafting or woodworking, or a peaceful retreat where you can immerse yourself in gardening activities or simply unwind amidst the tranquility of your outdoor surroundings.
-
Property Enhancement: Building a well-designed 10×20 shed can enhance the overall appeal and functionality of your property. Whether you opt for a traditional barn-style structure or a modern, sleek design, a thoughtfully constructed shed can complement your home's architecture and landscaping, adding aesthetic value to your outdoor space.
-
Customization Opportunities: Constructing a 10×20 shed allows for customization to suit your specific needs and preferences. You can incorporate features such as built-in shelving, workbenches, windows for natural light, and even a loft area for additional storage or workspace. This customization empowers you to create a shed that aligns perfectly with your lifestyle and requirements.
-
Increased Property Value: A well-built and visually appealing 10×20 shed can contribute to the overall value of your property. Potential homebuyers often appreciate the presence of a functional and well-maintained outdoor storage solution, making your property more attractive in the real estate market.
-
Protection from the Elements: By providing a sheltered space for your outdoor belongings, a 10×20 shed helps protect them from the elements. This can prolong the lifespan of your tools, equipment, and other items, reducing the need for frequent replacements and repairs.
-
Personal Satisfaction: Engaging in the construction of a 10×20 shed can be a deeply satisfying endeavor. The sense of accomplishment that comes from creating a practical and visually appealing structure on your property is immensely rewarding, fostering a deeper connection to your outdoor space.
-
Cost-Effective Solution: Building a 10×20 shed can be a cost-effective alternative to renting off-site storage or investing in expensive home additions. By utilizing readily available materials and your own labor, you can create a valuable storage and workspace solution at a fraction of the cost.
In summary, the benefits of building a 10×20 shed extend far beyond mere storage. From enhancing property value to providing a versatile and customizable space, this DIY project offers a multitude of advantages that can significantly enrich your outdoor living experience.
Tools and Materials Needed
When embarking on the construction of a 10×20 shed, having the right tools and materials at your disposal is crucial for a successful and efficient build. Here's a comprehensive list of the essential items you'll need to bring your shed project to fruition:
Tools:
- Measuring Tools: A reliable tape measure, framing square, and level are indispensable for ensuring accurate measurements and precise angles during the construction process.
- Cutting Tools: A circular saw or miter saw for cutting lumber, as well as a handsaw for smaller, detailed cuts.
- Fastening Tools: A cordless drill with screwdriver bits and a hammer for driving nails are essential for securing the shed's components together.
- Digging Tools: Shovels and a post-hole digger will be necessary for excavating the foundation and setting support posts.
- Safety Gear: Personal protective equipment including work gloves, safety goggles, and a dust mask to ensure safety during construction.
Materials:
- Lumber: Purchase high-quality pressure-treated lumber for the shed's framing, floor joists, and roof trusses. Additionally, consider the type of siding you prefer, such as T1-11 plywood or traditional wooden clapboard.
- Foundation Materials: Concrete mix for footings, gravel for drainage, and concrete blocks or sonotubes for supporting the shed's base.
- Roofing Materials: Choose from asphalt shingles, metal roofing panels, or corrugated fiberglass panels, along with appropriate underlayment and flashing.
- Fasteners: Stock up on galvanized nails, screws, and anchor bolts to securely fasten the shed's components together.
- Doors and Windows: If your shed design includes windows, acquire tempered glass panes, window framing materials, and weather-resistant caulk. For the door, consider a pre-hung exterior door or build a custom door using lumber and hinges.
- Hardware and Accessories: Hinges, door handles, latches, and any additional hardware required for assembling the shed's doors and windows.
By ensuring that you have these tools and materials on hand before commencing the construction process, you'll be well-prepared to tackle each phase of the project with confidence and efficiency. Additionally, investing in high-quality tools and materials will contribute to the durability and longevity of your 10×20 shed, ensuring that it stands the test of time and serves its intended purpose effectively.
Read more: DIY Bath Crashers: Transform Your Bathroom
Choosing the Right Location
Selecting the optimal location for your 10×20 shed is a critical decision that can significantly impact its functionality, longevity, and overall aesthetic appeal. Here are essential factors to consider when choosing the right spot for your outdoor storage solution:
-
Accessibility: Ensure that the chosen location provides convenient access to the shed. It should be easily reachable from your home, garden, or driveway, allowing for seamless transportation of items in and out of the shed.
-
Sunlight Exposure: Assess the sun's path throughout the day to determine the ideal orientation for your shed. Positioning it to receive ample natural light can create a bright and inviting interior, especially if you plan to utilize the space for hobbies or DIY projects.
-
Drainage: Opt for a location with good natural drainage to prevent water accumulation around the shed. Avoid low-lying areas that are prone to flooding or areas where water tends to collect, as this can lead to moisture-related issues over time.
-
Landscaping and Surroundings: Consider the visual impact of the shed within your property's landscape. Choose a location that complements the overall aesthetics of your outdoor space and integrates harmoniously with existing features such as trees, flower beds, and other structures.
-
Property Boundaries and Regulations: Familiarize yourself with local zoning regulations and property boundary requirements before finalizing the shed's location. Ensure compliance with setback regulations and obtain any necessary permits to avoid potential legal issues in the future.
-
Utility Access: If you plan to incorporate electricity, water, or other utilities into your shed, proximity to existing utility connections should be a key consideration. This can streamline the installation process and minimize additional costs associated with utility hookups.
-
Future Expansion: Anticipate future needs and potential expansion of your outdoor storage space. Selecting a location that allows for future expansion or the addition of complementary outdoor features can provide flexibility as your property's requirements evolve.
By carefully evaluating these factors and conducting a thorough assessment of your property, you can identify the most suitable location for your 10×20 shed. Taking the time to make an informed decision at this stage can contribute to the long-term functionality, visual appeal, and overall satisfaction derived from your outdoor storage solution.
Preparing the Foundation
The foundation serves as the anchor for your 10×20 shed, providing stability and structural support. Properly preparing the foundation is crucial to ensure the longevity and durability of the entire structure. Here's a detailed guide on how to prepare the foundation for your shed:
1. Site Preparation:
Begin by clearing the chosen area of any debris, vegetation, or obstacles. Use a shovel and rake to level the ground, removing any bumps or depressions that could affect the shed's stability. It's essential to create a smooth and even surface to serve as the base for the foundation.
2. Marking the Layout:
Using wooden stakes and string, mark the perimeter of the shed's foundation. This will provide a clear visual guide for excavating the area and laying the foundation materials. Double-check the dimensions to ensure they align with the intended size of the shed.
3. Excavation:
Excavate the marked area to the required depth, typically around 4 to 6 inches, depending on the soil composition and local building codes. Use a shovel or a rented mini-excavator to remove the topsoil and create a level excavation site. Ensure that the corners are square and the depth is consistent across the entire area.
4. Adding Gravel:
Once the excavation is complete, spread a layer of gravel evenly across the prepared site. The gravel serves as a base for drainage and helps to prevent moisture buildup beneath the shed. Use a tamper to compact the gravel, creating a stable and level surface for the foundation.
5. Building the Formwork:
Construct formwork using wooden boards to contain the concrete mix for the footings. Ensure that the formwork is level and square, as it will determine the shape and alignment of the shed's foundation. Double-check the dimensions and angles before proceeding with the next steps.
6. Pouring Concrete:
Mix the concrete according to the manufacturer's instructions and pour it into the prepared formwork. Use a screed board to level the concrete and eliminate any excess. Allow the concrete to cure and harden as per the recommended timeframe, typically several days, before proceeding with the construction of the shed.
By meticulously following these steps, you can lay a solid foundation for your 10×20 shed, setting the stage for the subsequent phases of construction. A well-prepared foundation ensures the structural integrity of the shed, providing a reliable base for the framing, flooring, and overall stability of the structure.
Constructing the Frame
Constructing the frame of a 10×20 shed is a pivotal phase that forms the structural skeleton of the entire building. This process involves assembling the walls, installing the roof trusses, and creating a sturdy framework that will support the shed's exterior and interior components. Here's a detailed guide on how to effectively construct the frame for your 10×20 shed:
1. Wall Assembly:
Begin by laying out the pressure-treated lumber for the walls according to the shed's design specifications. Use a framing square to ensure precise angles and dimensions, and then secure the framing members together using galvanized nails or screws. It's essential to double-check the vertical and horizontal alignment of the walls to guarantee a square and plumb structure.
2. Roof Truss Installation:
Once the walls are in place, it's time to install the roof trusses. Carefully lift each truss into position, ensuring that they are evenly spaced and aligned with the layout of the shed. Secure the trusses to the top plates of the walls using framing hardware and fasteners, ensuring that they are securely anchored and capable of bearing the weight of the roof.
3. Bracing and Reinforcement:
To enhance the stability and rigidity of the frame, add diagonal bracing to the walls and trusses. This bracing serves to distribute the structural loads evenly and minimize the risk of sway or instability. Additionally, consider reinforcing key junctions and connections with metal brackets or framing anchors to fortify the frame against external forces.
Read more: DIY Garage Shed Plans Guide
4. Window and Door Openings:
If your shed design includes windows and doors, carefully measure and cut out the openings in the framed walls. Install headers and support framing around these openings to accommodate the windows and doors, ensuring that they fit securely and align with the overall structure.
5. Floor Framing Integration:
Integrate the floor framing with the wall structure, ensuring a seamless connection between the walls and the floor joists. This integration reinforces the overall stability of the shed and creates a unified framework that will support the interior flooring and exterior siding.
By meticulously following these steps and paying close attention to detail, you can effectively construct the frame for your 10×20 shed. A well-built frame forms the foundation for the subsequent phases of construction, setting the stage for adding the roof, siding, doors, and windows. With a sturdy and precisely constructed frame in place, your shed project is well on its way to becoming a functional and visually appealing outdoor storage solution.
Adding the Roof and Siding
Once the frame of your 10×20 shed is in place, the next crucial step is adding the roof and siding. These elements not only provide protection from the elements but also contribute to the overall aesthetic appeal of the structure. Here's a detailed guide on how to effectively add the roof and siding to your shed:
Roof Installation:
-
Selecting Roofing Materials: Choose roofing materials that align with your shed's design and climate considerations. Options include asphalt shingles, metal roofing panels, or corrugated fiberglass panels. Ensure that the selected materials offer durability and weather resistance.
-
Installing Roof Sheathing: Begin by installing plywood or oriented strand board (OSB) sheathing over the roof trusses. Secure the sheathing with appropriate fasteners, ensuring a solid and even base for the roofing materials. Pay attention to proper overlap and alignment to prevent water infiltration.
-
Applying Underlayment: Prior to installing the final roofing material, apply a weather-resistant underlayment to provide an additional layer of protection against moisture. This step is crucial for safeguarding the interior of the shed from potential water damage.
-
Installing Roofing Material: Whether you opt for shingles, metal panels, or fiberglass, carefully follow the manufacturer's guidelines for installation. Pay attention to proper fastening, overlapping, and sealing to create a watertight and durable roof that will withstand the elements.
Siding Installation:
-
Choosing Siding Options: Select siding materials that complement the overall aesthetic of your property and provide adequate protection for the shed's exterior. T1-11 plywood, traditional wooden clapboard, vinyl siding, or composite materials are popular options.
-
Preparing the Walls: Ensure that the walls are clean, dry, and free of any protrusions before installing the siding. Address any necessary repairs or adjustments to the frame and sheathing to create a smooth and even surface for the siding installation.
-
Installing Siding Panels: Begin installing the siding panels from the bottom of the walls, working your way upwards. Follow the manufacturer's instructions for proper fastening and overlapping to create a seamless and weather-resistant exterior. Pay attention to corner and edge treatments for a polished finish.
-
Adding Trim and Details: Complete the siding installation by adding trim pieces, corner boards, and other architectural details to enhance the visual appeal of the shed. These finishing touches not only provide a professional look but also contribute to the longevity of the siding.
By meticulously following these steps and paying attention to detail, you can effectively add the roof and siding to your 10×20 shed. These elements not only provide essential protection from the elements but also contribute to the overall visual appeal and functionality of the structure. With the roof and siding in place, your shed project is one step closer to becoming a durable, attractive, and functional outdoor storage solution.
Installing Doors and Windows
The installation of doors and windows is a pivotal phase in the construction of a 10×20 shed, as it not only enhances the functionality of the structure but also contributes to its overall aesthetic appeal. Here's a detailed guide on how to effectively install doors and windows to create a welcoming and well-ventilated interior space within your shed.
Installing Doors:
-
Selecting the Right Door: Begin by selecting a door that aligns with the design and functionality of your shed. Whether you opt for a pre-hung exterior door or plan to build a custom door, ensure that it complements the overall style and dimensions of the shed.
-
Preparing the Door Opening: Carefully measure and mark the location for the door opening on the framed wall. Use a saw to cut out the opening, ensuring precise dimensions that accommodate the selected door. Install headers and support framing around the opening to provide structural reinforcement.
-
Hanging the Door: If you're installing a pre-hung door, carefully position it within the opening, ensuring that it is plumb and level. Secure the door in place using shims and screws, adjusting as needed to achieve a perfect fit. Test the door for smooth operation and proper alignment before proceeding.
-
Adding Hardware and Finishing: Install hinges, handles, and any additional hardware required for the door. Ensure that the door swings smoothly and latches securely. Apply weather-stripping and sealants to prevent air and moisture infiltration, creating a weather-tight seal around the door.
Installing Windows:
-
Choosing Window Type and Size: Select windows that provide adequate natural light and ventilation for the shed's interior. Consider the size, style, and material of the windows to ensure they align with the shed's design and functional requirements.
-
Preparing Window Openings: Mark the locations for the windows on the framed walls, ensuring proper spacing and alignment. Use a saw to carefully cut out the window openings, taking precise measurements to accommodate the selected window size.
-
Installing Window Frames: Position the window frames within the openings, ensuring they are level and securely anchored to the surrounding framing. Use shims and fasteners to secure the frames in place, creating a stable and weather-resistant installation.
-
Adding Window Panes and Hardware: Insert tempered glass panes into the window frames, ensuring a secure fit. Install window stops, latches, and any necessary hardware to facilitate smooth operation and secure closure. Apply weather-resistant caulk around the window frames to seal any gaps and prevent water infiltration.
By meticulously following these steps and paying attention to detail, you can effectively install doors and windows to create a well-ventilated, naturally lit, and functional interior space within your 10×20 shed. These elements not only enhance the usability of the shed but also contribute to its visual appeal, creating a welcoming and practical environment for various activities and storage needs.
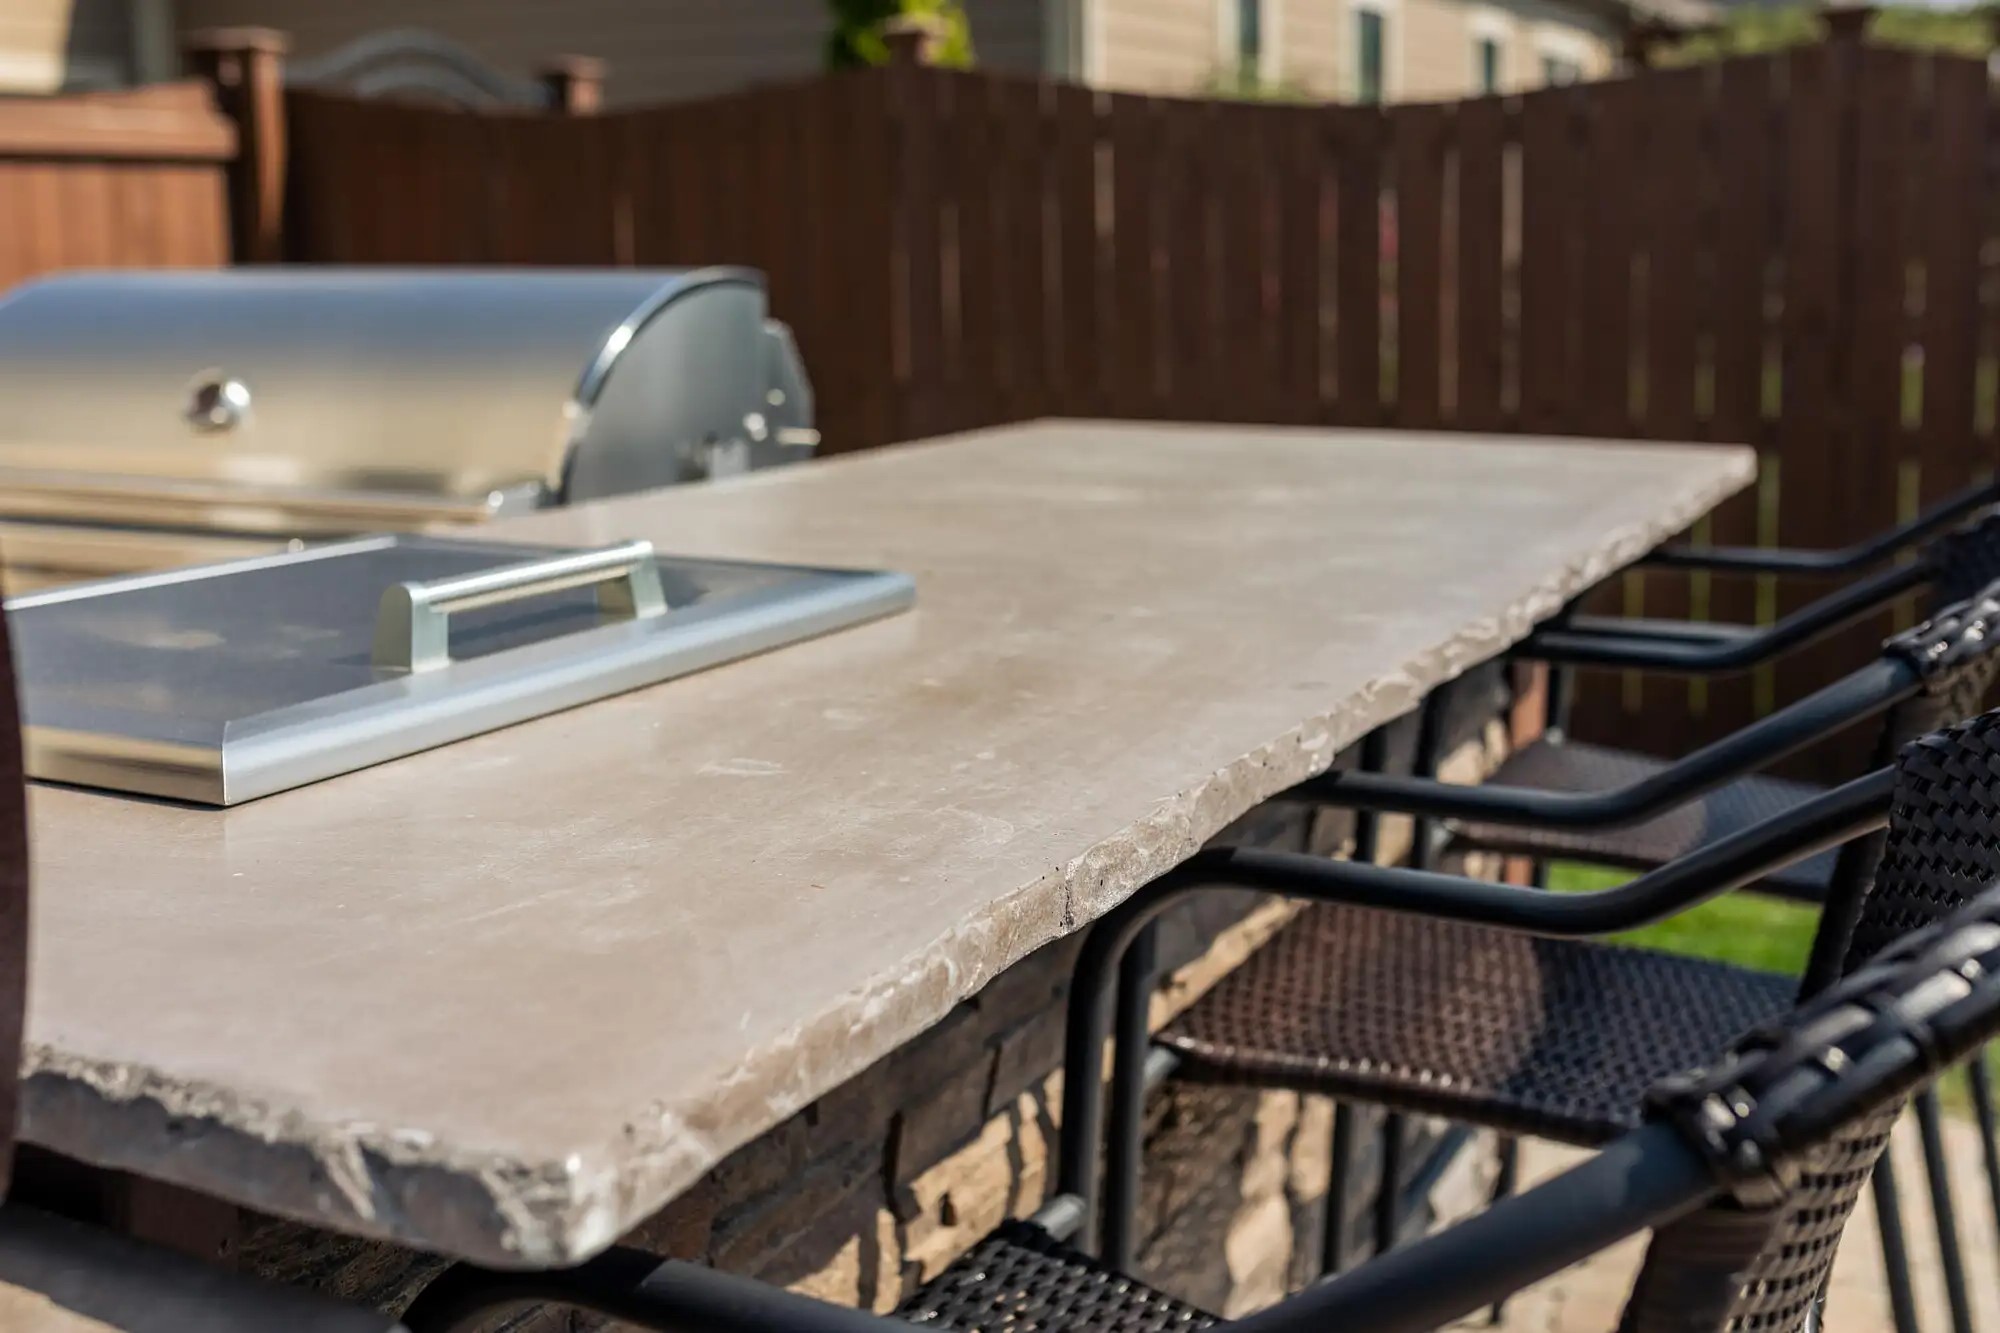
Read more: DIY Outdoor Kitchen Gazebo Build
Finishing Touches
With the structural elements of your 10×20 shed in place, it's time to focus on the finishing touches that will elevate its functionality, durability, and visual appeal. This phase involves adding essential features and details that enhance the overall usability and aesthetics of the shed, creating a polished and inviting space within your outdoor property.
1. Interior Finishing:
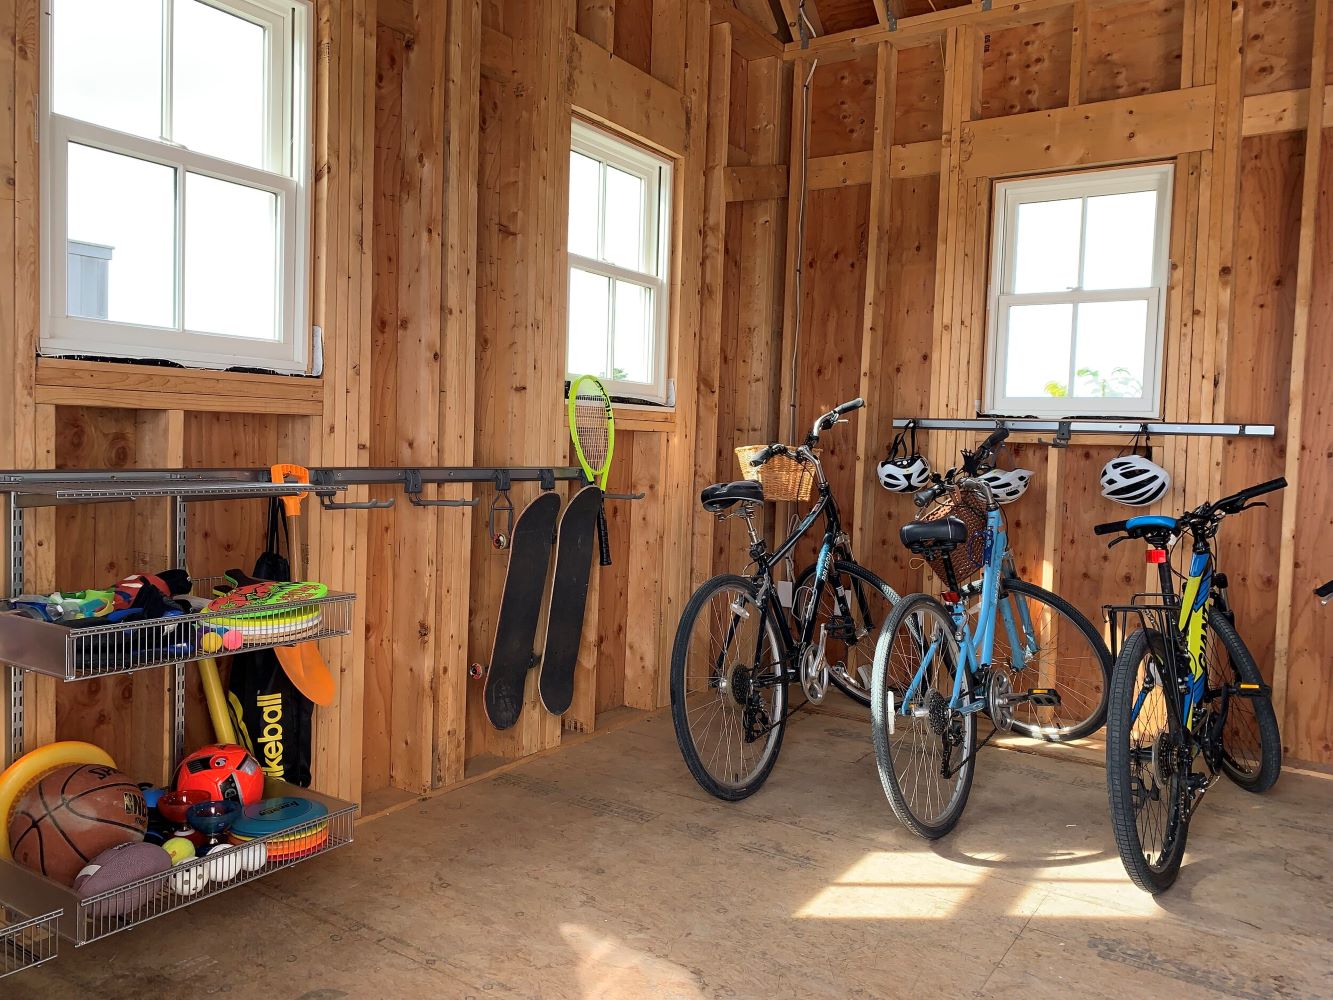
Begin by addressing the interior of the shed, focusing on elements that contribute to its usability and comfort. Consider adding built-in shelving or storage solutions to maximize the organization and accessibility of tools, equipment, and other items. Additionally, installing a workbench or functional workspace can transform the shed into a versatile area for DIY projects, hobbies, or gardening activities. Pay attention to lighting fixtures to ensure adequate illumination, making the interior space conducive to various tasks and activities.
2. Exterior Treatment:
Enhance the exterior of the shed by applying a protective finish or paint that not only adds visual appeal but also safeguards the structure from the effects of weather and environmental exposure. Choose a high-quality exterior paint or stain that complements your property's aesthetics and provides long-lasting protection against moisture, UV rays, and other outdoor elements. Properly treating the exterior surfaces contributes to the shed's longevity and maintains its attractive appearance over time.
3. Ventilation and Climate Control:
Consider incorporating ventilation features such as gable vents or ridge vents to promote air circulation within the shed, preventing moisture buildup and maintaining a comfortable interior environment. If the shed will be used for activities that require regulated temperatures, such as woodworking or hobby crafts, consider installing a small-scale climate control system, such as a portable heater or fan, to ensure year-round comfort and usability.
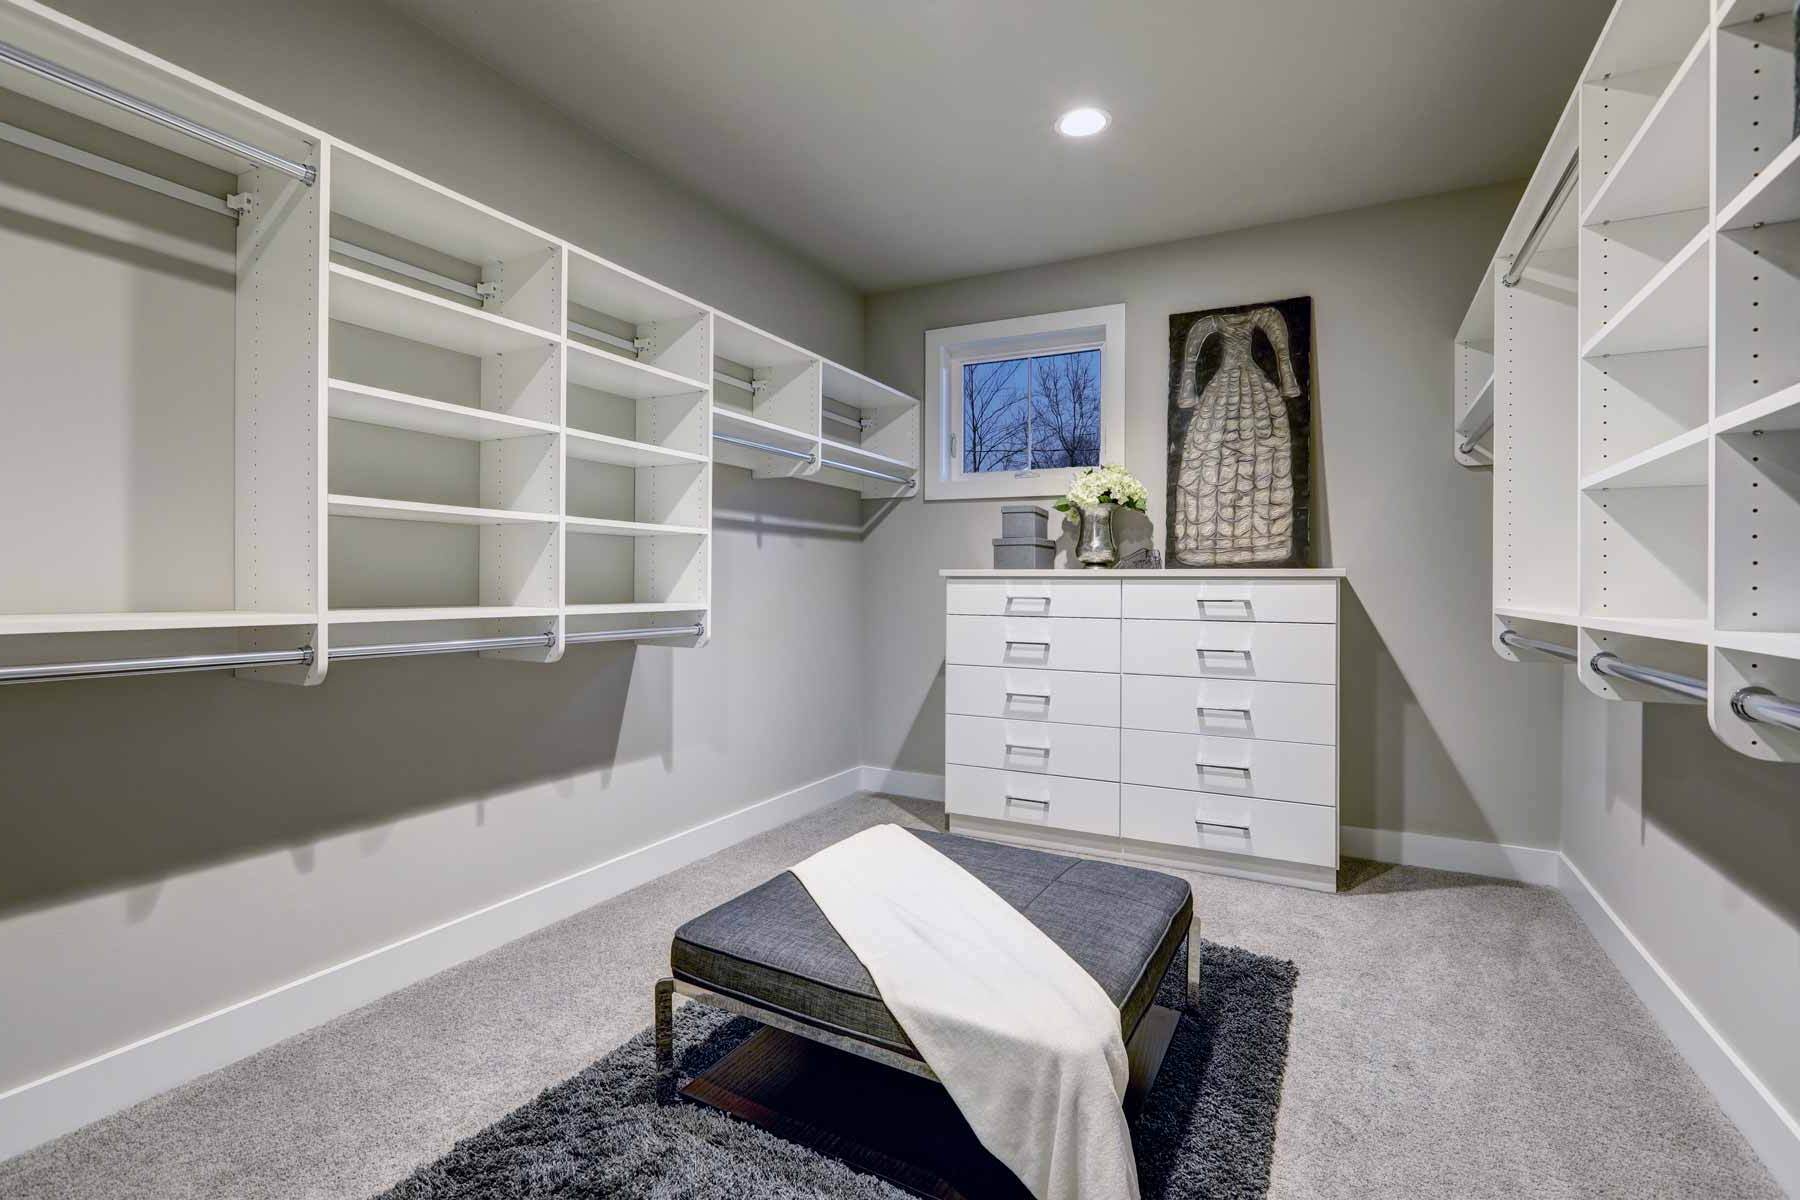
Read more: DIY Closet System Ideas
4. Security and Access:
Address security and access by installing a robust locking mechanism on the doors and windows, providing peace of mind regarding the safety of stored items and equipment. Additionally, consider adding exterior lighting to enhance visibility around the shed, particularly during evening hours. This not only contributes to security but also adds a welcoming ambiance to the outdoor space.
5. Landscaping and Integration:
Integrate the shed into your property's landscape by adding landscaping elements such as flower beds, potted plants, or pathways that lead to the shed. This integration creates a cohesive and visually appealing outdoor environment, blending the shed seamlessly into the overall aesthetics of your property.
By attending to these finishing touches, you can transform your 10×20 shed into a functional, visually appealing, and well-integrated addition to your outdoor space. These details not only enhance the shed's usability and durability but also contribute to a cohesive and inviting outdoor environment that complements your property's overall appeal.
Conclusion
In conclusion, the construction of a 10×20 shed represents a significant achievement in creating a versatile, functional, and visually appealing outdoor storage solution. From the initial stages of selecting the ideal location and preparing the foundation to the final touches that elevate the shed's usability and aesthetic charm, this comprehensive DIY project offers a multitude of benefits for homeowners and DIY enthusiasts.
By embarking on the journey of building a 10×20 shed, individuals not only gain valuable storage space for garden tools, outdoor equipment, and seasonal items but also unlock the potential for a versatile workspace, hobby area, or peaceful retreat within their property. The benefits extend beyond mere storage, encompassing property enhancement, customization opportunities, and increased property value.
The process of constructing a 10×20 shed involves meticulous attention to detail, from selecting the right tools and materials to ensuring precise measurements and structural integrity during the framing and roofing phases. Each step contributes to the overall durability and functionality of the shed, ensuring that it stands the test of time and serves its intended purpose effectively.
Furthermore, the finishing touches, including interior organization, exterior treatment, ventilation, security, and landscaping integration, elevate the shed into a cohesive and inviting addition to the outdoor space. These details not only enhance the shed's usability and durability but also contribute to a visually appealing and well-integrated outdoor environment that complements the property's overall appeal.
Ultimately, the construction of a 10×20 shed is a testament to the homeowner's creativity, craftsmanship, and dedication to enhancing their outdoor living experience. It represents a tangible expression of practicality and aesthetics, providing a valuable asset that contributes to the organization, functionality, and visual harmony of the property.
As individuals embark on the exciting journey of building a 10×20 shed, they not only acquire a practical storage and workspace solution but also cultivate a deeper connection to their outdoor space. The sense of accomplishment derived from creating a structure that enhances the property's functionality and visual appeal is immensely rewarding, fostering a deeper appreciation for the outdoor environment and the possibilities it holds.
In essence, the construction of a 10×20 shed is a testament to the transformative power of DIY projects, offering a tangible and enduring impact on the property's functionality, aesthetics, and overall living experience.

