Home>Home & Furniture>Bathroom>DIY Outdoor Bathroom Renovation Guide

Bathroom
DIY Outdoor Bathroom Renovation Guide
Published: July 15, 2024
Transform your backyard with our DIY Outdoor Bathroom Renovation Guide. Step-by-step instructions, tips, and ideas to create your perfect outdoor oasis.
(Many of the links in this article redirect to a specific reviewed product. Your purchase of these products through affiliate links helps to generate commission for Twigandthistle.com, at no extra cost. Learn more)
Dreaming of an outdoor bathroom where you can enjoy nature while freshening up? This guide will help turn that dream into reality without hiring expensive professionals. With some basic tools, a bit of planning, and a splash of creativity, you can create a functional and beautiful space in your backyard. From selecting the right materials to installing fixtures, you'll find simple steps to ensure success. Whether you want a rustic retreat or a modern oasis, this guide offers practical tips to get you started. Ready to roll up your sleeves and get to work? Let's dive in!
Getting Ready for Your Project
Plan Your Design: Sketch out your bathroom layout. Decide on the placement of fixtures like the toilet, sink, and shower.
Gather Permits: Check local building codes. Obtain necessary permits to ensure your project is legal.
Budget: List all materials and tools needed. Set a budget to avoid overspending.
Safety Gear: Wear gloves, safety glasses, and sturdy shoes. Keep a first aid kit nearby.
Workspace Setup: Clear the area of debris. Lay down tarps to protect surfaces.
Utility Check: Locate water, gas, and electrical lines. Shut off utilities before starting.
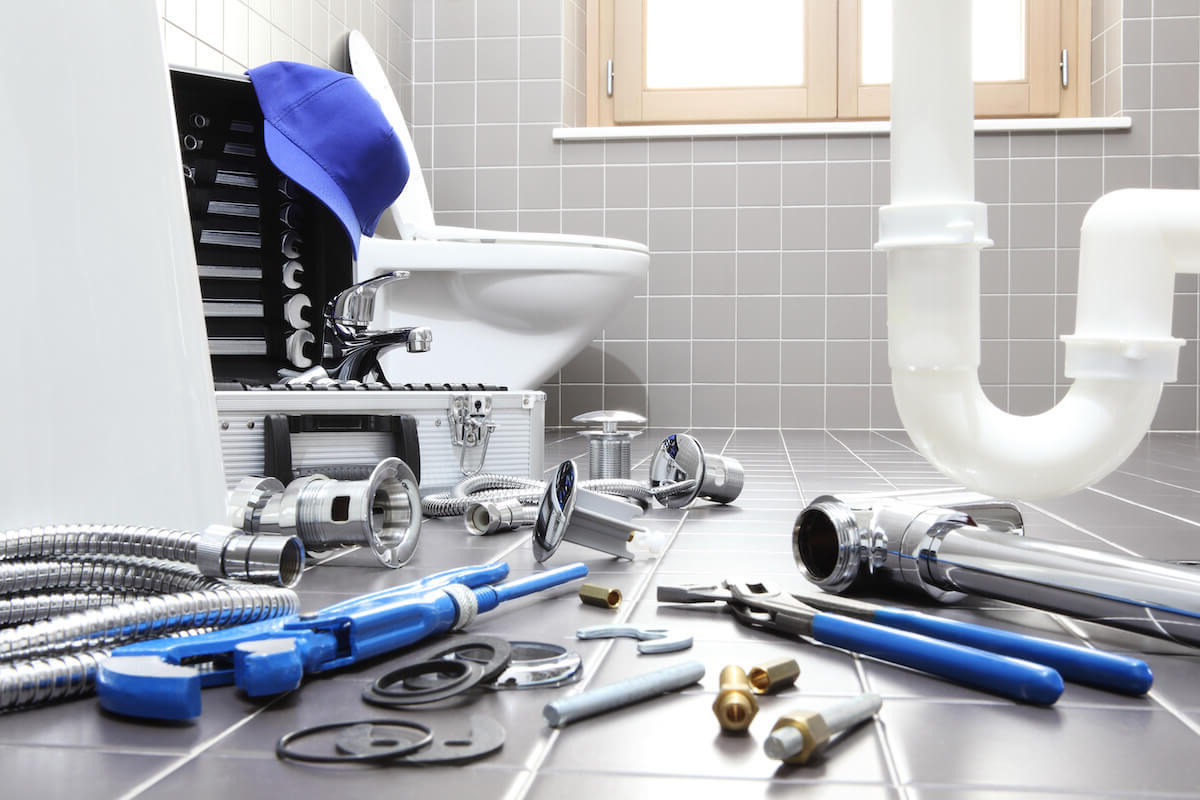
Tools and Materials: Gather hammer, screwdriver, saw, measuring tape, and level. Purchase tiles, pipes, fixtures, and cement.
Demolition: Remove old fixtures carefully. Dispose of debris properly.
Foundation Work: Ensure the ground is level. Pour a concrete base if needed.
Plumbing and Electrical: Install pipes and wiring. Hire professionals if unsure.
Weatherproofing: Use waterproof materials. Seal gaps to prevent leaks.
Test Run: Check all installations. Ensure everything works before finalizing.
Gathering Materials and Tools
- Measuring Tape: Essential for accurate measurements of space and materials.
- Level: Ensures surfaces are even and properly aligned.
- Hammer: Useful for driving nails and other general tasks.
- Screwdriver Set: Needed for assembling fixtures and fittings.
- Power Drill: Speeds up the process of drilling holes and driving screws.
- Saw: For cutting wood or other materials to size.
- Utility Knife: Handy for cutting various materials like drywall or insulation.
- Pliers: Useful for gripping, bending, and cutting wires.
- Adjustable Wrench: Necessary for tightening or loosening nuts and bolts.
- Pipe Wrench: Specifically designed for plumbing tasks.
- Plumbing Tape: Seals pipe threads to prevent leaks.
- PVC Pipes and Fittings: Required for plumbing the bathroom.
- Cement Mix: For setting tiles or creating a sturdy base.
- Tiles: Chosen for flooring and walls, providing a waterproof surface.
- Tile Cutter: Cuts tiles to fit the space perfectly.
- Grout: Fills gaps between tiles, ensuring a smooth finish.
- Paint and Brushes: For adding color to walls or fixtures.
- Sealant: Used to waterproof edges and seams.
- Showerhead and Faucet: Essential fixtures for the bathroom.
- Toilet: A key component of any bathroom.
- Sink and Vanity: Provides a place for washing hands and storing items.
- Lighting Fixtures: Ensures the space is well-lit.
- Outdoor-Grade Electrical Wiring: Safe for use in outdoor conditions.
- Protective Gear: Includes gloves, safety glasses, and masks for personal safety.
Required Skills and Time Commitment
Skill Level: Advanced
Time Required: 2-3 weeks
- Planning and Design: 2-3 days
- Permits and Approvals: 1 week
- Site Preparation: 2-3 days
- Plumbing and Electrical Work: 4-5 days
- Framing and Construction: 3-4 days
- Finishing Touches: 2-3 days
Detailed Step-by-Step Guide
Plan Your Layout
- Decide where to place the toilet, sink, and shower.
- Measure the area to ensure everything fits.
Gather Materials
- Cement, tiles, pipes, faucets, and fixtures.
- Tools: Hammer, saw, drill, wrench, and tape measure.
Prepare the Ground
- Clear the area of debris and vegetation.
- Level the ground using a shovel and rake.
Install Plumbing
- Dig trenches for water and drainage pipes.
- Lay pipes and connect them to the main water supply and sewer line.
- Test for leaks before covering the trenches.
Build the Foundation
- Pour a concrete slab for the bathroom floor.
- Allow it to cure for at least 24 hours.
Construct Walls
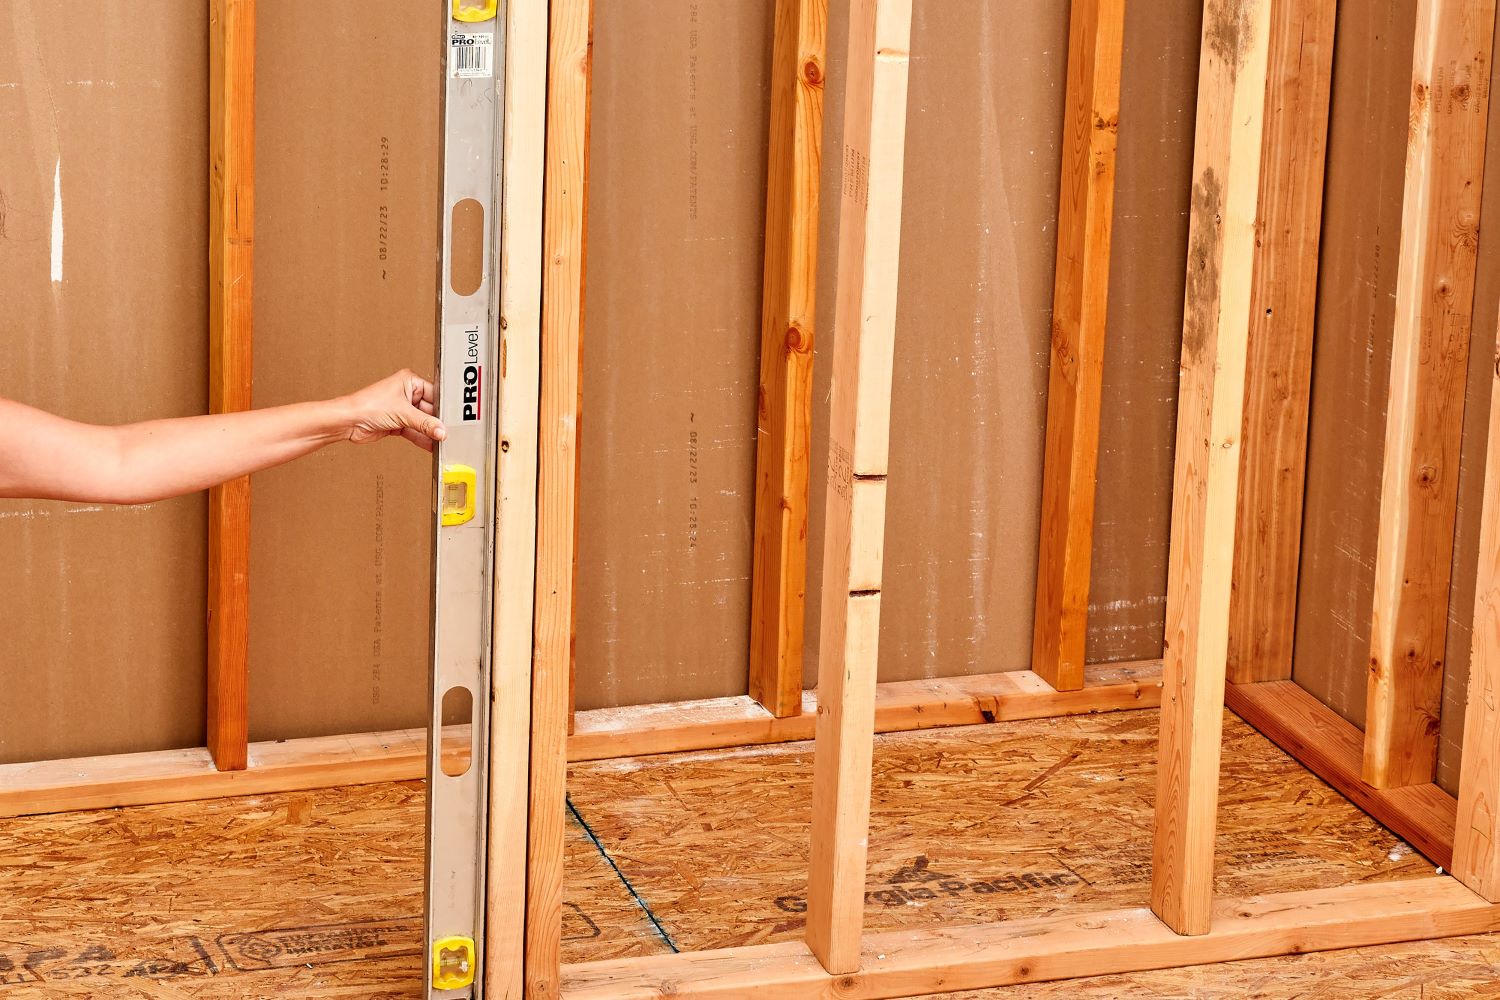
- Use wooden frames or concrete blocks for walls.
- Ensure walls are level and secure.
Install Fixtures
- Attach the toilet, sink, and shower to the plumbing.
- Secure fixtures to the floor and walls.
Tile the Floor and Walls
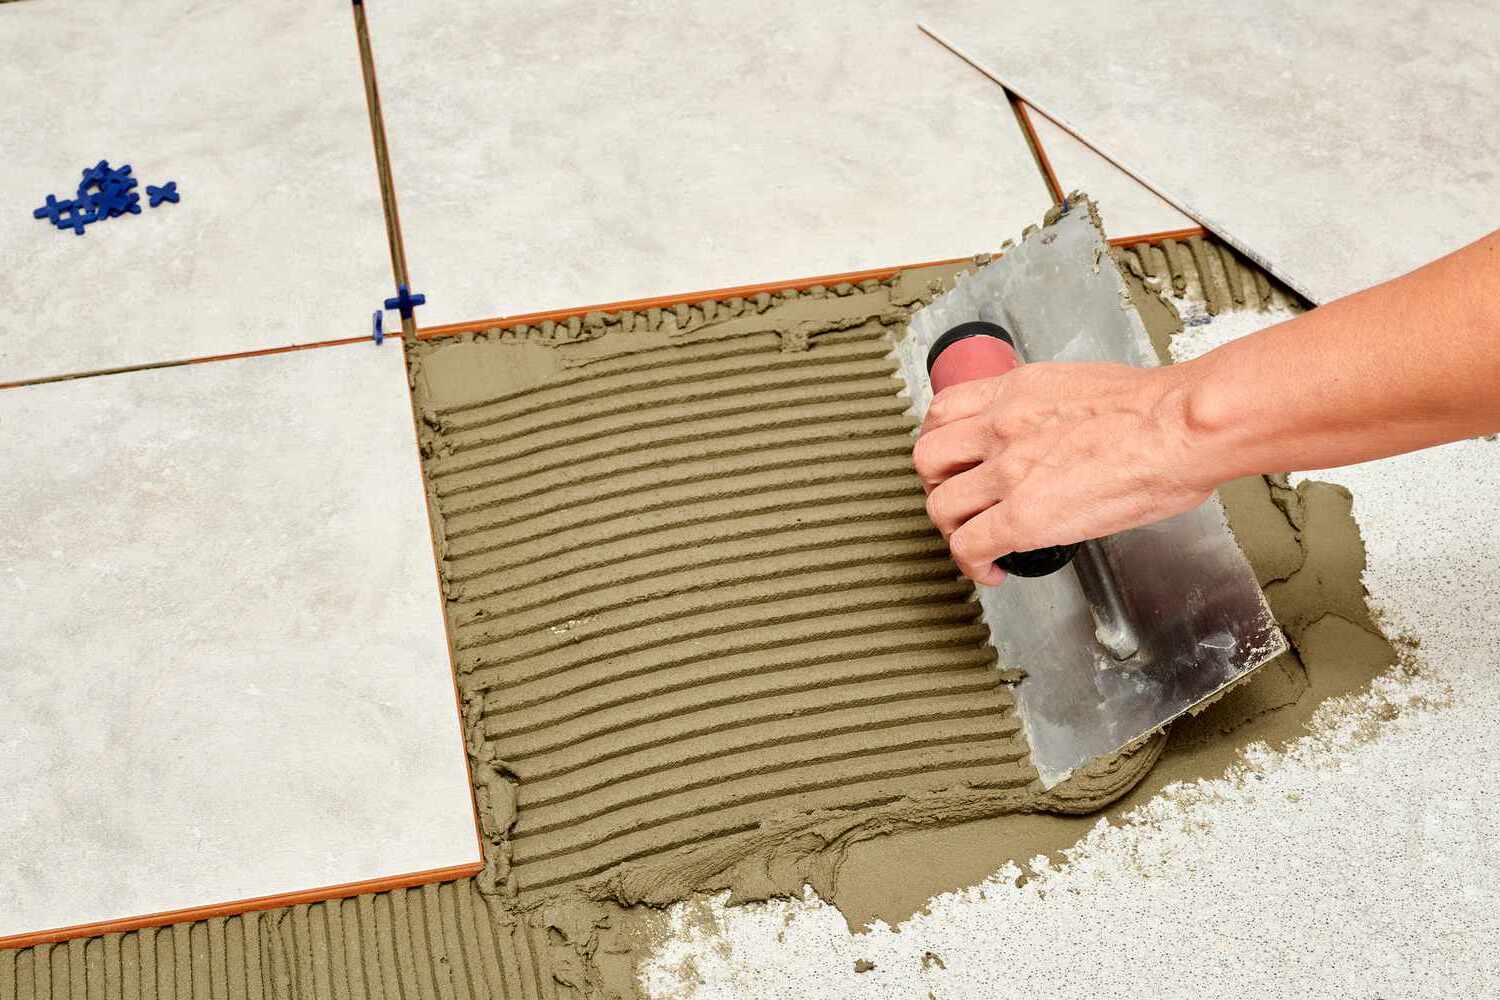
- Apply tile adhesive to the floor and walls.
- Lay tiles evenly, using spacers for uniform gaps.
- Grout the tiles after adhesive dries.
Install Doors and Windows
- Fit doors and windows into the frames.
- Seal edges to prevent water leakage.
Paint and Finish
- Paint walls with waterproof paint.
- Add any final touches like mirrors, shelves, and hooks.
Test Everything
- Turn on the water supply.
- Check for leaks and proper drainage.
- Ensure all fixtures work correctly.
Helpful Tips and Tricks
Plan ahead: Sketch your layout before starting. Measure twice, cut once. This saves time and materials.
Use weather-resistant materials: Opt for pressure-treated wood, composite decking, or PVC for durability. Avoid untreated wood; it rots quickly.
Seal all gaps: Use silicone caulk around fixtures to prevent water damage. This keeps your bathroom dry and mold-free.
Install proper drainage: Ensure water flows away from your structure. Use gravel beds or drainage pipes to avoid pooling.
Ventilation is key: Install vents or windows to reduce humidity. This prevents mold and keeps the space fresh.
Common mistakes to avoid:
- Skipping permits: Always check local regulations. Unpermitted work can lead to fines.
- Ignoring waterproofing: Use waterproof membranes under tiles. This prevents leaks.
- Poor lighting: Outdoor bathrooms need good lighting. Use solar lights or LEDs for efficiency.
Alternatives for materials or methods:
- Instead of tiles, use vinyl flooring. It's easier to install and water-resistant.
- For walls, consider fiber cement board instead of drywall. It withstands moisture better.
- Use tankless water heaters instead of traditional ones. They save space and energy.
Pro tip: Recycle old materials like pallets for a rustic look. This adds charm and saves money.
Estimating the Costs
Materials:
- Toilet: $100 - $200
- Sink: $50 - $150
- Showerhead: $20 - $50
- Pipes and Fittings: $100 - $200
- Tiles: $1 - $3 per sq. ft. (average 100 sq. ft. = $100 - $300)
- Cement and Grout: $50 - $100
- Waterproofing Membrane: $50 - $100
- Paint: $20 - $50
- Lighting: $30 - $100
- Mirror: $20 - $50
Tools:
- Tile Cutter: $30 - $100
- Wrench Set: $20 - $50
- Screwdriver Set: $10 - $30
- Paintbrushes/Rollers: $10 - $20
- Level: $10 - $20
- Measuring Tape: $5 - $15
- Drill: $30 - $100
Total Cost Estimate: $635 - $1,735
Budget-Friendly Alternatives:
- Toilet: Consider a second-hand or refurbished option for $50 - $100.
- Sink: Look for a used sink or a basic model for $30 - $70.
- Showerhead: Basic models can be found for $10 - $20.
- Tiles: Use peel-and-stick tiles for $0.50 - $1 per sq. ft.
- Lighting: Solar-powered garden lights can be used for $10 - $30.
- Mirror: Thrift stores often have mirrors for $5 - $15.
- Tools: Borrow from friends or rent from a local hardware store to save money.
Ideas for Customizations
Alternative Materials: Use reclaimed wood for a rustic look. Try composite decking for durability. Consider bamboo for an eco-friendly option. Concrete can give a modern, industrial feel.
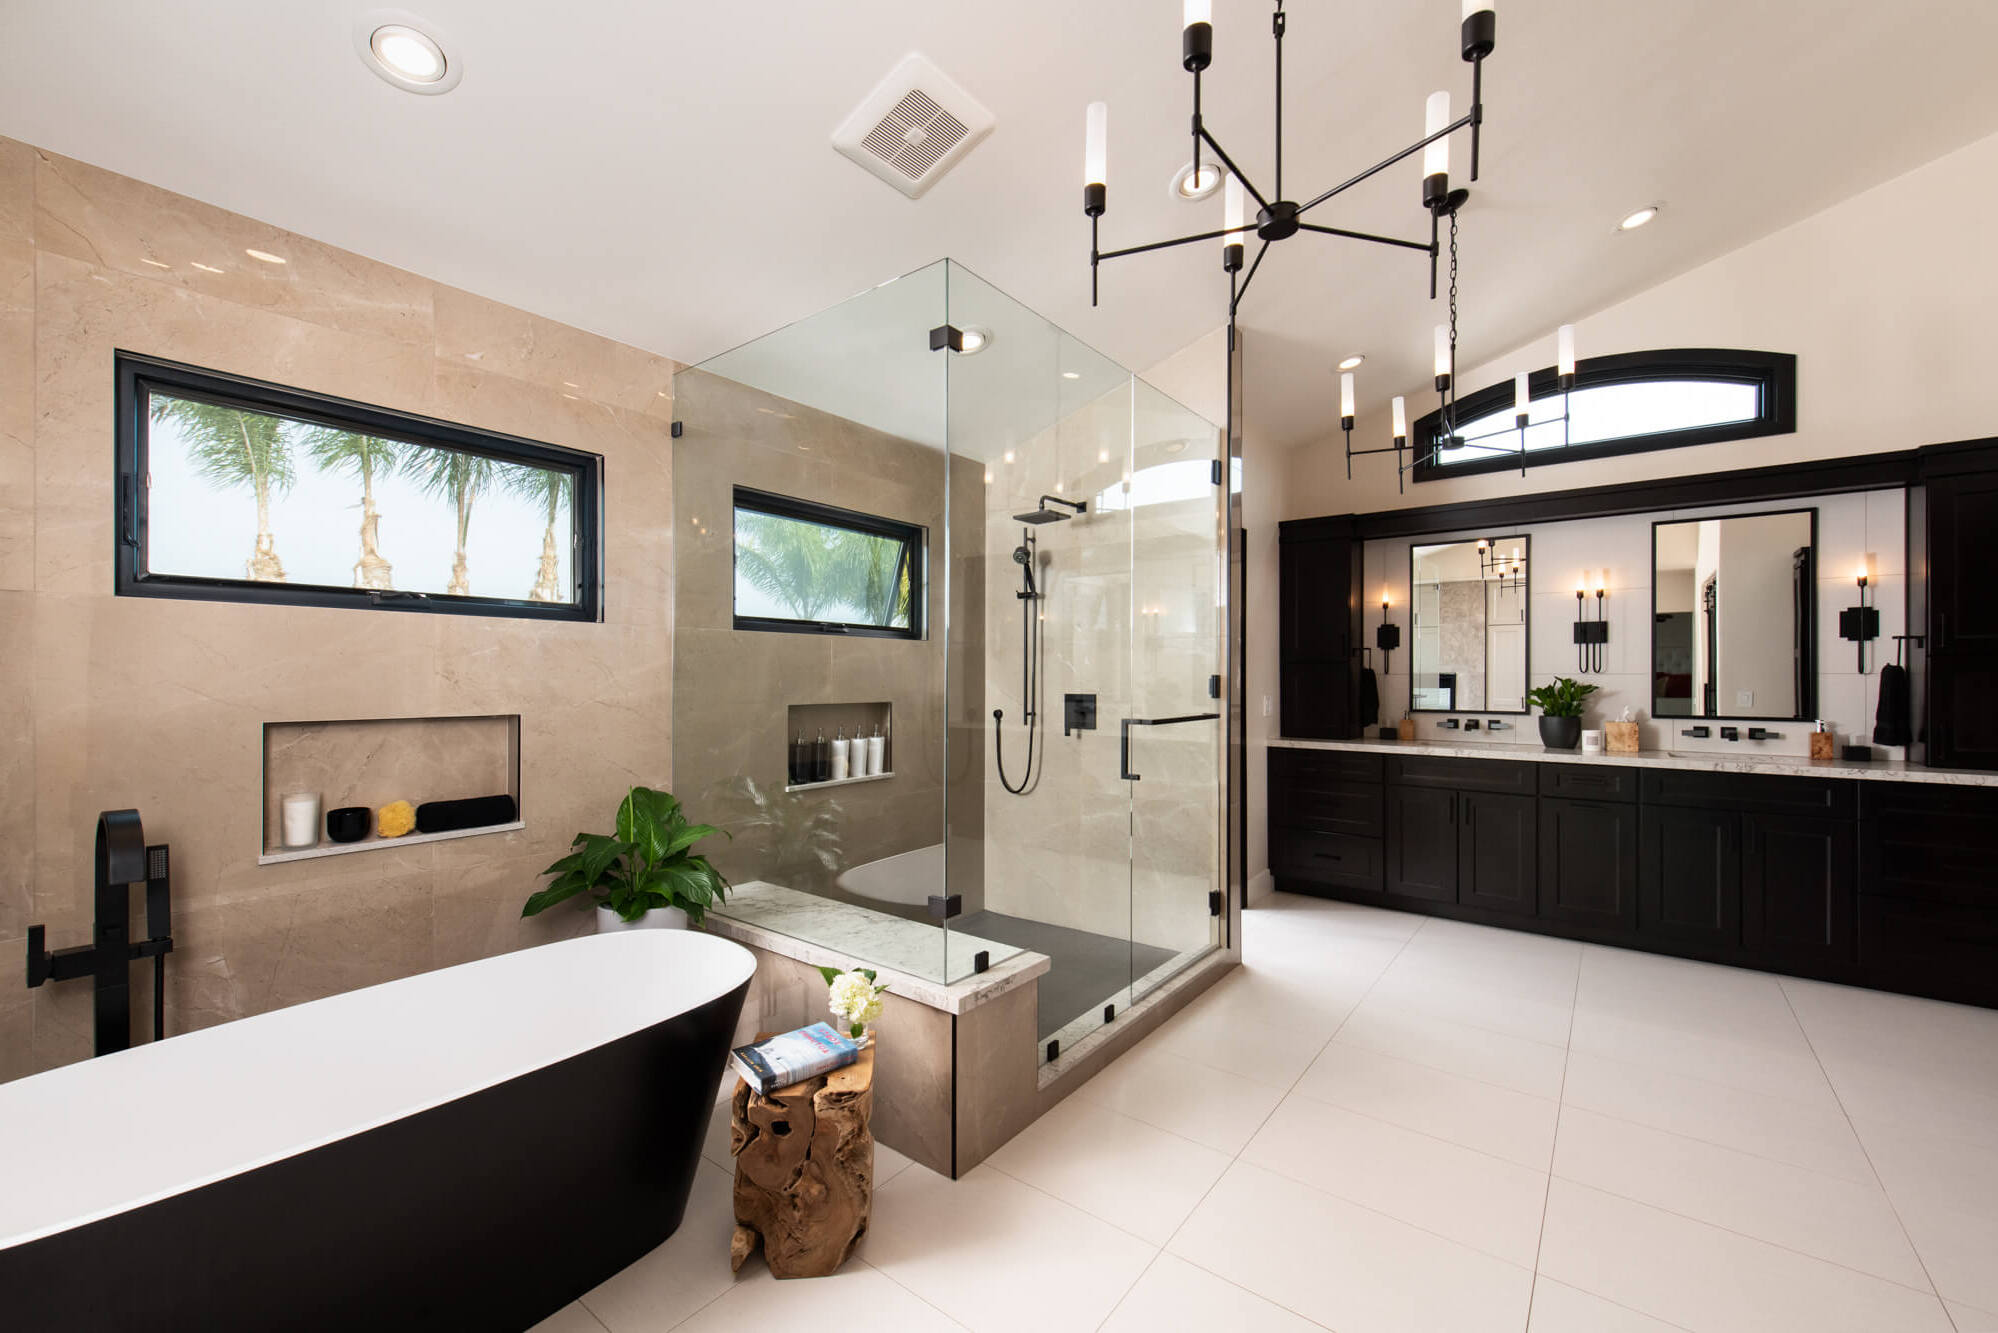
Colors: Go for earth tones like browns and greens to blend with nature. Use bright colors like turquoise or coral for a tropical vibe. Monochrome shades like black, white, and gray can create a sleek, modern appearance.
Styles: For a beachy theme, use driftwood and seashell accents. A Zen garden style can include pebbles, bamboo, and a small water feature. Vintage styles might incorporate antique fixtures and clawfoot tubs. For a contemporary look, use clean lines, minimalistic fixtures, and neutral colors.
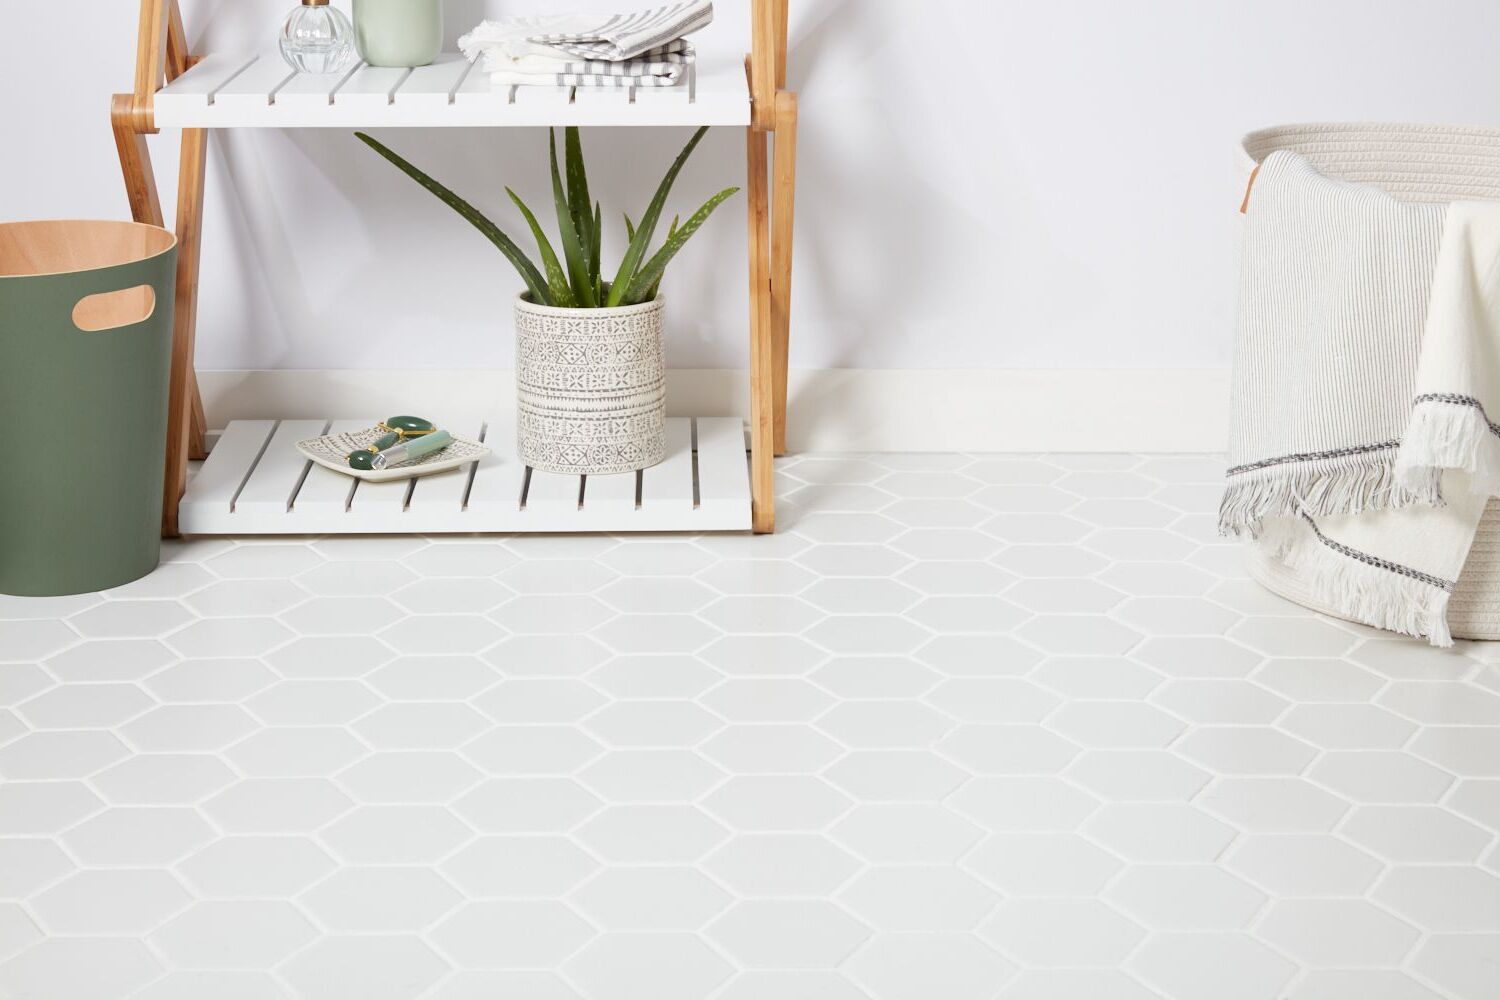
Flooring Options: Gravel or pebbles can provide good drainage. Outdoor tiles come in various designs and are easy to clean. Wooden planks can give a warm, natural feel.
Privacy Solutions: Use tall plants or bamboo screens for natural privacy. Outdoor curtains can add a soft touch. Lattice panels with climbing vines can create a green wall.
Lighting: Solar-powered lights are eco-friendly and easy to install. String lights can add a cozy, festive atmosphere. Lanterns can provide a rustic charm.
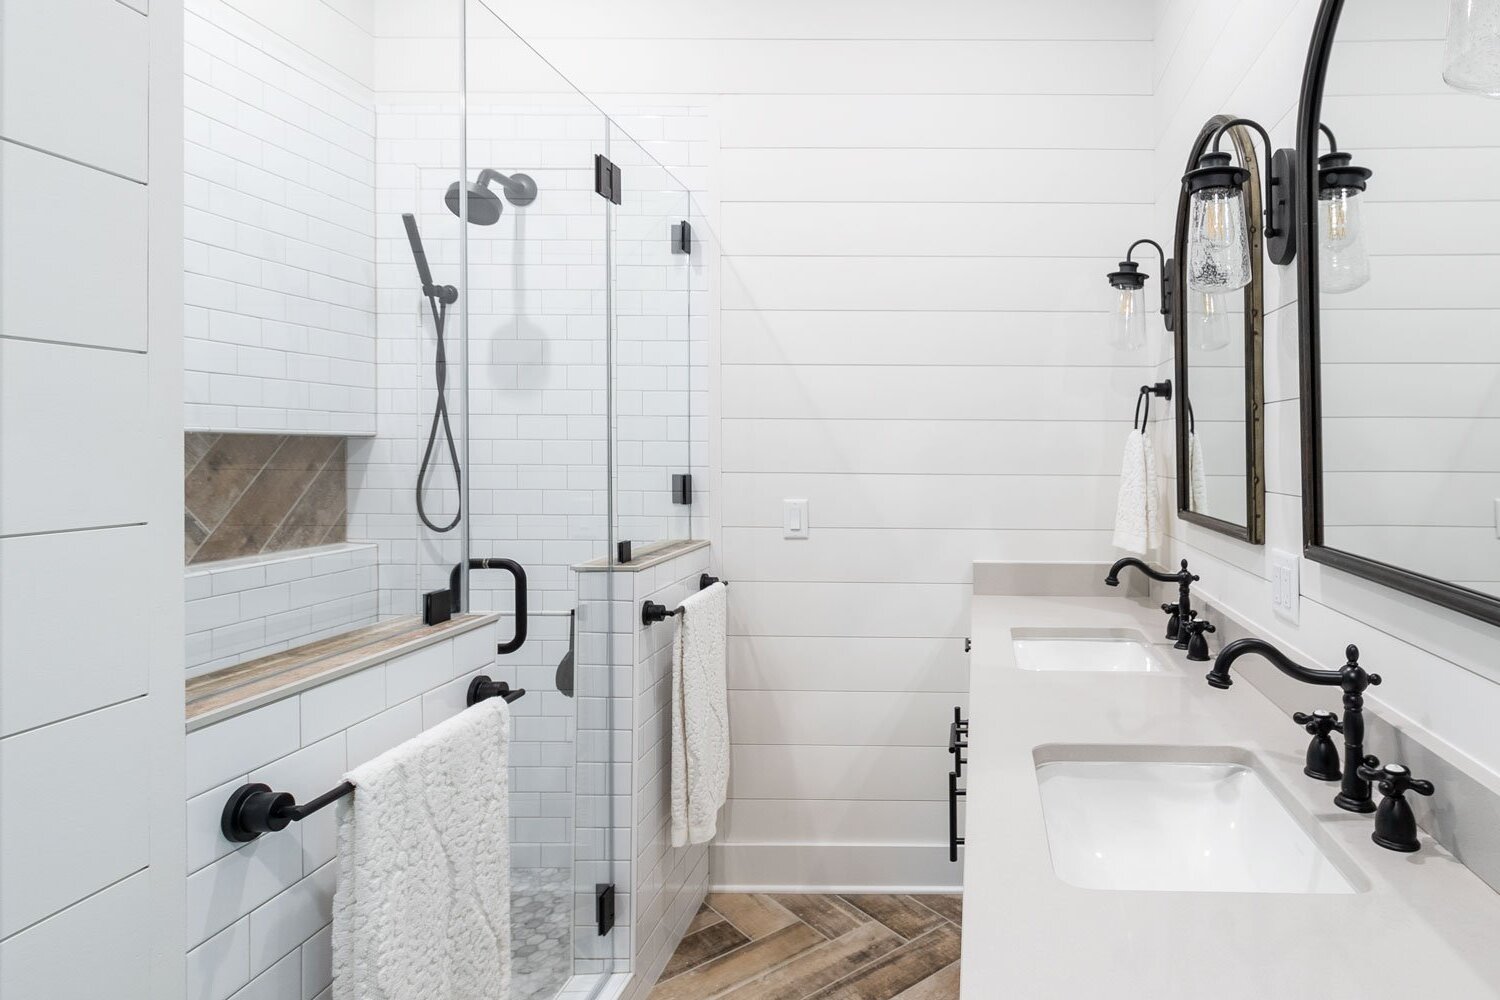
Fixtures: Choose stainless steel for a modern, sleek look. Copper fixtures can add a vintage touch. Matte black fixtures offer a contemporary feel.
Decor: Add potted plants for a touch of greenery. Use outdoor rugs to define spaces. Wall art made from weather-resistant materials can add personality.
Eco-Friendly Suggestions
Reclaimed wood can be used for walls, floors, or even countertops. It adds a rustic look and reduces waste. Recycled glass tiles make beautiful, durable surfaces for showers or backsplashes. They come in various colors and patterns.
Bamboo is a fast-growing, renewable resource. It works well for flooring, cabinetry, or even towel racks. Low-flow fixtures like showerheads and faucets save water without sacrificing performance. Look for ones with the WaterSense label.
Compostable toilets are eco-friendly and reduce water usage. They turn waste into compost, which can be used in gardens. Natural stone like slate or granite is durable and long-lasting. It can be used for floors, walls, or countertops.
Solar-powered lights are perfect for outdoor spaces. They charge during the day and provide light at night, saving electricity. Eco-friendly paint contains fewer harmful chemicals. It’s better for the environment and your health.
Recycled metal can be used for fixtures like towel bars or shower rods. It’s durable and gives a modern look. Rainwater harvesting systems collect rainwater for use in toilets or for watering plants. This reduces water bills and conserves resources.
Green roofs or walls covered in plants can help insulate the bathroom and reduce energy costs. They also improve air quality. Salvaged fixtures like sinks or bathtubs can be found at salvage yards or online. They add character and reduce waste.
Your Outdoor Oasis Awaits
You've got all the tools and tips to transform your outdoor bathroom into a personal paradise. Remember, planning is key. Measure twice, cut once. Use quality materials to ensure durability. Don't forget about waterproofing; it's crucial for longevity. Personalize your space with unique touches like plants or custom fixtures. If you hit a snag, don't hesitate to seek advice from experts or online forums. Most importantly, enjoy the process. DIY projects can be incredibly rewarding, giving you a sense of accomplishment and a space tailored to your needs. Now, roll up your sleeves, gather your materials, and start building that dream outdoor bathroom. Happy renovating!
How do I start planning my outdoor bathroom renovation?
Begin by sketching your ideal layout. Think about plumbing, electricity, and drainage. Make sure to measure your space accurately and check local building codes.
What materials are best for an outdoor bathroom?
Use weather-resistant materials like teak, cedar, stainless steel, and composite decking. These materials can withstand the elements and last longer.
How do I ensure privacy in my outdoor bathroom?
Install privacy screens, fences, or hedges. You can also use frosted glass or outdoor curtains to create a more private space.
What kind of lighting should I use?
Opt for waterproof and solar-powered lights. LED lights are energy-efficient and provide good illumination. Consider motion sensors for added convenience.
How do I handle plumbing for an outdoor bathroom?
Connect to your existing plumbing if possible. If not, you might need to install a septic tank or composting toilet. Consult a professional plumber for complex setups.
Can I add a shower to my outdoor bathroom?
Absolutely! Use a freestanding or wall-mounted showerhead. Ensure you have proper drainage and use non-slip flooring to prevent accidents.
How do I maintain my outdoor bathroom?
Regularly clean and inspect for any damage. Use weatherproof covers for fixtures when not in use. Treat wooden surfaces with sealant to prevent rot.

