
Home>Home & Furniture>Doors & Windows>How To Build An Exterior Barn Door
Doors & Windows
How To Build An Exterior Barn Door
Modified: March 26, 2024
Editor-in-Chief with a decade in home renovation and a passion for vintage furniture. Diane is known for her weekend treasure hunts at flea markets, enriching our content with unique style insights.
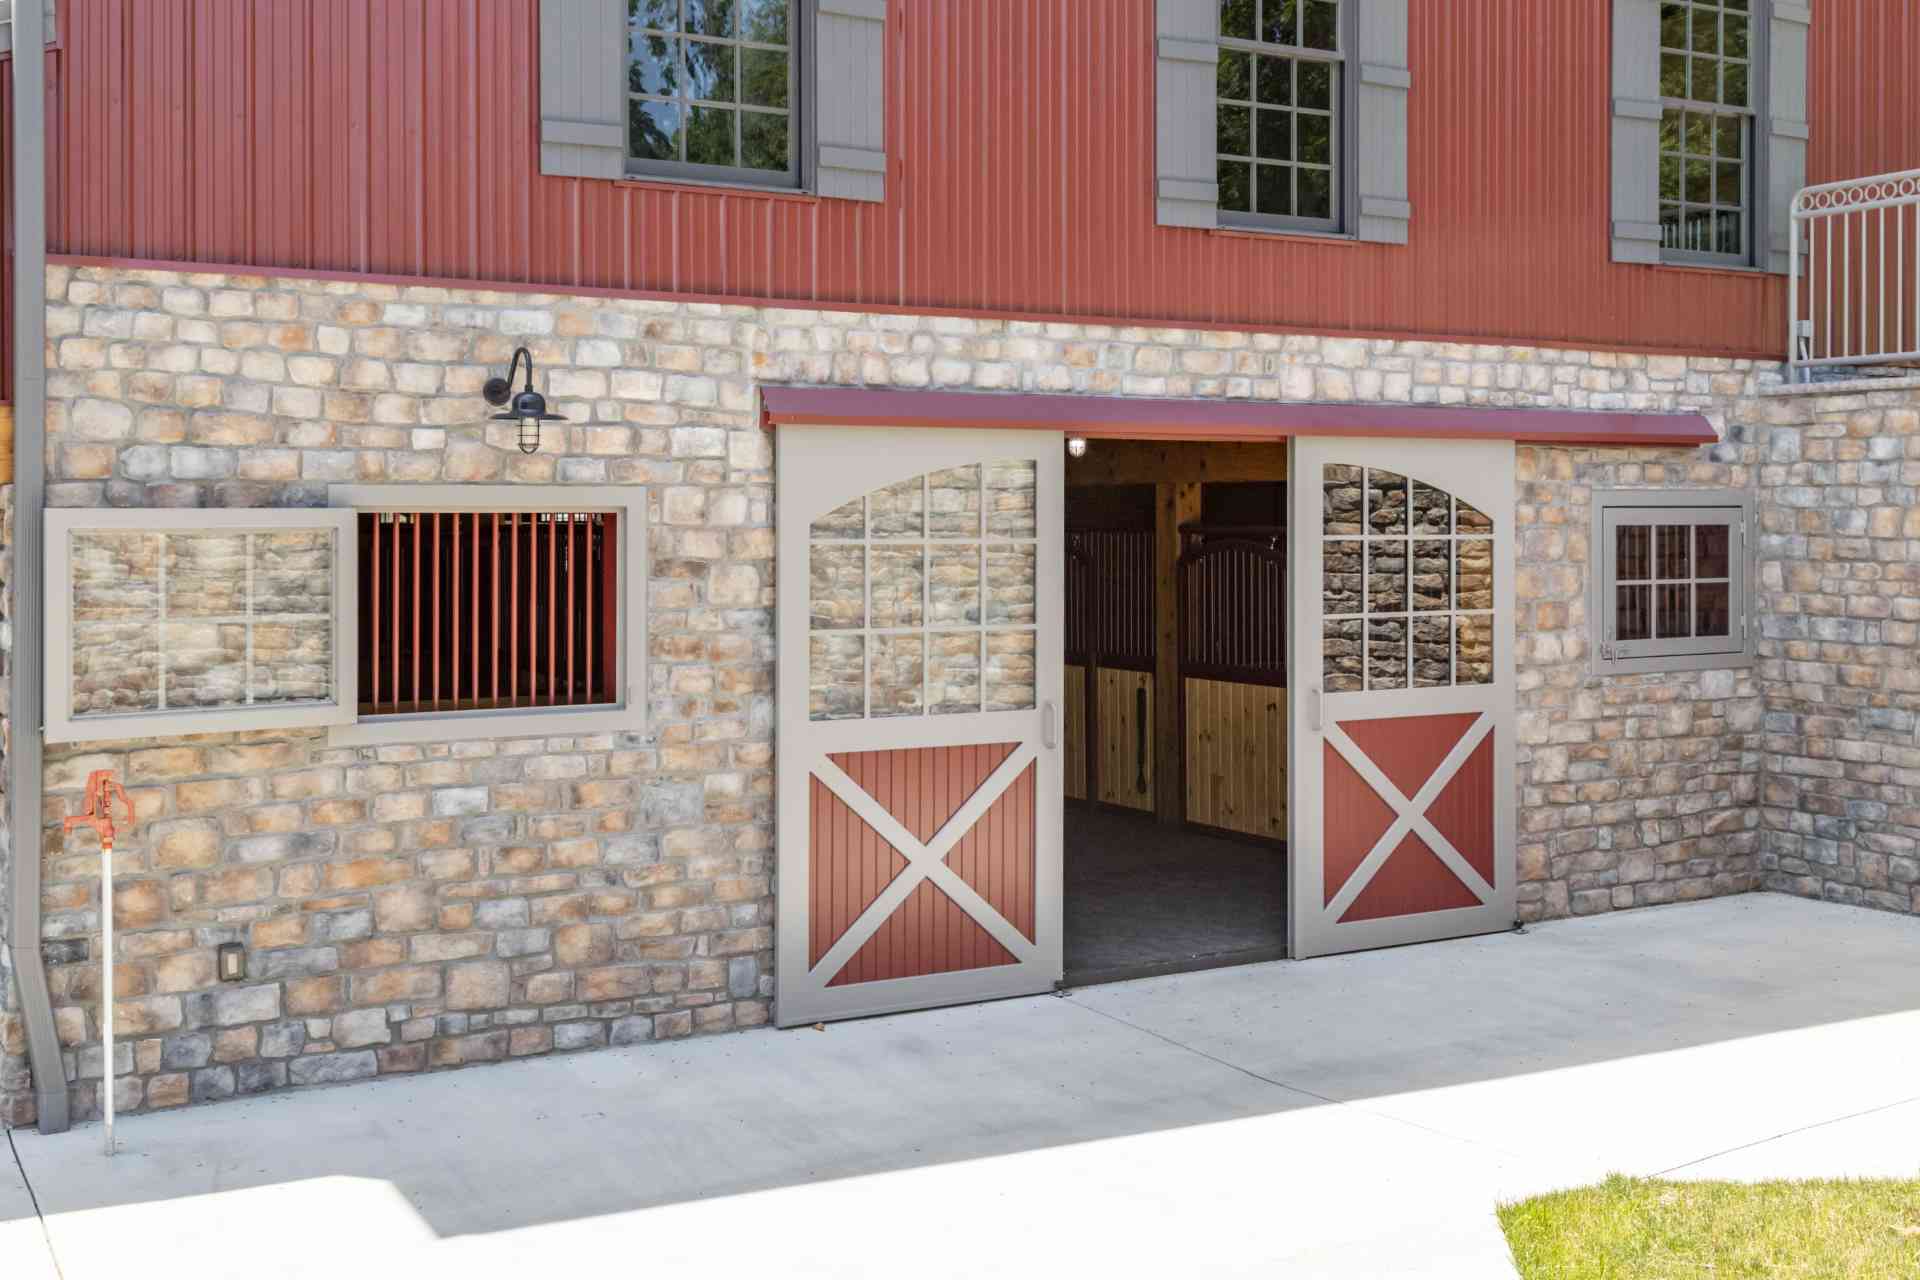
Learn how to build a stylish and functional exterior barn door for your home with our comprehensive guide. Perfect for adding a touch of rustic charm to your property. Ideal for Doors & Windows enthusiasts.
(Many of the links in this article redirect to a specific reviewed product. Your purchase of these products through affiliate links helps to generate commission for Twigandthistle.com, at no extra cost. Learn more)
Introduction
So, you’ve decided to add some rustic charm to your home by building an exterior barn door. Whether you’re looking to enhance the aesthetic appeal of your property or create a functional and stylish entryway, a barn door can be a fantastic addition to your home. In this guide, we’ll walk you through the step-by-step process of building your very own exterior barn door. From choosing the right materials to hanging the door, we’ve got you covered. Let’s roll up our sleeves and get started!
Choosing the Right Materials
When it comes to building an exterior barn door, selecting the right materials is crucial for ensuring durability and longevity. Here’s what you’ll need:
1. Wood
Opt for sturdy, weather-resistant wood such as cedar, redwood, or cypress. These types of wood are known for their natural resistance to rot and insects, making them ideal for outdoor use.
2. Hardware
Choose high-quality hardware that can withstand the elements. This includes durable hinges, a sturdy track and roller system, and a reliable handle or pull.
3. Protective Finish
To protect your exterior barn door from the elements, consider applying a weatherproof finish. Look for a sealant or outdoor paint that is designed to resist moisture, UV rays, and temperature fluctuations.
4. Crossbars
If you’re opting for a traditional “X” or “Z” pattern on your barn door, you’ll need additional wood for the crossbars. Ensure that the wood for the crossbars matches the main door material in terms of durability and weather resistance.
By choosing the right materials, you can ensure that your exterior barn door not only looks great but also stands the test of time against the elements.
Measuring and Cutting the Wood
Before you start cutting the wood for your exterior barn door, it’s crucial to take accurate measurements. Here’s a step-by-step guide to help you get it right:
-
Measure the Door Frame: Begin by measuring the dimensions of the door frame where the barn door will be installed. Take precise measurements of the height and width, accounting for any trim or additional space needed for the door to open and close smoothly.
-
Add Allowances: Once you have the measurements of the door frame, add allowances for the door overlap and clearance. Typically, a 1-inch overlap on each side and 1/2 inch at the top is recommended to ensure a proper fit and smooth operation.
-
Transfer Measurements to the Wood: Using a pencil and a straight edge, transfer the measurements onto the wood panels. Double-check the measurements before making any cuts to avoid errors.
-
Cutting the Wood: With the measurements marked, carefully cut the wood panels using a circular saw or a table saw. Ensure that the cuts are straight and accurate to maintain the structural integrity of the door.
-
Cutting the Crossbars: If your barn door design includes crossbars, measure and cut the additional wood pieces accordingly. Pay close attention to the angles and lengths to achieve a symmetrical and visually appealing pattern.
-
Sand the Edges: After cutting the wood, use sandpaper to smooth out any rough edges or splinters. This step is essential for both safety and aesthetics, as it ensures that the door edges are smooth to the touch and free from any potential hazards.
By taking precise measurements and making accurate cuts, you’ll be well on your way to creating the perfect wood panels for your exterior barn door. Accuracy at this stage will contribute to a seamless assembly process and a professional-looking end result.
Assembling the Door Frame
Now that you have the individual wood panels cut to the correct size, it’s time to assemble the door frame. Follow these steps to ensure a sturdy and well-constructed frame for your exterior barn door:
-
Lay Out the Panels: Begin by laying out the wood panels on a flat surface, arranging them in the correct sequence to form the door frame. Ensure that the panels are positioned with the outer edges flush and the top and bottom edges aligned.
-
Joining the Panels: Using wood glue and screws, join the wood panels together to create the door frame. Apply a generous amount of wood glue along the edges of the panels before securing them with screws. This combination of glue and screws will provide a strong and durable bond.
-
Reinforcing the Corners: To reinforce the corners of the door frame, consider adding corner brackets or braces. These metal reinforcements can be attached to the inside corners of the frame to add extra stability and prevent warping over time.
-
Check for Squareness: Once the panels are joined together, check the door frame for squareness. Measure the diagonals from corner to corner, and ensure that they are equal in length. If necessary, gently tap the frame into square using a rubber mallet.
-
Allow for Drying Time: After assembling the door frame, allow the wood glue to dry completely before proceeding to the next step. This drying time is essential for ensuring that the frame is solid and secure before adding the crossbars and hardware.
By following these steps, you can create a strong and well-aligned door frame for your exterior barn door. A properly assembled frame is the foundation for a functional and visually appealing barn door that will enhance the exterior of your home.
Adding the Crossbars
Once the door frame is assembled, it’s time to add the crossbars to complete the classic barn door look. Here’s how to do it:
-
Measure and Mark: Determine the placement of the crossbars on the door frame. Typically, crossbars are positioned diagonally to form an “X” or “Z” pattern. Use a measuring tape and pencil to mark the precise locations where the crossbars will intersect with the frame.
-
Cutting the Crossbars: Using the same type of wood as the door frame, measure and cut the crossbars to the required length. Ensure that the ends are cut at the appropriate angles to fit seamlessly into the door frame and create a uniform pattern.
-
Secure in Place: Apply wood glue to the areas where the crossbars will be attached to the door frame. Position the crossbars according to the marked locations and press them firmly into place. For added stability, use screws to secure the crossbars to the frame, ensuring a strong and lasting bond.
-
Reinforcement: To reinforce the attachment of the crossbars, consider adding metal brackets or braces at the intersections. These reinforcements not only enhance the structural integrity of the door but also add a decorative touch to the overall design.
-
Allow for Drying: Once the crossbars are securely attached, allow the wood glue to dry completely. This drying time is essential for ensuring that the crossbars are firmly bonded to the door frame and will withstand the rigors of everyday use.
By following these steps, you can add the crossbars to your exterior barn door, creating a timeless and visually appealing design that captures the essence of a traditional barn door.
Installing the Hardware
Now that the door frame and crossbars are in place, it’s time to install the hardware that will allow your exterior barn door to function smoothly. Here’s a step-by-step guide to installing the essential hardware:
-
Hinges: Begin by attaching the hinges to the door frame. Position the hinges at the top and bottom of the door, ensuring that they are evenly spaced and aligned with the edge of the frame. Use screws to secure the hinges in place, making sure they are firmly anchored to the wood.
-
Track and Rollers: If your barn door will be sliding, install the track and rollers according to the manufacturer’s instructions. Mount the track securely above the doorway, ensuring that it is level and aligned. Then, attach the rollers to the top of the door, allowing it to glide smoothly along the track.
-
Handle or Pull: Choose a handle or pull that complements the style of your exterior barn door. Position the handle at a comfortable height on the door, allowing for easy operation. Secure the handle in place using screws, ensuring that it is firmly attached and can withstand regular use.
-
Lock or Latch: Depending on your preference, you may also install a lock or latch to secure the barn door. Choose a locking mechanism that provides the level of security you desire while adding to the overall aesthetic of the door. Position the lock or latch according to the manufacturer’s instructions, ensuring that it functions correctly and provides the desired level of security.
-
Adjustments and Testing: Once all the hardware is installed, make any necessary adjustments to ensure that the door operates smoothly. Test the door to ensure that it opens and closes without any obstructions or resistance. Make any final adjustments to the hardware as needed to achieve optimal functionality.
By following these steps, you can install the necessary hardware to transform your door frame into a fully functional exterior barn door. The right hardware not only enhances the door’s functionality but also adds to its visual appeal, creating a stunning and practical entryway for your home.
Hanging the Door
Hanging the door is the pivotal moment in bringing your exterior barn door to life. Follow these steps to ensure a smooth and secure installation:
-
Positioning the Door: With the help of a friend or family member, lift the assembled door and position it within the door frame. Ensure that the door is centered and level within the frame, allowing for an even gap around the edges for smooth operation.
-
Attaching the Hinges: Secure the hinges to the door frame, aligning them with the pre-installed hinges on the door. Use screws to fasten the hinges, ensuring that they are firmly anchored and capable of supporting the weight of the door.
-
Testing the Movement: Open and close the door to test its movement within the frame. Ensure that it swings smoothly and evenly, making any necessary adjustments to the hinges or positioning as needed.
-
Adjusting the Clearance: Check the clearance between the bottom of the door and the floor. Depending on the type of flooring, you may need to adjust the door or install a floor guide to prevent excessive swinging or scraping.
-
Securing the Door: Once the door is properly positioned and operates smoothly, secure any remaining hardware, such as the track and rollers for sliding doors, to ensure stability and safety.
By following these steps, you can successfully hang your exterior barn door, bringing your DIY project to fruition and adding a touch of rustic charm to your home.
Finishing Touches
Once the exterior barn door is hung and operational, it’s time to add the finishing touches that will elevate its appearance and functionality. Here are the final steps to complete your exterior barn door project:
-
Weatherproofing: Apply a final coat of weatherproof finish to the entire door, including the edges and any exposed wood surfaces. This protective layer will shield the door from moisture, sunlight, and other outdoor elements, ensuring its longevity and resilience.
-
Sealing the Edges: Use a high-quality wood sealant to seal the edges of the door, preventing water infiltration and minimizing the risk of warping or rot. Pay special attention to the bottom edge of the door, as it is most susceptible to moisture exposure.
-
Decorative Elements: Consider adding decorative elements such as metal accents, hand-forged hardware, or custom engravings to personalize the exterior barn door and enhance its visual appeal. These details can add character and uniqueness to the door, making it a standout feature of your home’s exterior.
-
Maintenance Guidelines: Provide maintenance guidelines to ensure the longevity of the exterior barn door. This may include recommendations for periodic cleaning, reapplication of the weatherproof finish, and inspections for any signs of wear or damage.
-
Final Inspection: Conduct a thorough inspection of the door to ensure that all components are securely fastened, the hardware operates smoothly, and the door is properly aligned within the frame. Make any final adjustments as needed to achieve the desired functionality and aesthetics.
By attending to these finishing touches, you can ensure that your exterior barn door not only looks stunning but also remains durable and functional for years to come. With the right care and attention to detail, your DIY exterior barn door will be a source of pride and a standout feature of your home’s exterior.