Home>Knowledge & Skills>Masonry & Tilework>How To Build Exterior Wall

Masonry & Tilework
How To Build Exterior Wall
Published: March 6, 2024

Our Editor-in-Chief brings a fresh perspective with his expertise in modern home technologies and eco-friendly solutions. Philip bridges tradition with innovation across a wide range of DIY topics.
Learn how to build an exterior wall using masonry and tilework techniques. Discover step-by-step instructions and expert tips for a successful project.
(Many of the links in this article redirect to a specific reviewed product. Your purchase of these products through affiliate links helps to generate commission for Twigandthistle.com, at no extra cost. Learn more)
Introduction
So, you're thinking about adding an exterior wall to your home? Whether you're expanding your living space, creating a new outdoor area, or simply looking to enhance the aesthetics of your property, building an exterior wall can be a rewarding and valuable project. But where do you start? How do you ensure that your new wall is structurally sound, weather-resistant, and visually appealing? In this guide, we'll walk you through the essential steps and considerations for constructing a sturdy and attractive exterior wall. Let's dive in and get those creative DIY juices flowing!
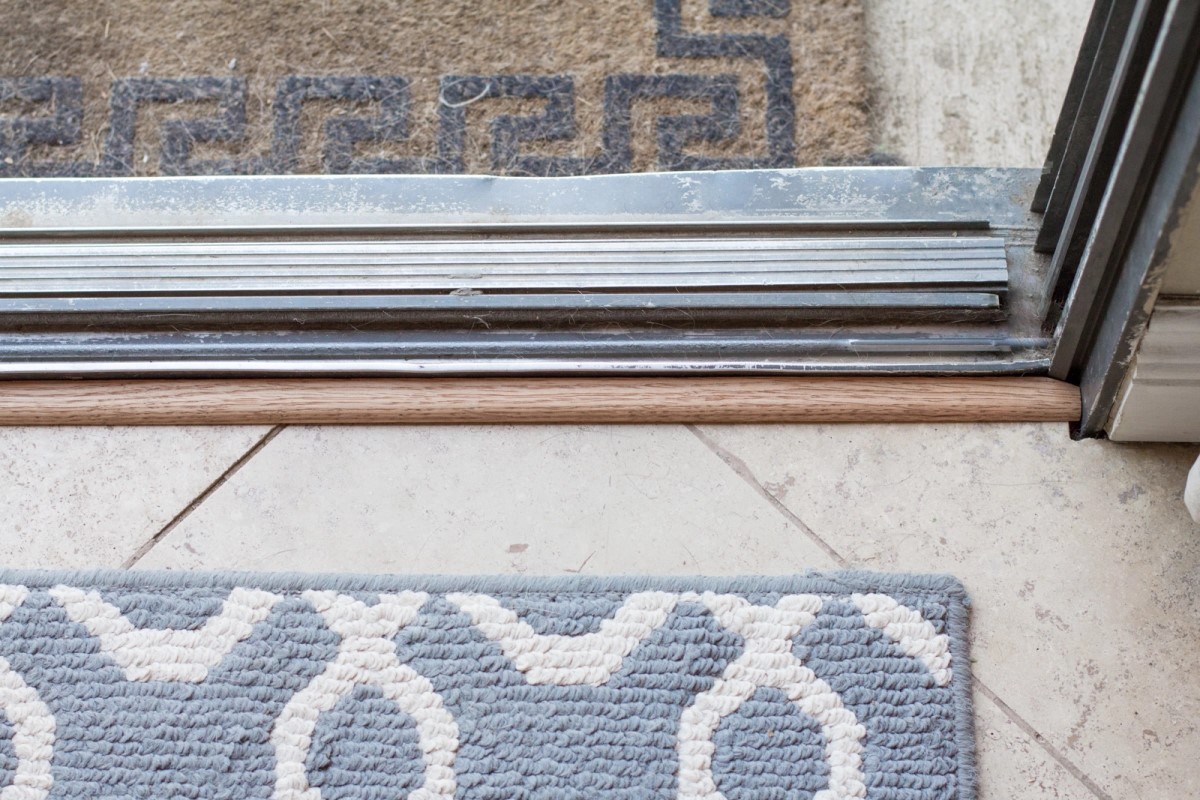
Read more: How to Build an Exterior Door Threshold
Planning and Preparation
Before you grab your tools and start hammering away, it's crucial to lay a solid foundation of planning and preparation for your exterior wall project. Here's what you need to do:
-
Assess the Purpose: Determine the specific purpose of your exterior wall. Are you building it for added privacy, security, or purely for aesthetic reasons? Understanding the primary function will guide your design and material choices.
-
Check Local Regulations: Research and comply with local building codes, zoning regulations, and permit requirements. This step is essential to avoid potential legal issues and ensure that your project meets safety standards.
-
Measure and Mark: Measure the area where the wall will be constructed and mark the boundaries. Accurate measurements are crucial for determining the amount of materials needed and ensuring the wall fits the intended space.
-
Consider Drainage: Evaluate the drainage in the area where the wall will be built. Proper drainage is vital for preventing water damage and maintaining the structural integrity of the wall.
-
Gather Tools and Materials: Create a comprehensive list of tools and materials required for the project. This may include lumber, fasteners, insulation, sheathing, exterior finishes, and the necessary tools such as saws, hammers, levels, and protective gear.
-
Budget and Timeline: Establish a realistic budget and timeline for the project. Factor in the cost of materials, labor (if applicable), and any unexpected expenses. Setting a timeline will help you stay organized and track your progress.
By investing time in thorough planning and preparation, you'll set a strong foundation for the successful construction of your exterior wall.
Choosing the Right Materials
Selecting the appropriate materials for your exterior wall is a critical decision that directly impacts the wall's durability, appearance, and maintenance requirements. Here's a breakdown of the key materials to consider:
-
Lumber: Opt for pressure-treated lumber or rot-resistant wood for the framing and structural components. Ensure that the lumber is suitable for outdoor use and can withstand exposure to the elements.
-
Fasteners: Use corrosion-resistant fasteners such as galvanized or stainless steel nails, screws, and anchors. These materials are essential for preventing rust and maintaining the structural integrity of the wall over time.
-
Insulation: Choose insulation materials designed for exterior applications, such as rigid foam boards or spray foam insulation. These options provide thermal resistance and help regulate the temperature inside your home.
-
Sheathing: Consider using plywood or oriented strand board (OSB) for sheathing the exterior wall. These materials offer strength and stability, serving as a base for exterior finishes and contributing to the wall's overall structural integrity.
-
Exterior Finishes: Explore a variety of exterior finish options, including vinyl siding, wood siding, stucco, brick veneer, or stone veneer. Each material offers distinct aesthetic qualities, durability, and maintenance requirements, so select based on your desired look and long-term maintenance preferences.
-
Weatherproofing and Sealants: Invest in high-quality weatherproofing materials and sealants to protect the wall from moisture, air infiltration, and potential water damage. Properly applied weatherproofing solutions enhance the wall's resilience against the elements.
By carefully considering and selecting the right materials for your exterior wall, you can ensure that your project results in a structurally sound, visually appealing, and long-lasting addition to your home.
Building the Foundation
The foundation serves as the anchor for your exterior wall, providing stability and support against the forces of nature. Here's a step-by-step guide to building a solid foundation:
-
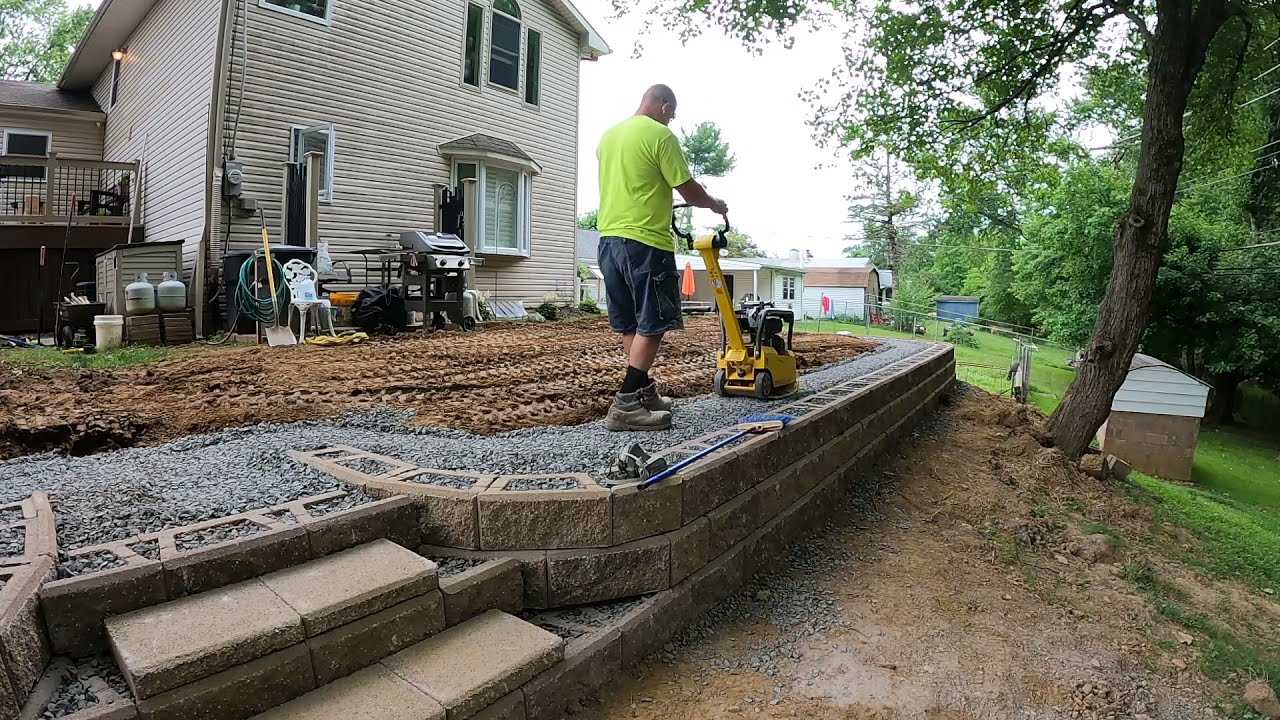
Excavation: Begin by excavating the area where the foundation will be laid. Use a shovel or mechanical excavator to dig a trench that is deep enough to accommodate the foundation's depth and width. Ensure that the trench is level and free from debris.
-
Laying the Footings: Pour concrete footings into the trench to create a sturdy base for the foundation. The footings should be wider than the foundation walls to distribute the weight and provide additional support. Use rebar or reinforcing mesh within the footings to enhance their strength.
-
Formwork: Construct formwork to define the shape and dimensions of the foundation. The formwork holds the concrete in place as it cures and ensures that the foundation walls have a uniform thickness and smooth finish. Double-check the alignment and levelness of the formwork before pouring the concrete.
-
Pouring Concrete: Carefully pour concrete into the formwork, filling it to the top. Use a concrete vibrator to eliminate air pockets and ensure that the concrete fully settles, creating a dense and uniform foundation. Allow the concrete to cure according to the manufacturer's recommendations.
-
Waterproofing: Apply a waterproofing membrane to the exterior surface of the foundation to protect it from moisture and water infiltration. This step is crucial for preventing water damage and maintaining the integrity of the foundation over time.
-
Backfilling: Once the foundation has cured, backfill the surrounding area with soil, compacting it in layers to provide additional support and stability. Proper backfilling helps prevent shifting and settling of the foundation.
By following these steps, you can establish a robust foundation for your exterior wall, ensuring that it remains structurally sound and resilient for years to come.
Framing the Wall
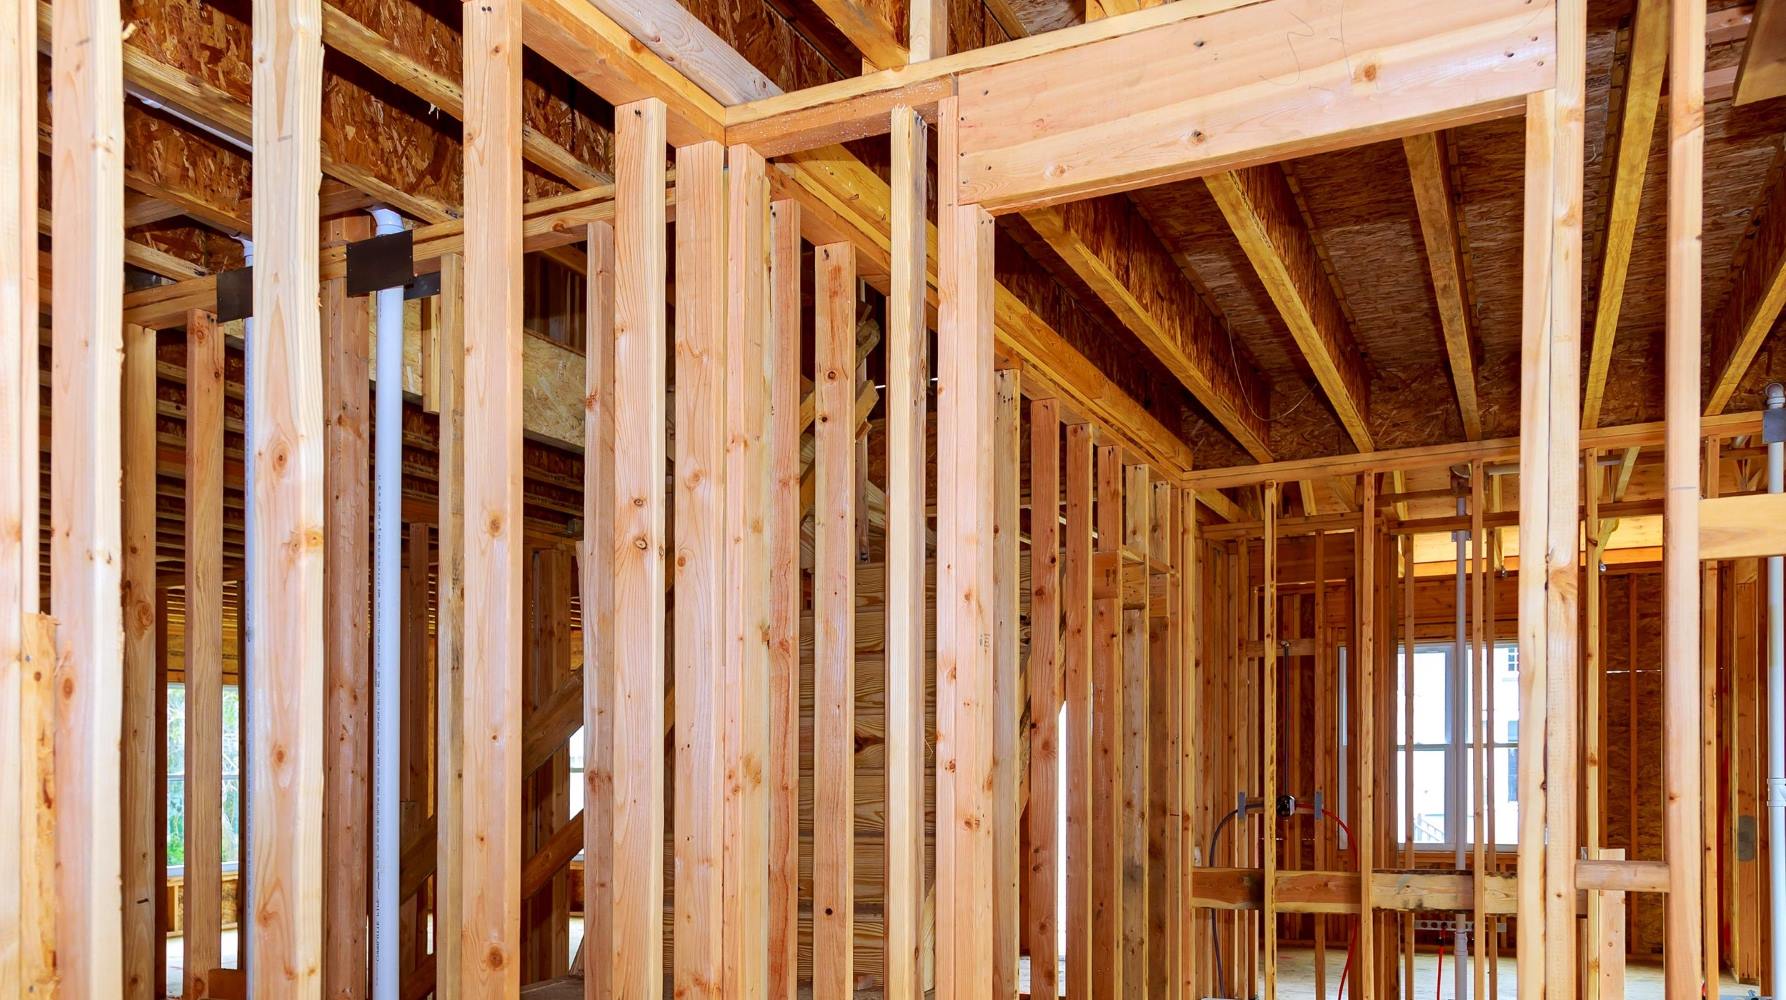
Framing the wall is a crucial phase in the construction of an exterior wall, as it provides the framework for the wall's structure and determines its overall strength and stability. Here's a detailed breakdown of the framing process:
-
Layout and Marking: Begin by laying out the bottom plate of the wall on the foundation, marking the precise locations for the wall studs, door and window openings, and any additional structural elements. Accurate measurements and layout are essential for ensuring that the wall is properly aligned and fits the intended space.
-
Assembling the Frame: Cut the wall studs to the appropriate length and position them vertically between the top and bottom plates. Use a level to ensure that the studs are plumb and a square to confirm that the corners are at right angles. Secure the studs to the plates using nails or screws, creating a sturdy and stable frame.
-
Headers and Openings: Install headers above door and window openings to provide additional support for the wall and distribute the weight of the structure. Properly sized and installed headers are essential for maintaining the wall's integrity and accommodating openings for doors and windows.
-
Bracing and Reinforcement: Incorporate diagonal bracing or structural sheathing to reinforce the frame and prevent it from twisting or shifting. Bracing enhances the wall's resistance to external forces such as wind and seismic activity, contributing to its overall stability.
-
Anchor Bolts and Ties: Secure the wall frame to the foundation using anchor bolts or ties, ensuring that the frame is firmly anchored and resistant to movement. Proper anchoring is crucial for withstanding lateral forces and preventing the wall from shifting or leaning over time.
-
Double-Plate Assembly: Consider using a double-plate assembly for added strength and stability. This involves placing a second top plate on top of the wall studs, providing additional support and creating a secure connection between the wall and the roof structure.
By following these steps and techniques, you can effectively frame the exterior wall, establishing a robust and reliable framework that forms the basis for the wall's structural integrity and longevity.
Read more: How To Build An Exterior Door
Installing Insulation and Sheathing
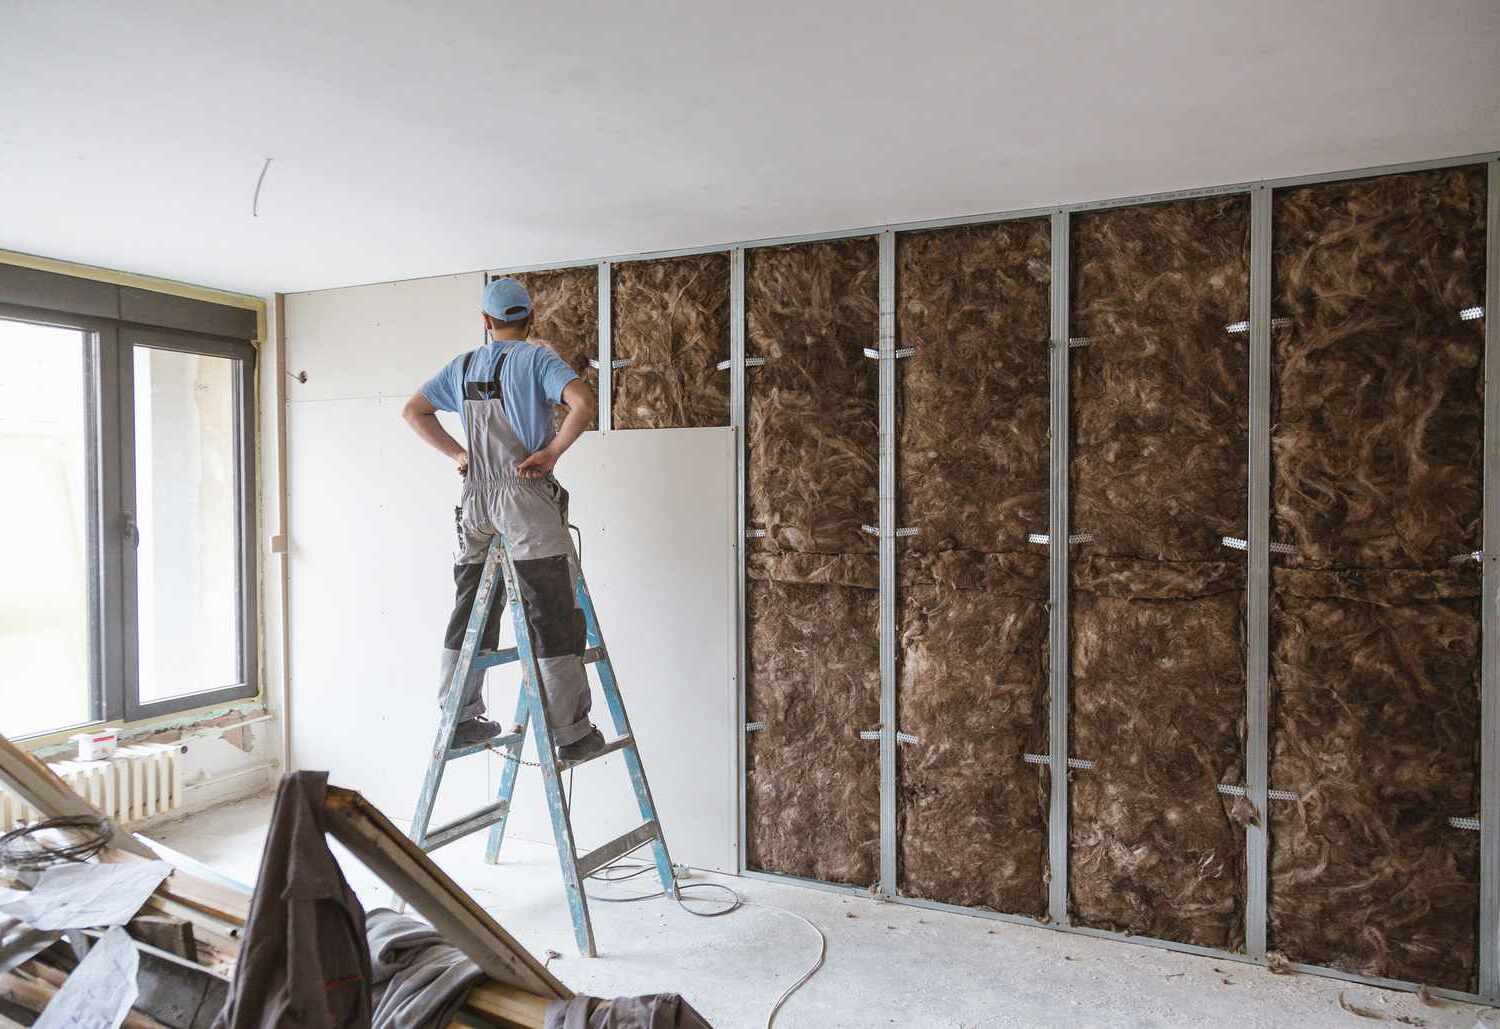
Once the framing of the exterior wall is in place, the next critical step is to install insulation and sheathing to enhance the wall's energy efficiency, structural strength, and weather resistance. Here's a detailed guide to the installation process:
-
Insulation Installation:
- Begin by fitting insulation material between the wall studs, ensuring a snug and consistent fit to minimize thermal bridging and maximize the wall's energy efficiency.
- Common insulation options for exterior walls include rigid foam boards, fiberglass batts, and spray foam insulation. Choose an insulation type that suits your climate and provides the desired level of thermal performance.
-
Vapor Barrier Application:
- Install a vapor barrier on the warm side of the insulation to prevent moisture from infiltrating the wall cavity. This barrier helps control condensation and moisture buildup, safeguarding the wall from potential damage and mold growth.
-
Sheathing Installation:
- Once the insulation is in place, proceed with installing the sheathing, which serves as a protective layer and contributes to the wall's structural integrity. Common sheathing materials include plywood and oriented strand board (OSB), both of which offer strength and durability.
- Secure the sheathing to the wall studs using appropriate fasteners, ensuring that the panels are properly aligned and provide a continuous covering for the exterior wall.
-
Sealing and Fastening:
- Seal the seams and edges of the sheathing with a high-quality tape or sealant to create a weather-resistant barrier and prevent air and moisture infiltration. Proper sealing is essential for maintaining the wall's integrity and energy efficiency.
- Use corrosion-resistant fasteners to secure the sheathing, ensuring that the panels are firmly attached and capable of withstanding external forces such as wind and impact.
-
Window and Door Openings:
- Pay special attention to sealing and flashing around window and door openings to prevent water intrusion and air leakage. Properly installed flashing and sealant around these openings are crucial for maintaining the wall's weather resistance.
By meticulously installing insulation and sheathing, you can fortify the exterior wall against heat loss, moisture damage, and structural vulnerabilities, ultimately creating a well-insulated and resilient barrier for your home.
Adding Exterior Finishes
When it comes to adding exterior finishes to your newly constructed wall, the choices are plentiful, each offering unique aesthetics, durability, and maintenance requirements. Here's a comprehensive look at the process of adding exterior finishes to your exterior wall:
-
Selecting the Finish: Begin by selecting the exterior finish that best suits your design preferences, climate considerations, and long-term maintenance expectations. Common exterior finish options include:
-
Vinyl Siding: Vinyl siding is a popular choice due to its low maintenance, versatility in design, and resistance to rot and insect damage. It comes in a variety of colors and styles, allowing you to achieve the desired look for your home's exterior.
-
Wood Siding: Wood siding offers a timeless, natural aesthetic and can be stained or painted to complement your home's architecture. It requires regular maintenance to protect against moisture and pests but provides a warm and inviting appearance.
-
Stucco: Stucco is a durable and fire-resistant finish that provides a textured, decorative surface for exterior walls. It requires professional application and offers excellent longevity and weather resistance.
-
Brick Veneer: Brick veneer provides a classic, enduring look and offers exceptional durability and low maintenance. It can be installed as a veneer over the exterior wall, adding a timeless charm to your home.
-
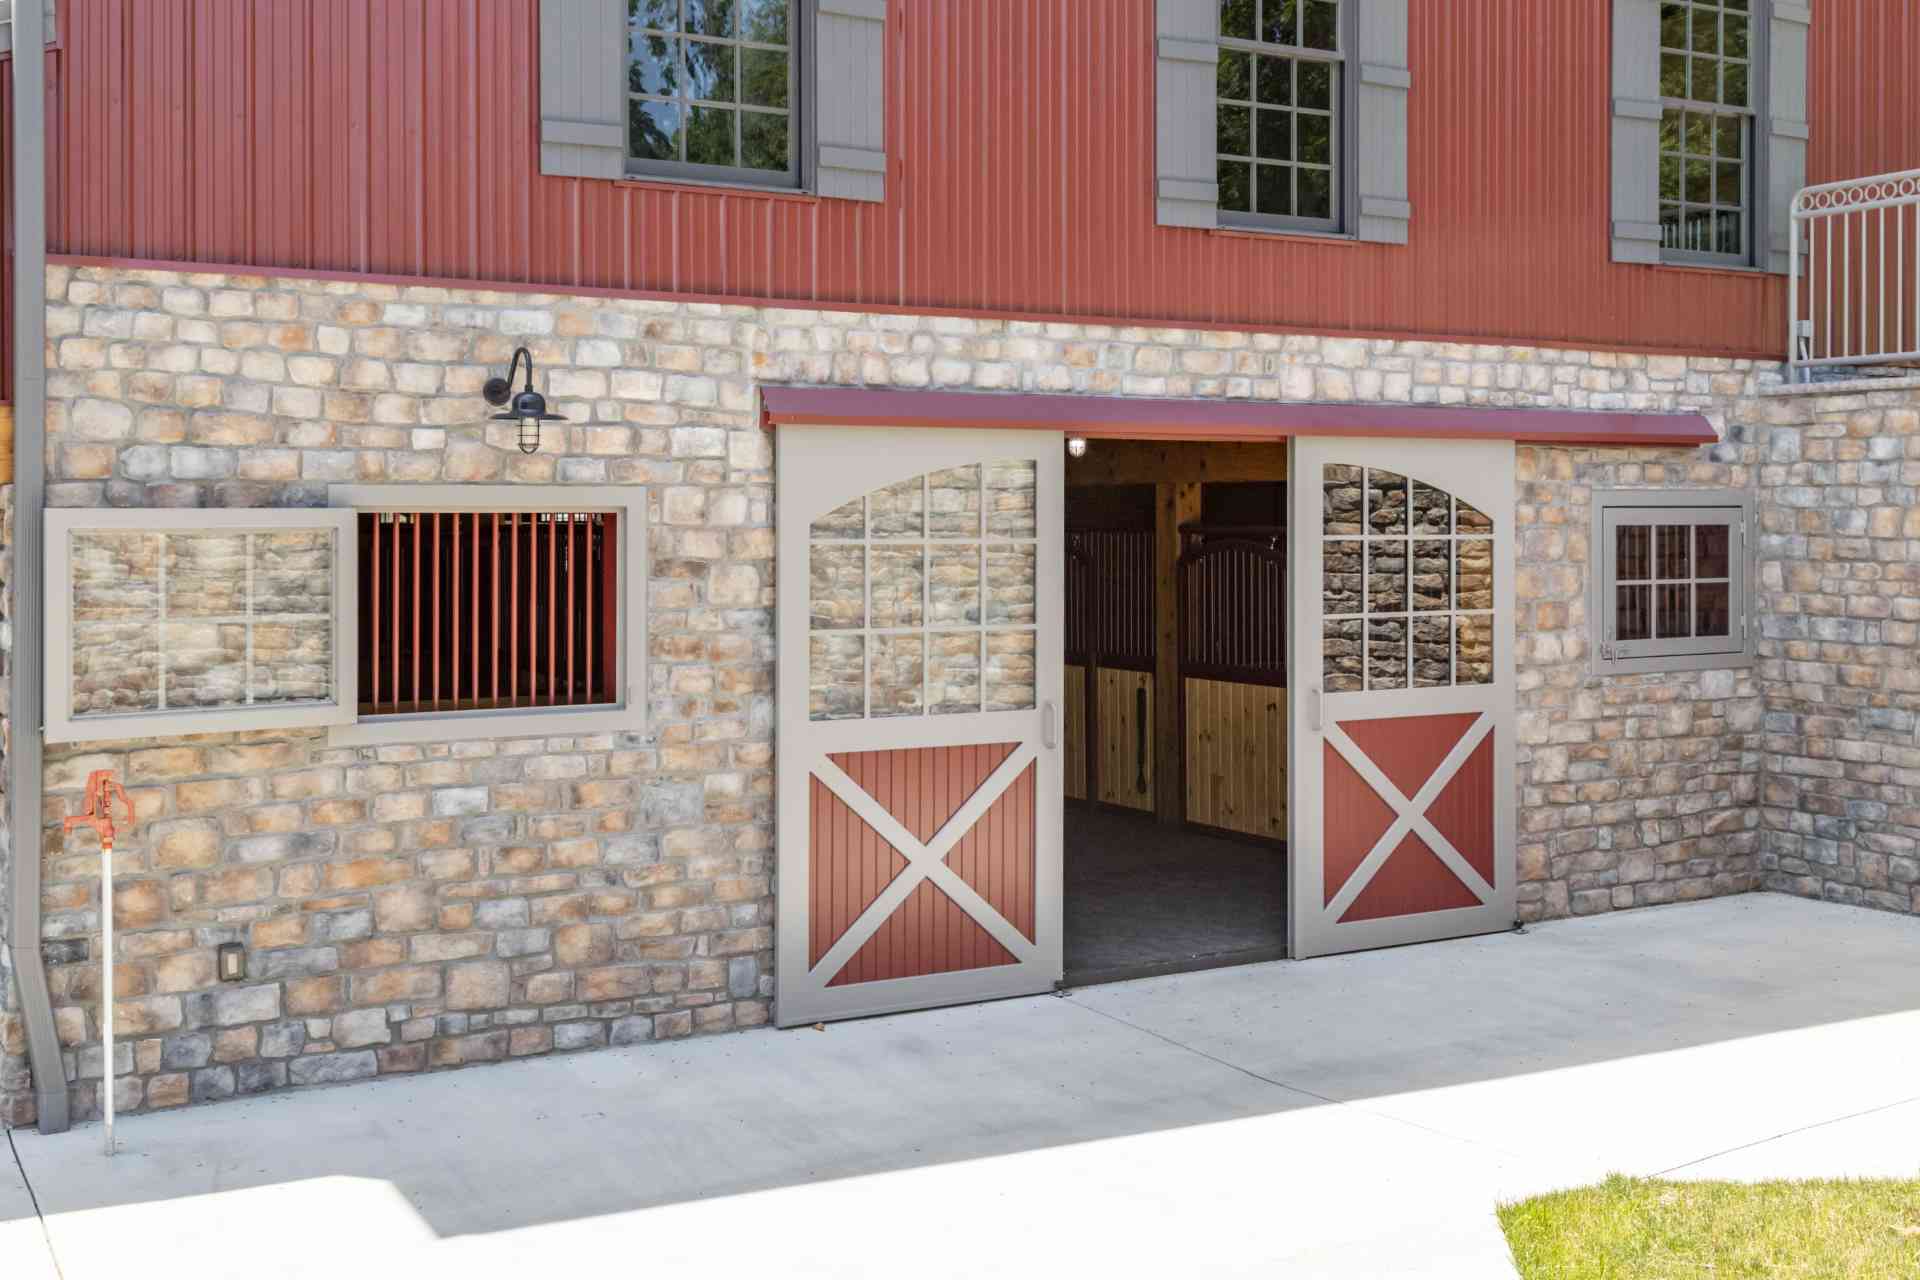
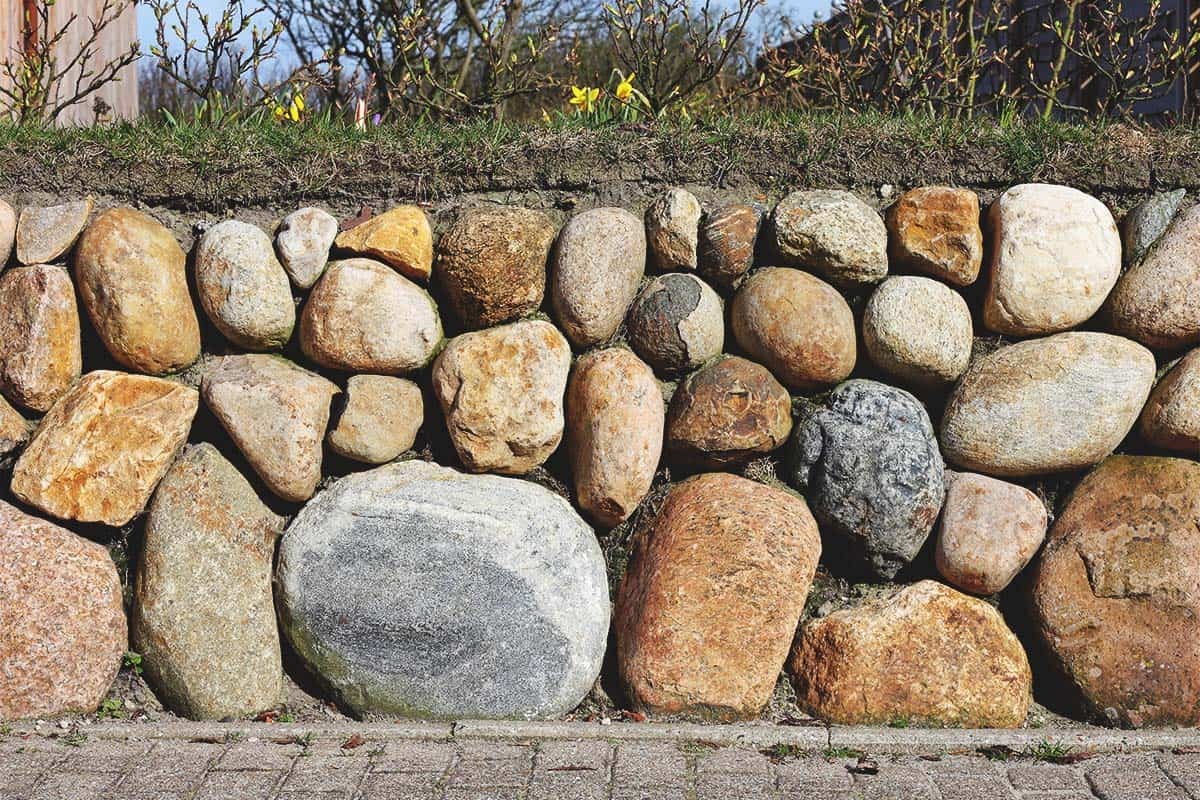
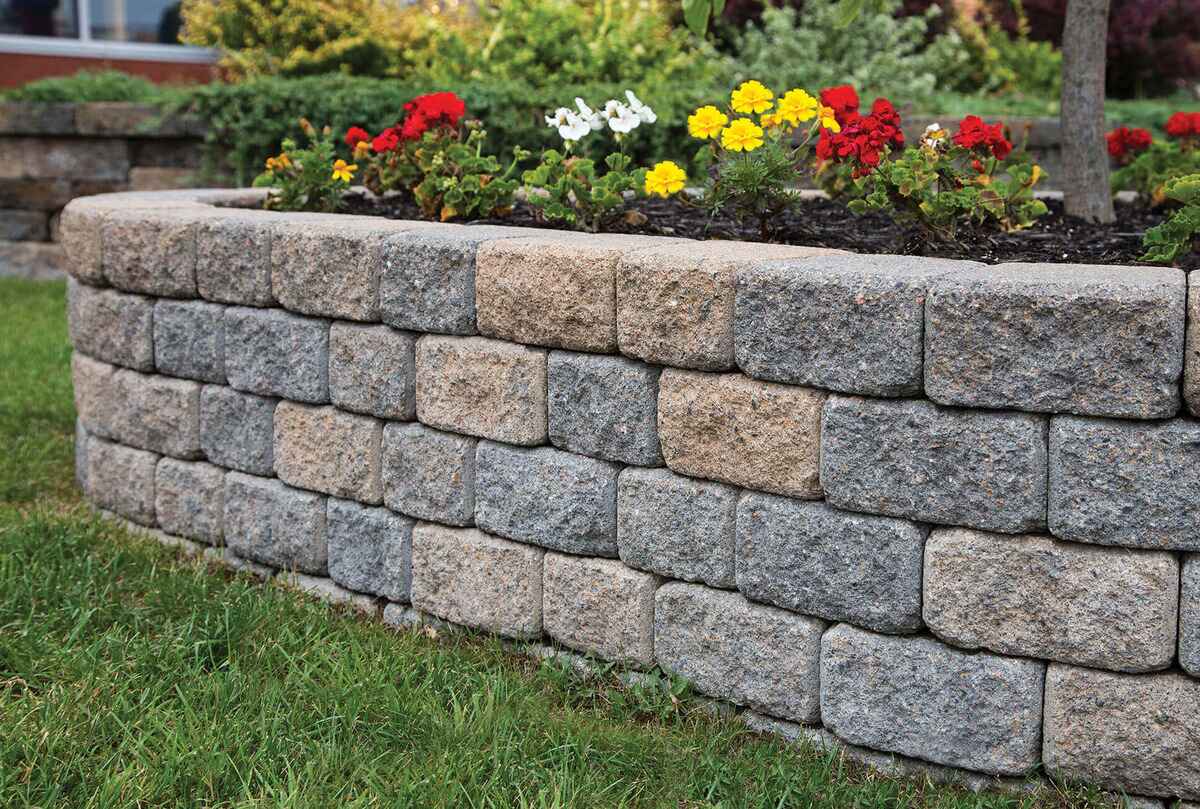
Stone Veneer: Stone veneer offers the natural beauty of stone without the weight and cost of traditional masonry. It comes in various colors and textures, creating a stunning, rustic appeal for your exterior wall.
-
-
Preparation and Installation: Once you've chosen the desired exterior finish, prepare the wall surface for installation. This may involve:
-
Applying Moisture Barrier: Install a moisture barrier, such as house wrap, to protect the wall from water infiltration and promote proper drainage.
-
Flashing and Trim Installation: Properly install flashing around windows, doors, and other openings to prevent water intrusion. Additionally, consider adding trim elements to enhance the visual appeal of the exterior finish.
-
Installing the Finish: Follow the manufacturer's guidelines for installing the chosen exterior finish, whether it involves nailing, gluing, or mortaring the materials to the wall. Ensure that the installation is done meticulously to achieve a seamless and durable finish.
-
-
Maintenance Considerations: Different exterior finishes require varying levels of maintenance to preserve their appearance and structural integrity. Consider the long-term maintenance requirements of the chosen finish and plan for regular inspections, cleaning, and repairs as needed.
By carefully selecting and installing the exterior finish, you can elevate the visual appeal, durability, and weather resistance of your exterior wall, creating a welcoming and aesthetically pleasing addition to your home.
Conclusion
In conclusion, building an exterior wall is a rewarding endeavor that can enhance the functionality and aesthetics of your home. By following the essential steps outlined in this guide, from thorough planning and preparation to selecting the right materials, building a solid foundation, framing the wall, installing insulation and sheathing, and adding exterior finishes, you can create a structurally sound, weather-resistant, and visually appealing addition to your property. Whether you're looking to increase privacy, expand your living space, or simply elevate the curb appeal of your home, constructing an exterior wall is a DIY project that offers both practical and aesthetic benefits. With careful attention to detail and adherence to best practices, you can successfully build an exterior wall that adds value and charm to your home for years to come.

