
Home>Create & Decorate>DIY & Crafts>How To Build A Deck On Uneven Concrete
DIY & Crafts
How To Build A Deck On Uneven Concrete
Published: February 27, 2024

Senior Editor in Create & Decorate, Kathryn combines traditional craftsmanship with contemporary trends. Her background in textile design and commitment to sustainable crafts inspire both content and community.
Learn how to build a deck on uneven concrete with our step-by-step DIY guide. Create a beautiful outdoor space with our expert tips and tricks. Ideal for DIY & Crafts enthusiasts.
(Many of the links in this article redirect to a specific reviewed product. Your purchase of these products through affiliate links helps to generate commission for Twigandthistle.com, at no extra cost. Learn more)
Introduction
Building a deck can significantly enhance the functionality and aesthetic appeal of your outdoor space. However, constructing a deck on uneven concrete presents a unique set of challenges. Whether you're envisioning a cozy platform for al fresco dining or a sprawling entertainment area, the process requires careful planning and precise execution.
In this comprehensive guide, we will walk you through the step-by-step process of building a deck on uneven concrete. From assessing the concrete surface to installing support posts and attaching the deck frame, we'll cover everything you need to know to tackle this project with confidence.
By the end of this guide, you'll have the knowledge and skills to transform an uneven concrete surface into a sturdy and visually appealing deck that seamlessly integrates with your outdoor environment. So, roll up your sleeves and get ready to embark on this rewarding DIY journey!
Step 1: Assessing the Concrete Surface
Before diving into the construction process, it's crucial to thoroughly assess the uneven concrete surface where the deck will be built. This initial step sets the foundation for a successful and durable deck installation. Here's a detailed breakdown of the key aspects to consider during the assessment:
-
Level Discrepancies: Begin by carefully examining the concrete surface to identify any noticeable variations in elevation. Utilize a long, straight board or a level to gauge the extent of the unevenness. Take note of any significant slopes, dips, or irregularities across the area where the deck will be constructed.
-
Drainage and Water Accumulation: Assess how water flows and accumulates on the concrete surface, especially during rainfall. Identify areas where water tends to pool or drain inadequately. Proper drainage is essential for preserving the integrity of the deck structure and preventing water-related damage over time.
-
Structural Integrity: Evaluate the overall condition of the concrete, paying close attention to any cracks, crumbling sections, or signs of deterioration. It's essential to ensure that the existing concrete can provide a stable and reliable base for the deck. Address any structural concerns before proceeding with the construction process.
-
Accessibility and Obstacles: Take into account any existing features or obstacles on the concrete surface, such as utility access points, protruding objects, or irregular shapes. These factors will influence the layout and design of the deck, as well as the placement of support posts and framing elements.
-
Permits and Regulations: Check local building codes and regulations to determine if any permits or approvals are required for constructing a deck on an uneven concrete surface. Understanding the legal and regulatory considerations at this stage will help avoid potential complications during the later stages of the project.
By meticulously assessing these critical aspects of the concrete surface, you'll gain valuable insights that will inform the subsequent steps of the deck construction process. This proactive approach sets the stage for a well-informed and strategic execution, ensuring that the deck is tailored to the specific characteristics of the existing concrete foundation.
Step 2: Creating a Leveling Base
Once you have thoroughly assessed the uneven concrete surface, the next crucial step in building a deck involves creating a leveling base to establish a stable and uniform foundation for the structure. This process is essential for compensating for the irregularities of the concrete and ensuring that the deck remains structurally sound and level. Here's a detailed breakdown of the key components and techniques involved in creating a leveling base for your deck:
Clearing and Preparing the Area
Begin by clearing the concrete surface of any debris, vegetation, or obstructions that may impede the construction process. Use a broom, pressure washer, or suitable cleaning method to remove dirt, dust, and grime from the surface. This preparatory step sets the stage for accurate measurements and precise leveling procedures.
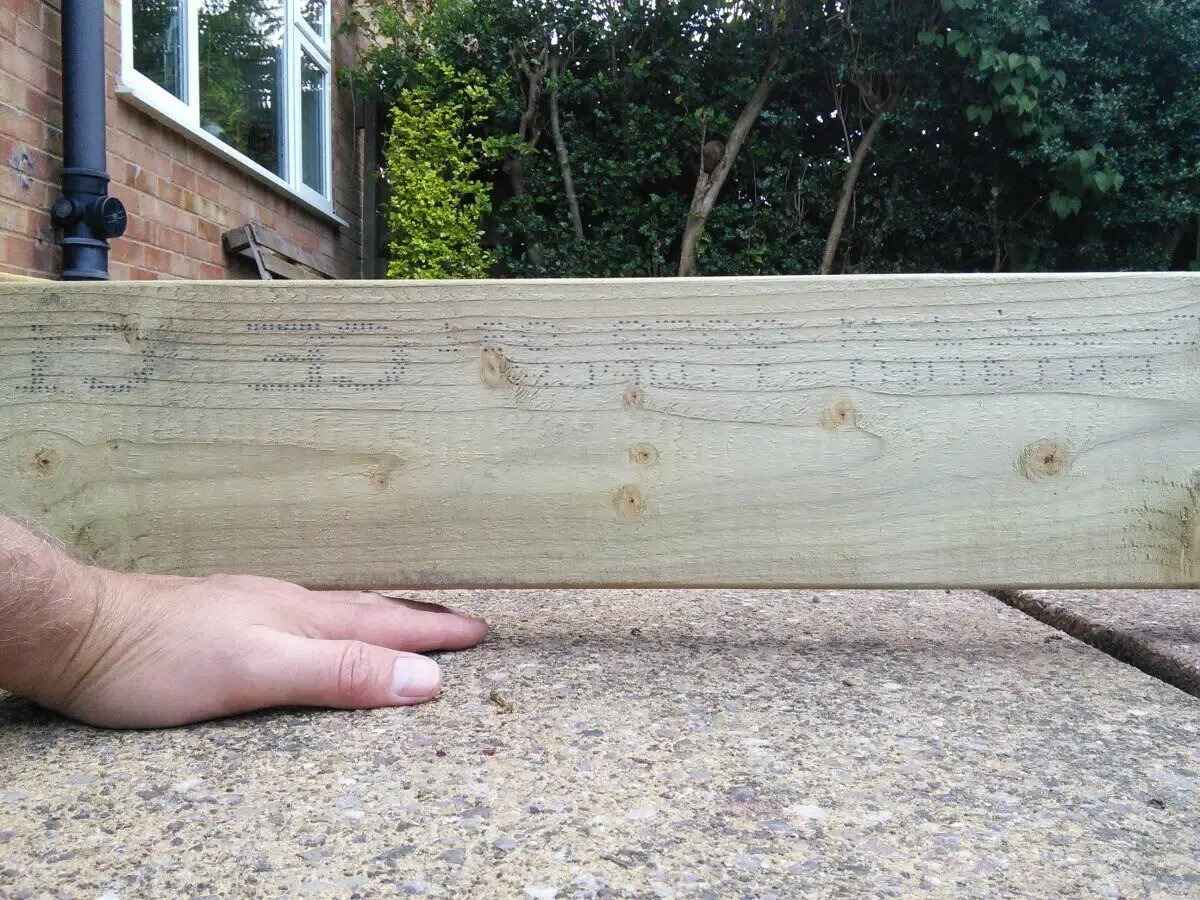
Installing Pressure-Treated Sleepers
To create a level base, pressure-treated sleepers are commonly used to elevate and support the deck structure above the uneven concrete. These sleepers, typically constructed from durable lumber, serve as the primary framework for the deck. Place the sleepers strategically across the concrete surface, ensuring that they are spaced evenly and aligned to accommodate the planned dimensions of the deck.
Using Shims and Adjustable Supports
In instances where the concrete surface exhibits significant variations in elevation, shims and adjustable supports play a crucial role in achieving a level base. By strategically placing shims and adjustable supports beneath the sleepers, you can compensate for unevenness and fine-tune the leveling process. This meticulous approach helps mitigate potential structural issues and ensures a uniform foundation for the deck.
Incorporating Drainage Considerations
During the process of creating a leveling base, it's important to integrate effective drainage solutions to prevent water accumulation and potential damage to the deck structure. Incorporate a slight slope or utilize specialized drainage components to facilitate the efficient flow of water away from the deck area. Proper drainage safeguards the longevity and integrity of the deck, especially in regions prone to heavy rainfall or moisture.
Verifying Levelness and Stability
Once the sleepers, shims, and supports are in place, meticulously verify the levelness and stability of the base using a reliable leveling tool. This step is critical for ensuring that the deck foundation is uniformly supported and free from any significant deviations. Make necessary adjustments to achieve the desired levelness, taking into account the specific characteristics of the underlying concrete surface.
By meticulously following these steps and techniques, you can effectively create a leveling base that forms the cornerstone of a robust and visually appealing deck. This meticulous approach sets the stage for the subsequent phases of the construction process, laying the groundwork for a successful and enduring outdoor living space.
Step 3: Installing Support Posts
Installing support posts is a critical phase in the construction of a deck on uneven concrete, as it forms the structural backbone that supports the entire deck framework. These posts provide essential stability and load-bearing capacity, ensuring that the deck can withstand the forces exerted on it and remain securely anchored to the underlying concrete surface. Here's a detailed exploration of the key considerations and techniques involved in the installation of support posts:
Determining Post Placement and Spacing
Begin by carefully determining the optimal placement and spacing of the support posts based on the planned dimensions and layout of the deck. Factors such as the size of the deck, load-bearing requirements, and local building codes influence the positioning and spacing of the posts. Utilize precise measurements and layout tools to establish the locations where the support posts will be installed, taking into account any existing features or obstacles on the concrete surface.
Selecting and Preparing the Posts
Select pressure-treated lumber or suitable structural materials for the support posts, ensuring that they are capable of withstanding the environmental elements and supporting the weight of the deck. Prior to installation, prepare the posts by cutting them to the required length and treating the ends to protect against moisture and decay. Additionally, consider incorporating post anchors or specialized hardware to securely attach the posts to the concrete surface, enhancing their stability and longevity.
Anchoring the Support Posts
Using appropriate anchoring methods, securely attach the support posts to the concrete surface, ensuring a robust and reliable connection. Depending on the specific conditions and requirements, options such as post anchors, expansion anchors, or concrete screws may be employed to achieve a secure attachment. Carefully follow the manufacturer's guidelines and recommended installation techniques to optimize the strength and stability of the connections.
Leveling and Alignment
After anchoring the support posts, meticulously verify their vertical alignment and levelness using a reliable leveling tool. This step is crucial for ensuring that the posts are uniformly positioned and capable of supporting the deck framework without any structural compromises. Make necessary adjustments to achieve precise alignment, taking into account the variations in the underlying concrete surface and the overall design of the deck.
Reinforcing for Load-Bearing Capacity
In scenarios where the deck is intended to support substantial loads, such as heavy furniture or outdoor gatherings, consider reinforcing the support posts to enhance their load-bearing capacity. Techniques such as cross-bracing, additional lateral supports, or engineered reinforcement solutions may be implemented to bolster the structural integrity of the posts and optimize their ability to withstand dynamic loads and forces.
By meticulously executing the installation of support posts, you establish a solid foundation for the deck structure, ensuring that it remains resilient and structurally sound. This phase sets the stage for the subsequent steps of attaching the deck frame and adding decking boards, bringing you closer to the realization of a visually stunning and functional outdoor deck on an uneven concrete surface.
Step 4: Attaching the Deck Frame
With the support posts securely anchored to the uneven concrete surface, the next pivotal phase in building a deck involves attaching the deck frame. This foundational framework serves as the structural skeleton of the deck, providing essential support for the decking boards and ensuring the overall stability and integrity of the structure. Here's a comprehensive exploration of the key steps and techniques involved in the process of attaching the deck frame:
Selecting Suitable Framing Materials
Begin by selecting high-quality, pressure-treated lumber or suitable framing materials for constructing the deck frame. The chosen materials should exhibit durability, resistance to decay, and the capacity to withstand the outdoor elements. Carefully assess the dimensions and load-bearing requirements of the deck to determine the appropriate size and specifications for the framing components.
Planning and Layout
Prior to the actual assembly, meticulously plan and lay out the design of the deck frame based on the predetermined dimensions and configuration of the deck. Utilize precise measurements, layout tools, and marking techniques to establish the locations for the frame components, taking into account any architectural features, access points, or design considerations. This meticulous planning phase sets the stage for a well-organized and structurally optimized deck frame.
Assembling the Frame Components
Carefully assemble the frame components, including the beams, joists, and ledger boards, according to the predetermined layout and design. Utilize appropriate fastening methods, such as galvanized nails, structural screws, or specialized connectors, to securely join the frame elements. Pay close attention to the alignment, spacing, and levelness of the components to ensure a uniform and structurally robust frame.
Attaching the Frame to Support Posts
Once the frame components are assembled, proceed to attach the deck frame to the previously installed support posts. Utilize suitable hardware, such as post caps, brackets, or adjustable connectors, to establish a secure and reliable connection between the frame and the support posts. This critical step reinforces the structural integrity of the deck, ensuring that the frame is firmly anchored and capable of distributing the load evenly across the support system.
Verifying Alignment and Levelness
Meticulously verify the alignment and levelness of the deck frame using a reliable leveling tool and precision measurement techniques. This step is essential for ensuring that the frame is uniformly positioned and capable of accommodating the subsequent installation of decking boards. Make any necessary adjustments to achieve precise alignment, taking into account the specific characteristics of the uneven concrete surface.
By meticulously executing the process of attaching the deck frame, you establish a solid and reliable foundation for the decking boards, bringing you closer to the realization of a visually stunning and functional outdoor deck on an uneven concrete surface. This pivotal phase sets the stage for the final step of adding decking boards, culminating in the transformation of the uneven concrete into a captivating and inviting outdoor living space.
Step 5: Adding Decking Boards
With the deck frame securely in place, the transformative phase of adding decking boards brings the vision of an inviting outdoor living space one step closer to reality. This crucial step involves carefully selecting, positioning, and fastening the decking boards to create a visually appealing and functional deck surface. Here's a detailed exploration of the key considerations and techniques involved in the process of adding decking boards:
Selecting Suitable Decking Materials
Begin by selecting high-quality decking materials that align with your aesthetic preferences, durability requirements, and maintenance considerations. Options such as pressure-treated lumber, composite decking, or tropical hardwoods offer diverse choices in terms of appearance, longevity, and resistance to environmental elements. Evaluate the characteristics of each material to determine the most suitable option for your specific deck project.
Planning the Decking Layout
Prior to installation, meticulously plan the layout and orientation of the decking boards to optimize visual appeal and structural integrity. Consider factors such as board orientation, pattern variations, and directional alignment to create an aesthetically pleasing and harmonious deck surface. Additionally, account for any architectural features, access points, or design considerations that may influence the decking layout.
Positioning and Fastening the Boards
Carefully position the decking boards on the frame, ensuring consistent spacing and alignment between each board. Utilize appropriate fastening methods, such as deck screws, hidden fasteners, or specialized clips, to securely attach the boards to the frame. Pay close attention to the recommended installation guidelines for the chosen decking material, ensuring proper fastener placement and spacing to optimize structural stability and visual appeal.
Incorporating Design Elements
Incorporate design elements such as picture framing, border patterns, or inlay accents to enhance the visual interest and sophistication of the deck surface. These creative touches add depth and character to the overall design, elevating the aesthetic impact of the deck and creating a personalized outdoor retreat. Explore creative design possibilities to infuse your deck with unique charm and individuality.
Finishing and Maintenance Considerations
Upon completing the installation of the decking boards, consider finishing options such as sealants, stains, or protective coatings to enhance the longevity and resilience of the deck surface. Additionally, familiarize yourself with the recommended maintenance practices for the chosen decking material, including cleaning routines, periodic inspections, and preservation techniques to safeguard the beauty and functionality of the deck over time.
By meticulously executing the process of adding decking boards, you bring the vision of a captivating and functional outdoor deck to fruition, transforming the uneven concrete surface into a welcoming and versatile outdoor living space. This pivotal phase marks the culmination of the deck construction process, setting the stage for countless moments of relaxation, entertainment, and enjoyment in your newly crafted outdoor oasis.
Conclusion
In conclusion, the process of building a deck on uneven concrete presents a unique set of challenges that require careful planning, precise execution, and a strategic approach to overcome. By embarking on this DIY journey, you have gained valuable insights into the intricacies of transforming an uneven concrete surface into a sturdy and visually appealing deck that seamlessly integrates with your outdoor environment.
Throughout the journey, you meticulously assessed the concrete surface, identified level discrepancies, addressed drainage considerations, evaluated structural integrity, and navigated regulatory requirements to lay the groundwork for a successful deck construction project. The meticulous assessment provided a solid foundation for the subsequent steps, ensuring that the deck is tailored to the specific characteristics of the existing concrete foundation.
Creating a leveling base involved clearing and preparing the area, installing pressure-treated sleepers, using shims and adjustable supports, and incorporating effective drainage solutions. This meticulous process compensated for the irregularities of the concrete, establishing a stable and uniform foundation for the deck and safeguarding its longevity and integrity.
The installation of support posts formed the structural backbone of the deck, providing essential stability and load-bearing capacity. By determining post placement and spacing, selecting and preparing the posts, anchoring the support posts, and reinforcing for load-bearing capacity, you established a solid foundation for the subsequent phases of the deck construction process.
Attaching the deck frame and adding decking boards further solidified the transformation of the uneven concrete into a visually stunning and functional outdoor living space. The careful selection of framing materials, meticulous planning and layout, precise assembly of frame components, and strategic attachment to support posts culminated in the realization of a robust and reliable foundation for the decking boards.
Finally, the process of adding decking boards brought the vision of an inviting outdoor living space one step closer to reality. By selecting suitable decking materials, planning the layout, positioning and fastening the boards, incorporating design elements, and considering finishing and maintenance considerations, you infused your deck with unique charm and individuality, creating a personalized outdoor retreat.
As you stand on the completed deck, surrounded by the natural beauty of your outdoor environment, you can take pride in the transformative journey that has turned an uneven concrete surface into a captivating and versatile outdoor oasis. The deck you have built is not just a functional addition to your home; it is a testament to your creativity, perseverance, and dedication to creating a space where cherished memories will be made for years to come.