
Home>Home & Furniture>Doors & Windows>How To Build A Sliding Door
Doors & Windows
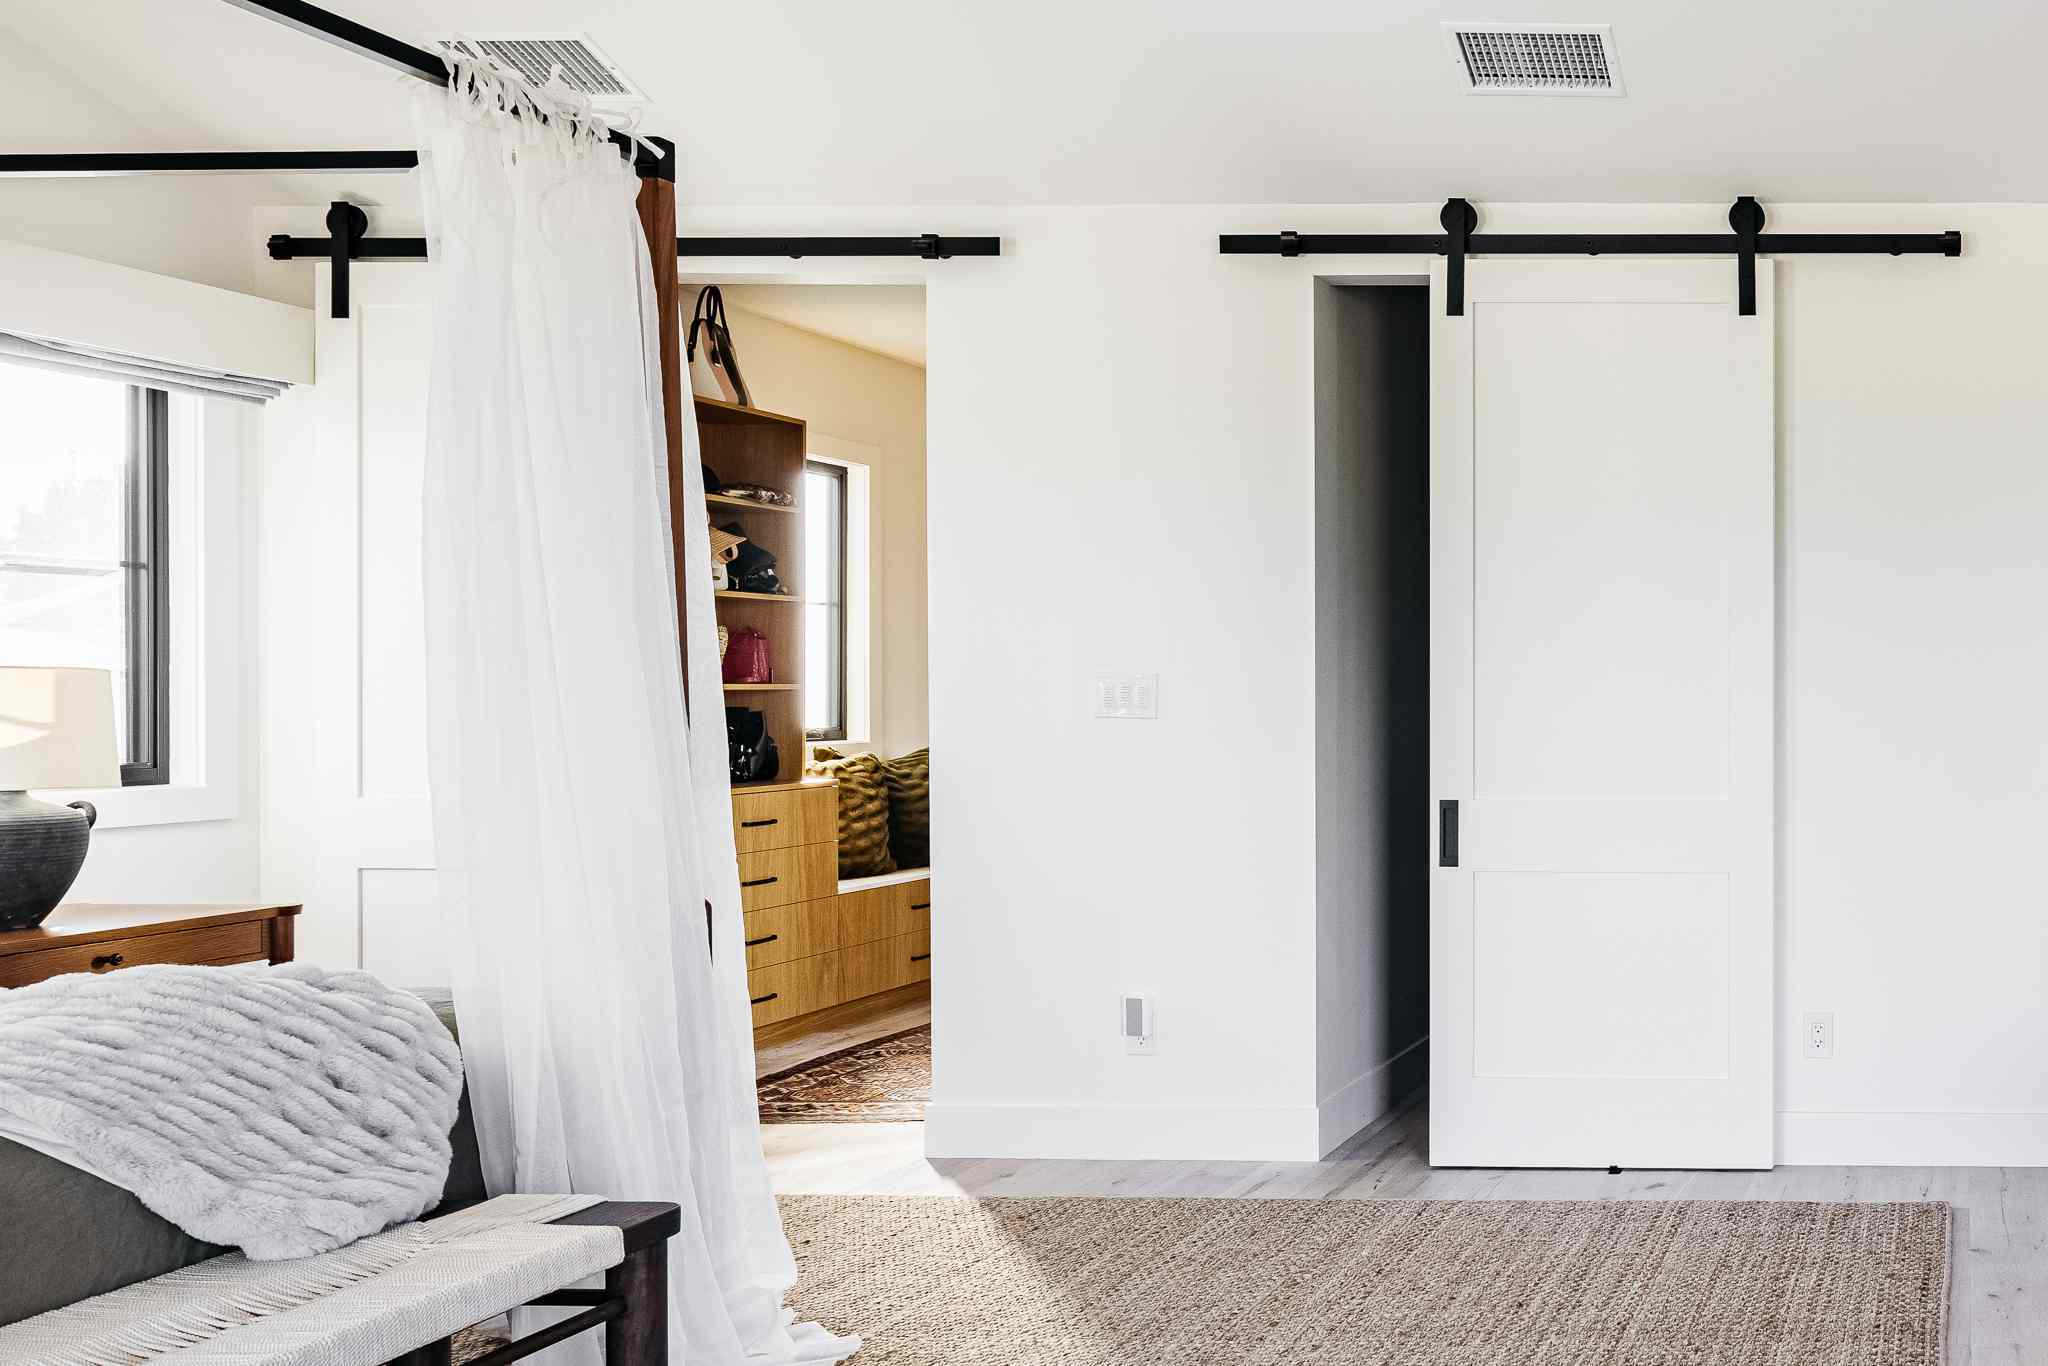
How To Build A Sliding Door
Published: March 7, 2024
Editor-in-Chief with a decade in home renovation and a passion for vintage furniture. Diane is known for her weekend treasure hunts at flea markets, enriching our content with unique style insights.
Learn how to build a sliding door for your home with our comprehensive guide. Get expert tips on doors and windows installation.
(Many of the links in this article redirect to a specific reviewed product. Your purchase of these products through affiliate links helps to generate commission for Twigandthistle.com, at no extra cost. Learn more)
Introduction
So, you've been thinking about adding a sliding door to your home, but you're not quite sure where to start. Well, you've come to the right place! Building a sliding door can be a great way to save space and add a touch of modern style to any room. Whether you're looking to create a sliding door for a closet, pantry, or even as a room divider, this DIY project can be a fun and rewarding endeavor. In this article, we'll walk you through the step-by-step process of building your very own sliding door. Let's get started!
Materials Needed
-
Wood: You'll need wood for the door itself, as well as for the frame. Make sure to choose a sturdy and durable wood that will withstand the test of time.
-
Sliding Door Hardware Kit: This kit typically includes the track, rollers, and other necessary hardware for the door to slide smoothly.
-
Measuring Tape and Pencil: Accurate measurements are crucial for this project, so having a reliable measuring tape and pencil is essential.
-
Saw: A saw will be needed to cut the wood to the appropriate sizes for the door and frame.
-
Drill and Screws: These will be used to assemble the door frame and attach the hardware.
-
Sandpaper: To smooth out any rough edges and ensure a professional finish.
-
Wood Stain or Paint: Depending on your preference, you may want to stain or paint the door to match your existing decor.
-
Door Handle: If you're building a door for a room, a door handle will be necessary for easy access.
-
Level: This will ensure that your door is installed straight and level, preventing any issues with functionality.
-
Safety Gear: Don't forget to prioritize safety with goggles, gloves, and a mask when working with wood and power tools.
Now that you have all the necessary materials, it's time to move on to the next steps in building your sliding door.
Measuring and Cutting the Door
Before you start cutting any wood, it's crucial to take accurate measurements of the space where the sliding door will be installed. Use a measuring tape to determine the height and width of the doorway or opening. Remember to account for the space needed for the door to slide open and closed. Once you have the measurements, transfer them to the wood that will be used for the door. Use a pencil to mark the cutting lines, ensuring that they are straight and even.
Next, it's time to cut the wood to the appropriate sizes. Using a saw, carefully cut along the marked lines to create the individual pieces of the door. If you're using multiple planks of wood to create a panel door, ensure that each piece is cut to the exact same dimensions to maintain consistency. Take your time with the cutting process to ensure precision and accuracy. Once the pieces are cut, use sandpaper to smooth out any rough edges and create a professional finish.
Remember, accurate measurements and precise cutting are essential for the door to fit and function properly. Take your time with this step to avoid any issues during the later stages of the project. With the door pieces cut and smoothed, you're ready to move on to the next phase of building your sliding door.
Assembling the Sliding Door Frame
Now that the door pieces are cut and smoothed, it's time to assemble the sliding door frame. Start by laying out the pieces of wood that will form the frame. Depending on the design of your sliding door, you may have a simple frame or a more intricate pattern. Use a drill and screws to securely attach the pieces together, ensuring that the frame is sturdy and well-constructed.
If you're creating a panel door, carefully align the individual panels within the frame, ensuring that they are evenly spaced and level. This step is crucial for both the aesthetics and functionality of the door. Take your time to make any necessary adjustments to ensure that the panels are aligned perfectly within the frame.
Once the frame is assembled, it's a good idea to double-check the measurements to ensure that it matches the dimensions of the doorway or opening. Use a level to confirm that the frame is straight and even, making any adjustments as needed. A properly aligned and well-constructed frame is essential for the smooth operation of the sliding door.
After the frame is assembled and confirmed to be straight and level, you can proceed to apply the finishing touches. Depending on your preference, you may choose to stain or paint the frame to match your existing decor. This step not only adds a personal touch to the door but also provides protection for the wood, ensuring its longevity.
With the sliding door frame assembled and finished, you're one step closer to completing your DIY sliding door project. The next phase will involve installing the sliding door hardware, which is essential for the door to function smoothly and efficiently. Let's move on to the next step in bringing your sliding door to life.
Installing the Sliding Door Hardware
Installing the sliding door hardware is a crucial step in bringing your DIY sliding door project to life. The hardware kit typically includes a track, rollers, and other necessary components for the door to slide smoothly. Start by positioning the track on the top of the doorway or opening, ensuring that it is level and securely attached. Use a level to confirm that the track is straight, making any adjustments as needed. Once the track is in place, use a drill and screws to secure it to the doorway, ensuring that it is firmly anchored.
Next, attach the rollers to the top of the door, following the manufacturer's instructions included in the hardware kit. The rollers will allow the door to glide along the track with ease. Make sure that the rollers are securely attached to the door, as they will bear the weight of the door during operation. Once the rollers are in place, carefully lift the door and hang it on the track, ensuring that it slides smoothly from side to side.
After the door is hung on the track, test its functionality by sliding it open and closed. Ensure that it moves smoothly along the track without any obstructions or resistance. If necessary, make any adjustments to the rollers or track to ensure that the door operates seamlessly. This step is crucial for the overall functionality and satisfaction with your newly installed sliding door.
Once the door is successfully installed and glides smoothly along the track, you can add any finishing touches, such as a door handle, to complete the project. A door handle not only adds a practical element to the door but also enhances its overall appearance. Choose a handle that complements your existing decor and makes it easy to open and close the door.
With the sliding door hardware successfully installed and the door functioning smoothly, you've reached a significant milestone in your DIY sliding door project. The next time you slide the door open or closed, you can take pride in the fact that you built it yourself. Now, it's time to step back and admire your handiwork, knowing that you've added a touch of modern style and functionality to your home.
Attaching the Door to the Track
Attaching the door to the track is a critical step in the process of building a sliding door. Once the track is securely installed, it's time to hang the door and ensure that it glides smoothly along the track. Start by lifting the door and carefully positioning it so that the rollers are aligned with the track. It's essential to ensure that the door is level and evenly positioned on the track to prevent any issues with its operation.
With the help of a friend or family member, carefully lift the door and place the rollers onto the track. Ensure that the rollers are securely seated within the track, as they will bear the weight of the door during operation. Once the door is in place, gently test its movement by sliding it back and forth along the track. It should move smoothly and effortlessly, without any resistance or obstructions.
If you encounter any issues with the door's movement, such as sticking or uneven sliding, it may be necessary to make adjustments to the rollers or track. Check that the rollers are properly aligned and securely attached to the door. Additionally, ensure that the track is level and straight, making any necessary adjustments to correct its positioning.
Once the door moves smoothly along the track without any issues, you can proceed with adding any finishing touches, such as a door handle. A door handle not only adds a practical element to the door but also enhances its overall appearance. Choose a handle that complements your existing decor and makes it easy to open and close the door.
With the door successfully attached to the track and functioning smoothly, you've reached a significant milestone in your DIY sliding door project. Take a moment to appreciate your hard work and the satisfaction of seeing your sliding door come to life. Now, it's time to step back and admire your handiwork, knowing that you've added a touch of modern style and functionality to your home.
Conclusion
Congratulations! You've successfully completed the process of building your very own sliding door. From taking accurate measurements and cutting the wood to assembling the frame, installing the hardware, and attaching the door to the track, you've gone through each step with precision and dedication. As you stand back and admire your handiwork, take pride in the fact that you've added a touch of modern style and functionality to your home, all through your own DIY efforts.
Building a sliding door is not only a practical addition to your living space but also a testament to your creativity and craftsmanship. The satisfaction of seeing the door glide effortlessly along the track, seamlessly dividing spaces or concealing storage areas, is a testament to your hard work and attention to detail. Whether it's a rustic barn door or a sleek modern design, your sliding door is a reflection of your personal style and the effort you've put into creating it.
As you enjoy the benefits of your newly installed sliding door, take a moment to appreciate the sense of accomplishment that comes with completing a DIY project of this scale. Not only have you saved on the cost of purchasing a pre-made sliding door, but you've also tailored it to your specific needs and preferences. Your home now boasts a custom feature that adds both practicality and aesthetic appeal.
So, as you revel in the satisfaction of a job well done, remember that the skills and knowledge you've gained from this project can be applied to future DIY endeavors. Whether it's building furniture, installing fixtures, or tackling home improvement projects, your experience in building a sliding door has equipped you with valuable insights and abilities.
With your newly acquired expertise, you're well-prepared to take on the next DIY challenge that comes your way. So, go ahead and bask in the pride of your sliding door accomplishment, knowing that you've not only enhanced your living space but also honed your skills as a capable DIY enthusiast.